Custom Alcove Shelves
/Summer has ended and the boat is getting ready for hibernation, so indoor activities commence…
I have a list of winter projects I’ve been planning for once the weather cooled down, so I’m starting off with something easy to get things going.
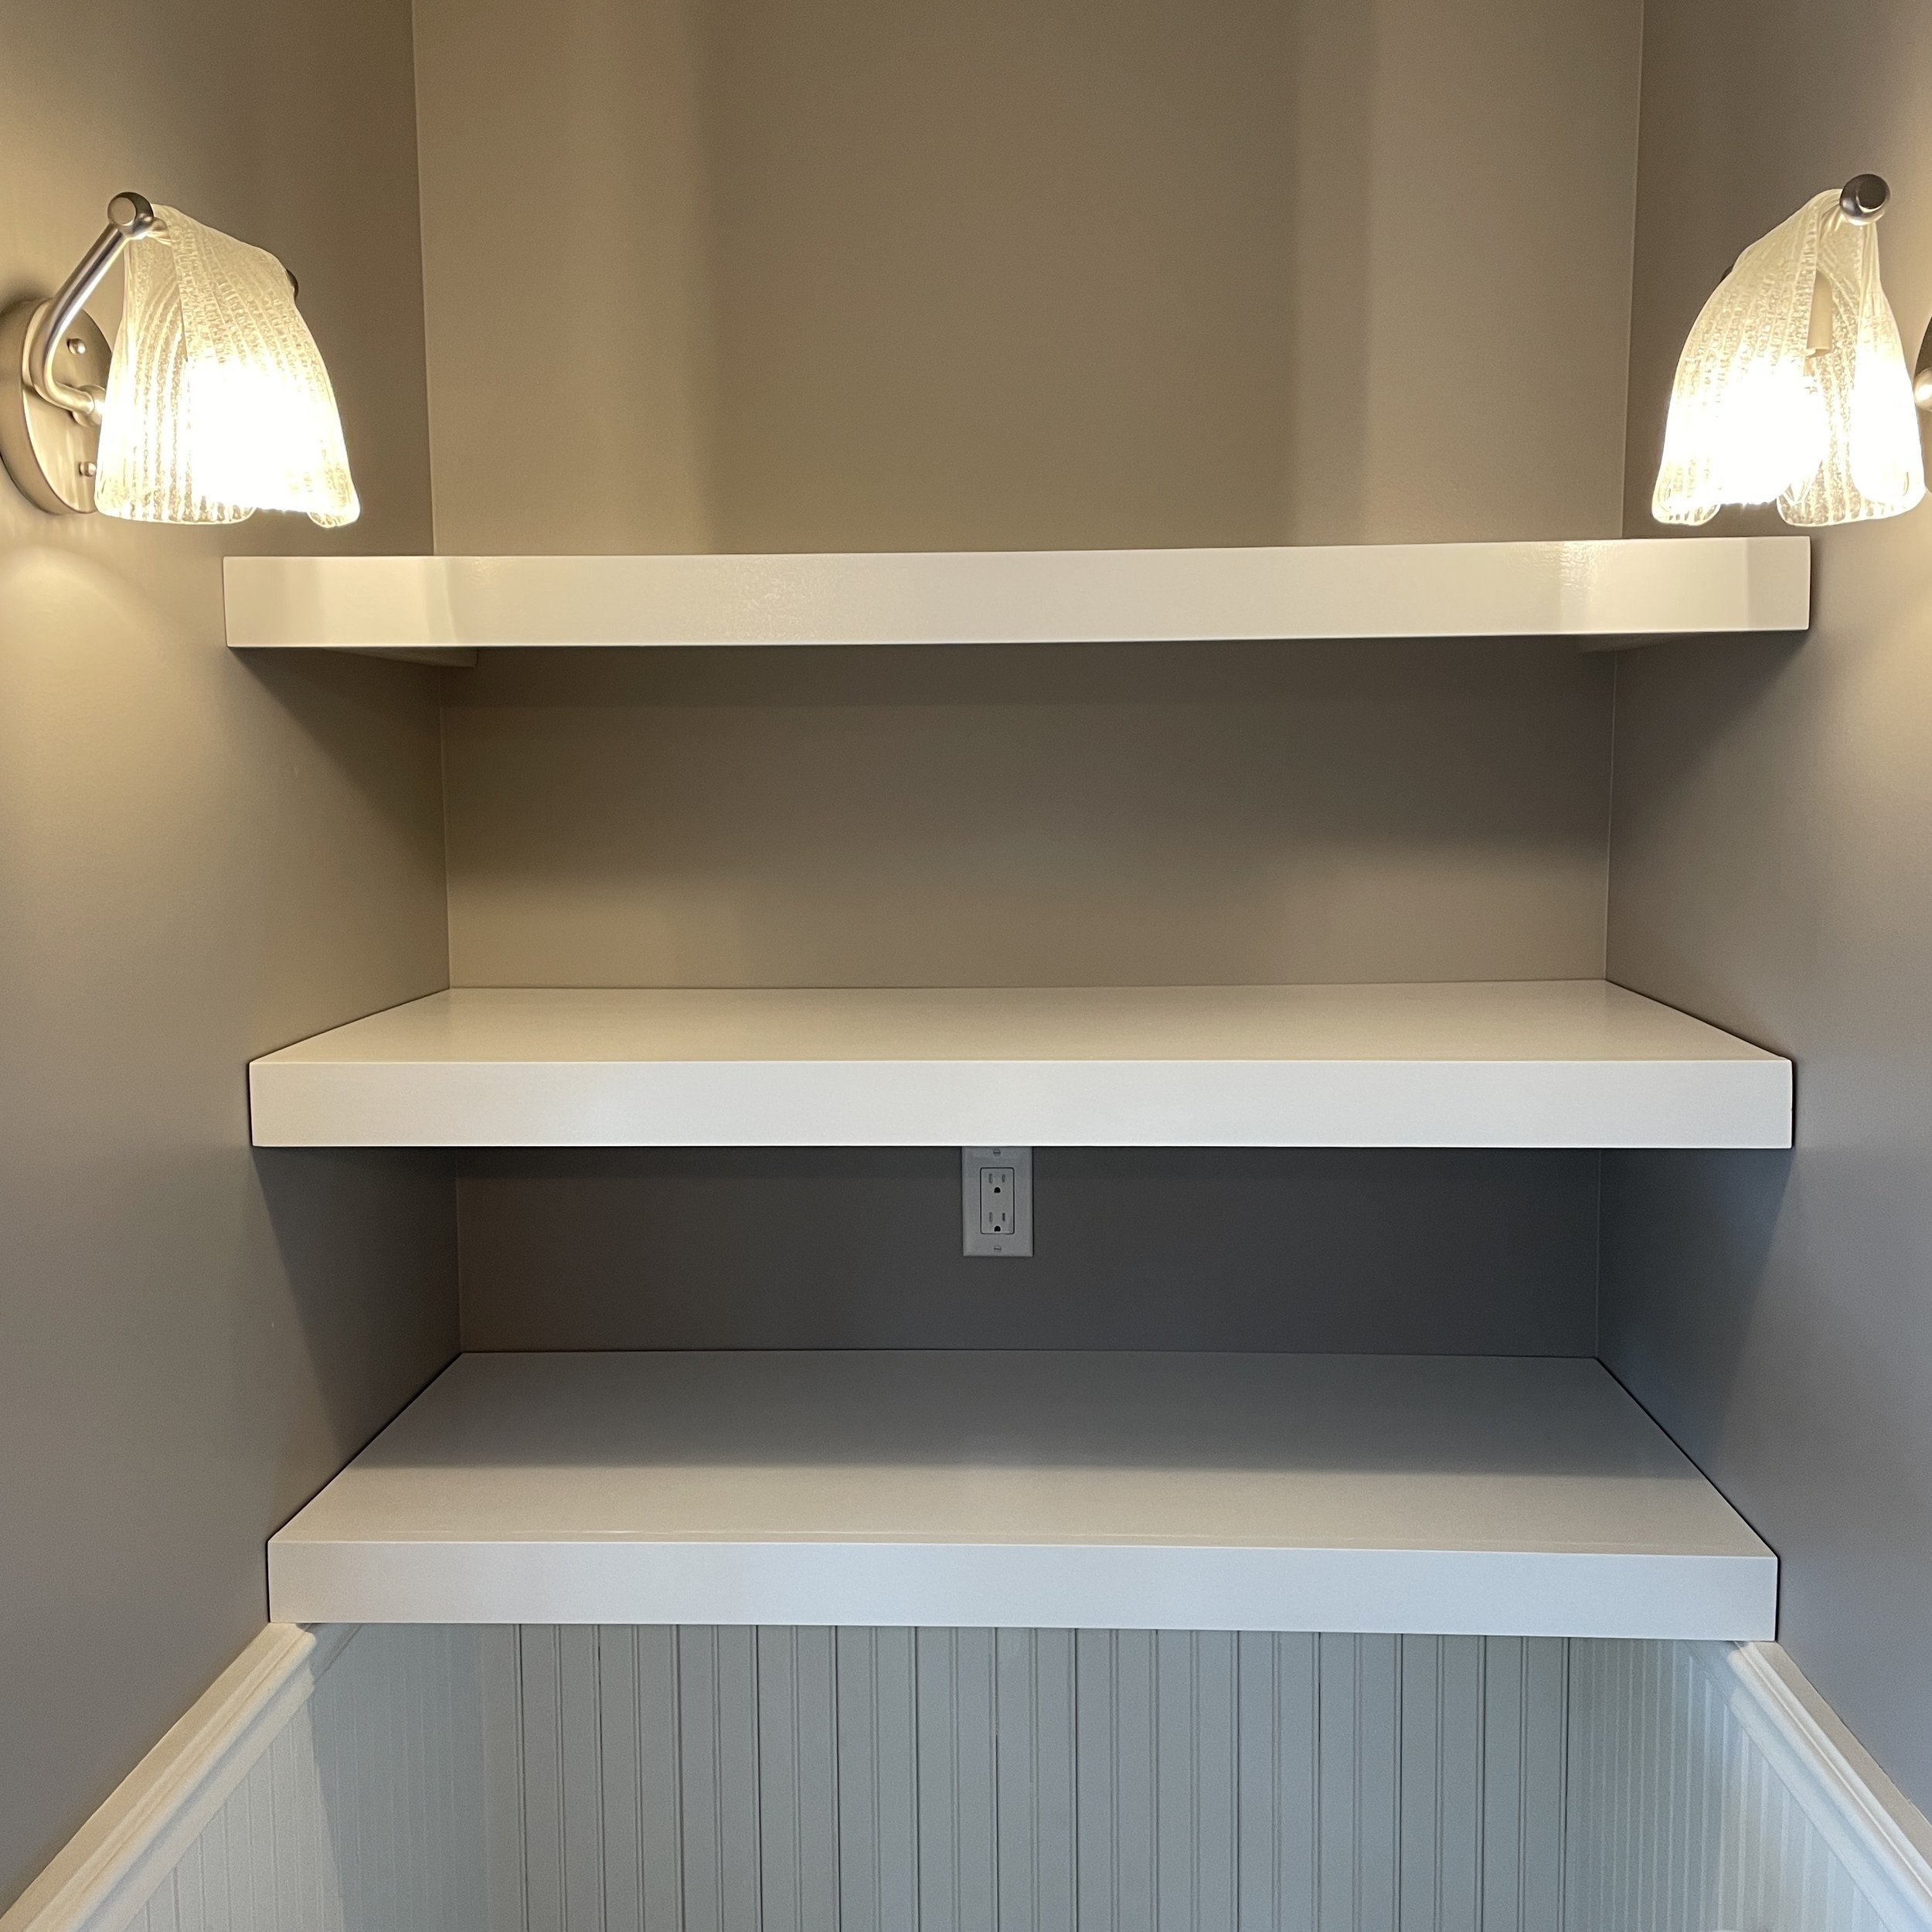
My bathroom has this weird alcove next to the tub that really wants to be useful. When I moved in, I threw one of my painted Ikea bookshelves in there to store some stuff, but I wanted to do something that looks nicer and is a little more functional for me.

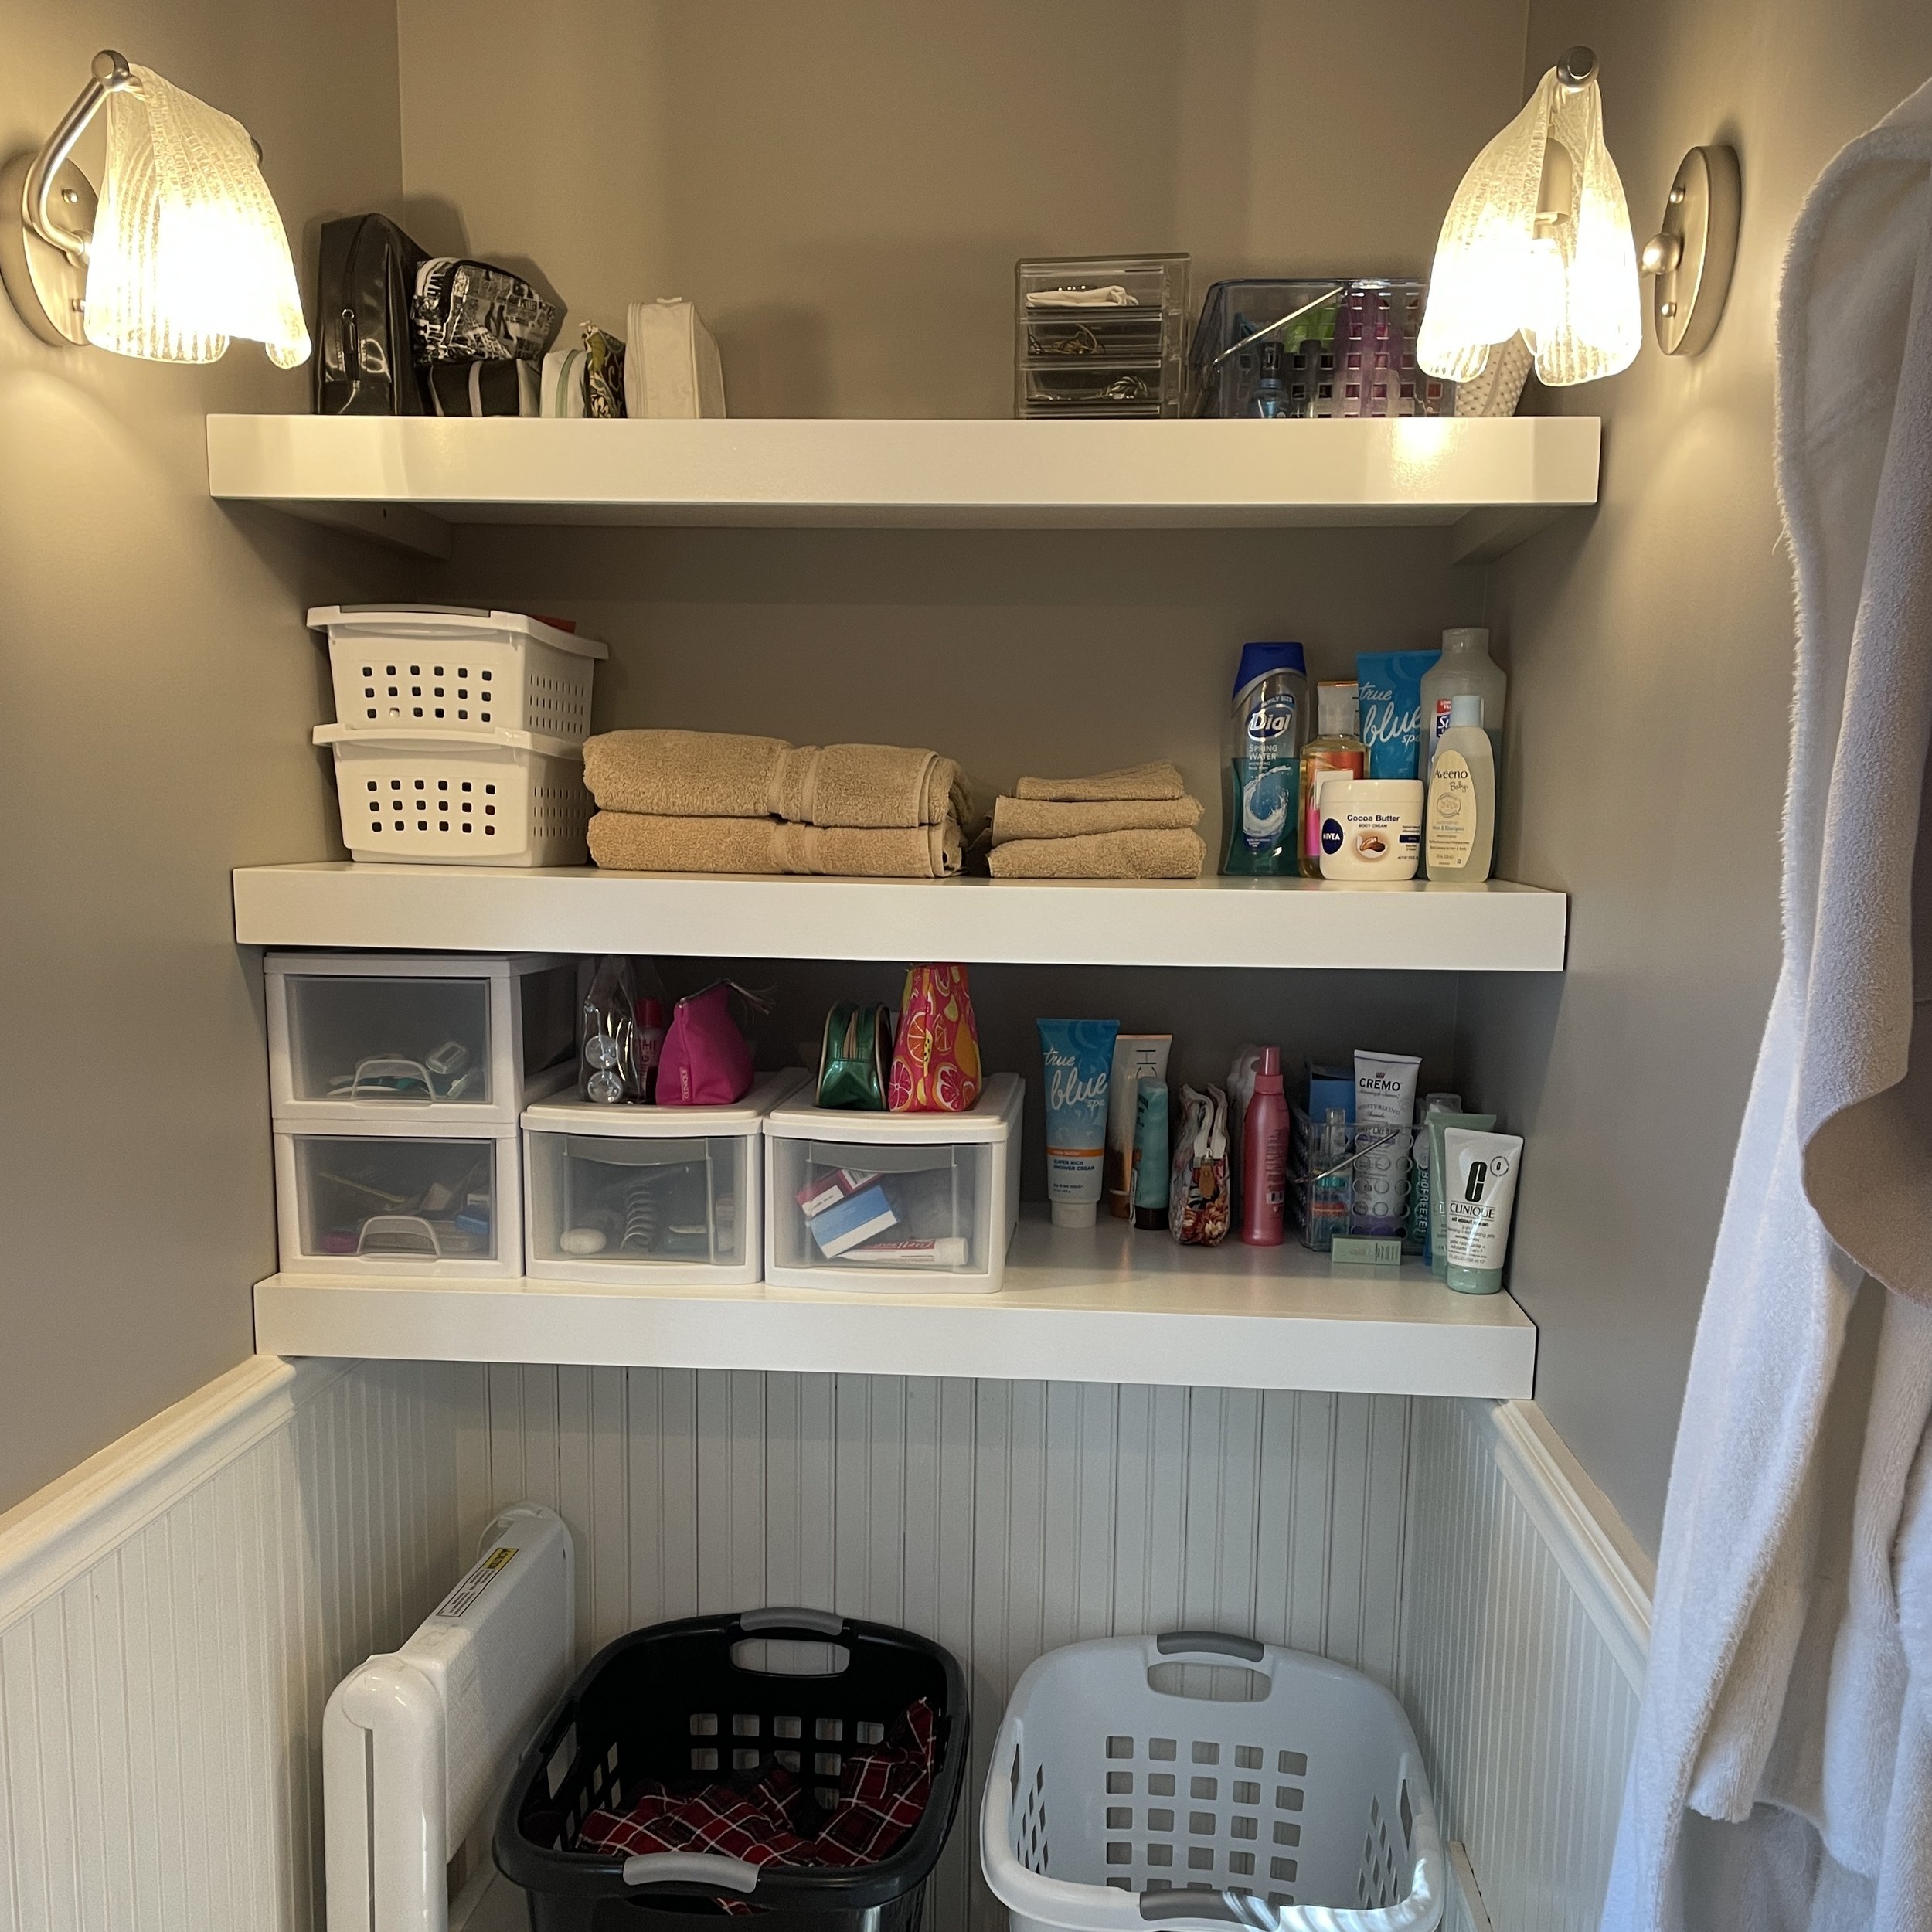
I decided to install 3 shelves, and since I didn’t want to mess with the beadboard situation, I figured I could put my laundry hampers underneath (along with my collapsible short person stool so I could actually easily get to things on the top shelf if needed).
I cut down plywood into shelves that are 44.25” x 18” and then cut poplar 1x3s to 44.25” length to act as the “face” for the shelves. I then ripped some 1.5x1.5 pine from scraps I had around the shop and cut them to 17.75” which will be the cleats that hold the shelves to the wall. I also decided that I was going to leave about 1/8” gap on either side of the shelves because I was not in the mood to scribe them to the wall and I didn’t want to risk screwing up the walls trying to install them.
Overall this is a pretty simple operation. I placed the shelves on my workbench, ran some glue along the front edge and then clamped the poplar face at a 90 degree angle, flush with the top of the shelf. I brad nailed the faces into the plywood shelf. This face makes the shelf look thicker than it really is, and hides the cleats holding it to the wall.
I used wood filler to fill the brad nail holes and touch up the seam where the poplar meets the plywood. Once everything was dry, I gave it a good sanding to tidy things up.
I put on a couple coats of primer, lightly sanding between coats, and followed up with white cabinet & trim paint. I painted the faces of the cleats that would be visible the same color as the wall, in hopes this would render them invisible.


For the cleats, I screwed them into the wall, making sure I had the vertical spacing where I wanted it (since these are not going to be adjustable). On the opposite wall, I made sure I was exactly level before installing the cleats. I was able to get 1 screw on each into studs, but had to use anchors for the other.

I slid the shelves onto the cleats and voila, functional use of this weird space!