Built In Entertainment Center
/I’m on a mission to graduate from Ikea furniture to…well…not Ikea furniture.
Don’t get me wrong, Ikea is great and their furniture has served me well over many years. However, now that I actually know how to build shit, I am taking the opportunity to upgrade my home with sturdier custom stuff that is exactly how I want it.
My living room has an odd little nook where I have my TV and electronics, and a tall bookcase to one side. The asymmetry does bother me, so I have spent months trying to figure out what would serve my needs and be visually pleasing. Of course, I got it all cleared out without taking a photo, so this is back from when I moved in 2 years ago.

I finally learned how to use SketchUp (in my younger days, I was a whiz with AutoCAD, and my hand-drafting skills from my stint as an architecture major left a lot to be desired). It’s a very useful free web-based software that makes visualizing your concepts in 3D easy once you get the hang of it. For whatever reason it didn’t click with me at first, but I found this video on YouTube that enabled me to use it.
I decided on 3 base cabinets, each 25” wide (for a total run of 75”) and a single upper cabinet that would be divided into 3 sections to mirror the base. The upper will attach to the wall on a french cleat. Lastly, the TV would be centered and (eventually?) mounted to the wall between the base and upper cabinets.

I built the carcasses for the 3 base cabinets, shelves, and the top cabinet out of plywood. I drilled out some holes for adjustable shelves before assembling the base cabinets and only managed to screw up one of them. I primed and painted them in the shop. Once I schlepped them upstairs, I removed the baseboard in the little nook and cleaned up the floor. I got the bases set in place and marked where I needed to cut out a hole for the wall outlet that would be behind the center cabinet.
I phoned a friend and Mr. and Mrs. Brady were kind enough to come by and help me bring the upper cabinet upstairs and get it hung on the cleat.


Having learned some lessons when I built the cabinets in my office, I re-measured for the face frames after the carcasses were installed. I decided against attempting to scribe the stiles to the walls, if the small gaps bother me, I’ll tack up some quarter round later.
I built the face frames out of poplar and attached them using glue and brad nails. Once installed, I filled the brad nail holes with wood filler, sanded them down and primed and painted them in place. And, while I was on the floor painting stuff, I kept seeing little dings in the walls, so I figured I might as well patch those while I was at it!
For the top of the base cabinets, I used maple plywood and then encased the edges with 1x2 solid maple with a mitered edge at the corner. This gives the plywood the appearance of being thicker than it actually is because I’m sneaky like that. I glued the edge banding in place and then used a block plane to flush it up to the plywood because using a hand plane makes me feel like a real woodworker.

While I waited for glue to dry, I used iron on maple edge banding on the shelves and started staining those with General Finishes water based stain (I absolutely love this stuff). Once the top was ready, I stained the top and finished everything off with a few coats of water based polycrylic.
While the finish was drying, I used a 1-1/2” hole saw to drill holes into the center top stretchers of the base cabinets to run cords through to the top. I also drilled some holes in the sides between the cabinets at the top to run wires and cords between them since the power and my receiver would be in the center. I have room to hide the power strip by mounting it to the underside of the top between the back and front stretchers in the center cabinet, but that’ll be something on my “punch list” later, along with re-drilling the adjustable shelf holes on one of the sides that I messed up.
Once the top was ready to go, I brought it upstairs and got it set atop the base cabinets. I used painter’s tape on the top surface at the locations I would be drilling holes for the cord grommets, and came up through the bottom using the 1-1/2” holes I had already drilled into the stretchers. Once the hole saw guide bit started to poke through the top, I switched to drilling from the top side down to get a clean cut. I inserted the cord grommets and got to work installing the shelves and all of the wiring for the various electronics.


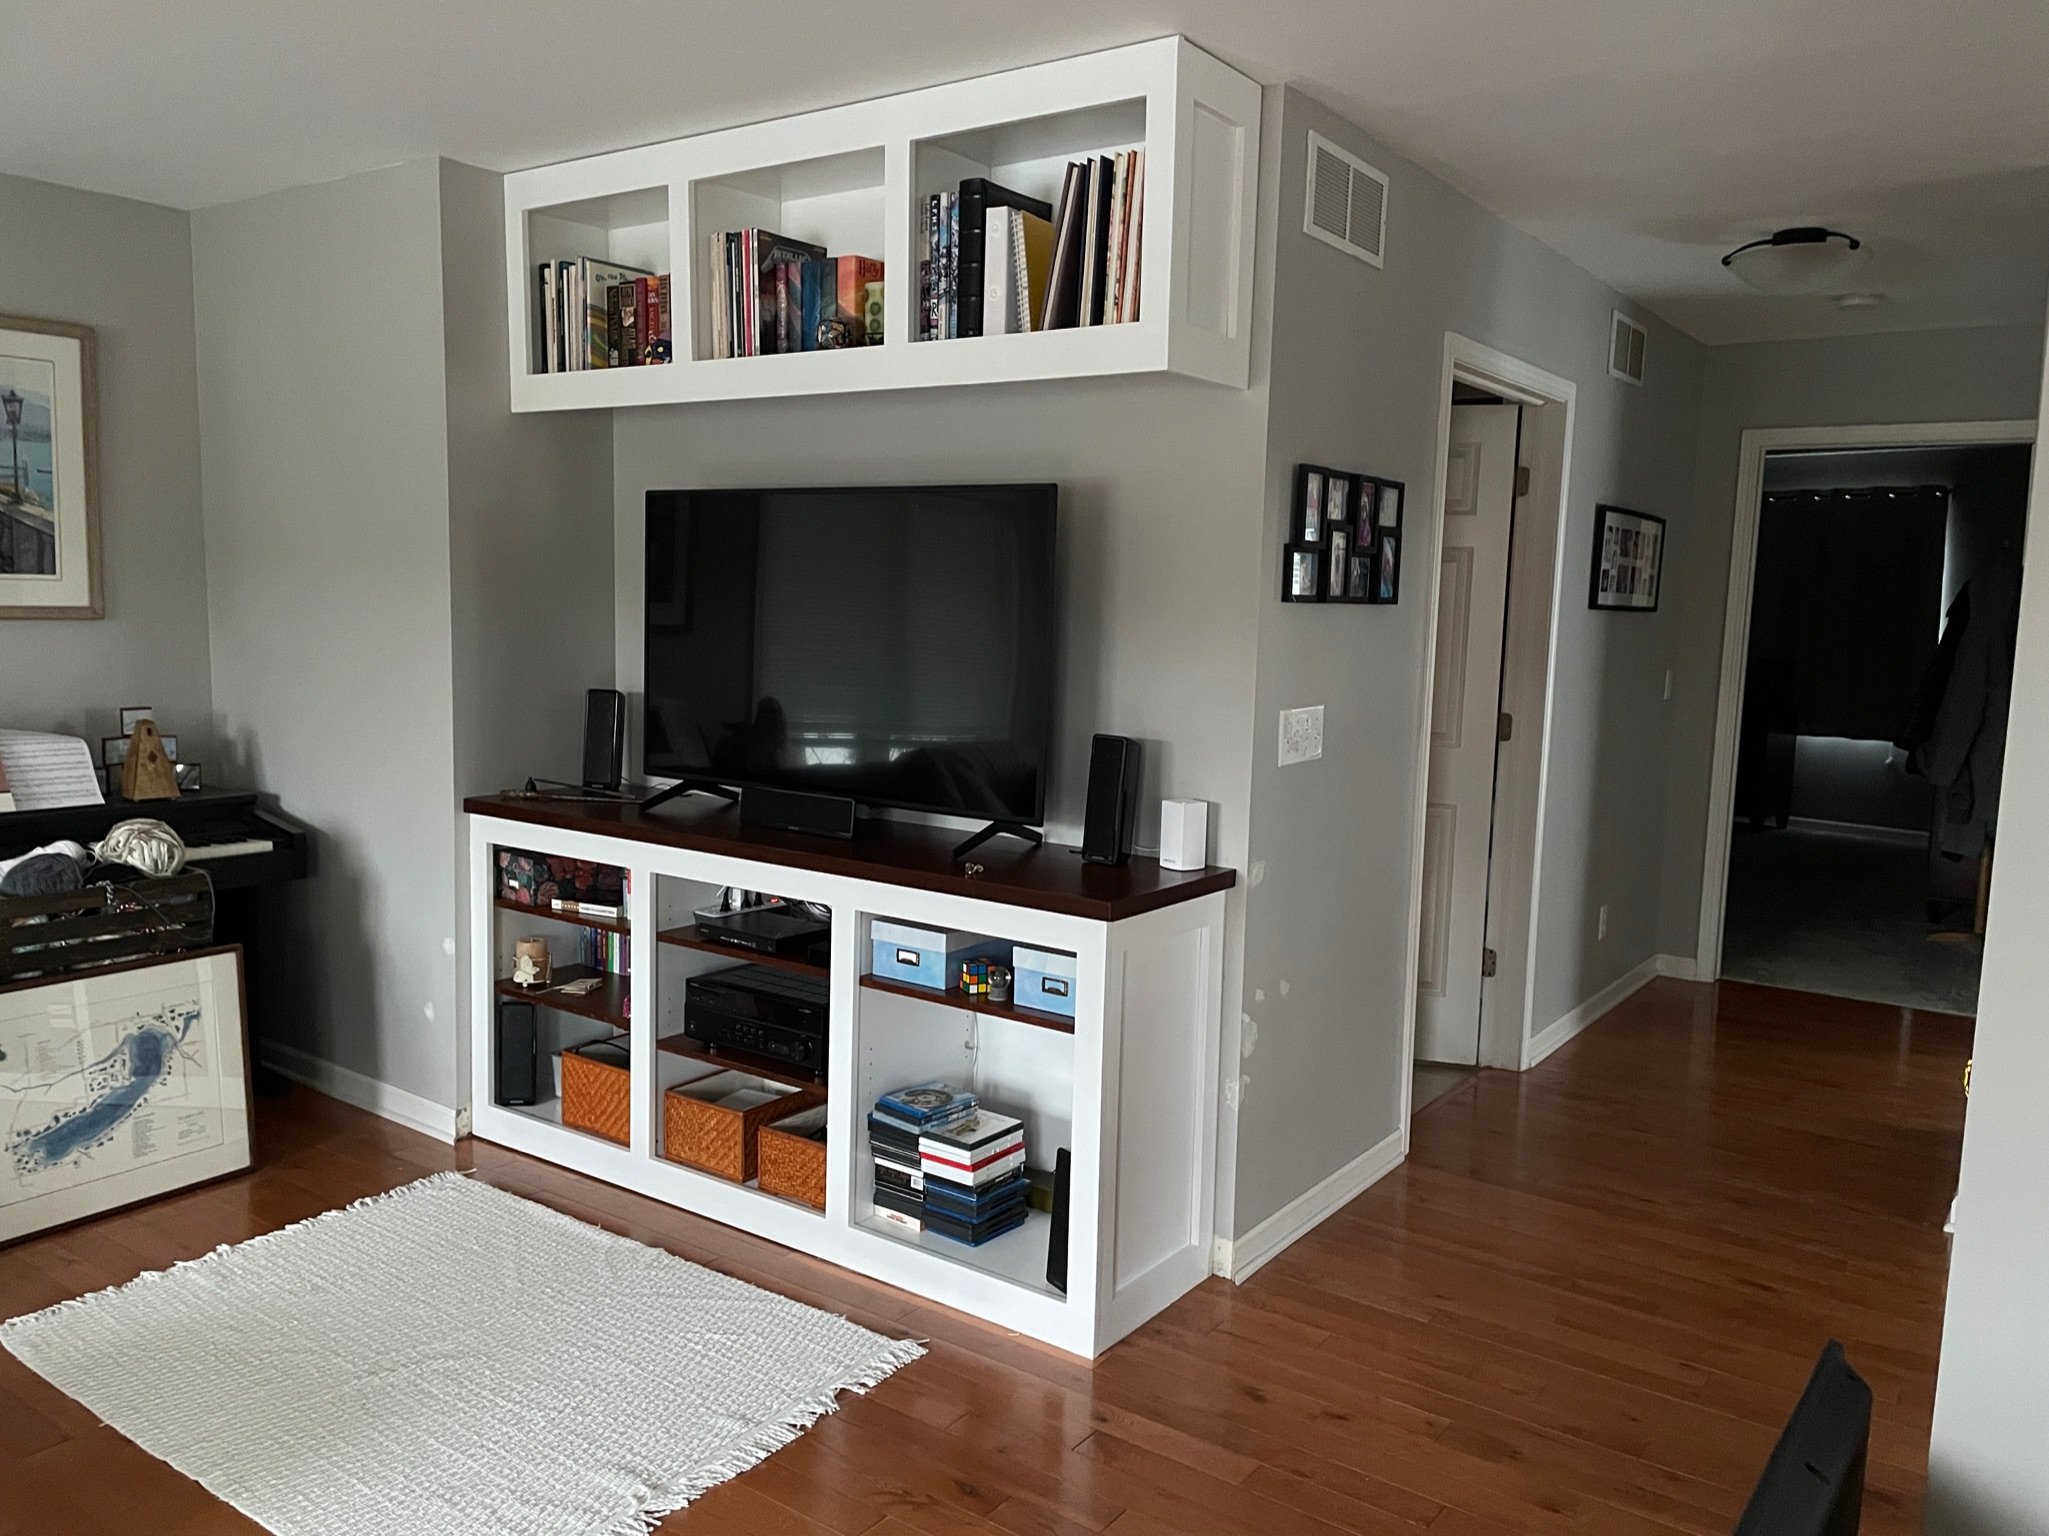
I’m very happy with how this turned out! I like the contrast of the stained top and shelves against the white, which goes nicely with the rest of the trim. There are some slight gaps at the floor and ceiling, because walls and ceilings generally cannot be square for some reason, so I’ll probably just use some quarter round to cover that up at some point. I still need to trim up the baseboard and stick in the little missing pieces at the corners, but for now, this is good to go!