Modern Tote
/I like making totes because they’re easy! I also like to do new things with each tote I make instead of the same classic style tote. For this one, I handled the handles (ha) differently than in the classic style.
This one measures 12”W x 14”H with a depth of 4”. It’s a good size for everyday use. Not as big as what you’d need for the beach, but not too small. Just right. I used Ottertex canvas for the outer and nylon ripstop for the lining. I cut the front pocket piece on the bias for visual interest in the design.
Materials
Front/Back Outer Top: 17” x 11” (2)
Front/Back Outer Bottom: 17” x 7” (2)
Front Pocket: 9” x 6.5” (1 lining; 1 outer)
Lining: 17” x 17” (2)
Lining Pocket: 17” x 14” (1)
1.5” Webbing or Belting for handles (2 pcs, 33” each)
1/2” double fold bias tape

Front Pocket
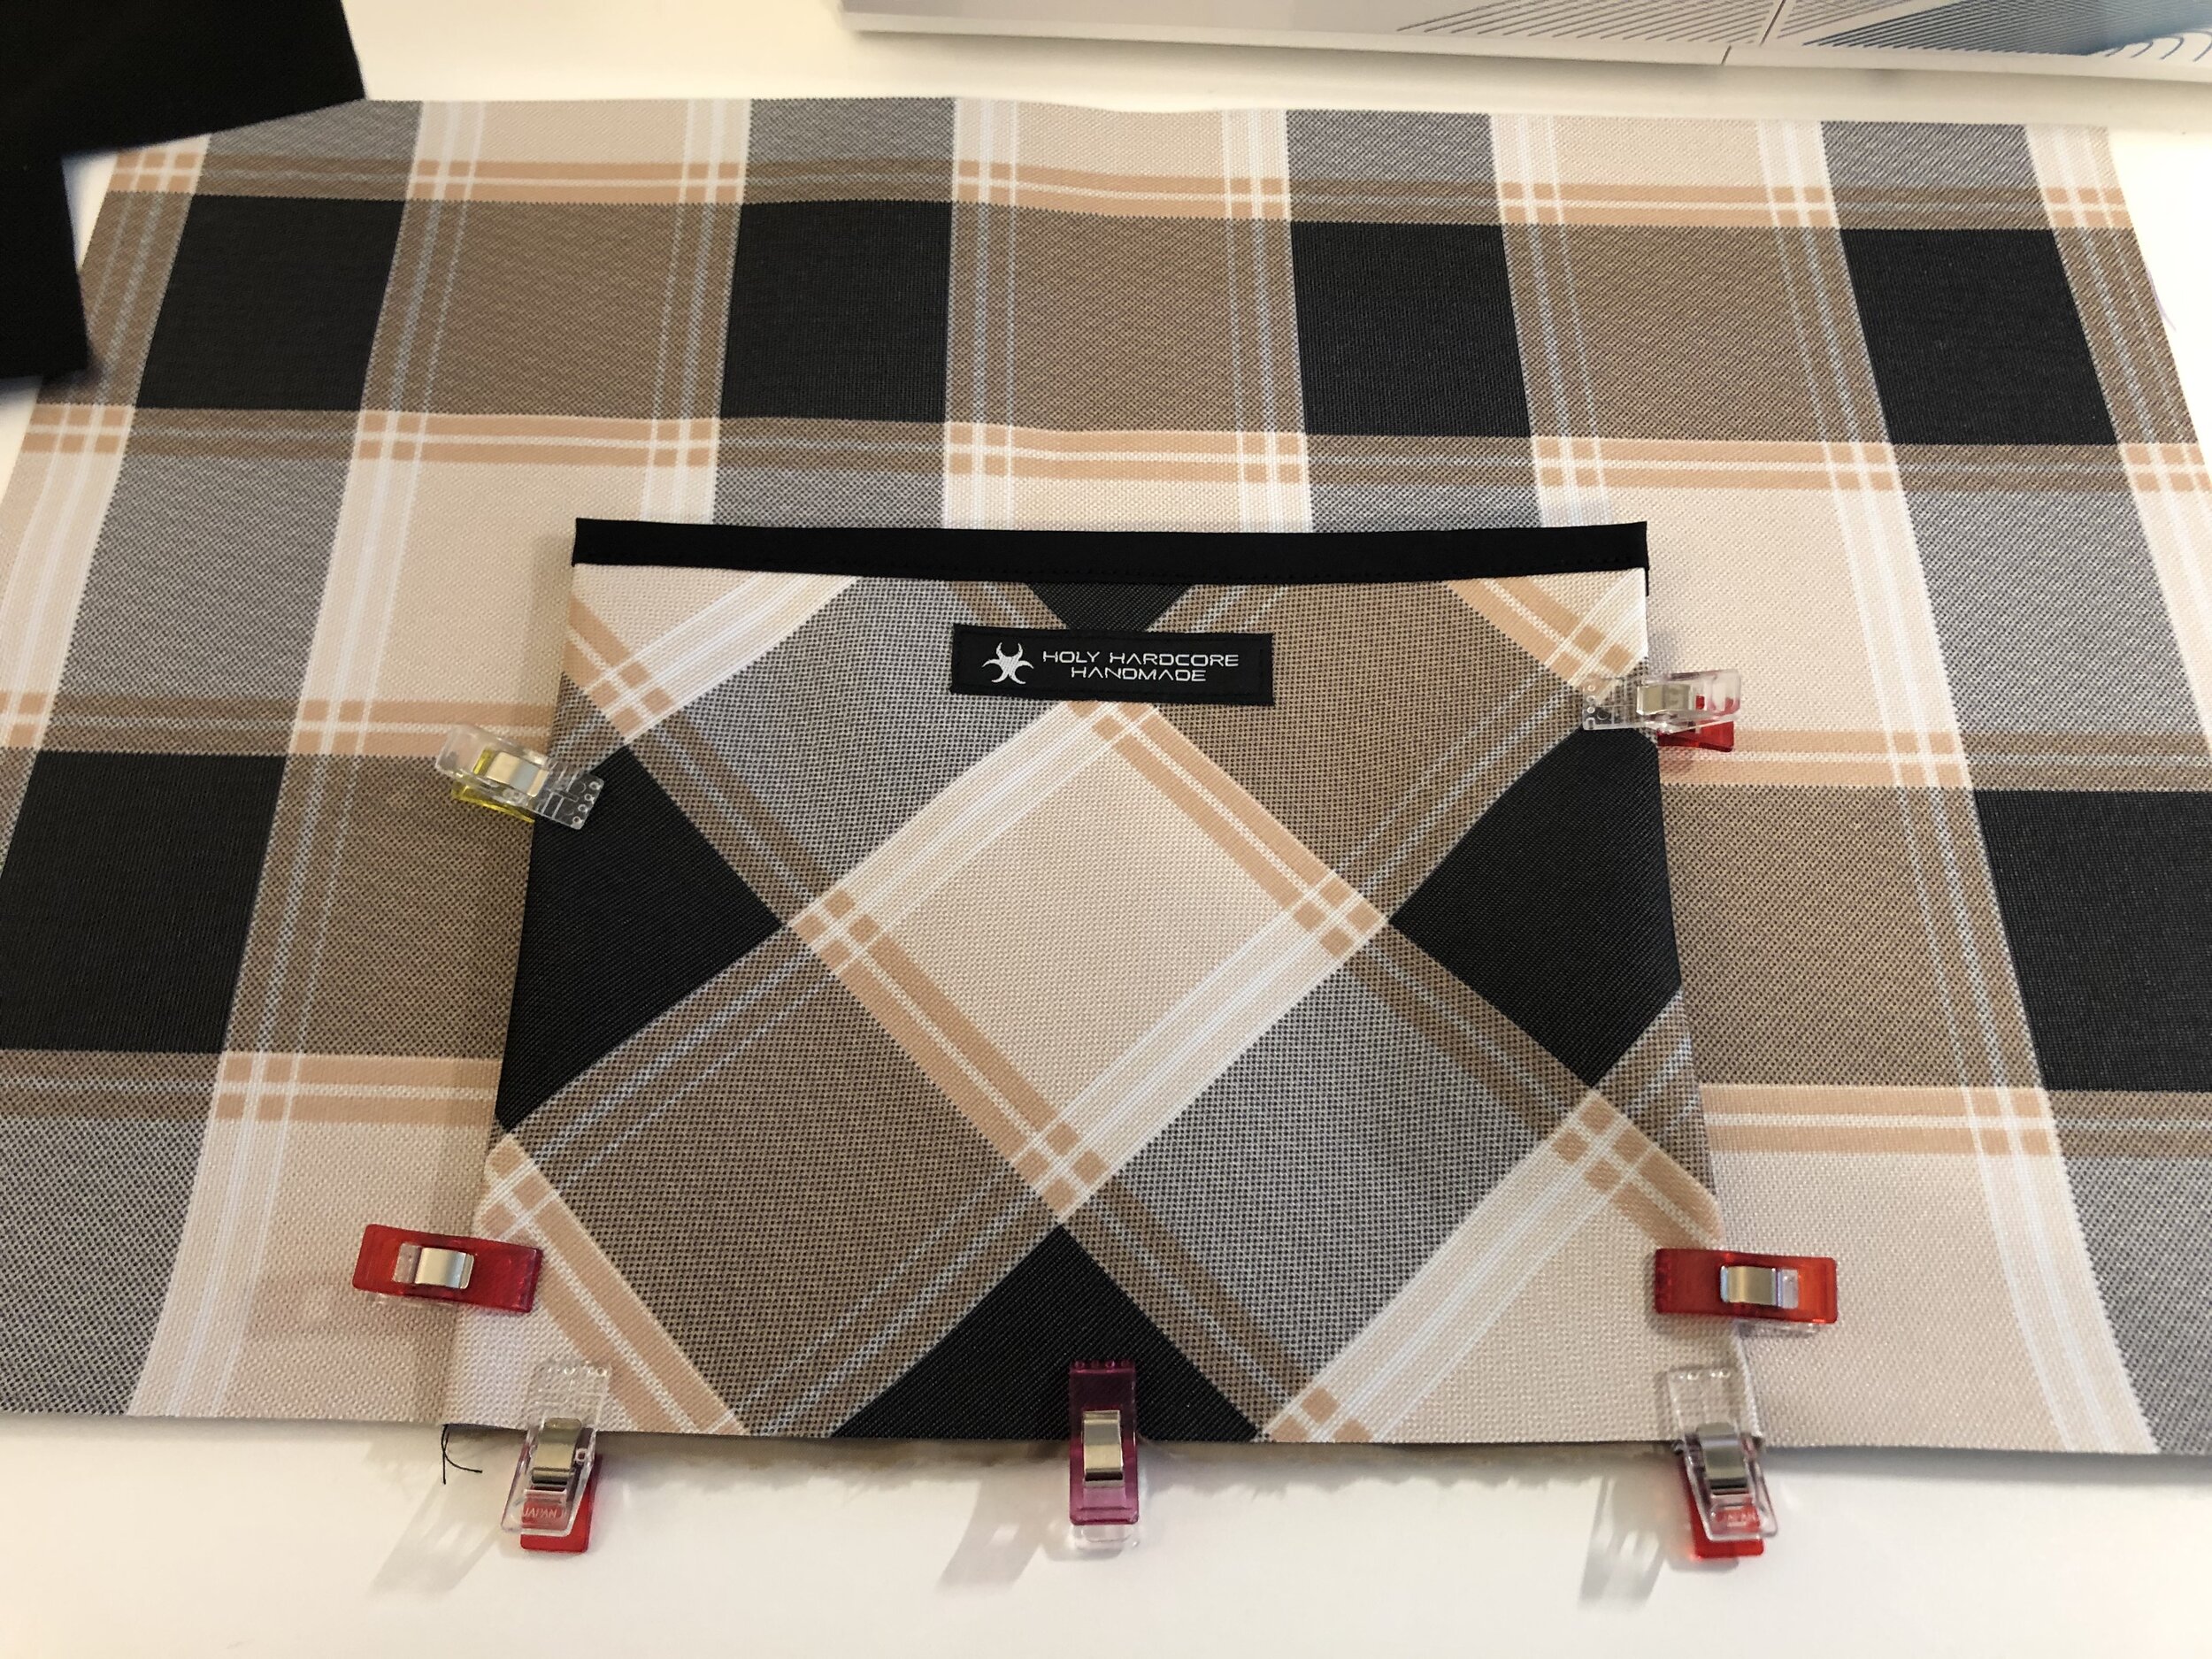
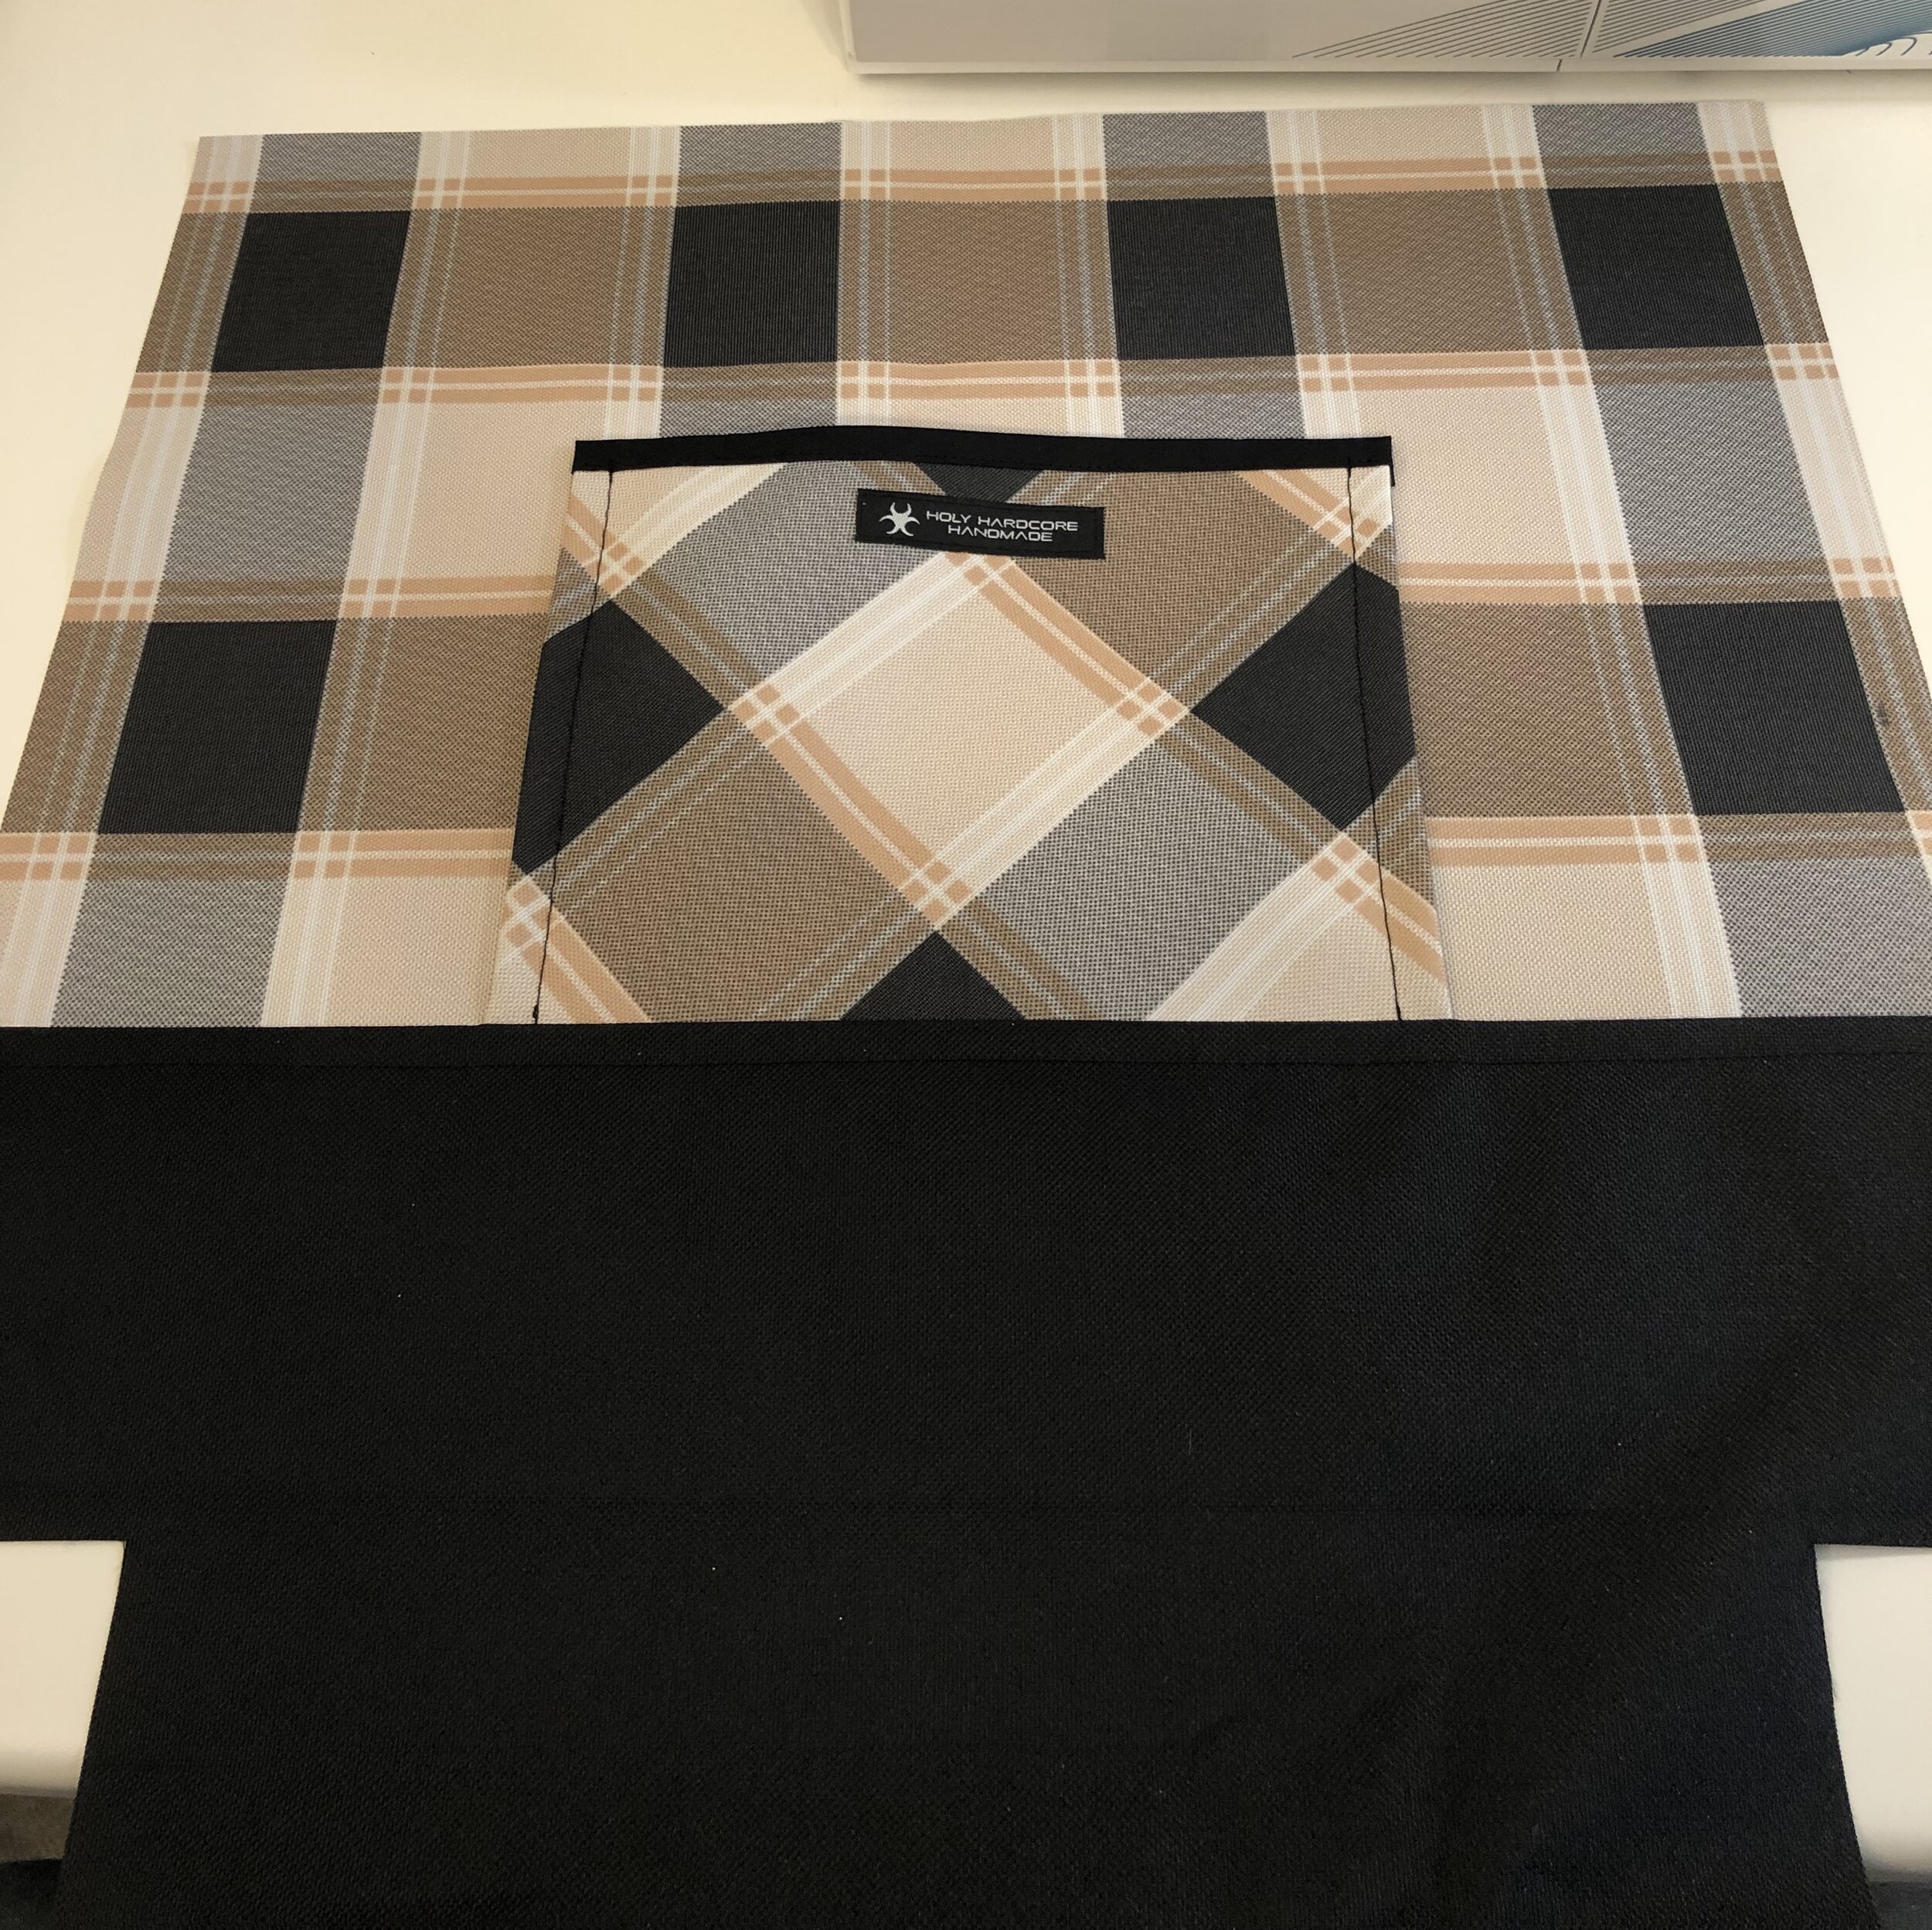
Place the front pocket outer and lining pieces right sides together. Sew along the short ends (the sides).
Turn right side out and press (with an iron or your fingers, depending on your fabric).
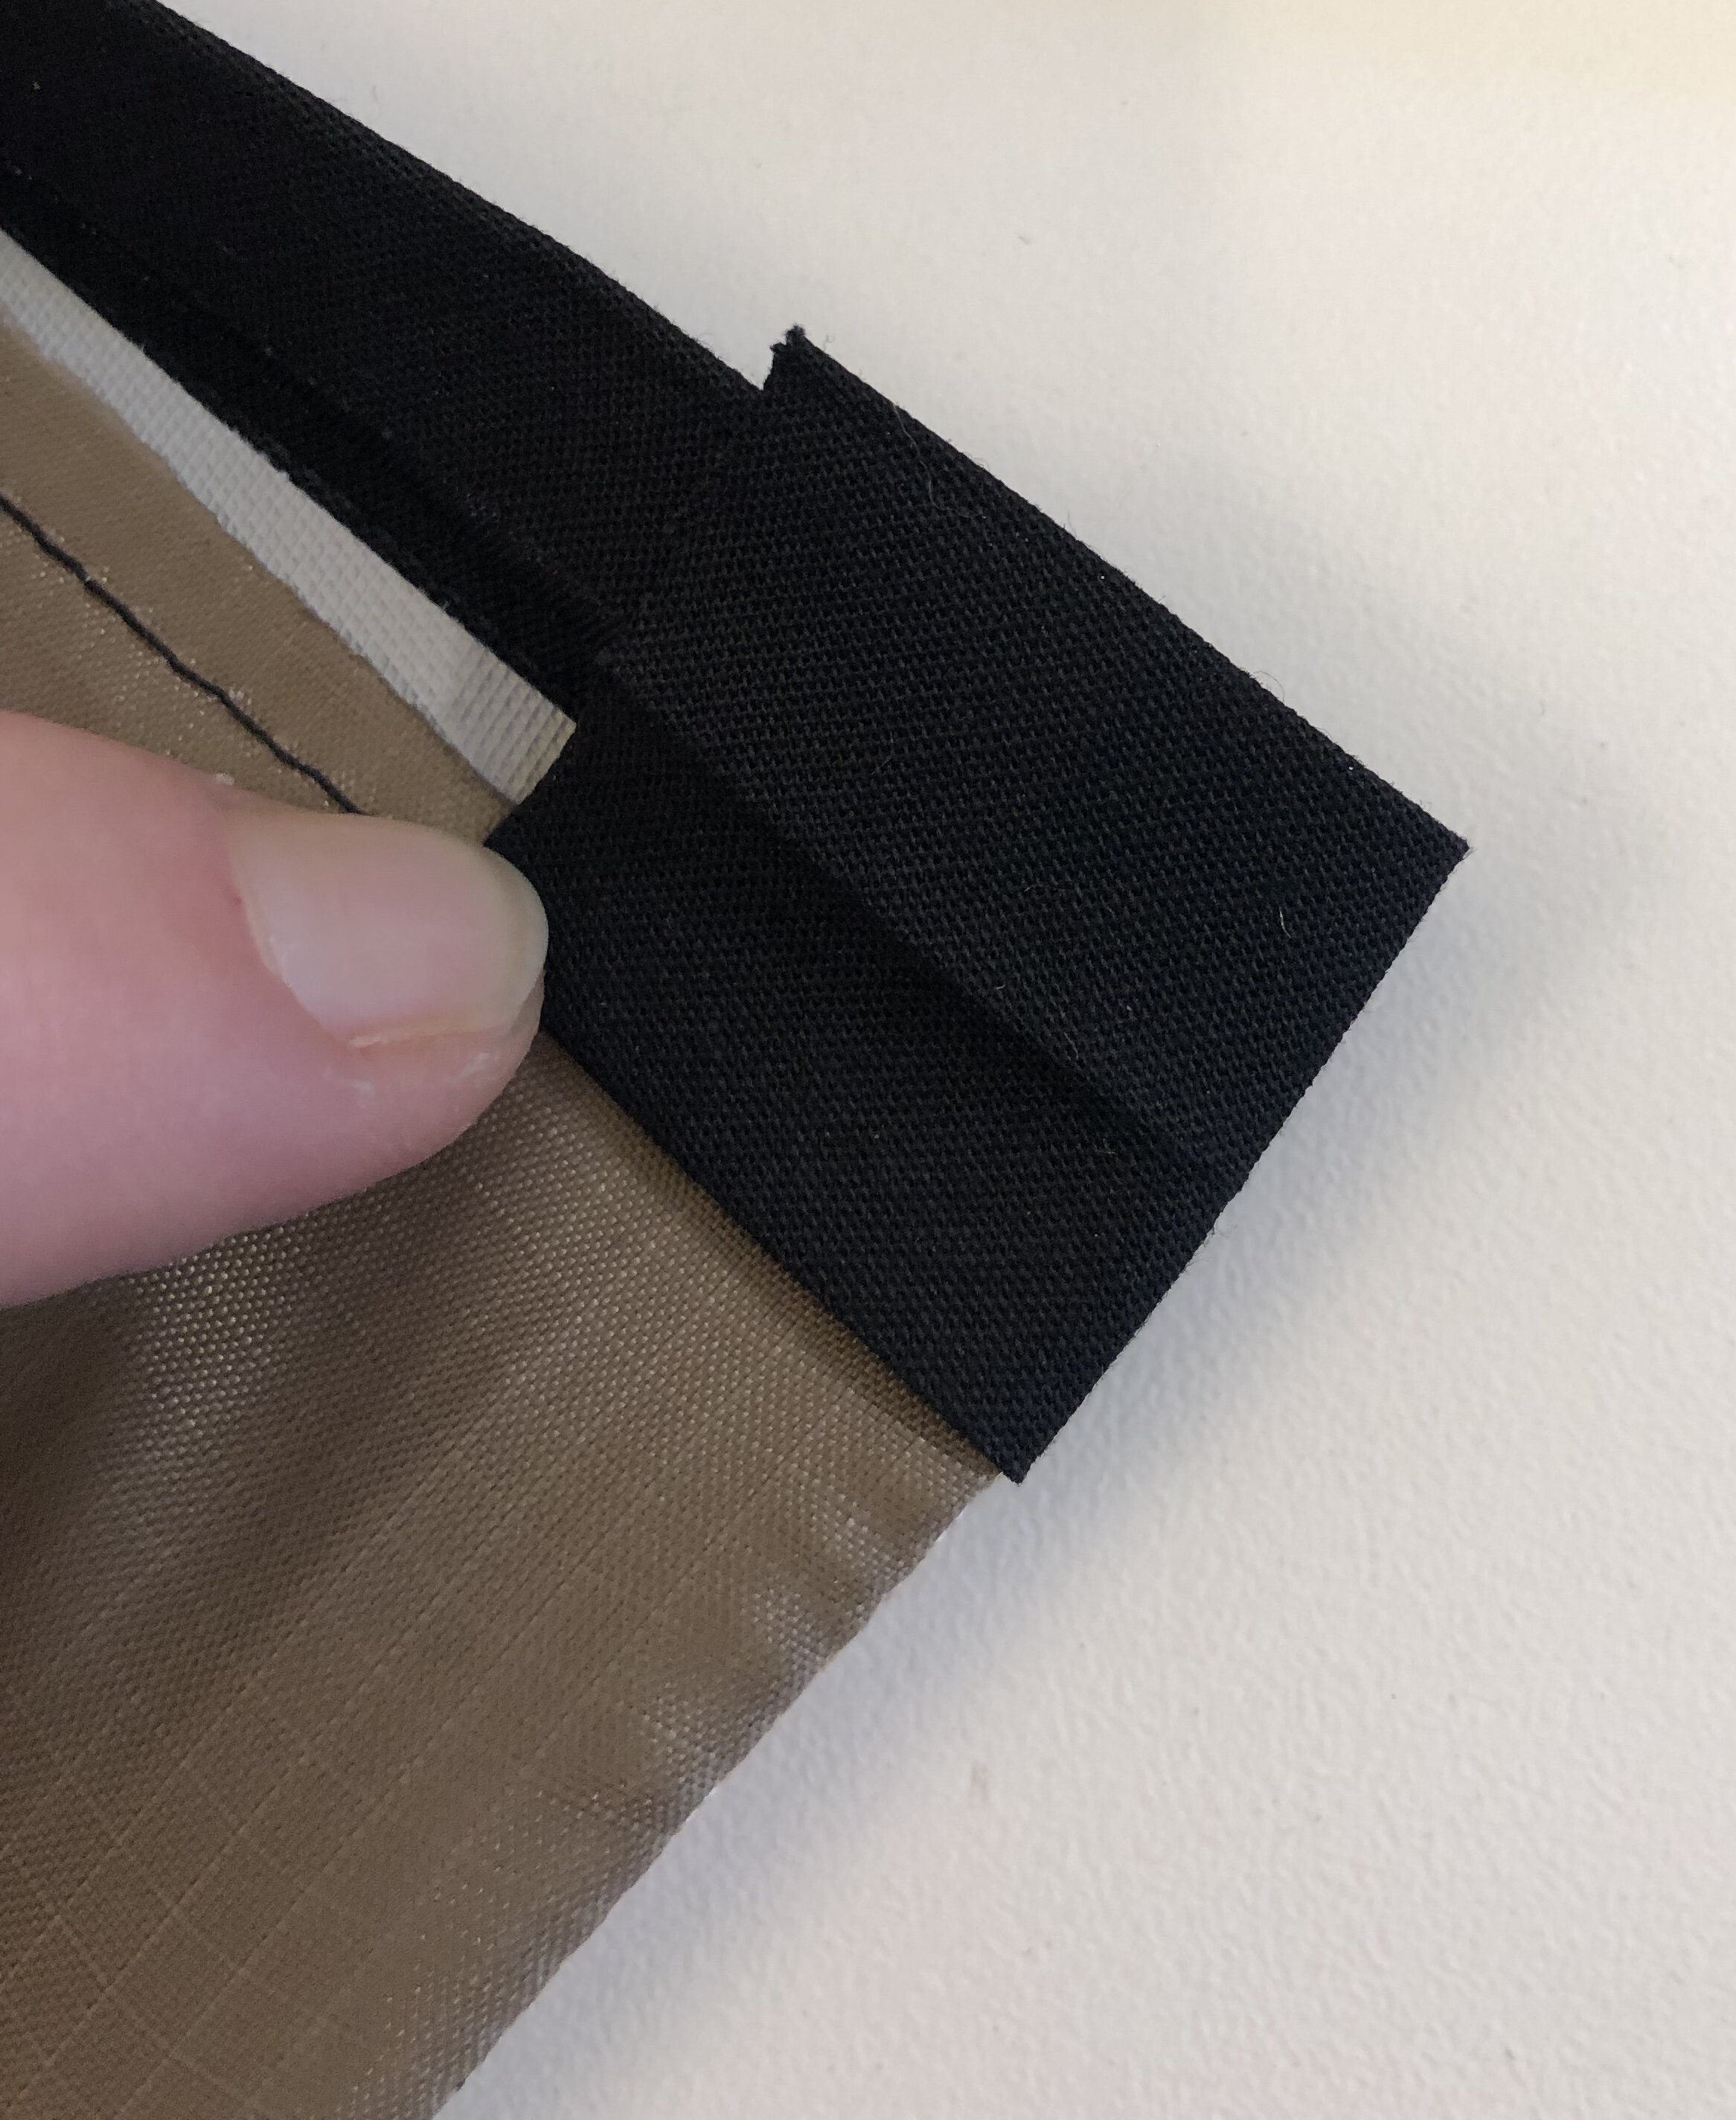
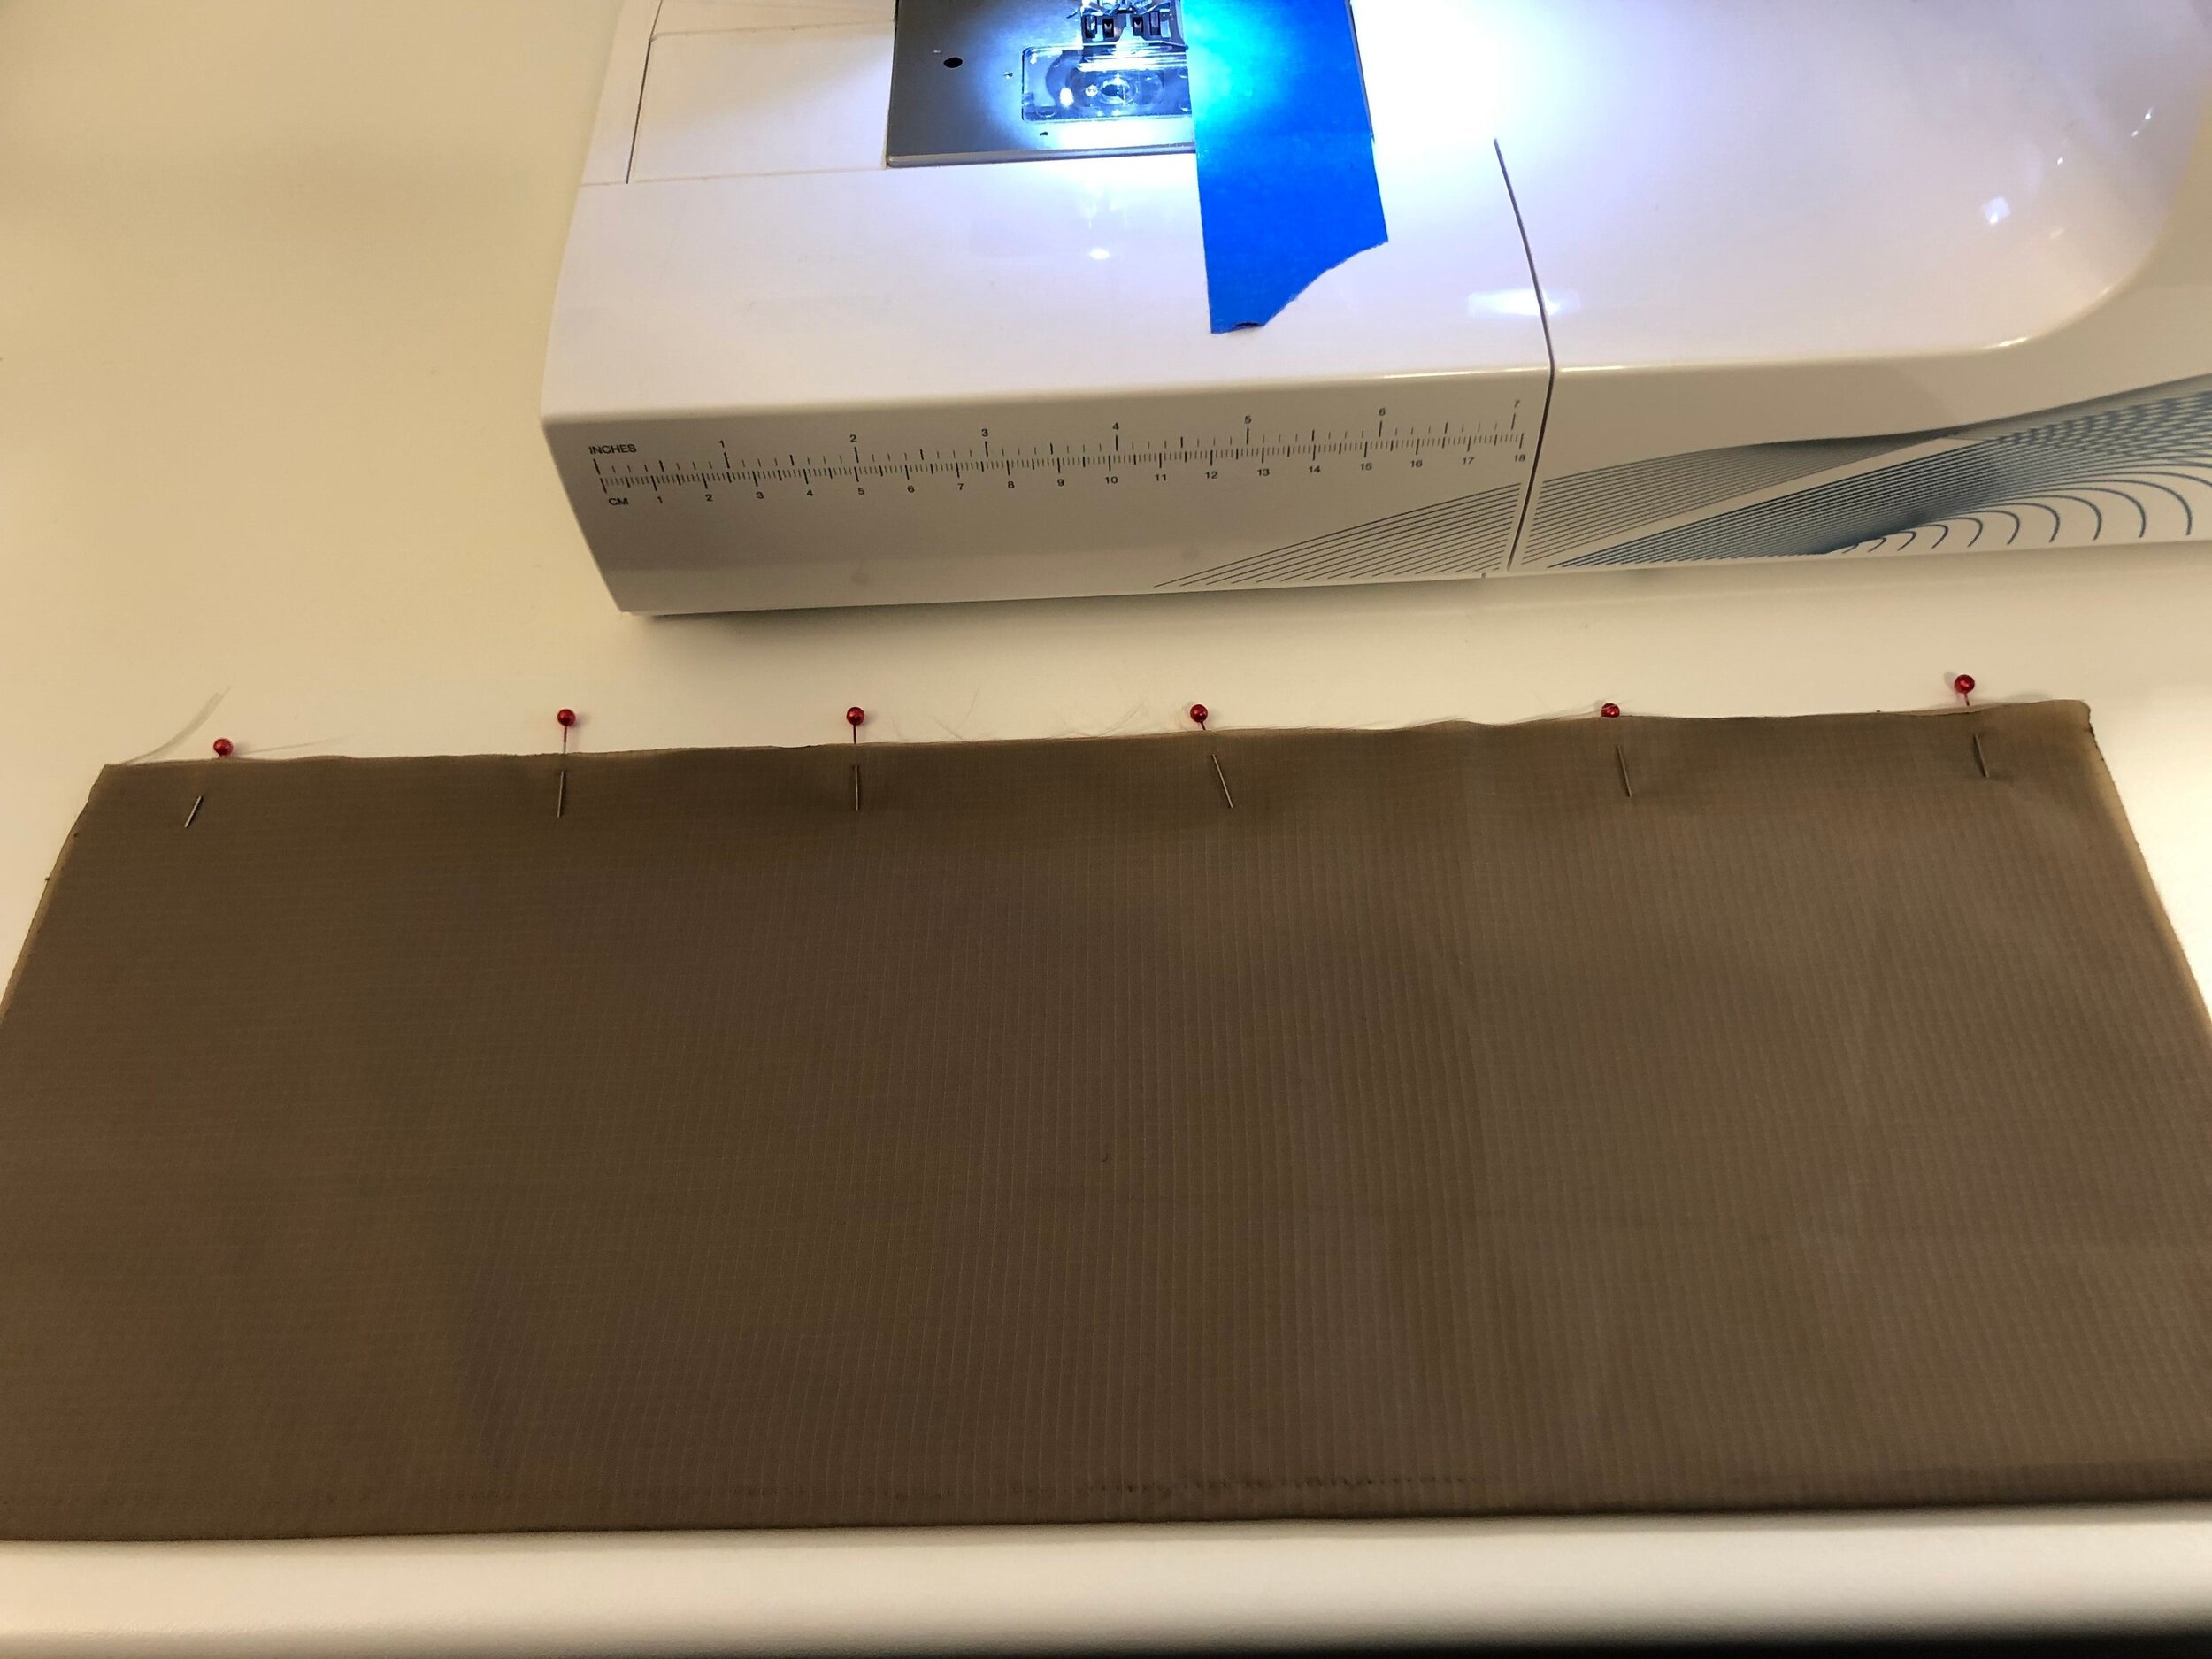
Unfold the bias tape and clip or pin right sides together along the front pocket top edge. Make sure you note which is the front and which is the back of the bias tape (the back is slightly longer when all folded up).
Sew along the top edge, above the first fold in the tape.
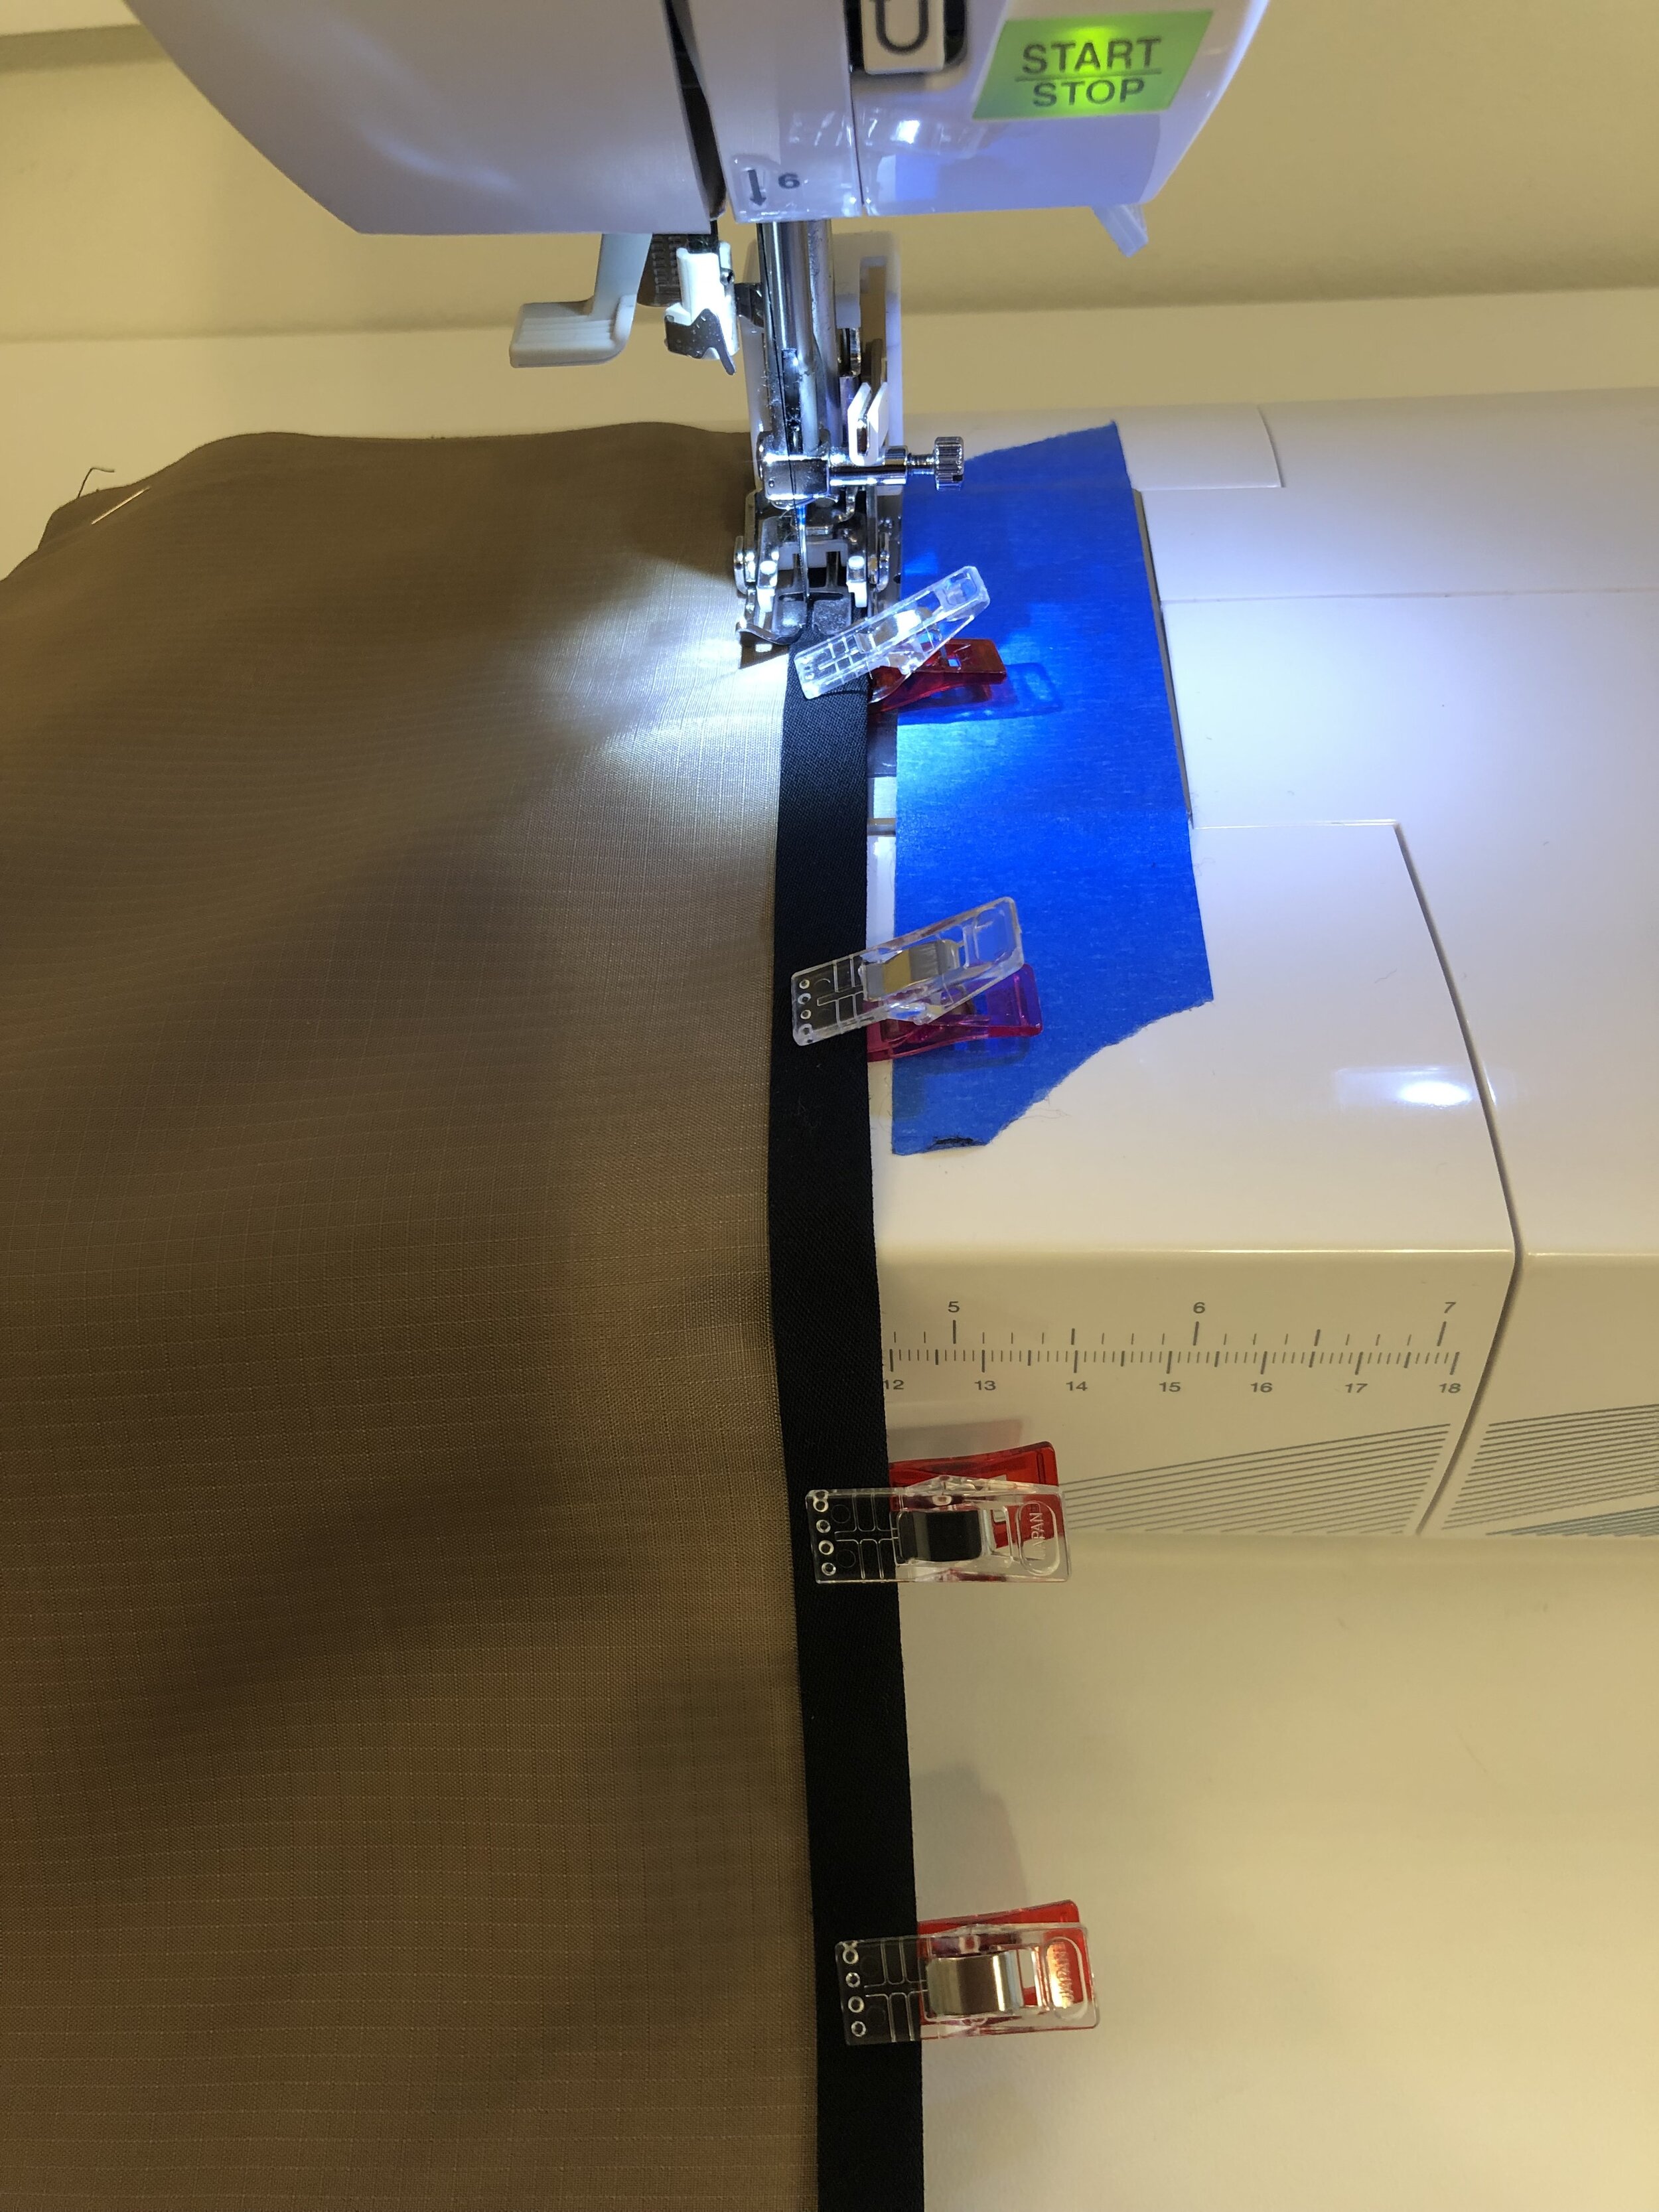
On each side, fold in the side edges of the bias tape to the back and then fold it over the top. This will hide the raw edges of the tape at the sides. Clip or pin in place.
Sew along the bottom of the bias tape, making sure to catch the back of the tape in the line of stitching.
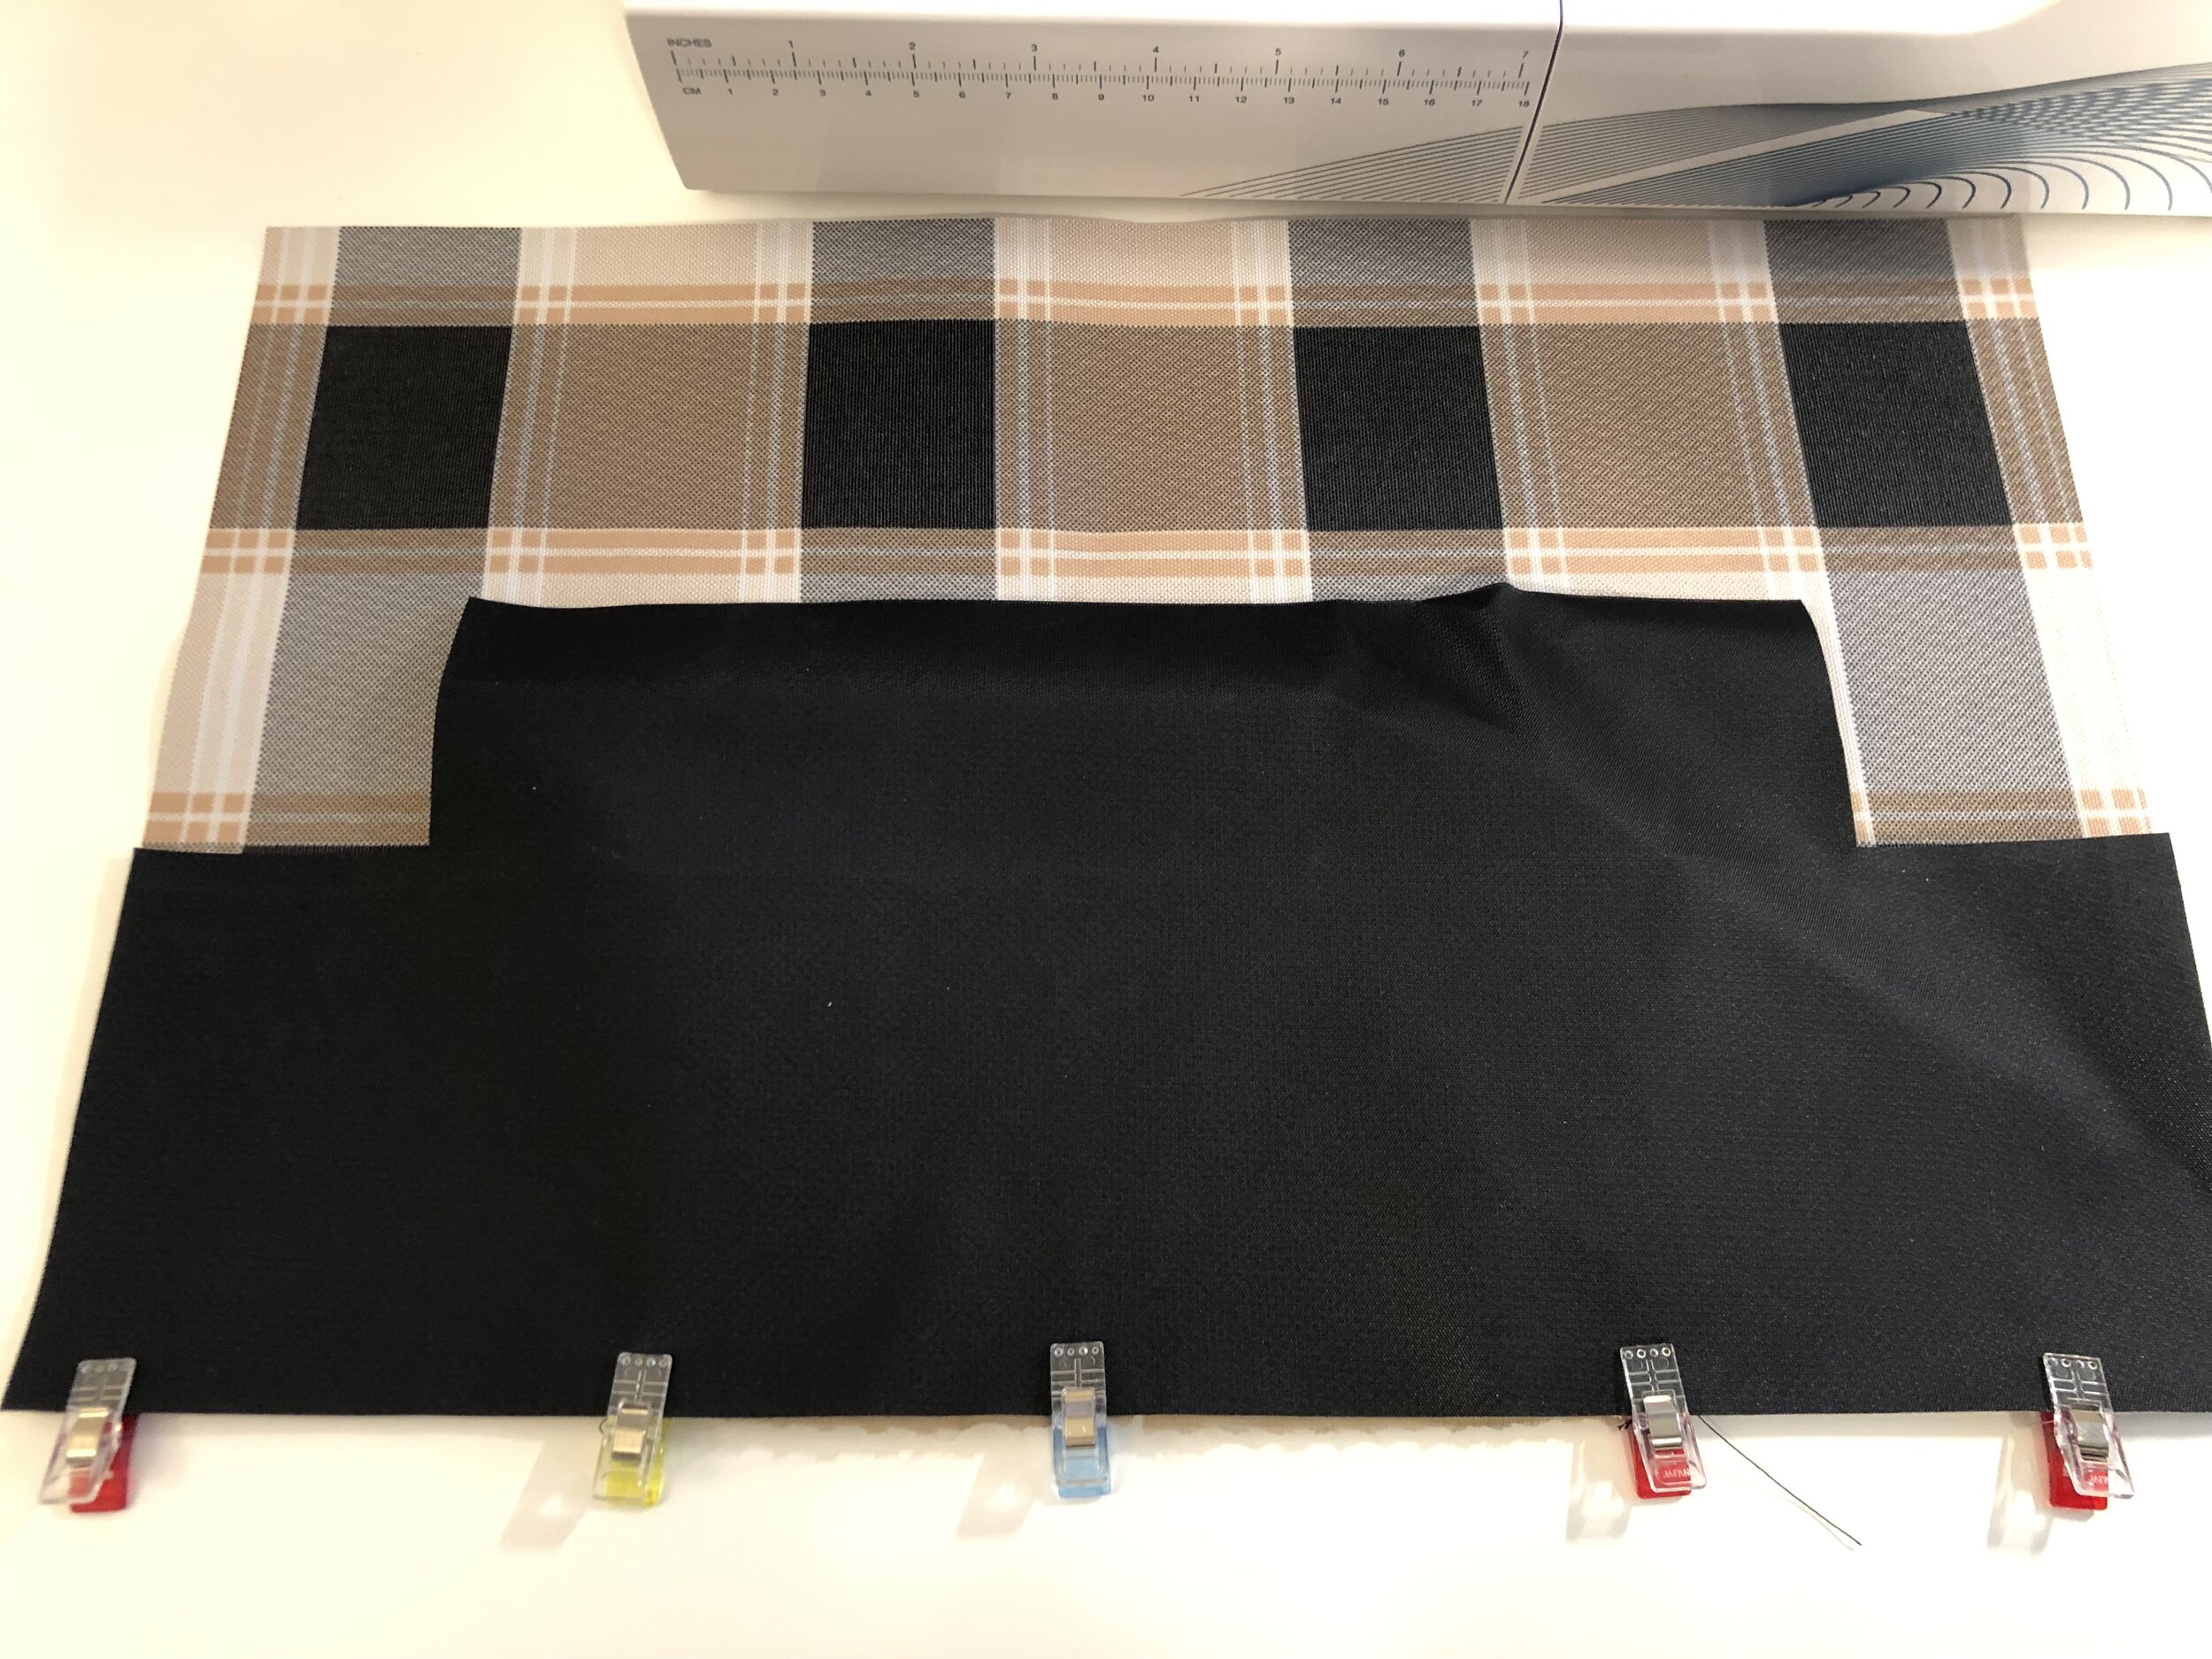
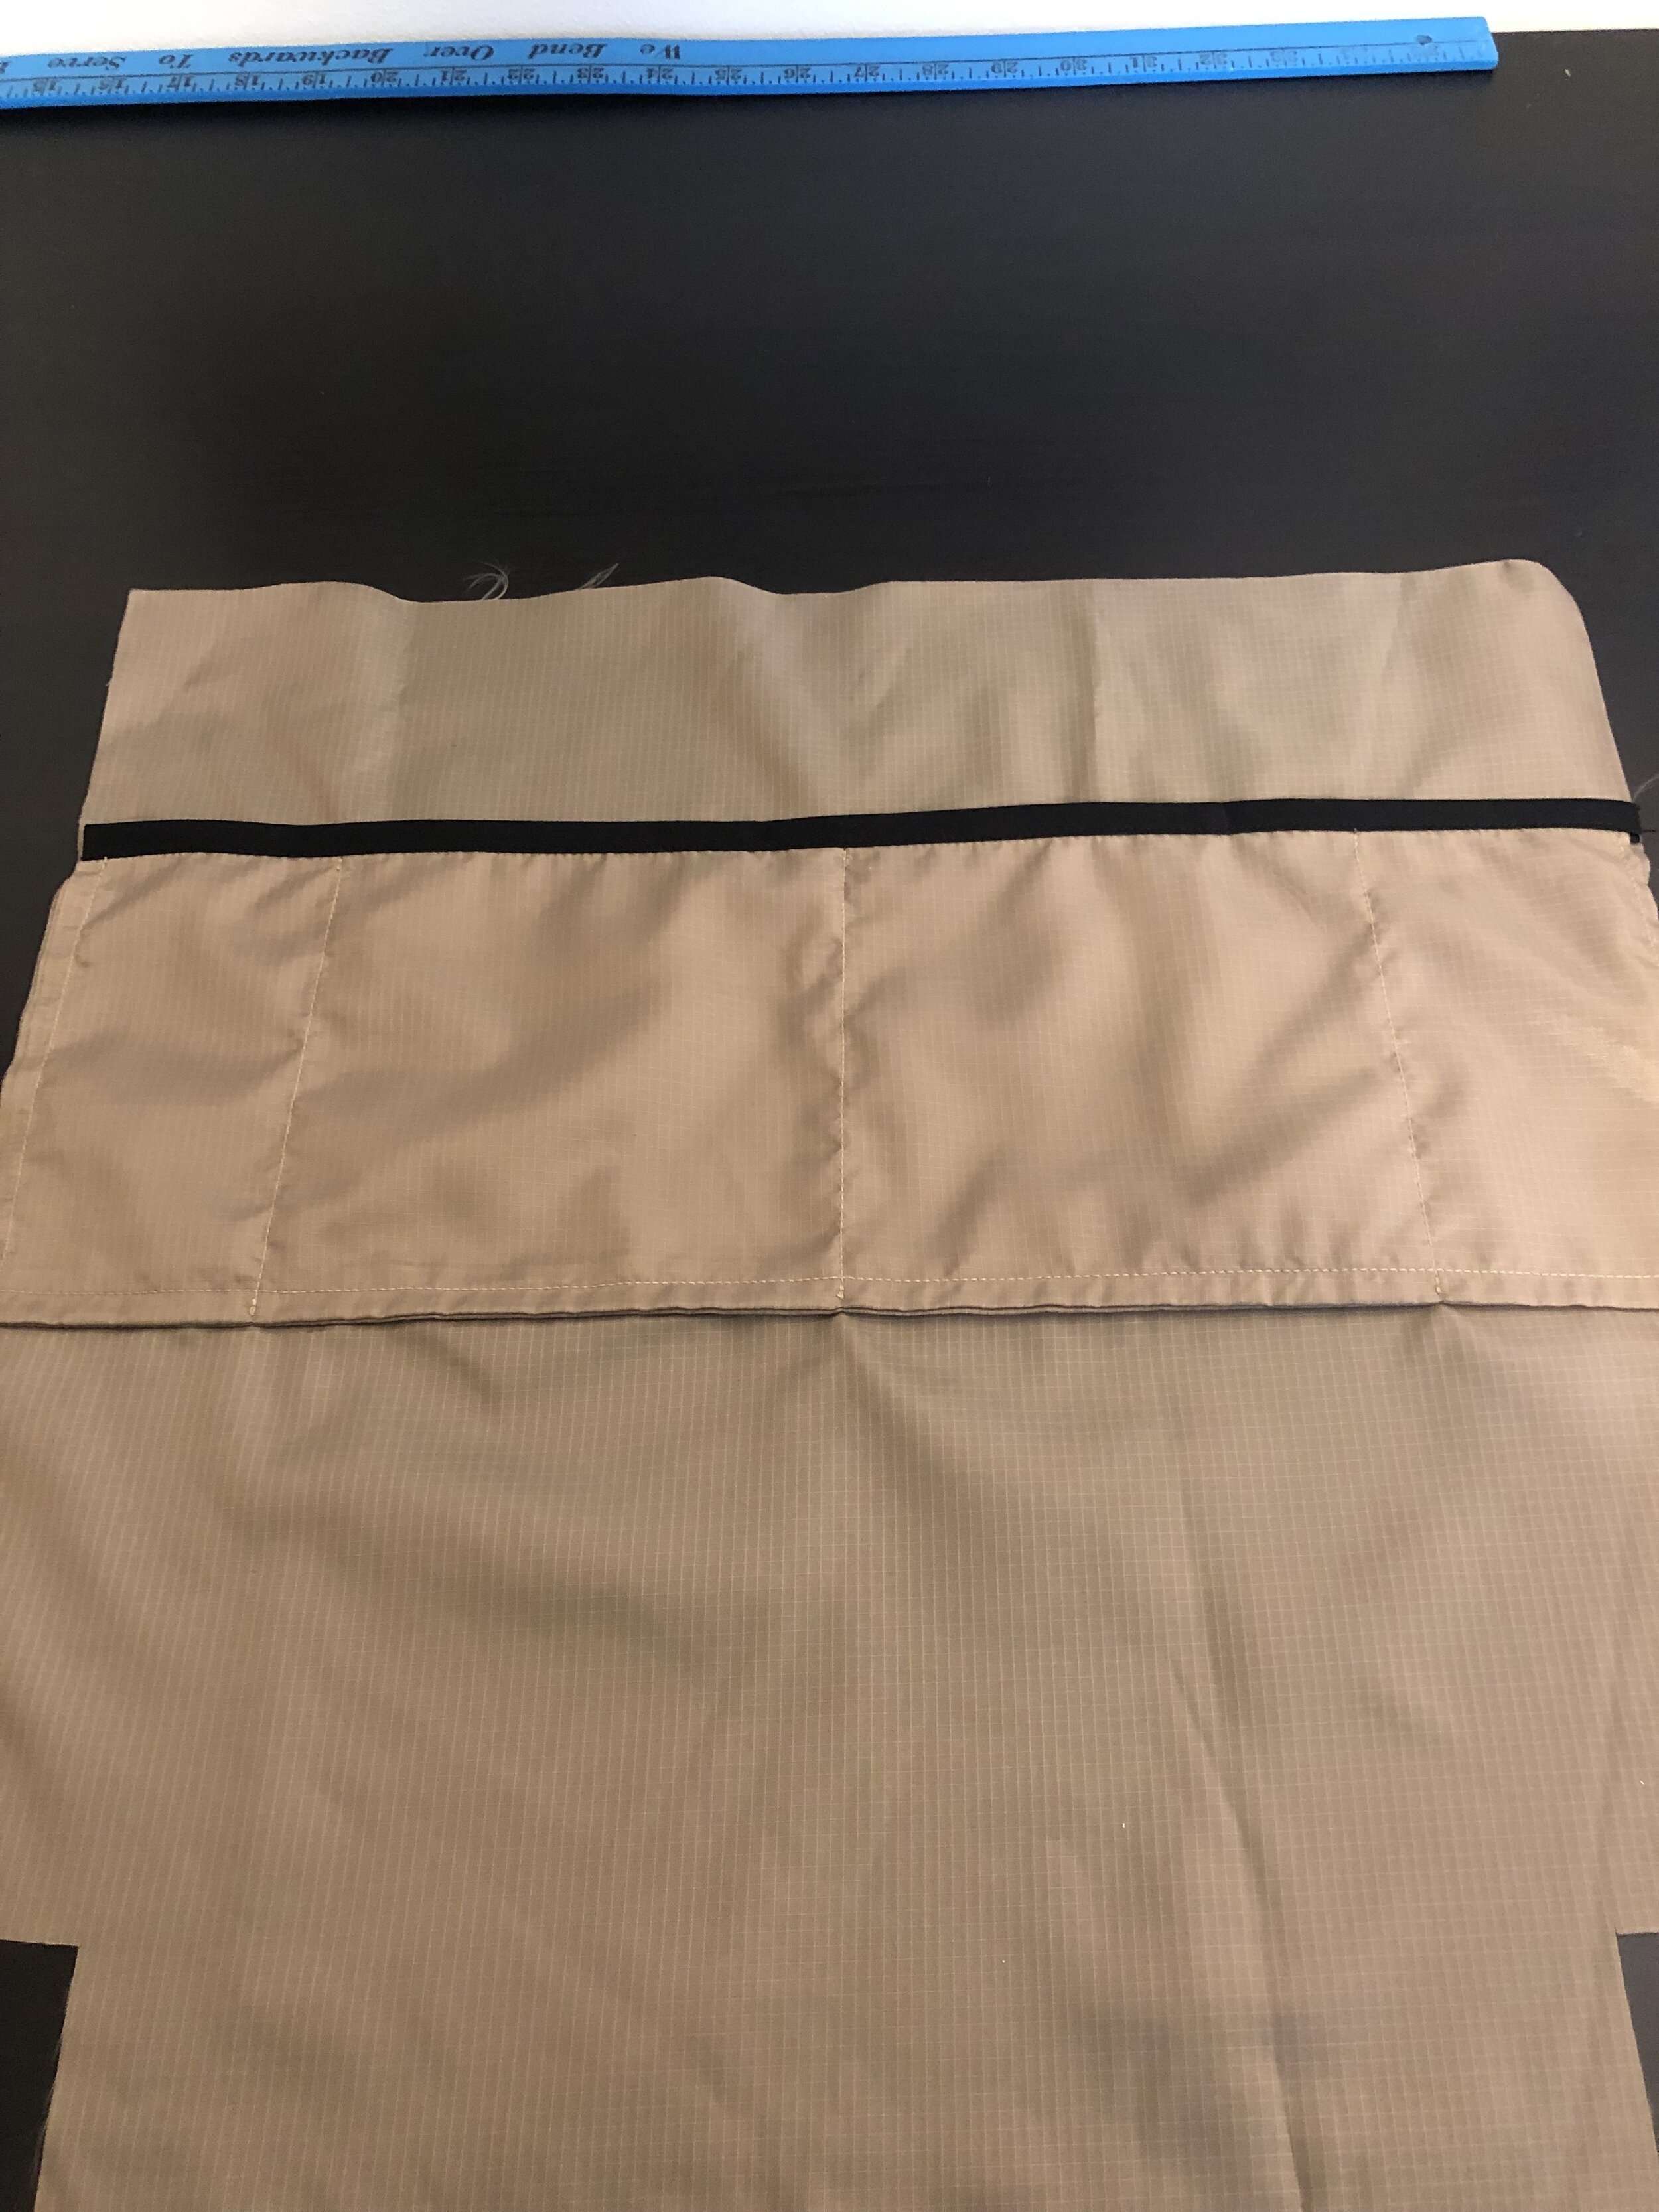
Find the top front piece and position the pocket on the right side. Make sure it’s centered. The raw edge of the bottom should match up with the raw edge of the bottom of the front piece. Baste in place.
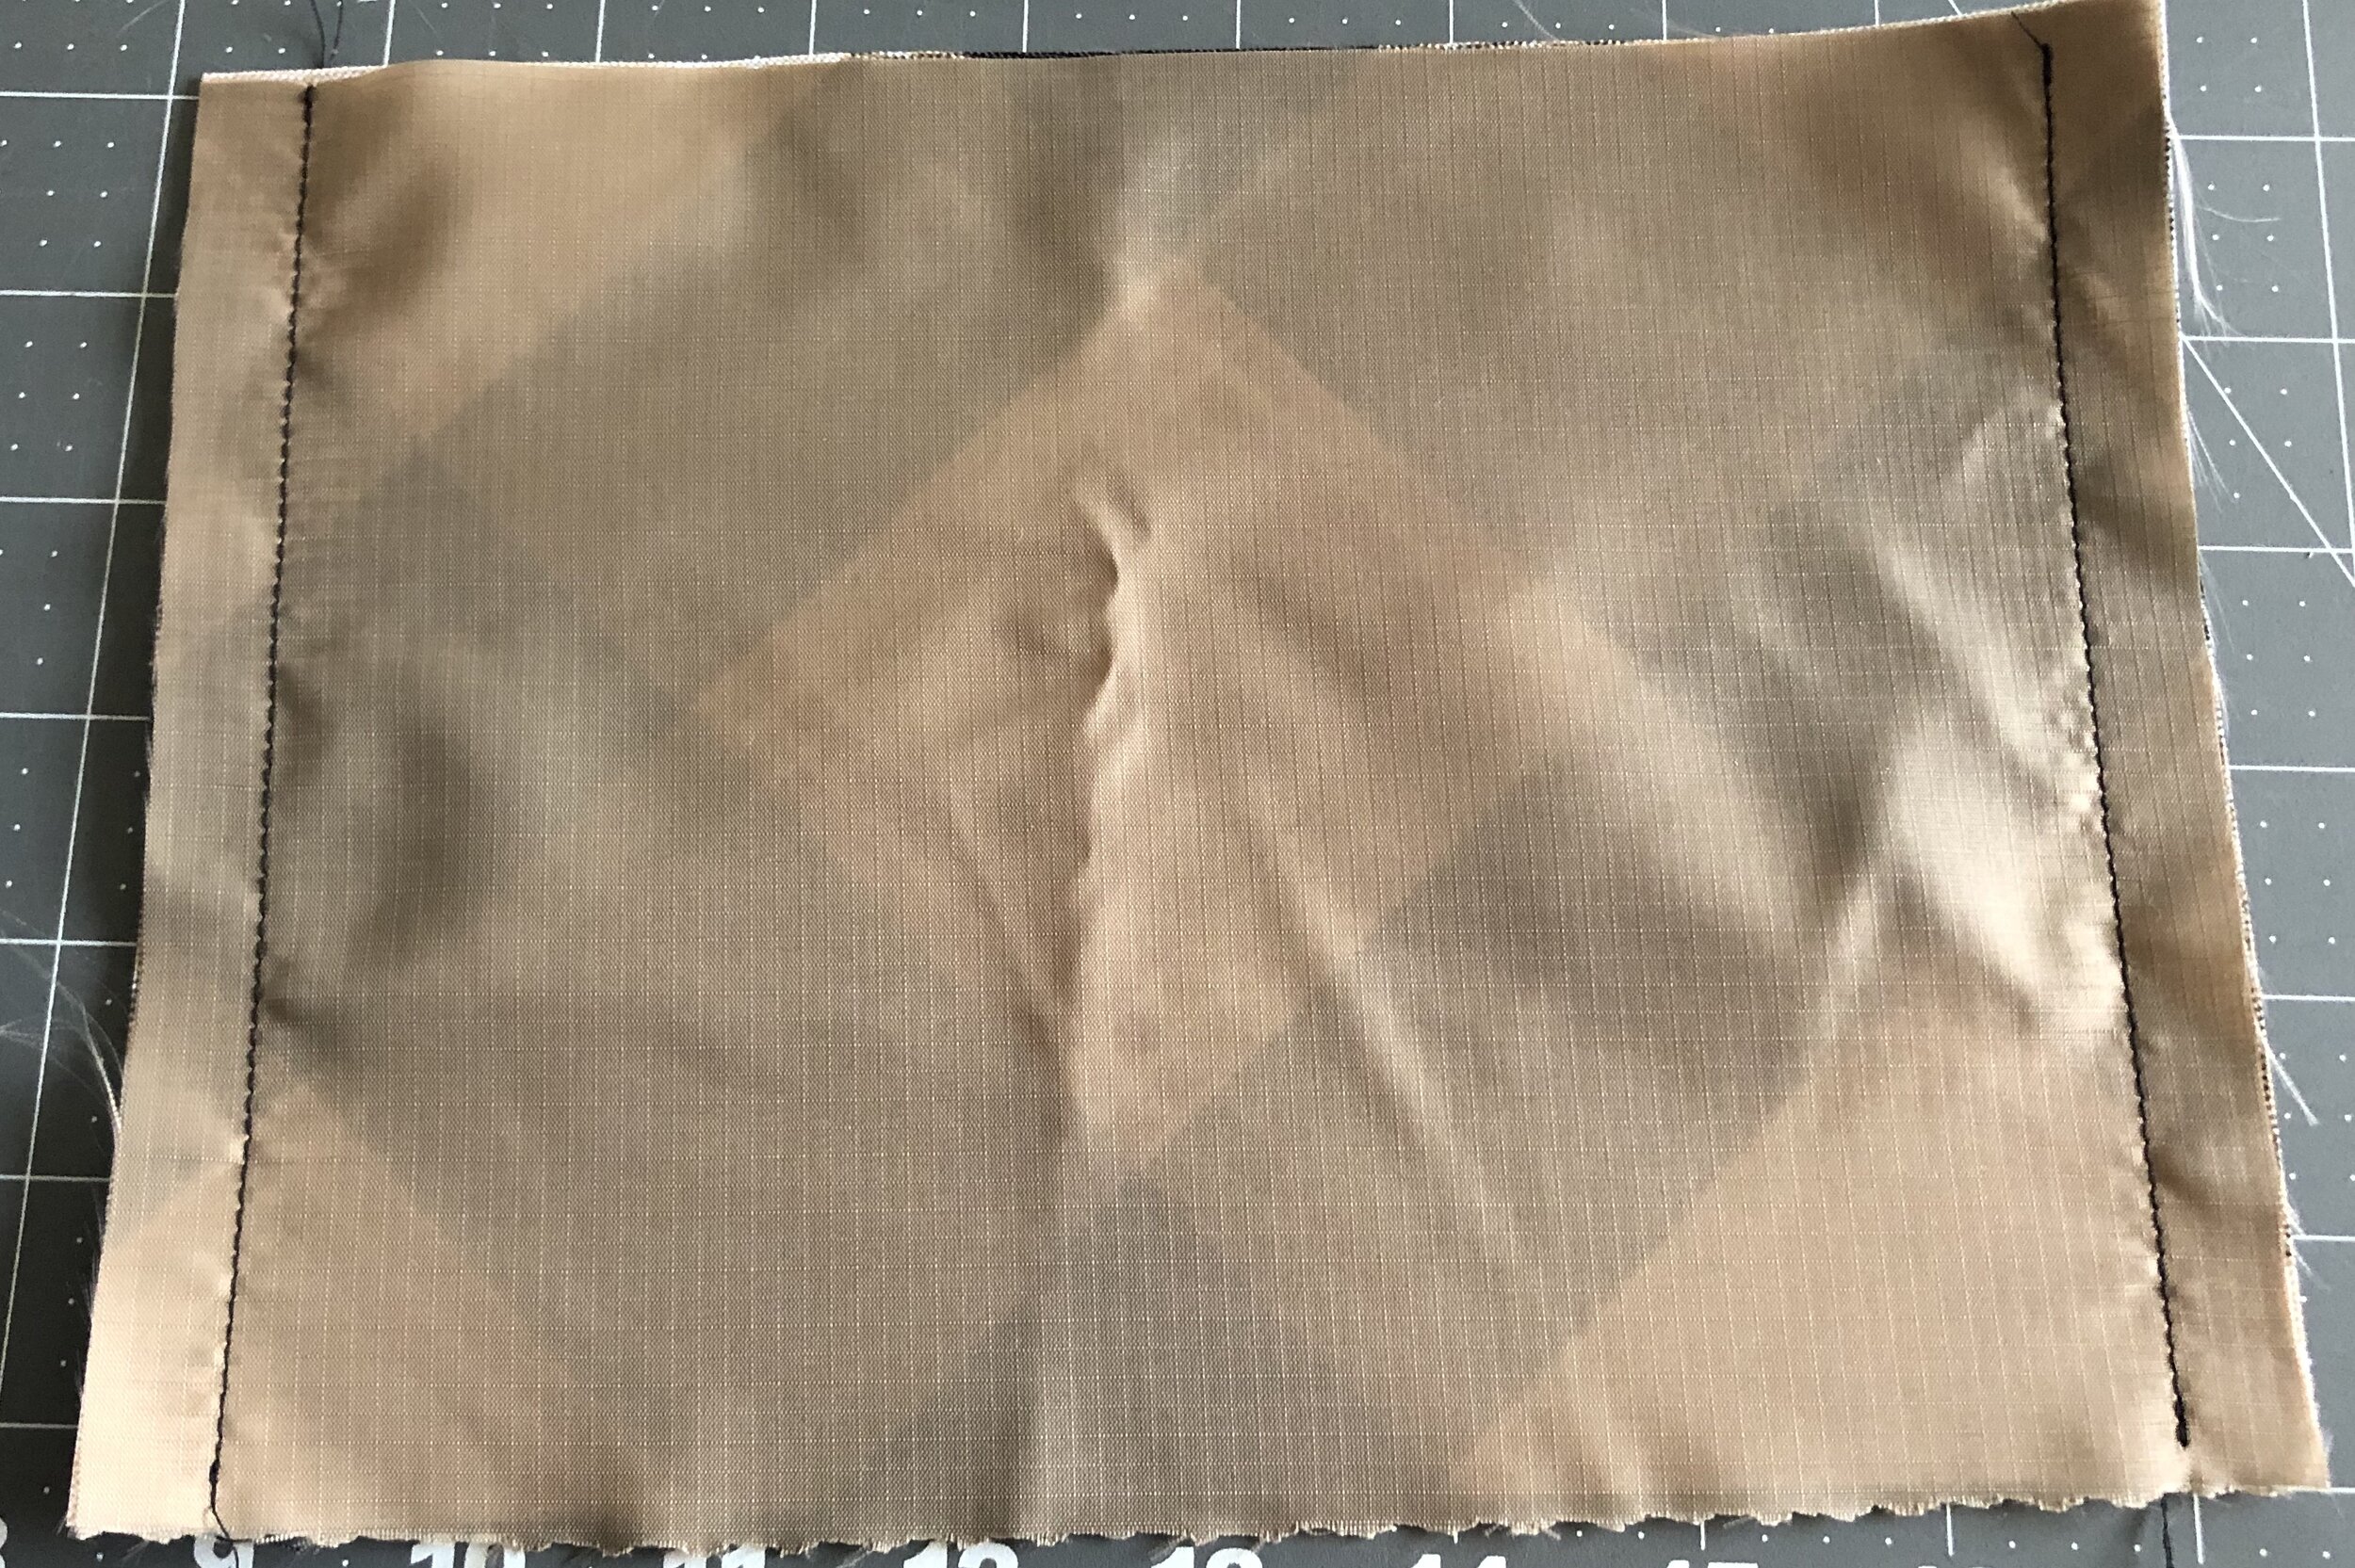
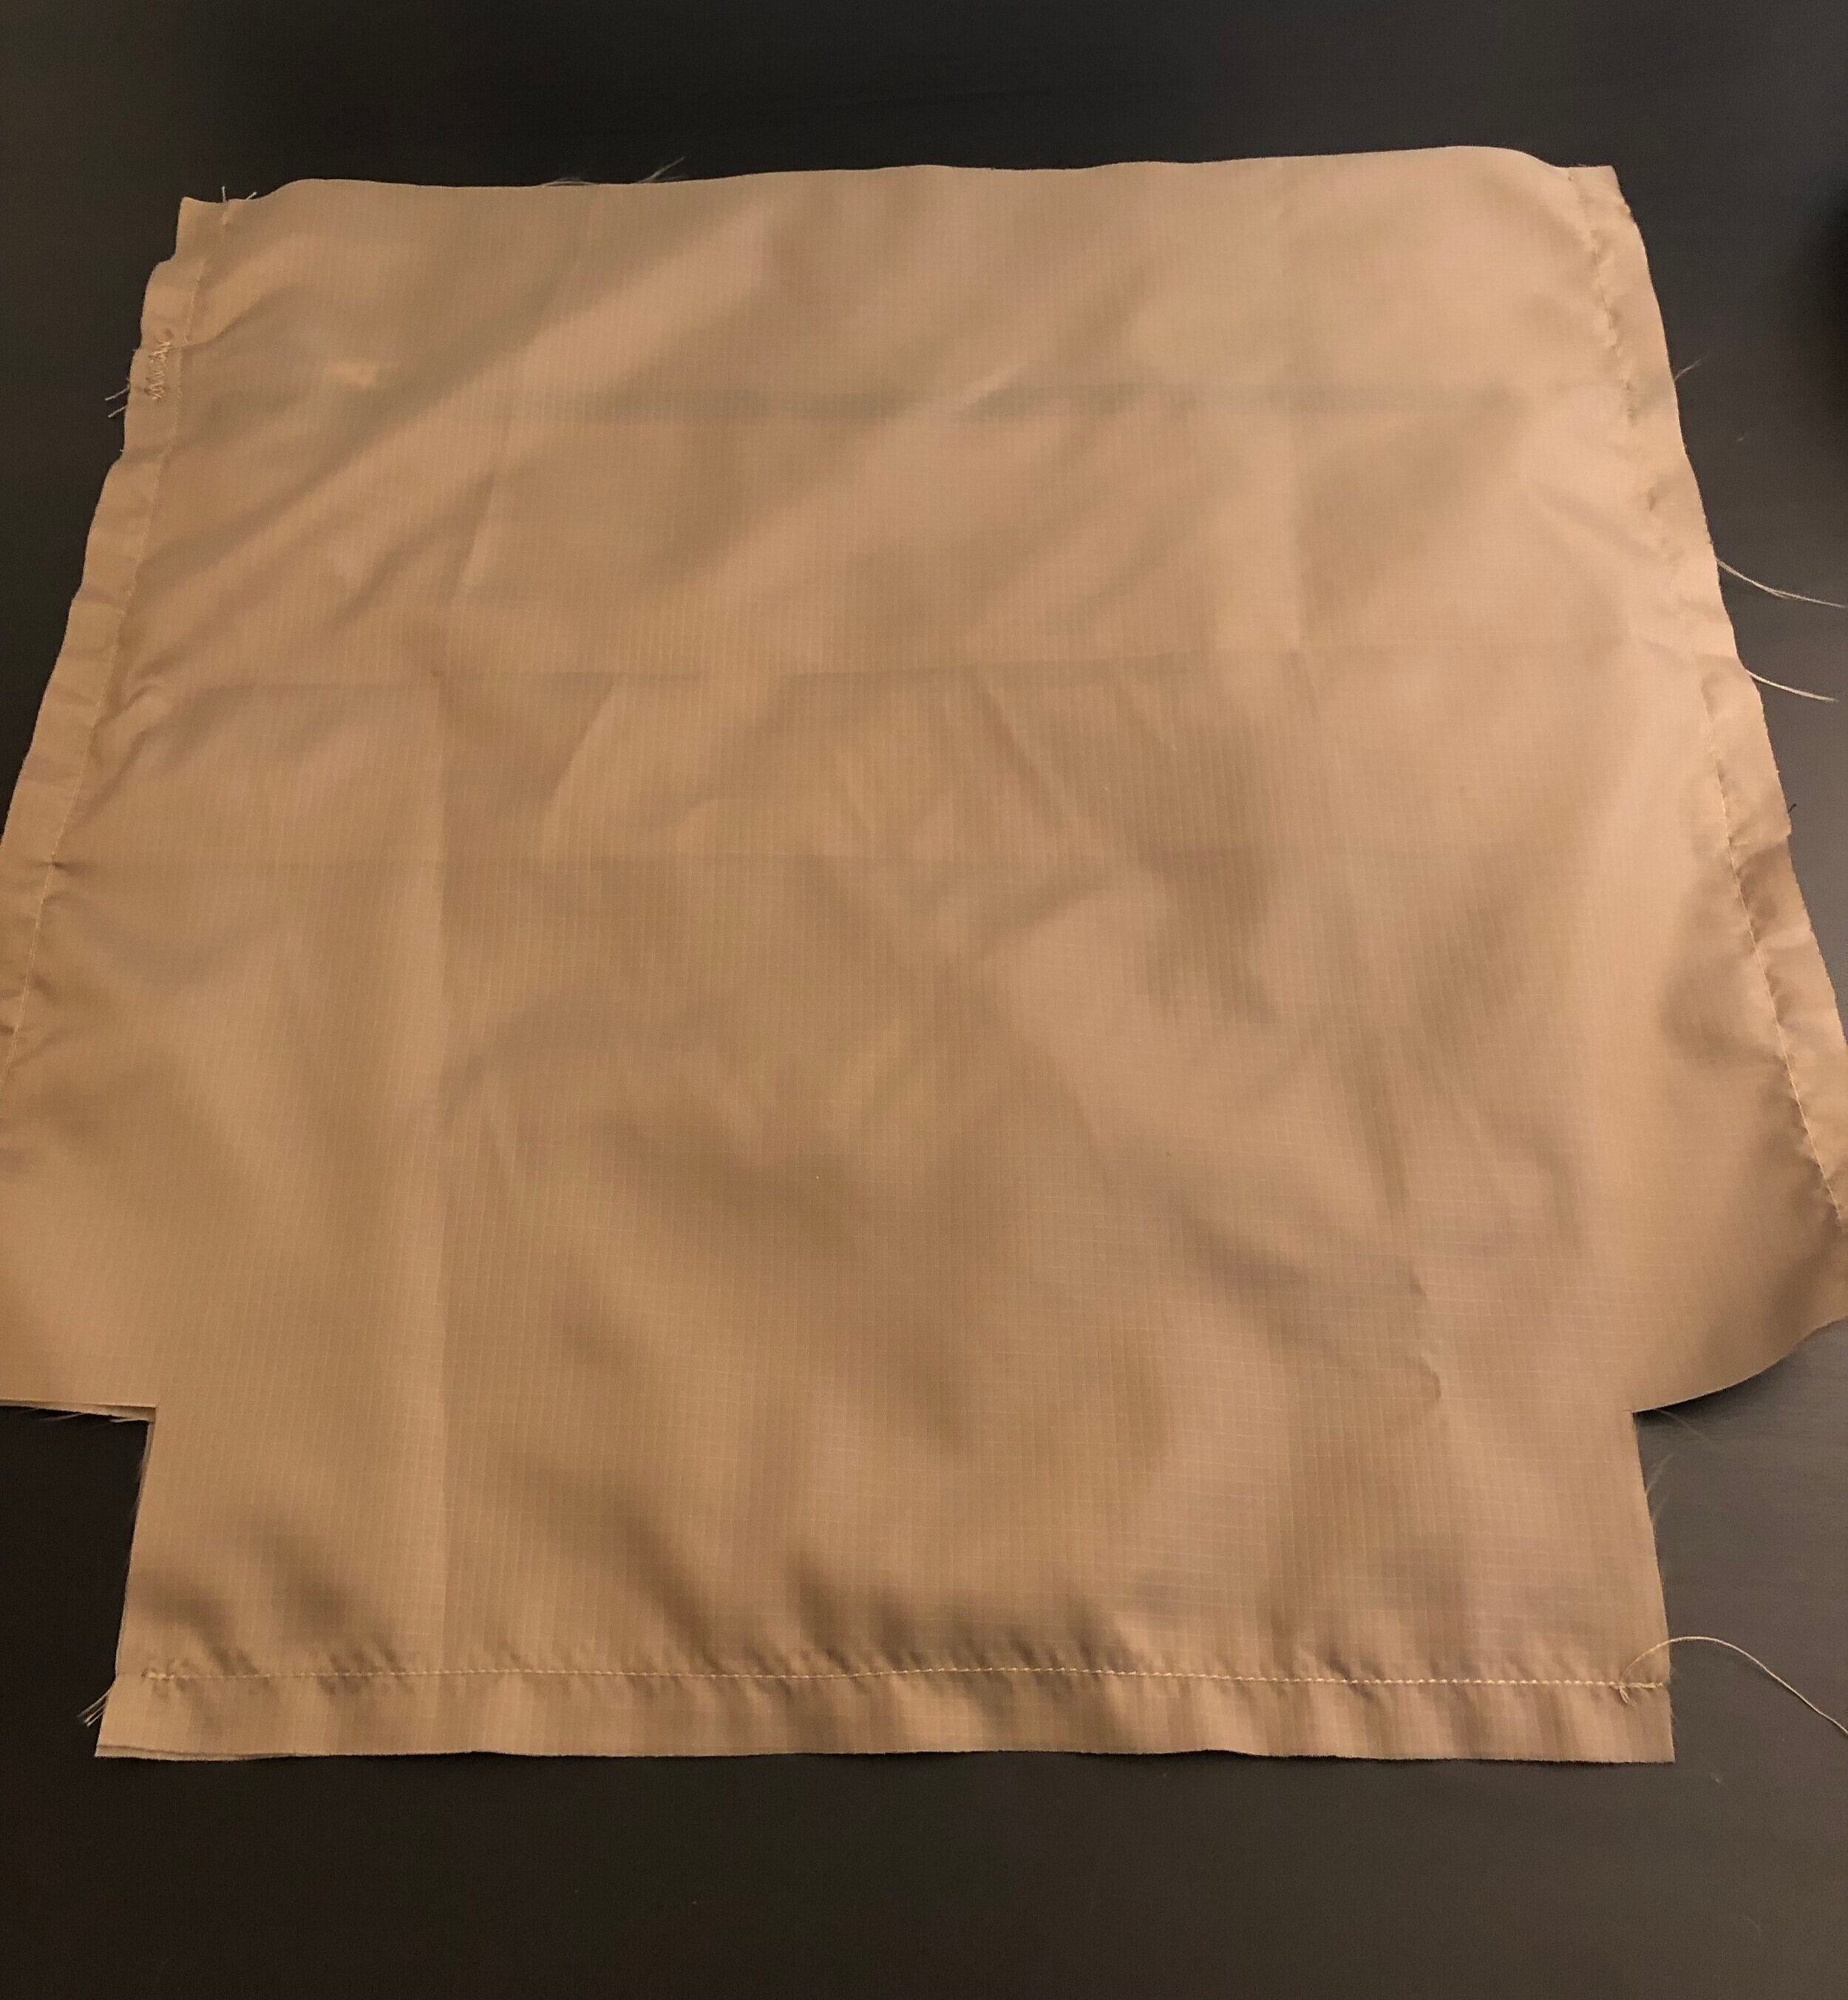
Find the lower front piece. Cut out 2.5” squares at the bottom corners (this will be used to box the corners of the bag).
Place the lower piece on top of the upper piece, right sides together, lining up the raw edges. The notched edge should be facing the top of the front panel.
Sew along the bottom edge using a 1/2” seam allowance.
Flip the bottom piece over and press the seam down. Topstitch below the seam.
Repeat for the back top and bottom pieces.
Sew the pocket sides onto the front (from where the pocket meet the bottom piece up to the top of the pocket).
Handles

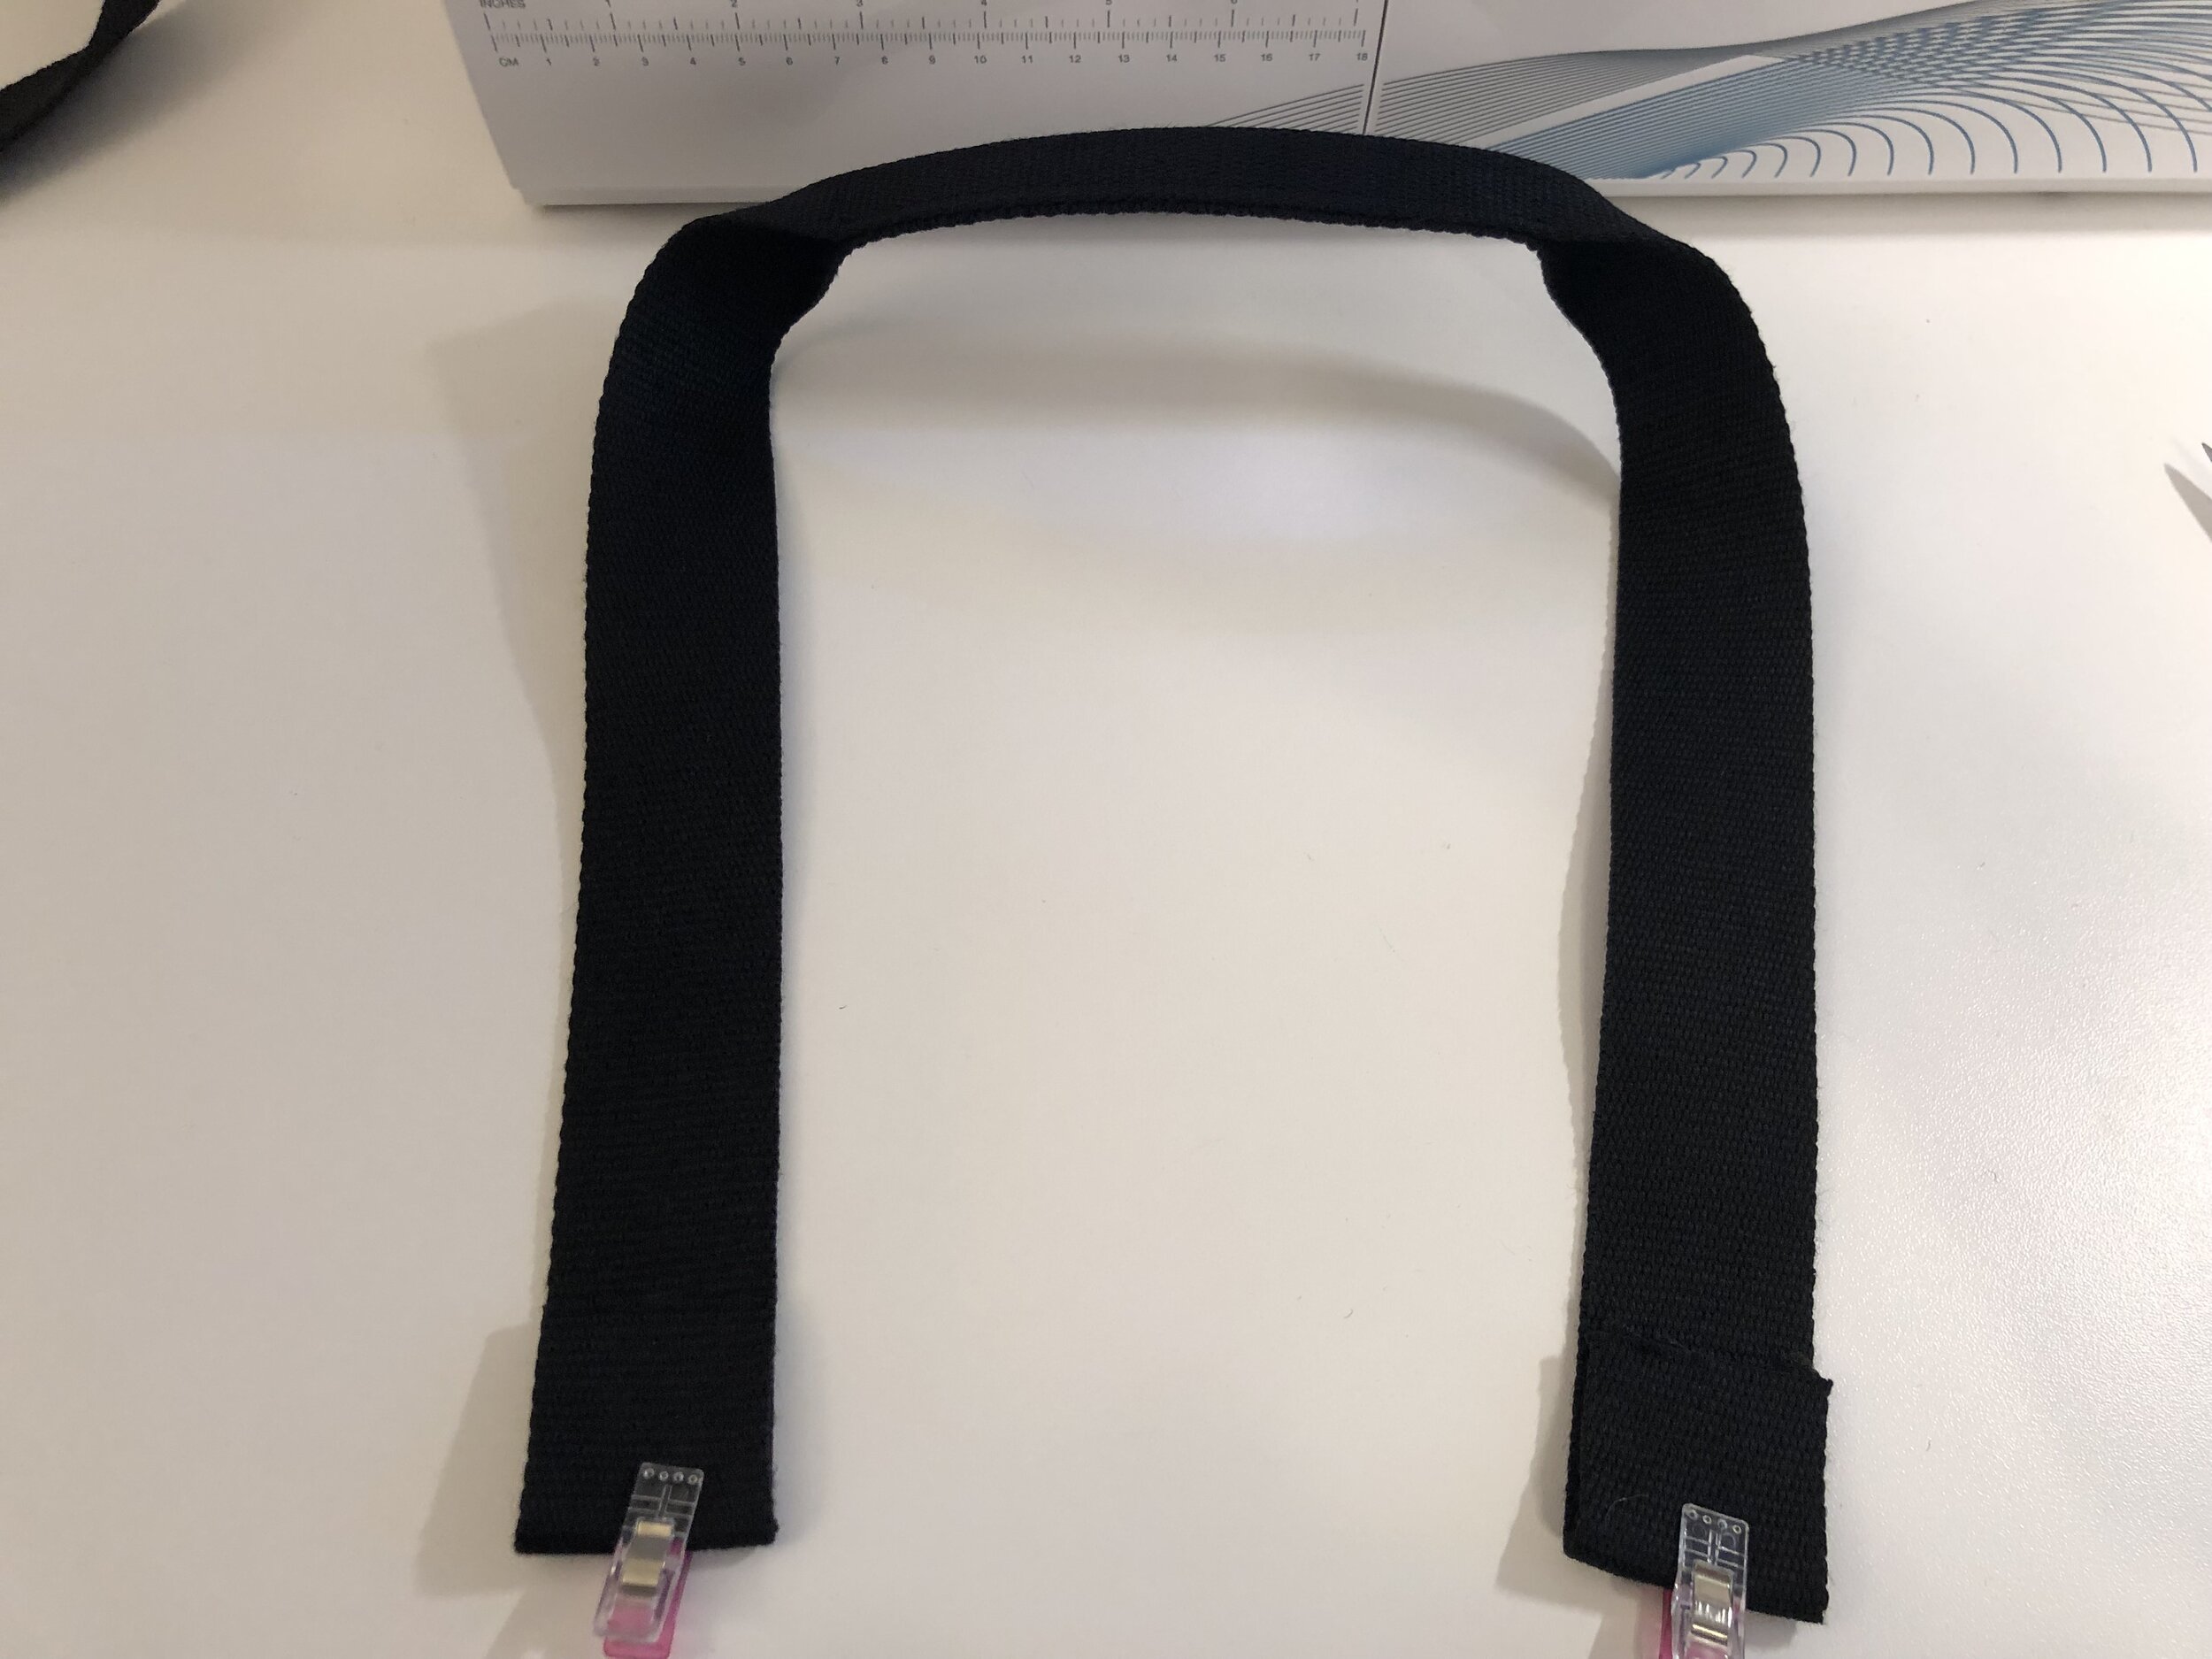
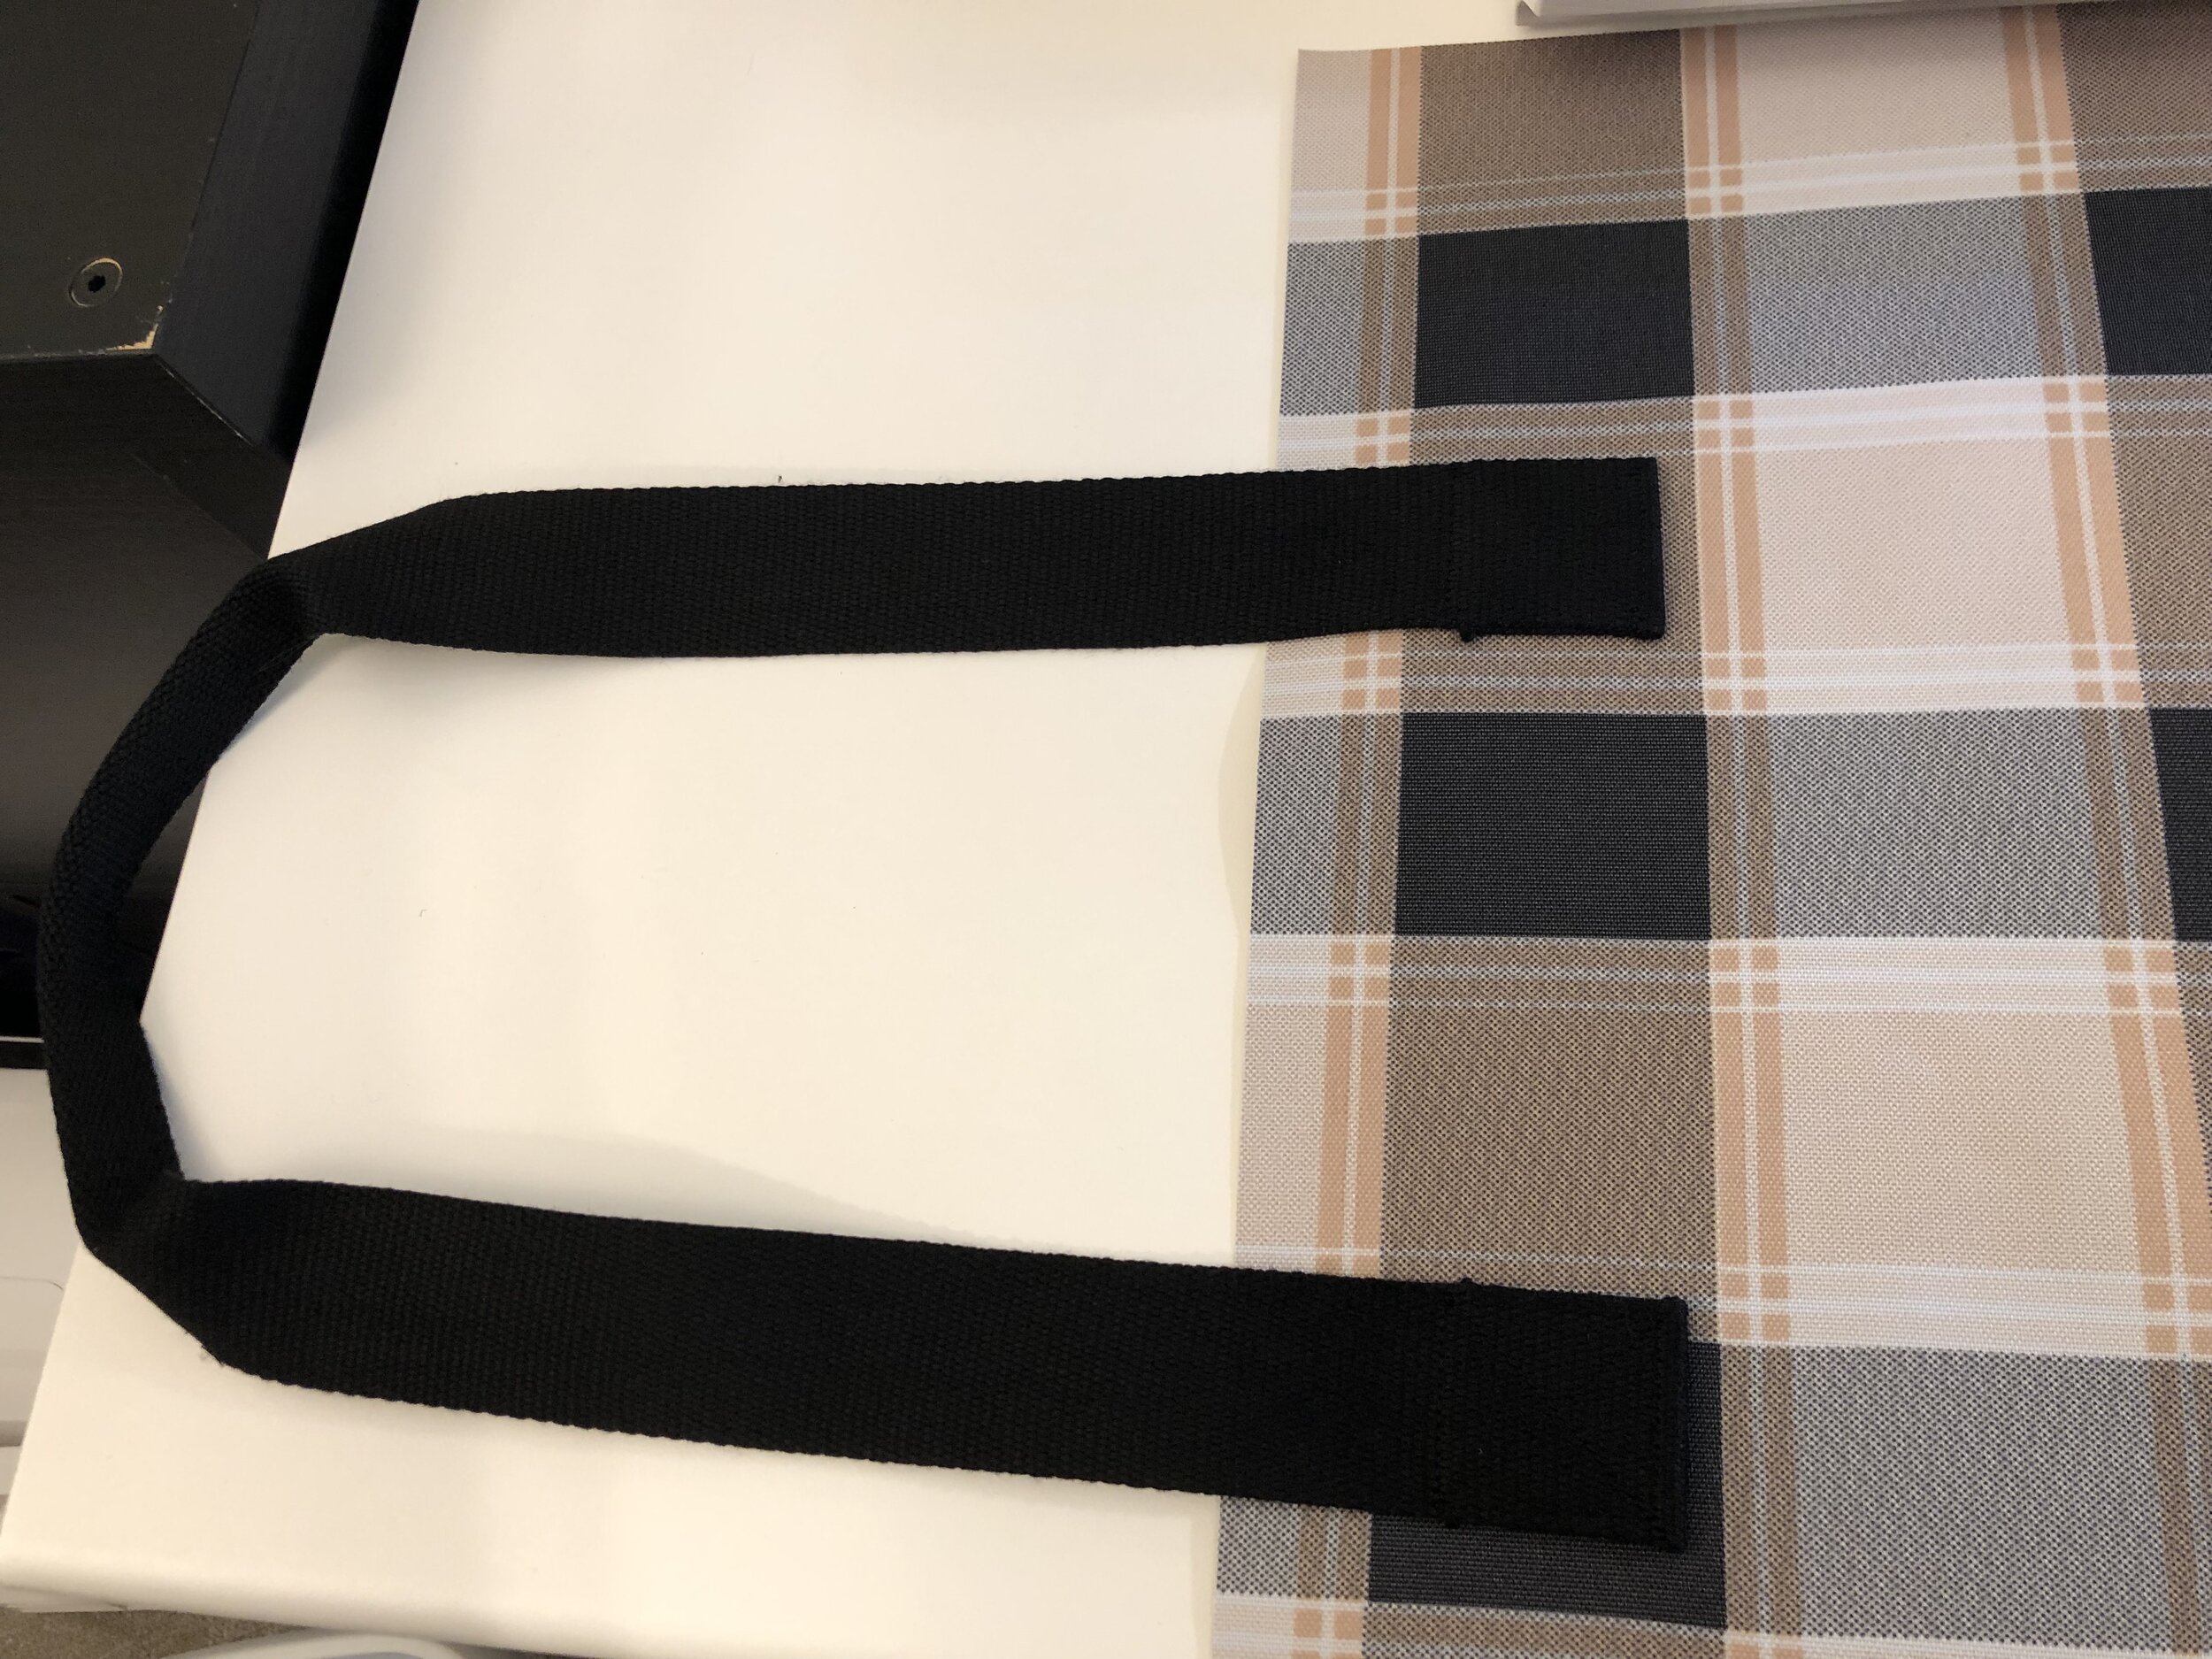
Take one of the handle pieces and mark the center with a pin.
Measure 3” to the left and right of the center pin and mark with pins.
Fold the webbing in half and clip together. Remove the center pin.
Start sewing at the first pin and stop at the second. Be sure to backstitch at both points.
Repeat for the other handle.
At the raw ends, turn under 1.5” toward the inside of the handle. Make sure the handle isn’t twisted.
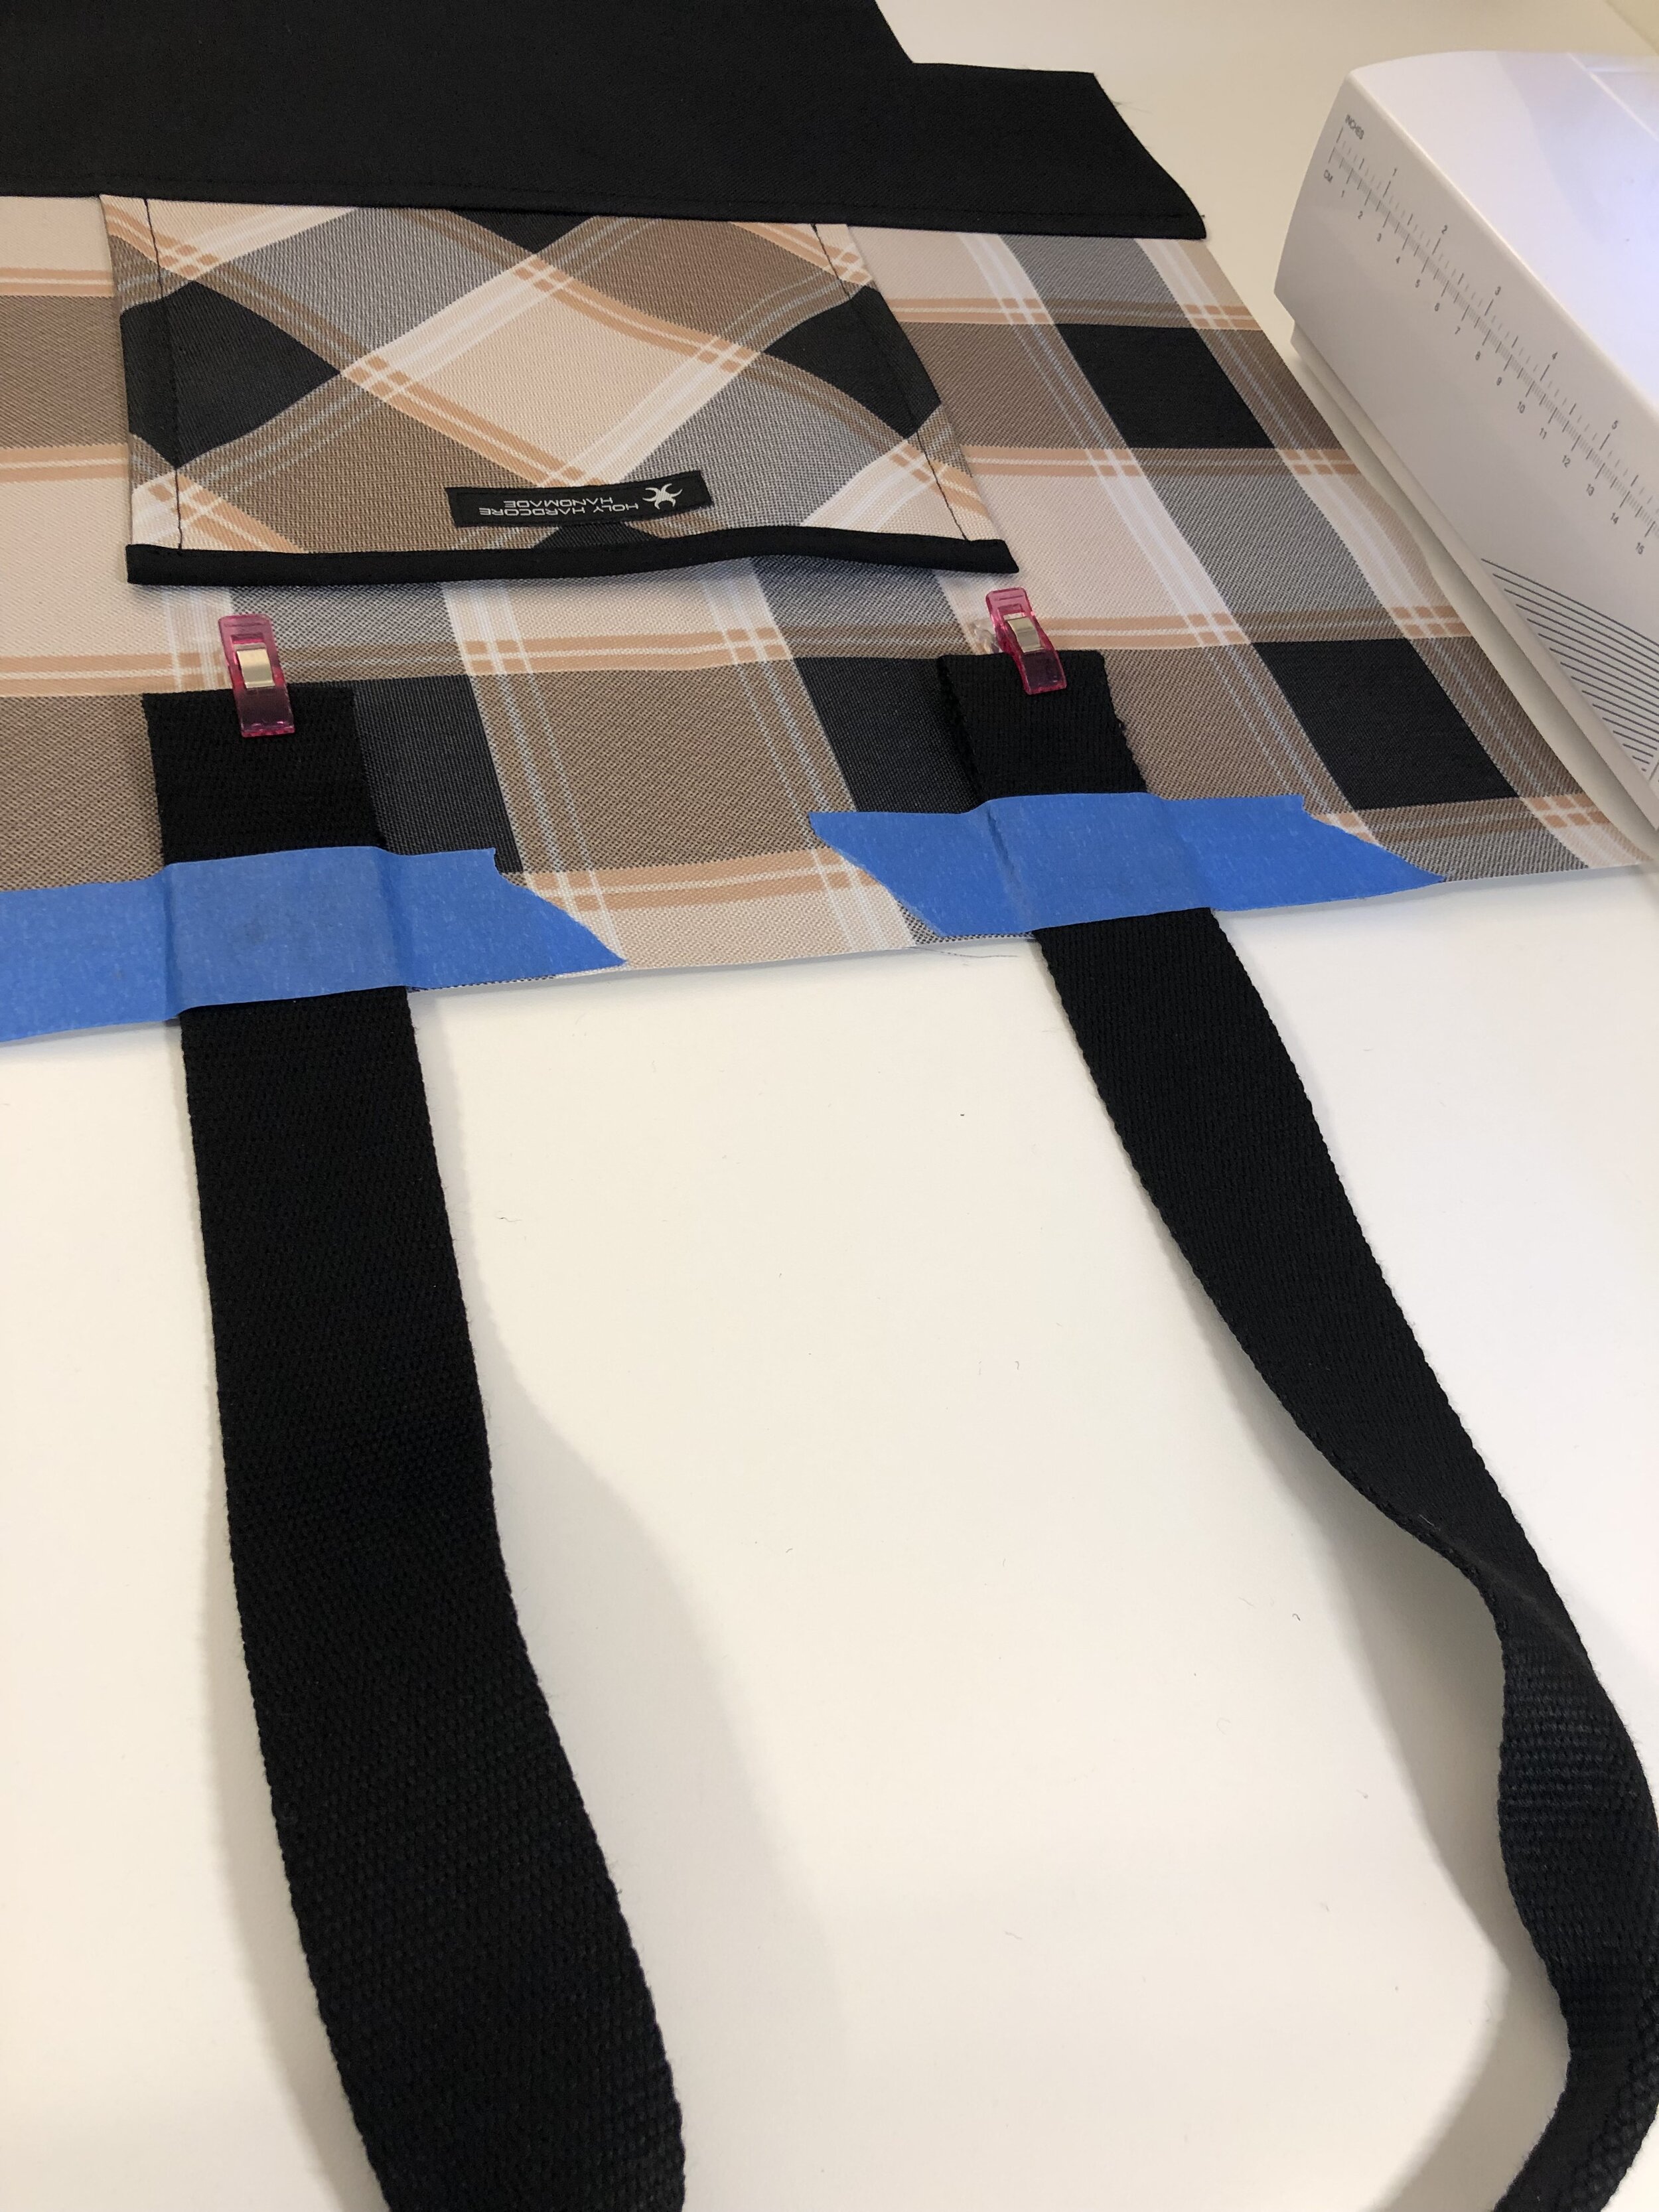
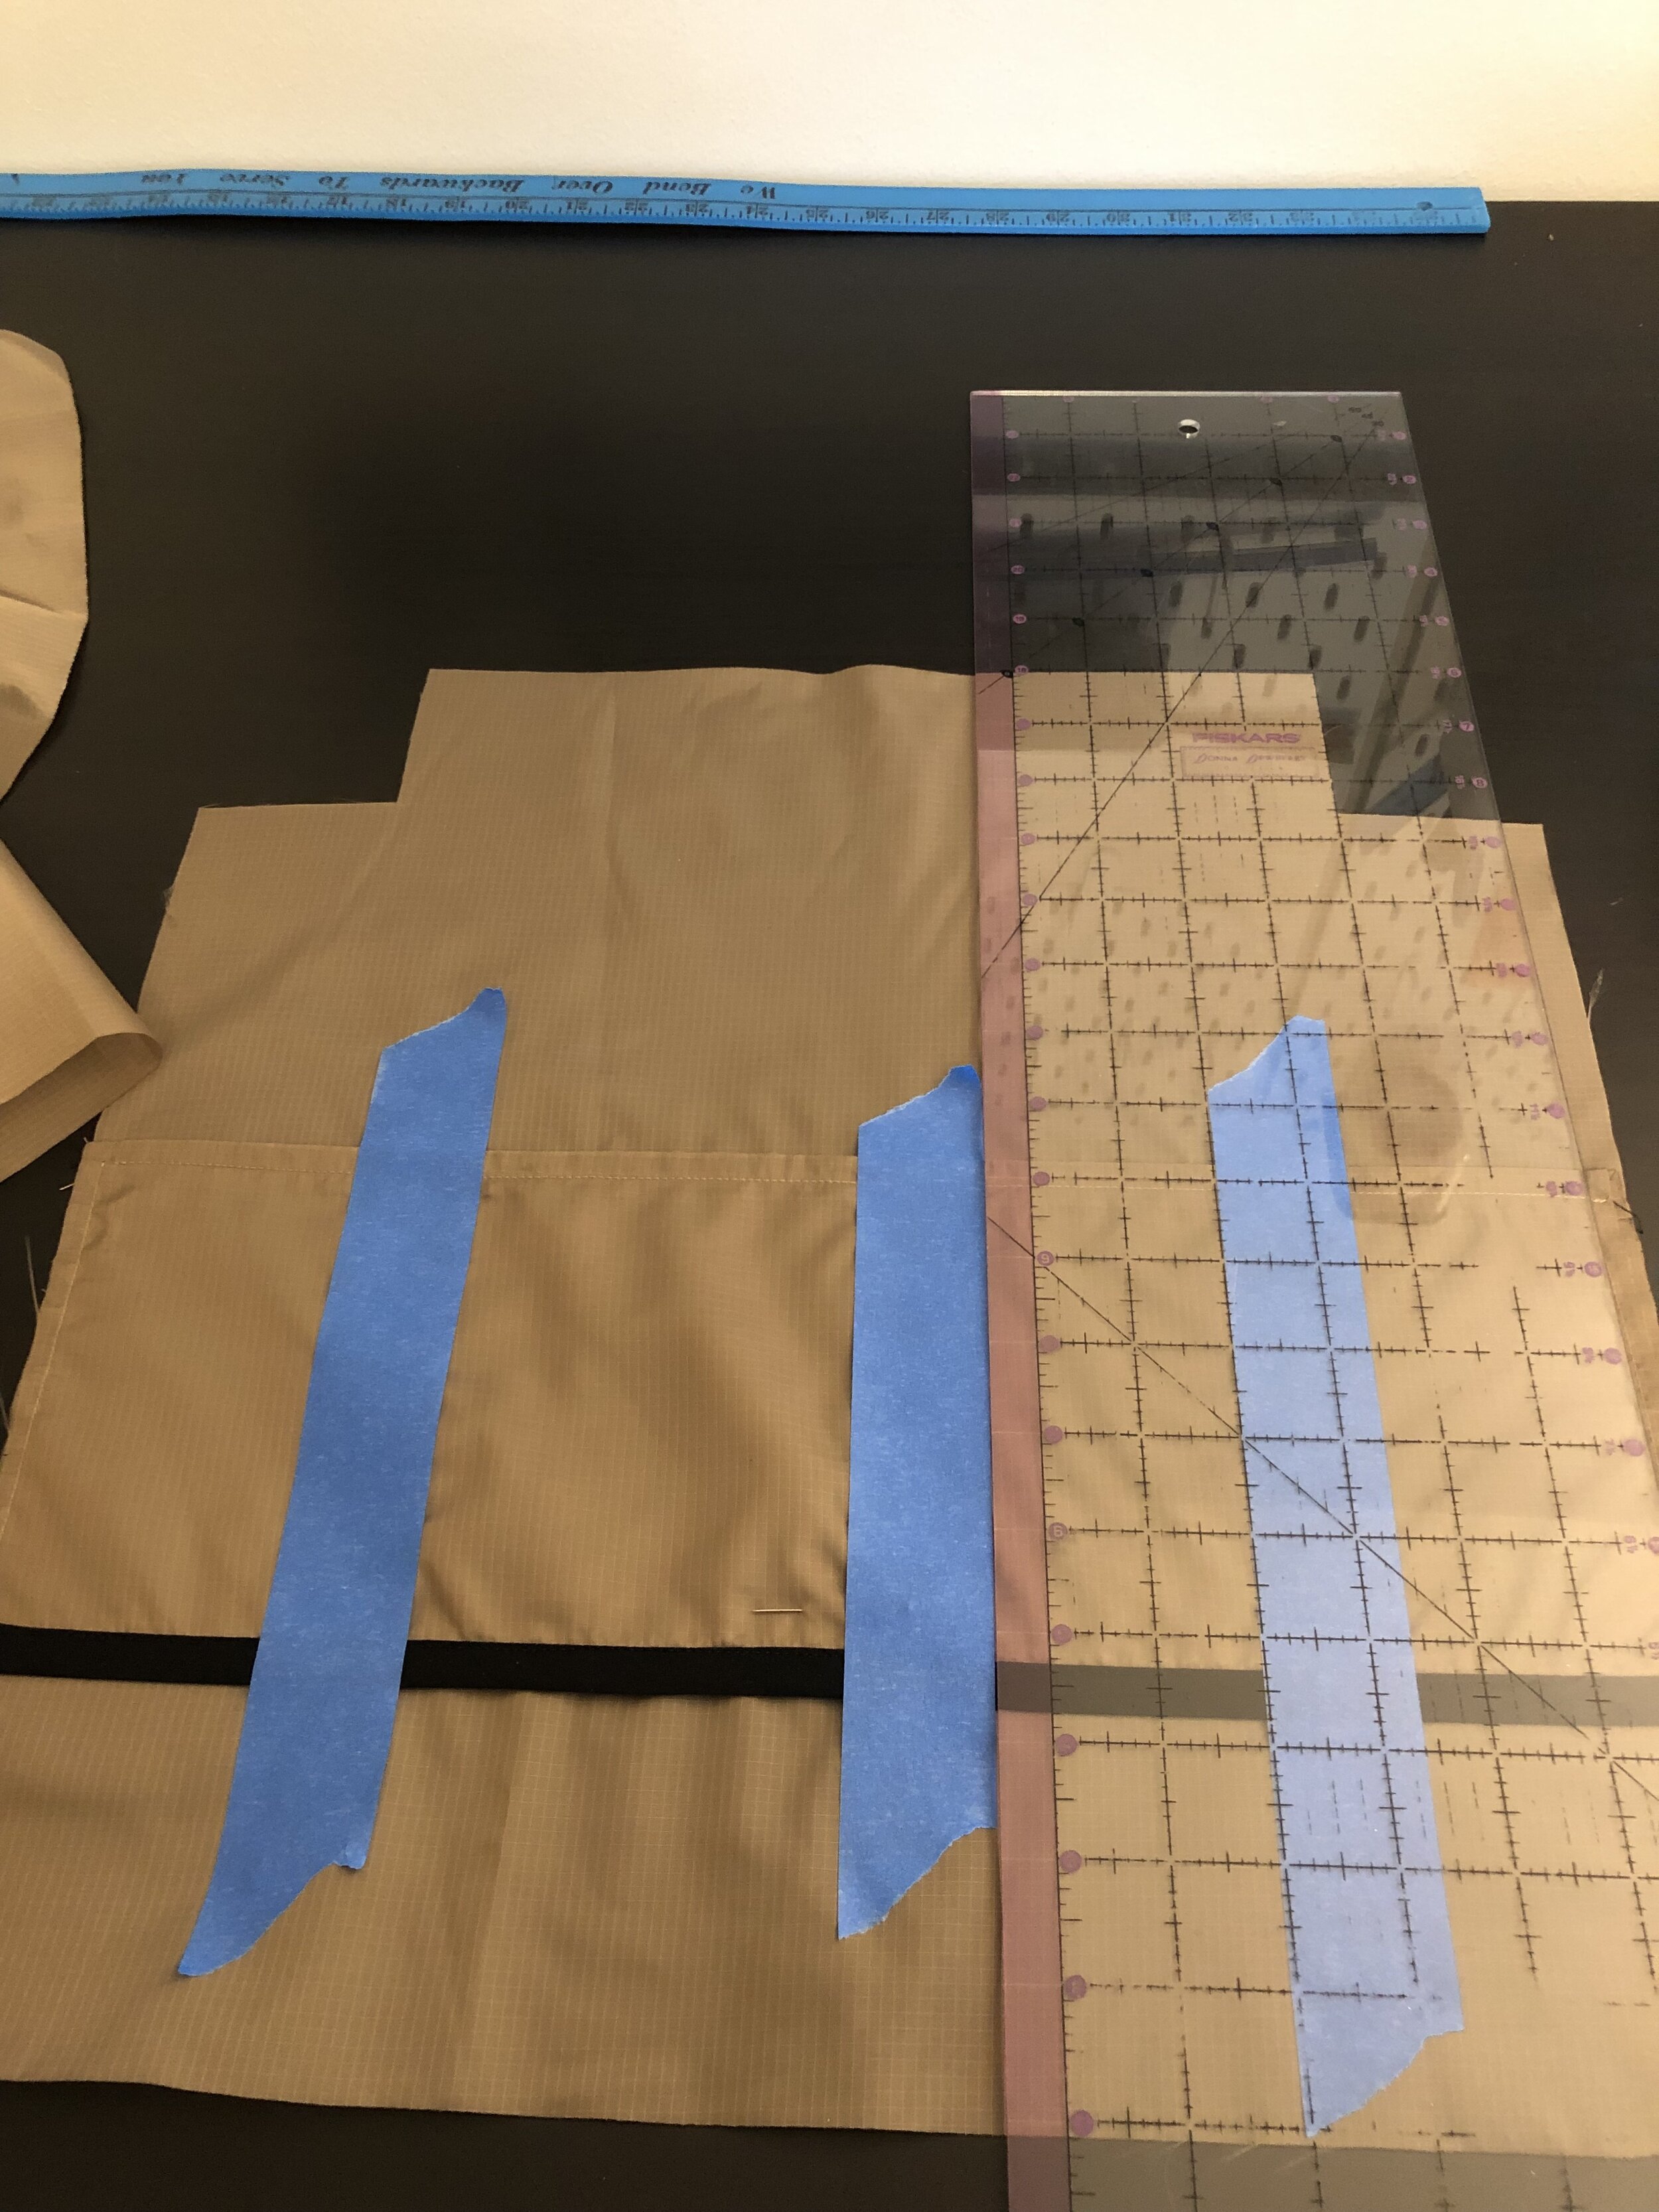
On the outer top piece, use a see-through ruler to measure 4” in from the side and 3” down from the top and place one handle end. I used painter’s tape to hold these in place, and my painter’s tape is also 1.5” wide, so I lined up the edge of the tape with the raw edge of the top of the bag and used this to guide my sewing line. I sewed along the tape and then down the side, back across the bottom, and up the other side to where I started. I then pulled off the painter’s tape and used that to guide my diagonal stitches to create an “x” within the box. This worked better than eyeballing it, which is what I typically do.
Repeat for the other end of the handle. Then, do the same for the back piece.
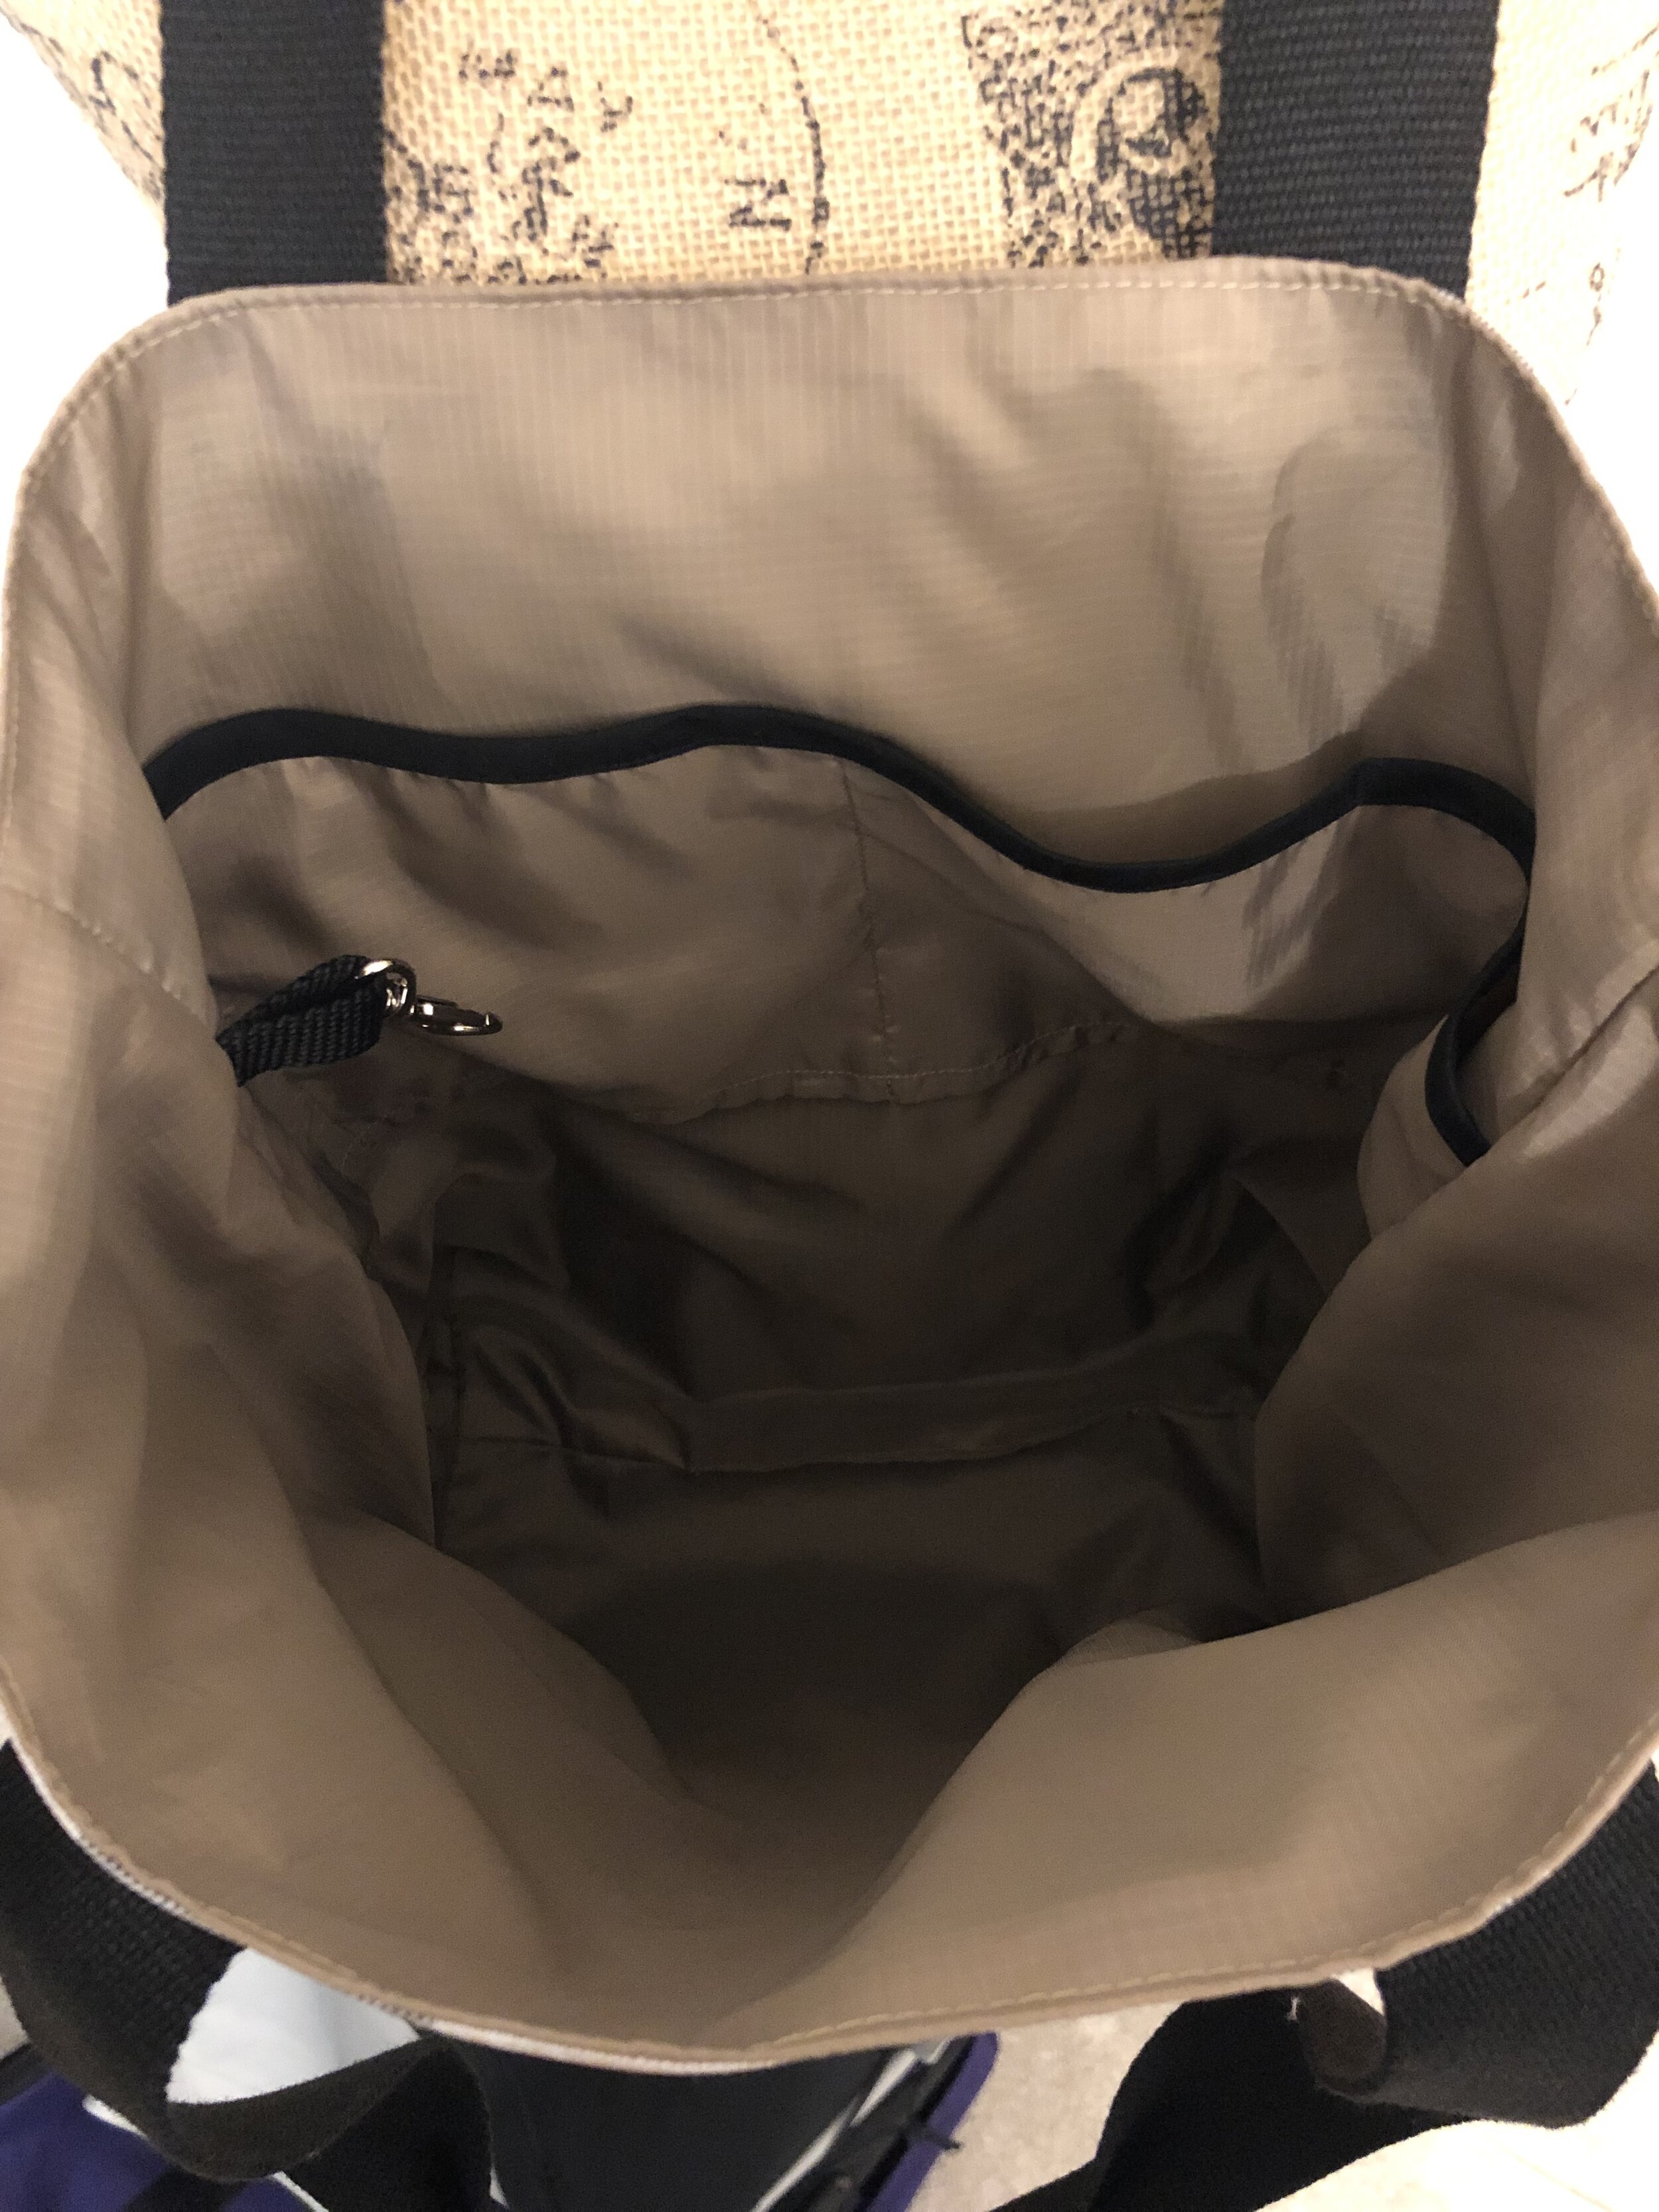
Lining

Find the lining pocket piece. Fold in half (right sides together) along the long side so it’s now 17” x 7”.
Sew along the raw long edge using 1/2” seam allowance.
Turn the pocket right side out.
Press the pocket nice and flat. If using ripstop, use a pressing cloth to avoid burning the fabric.
Add a piece of bias tape along the 17” folded edge. Sew in place.
Find one of the bag lining pieces.
Position the pocket so the side raw edges are matched up with the bag lining piece’s side edges. Adjust the height as needed. I placed mine so that the top was about 3.5” below the top edge.
Sew along the bottom edge. Baste the side edges together.
To create pocket divisions, use painter’s tape to guide vertical lines from the bottom of the pocket to the top.
Sew along the tape. Backstitch at both ends.
Bag Assembly
Place the lining front and back pieces right sides together and pin or clip together.
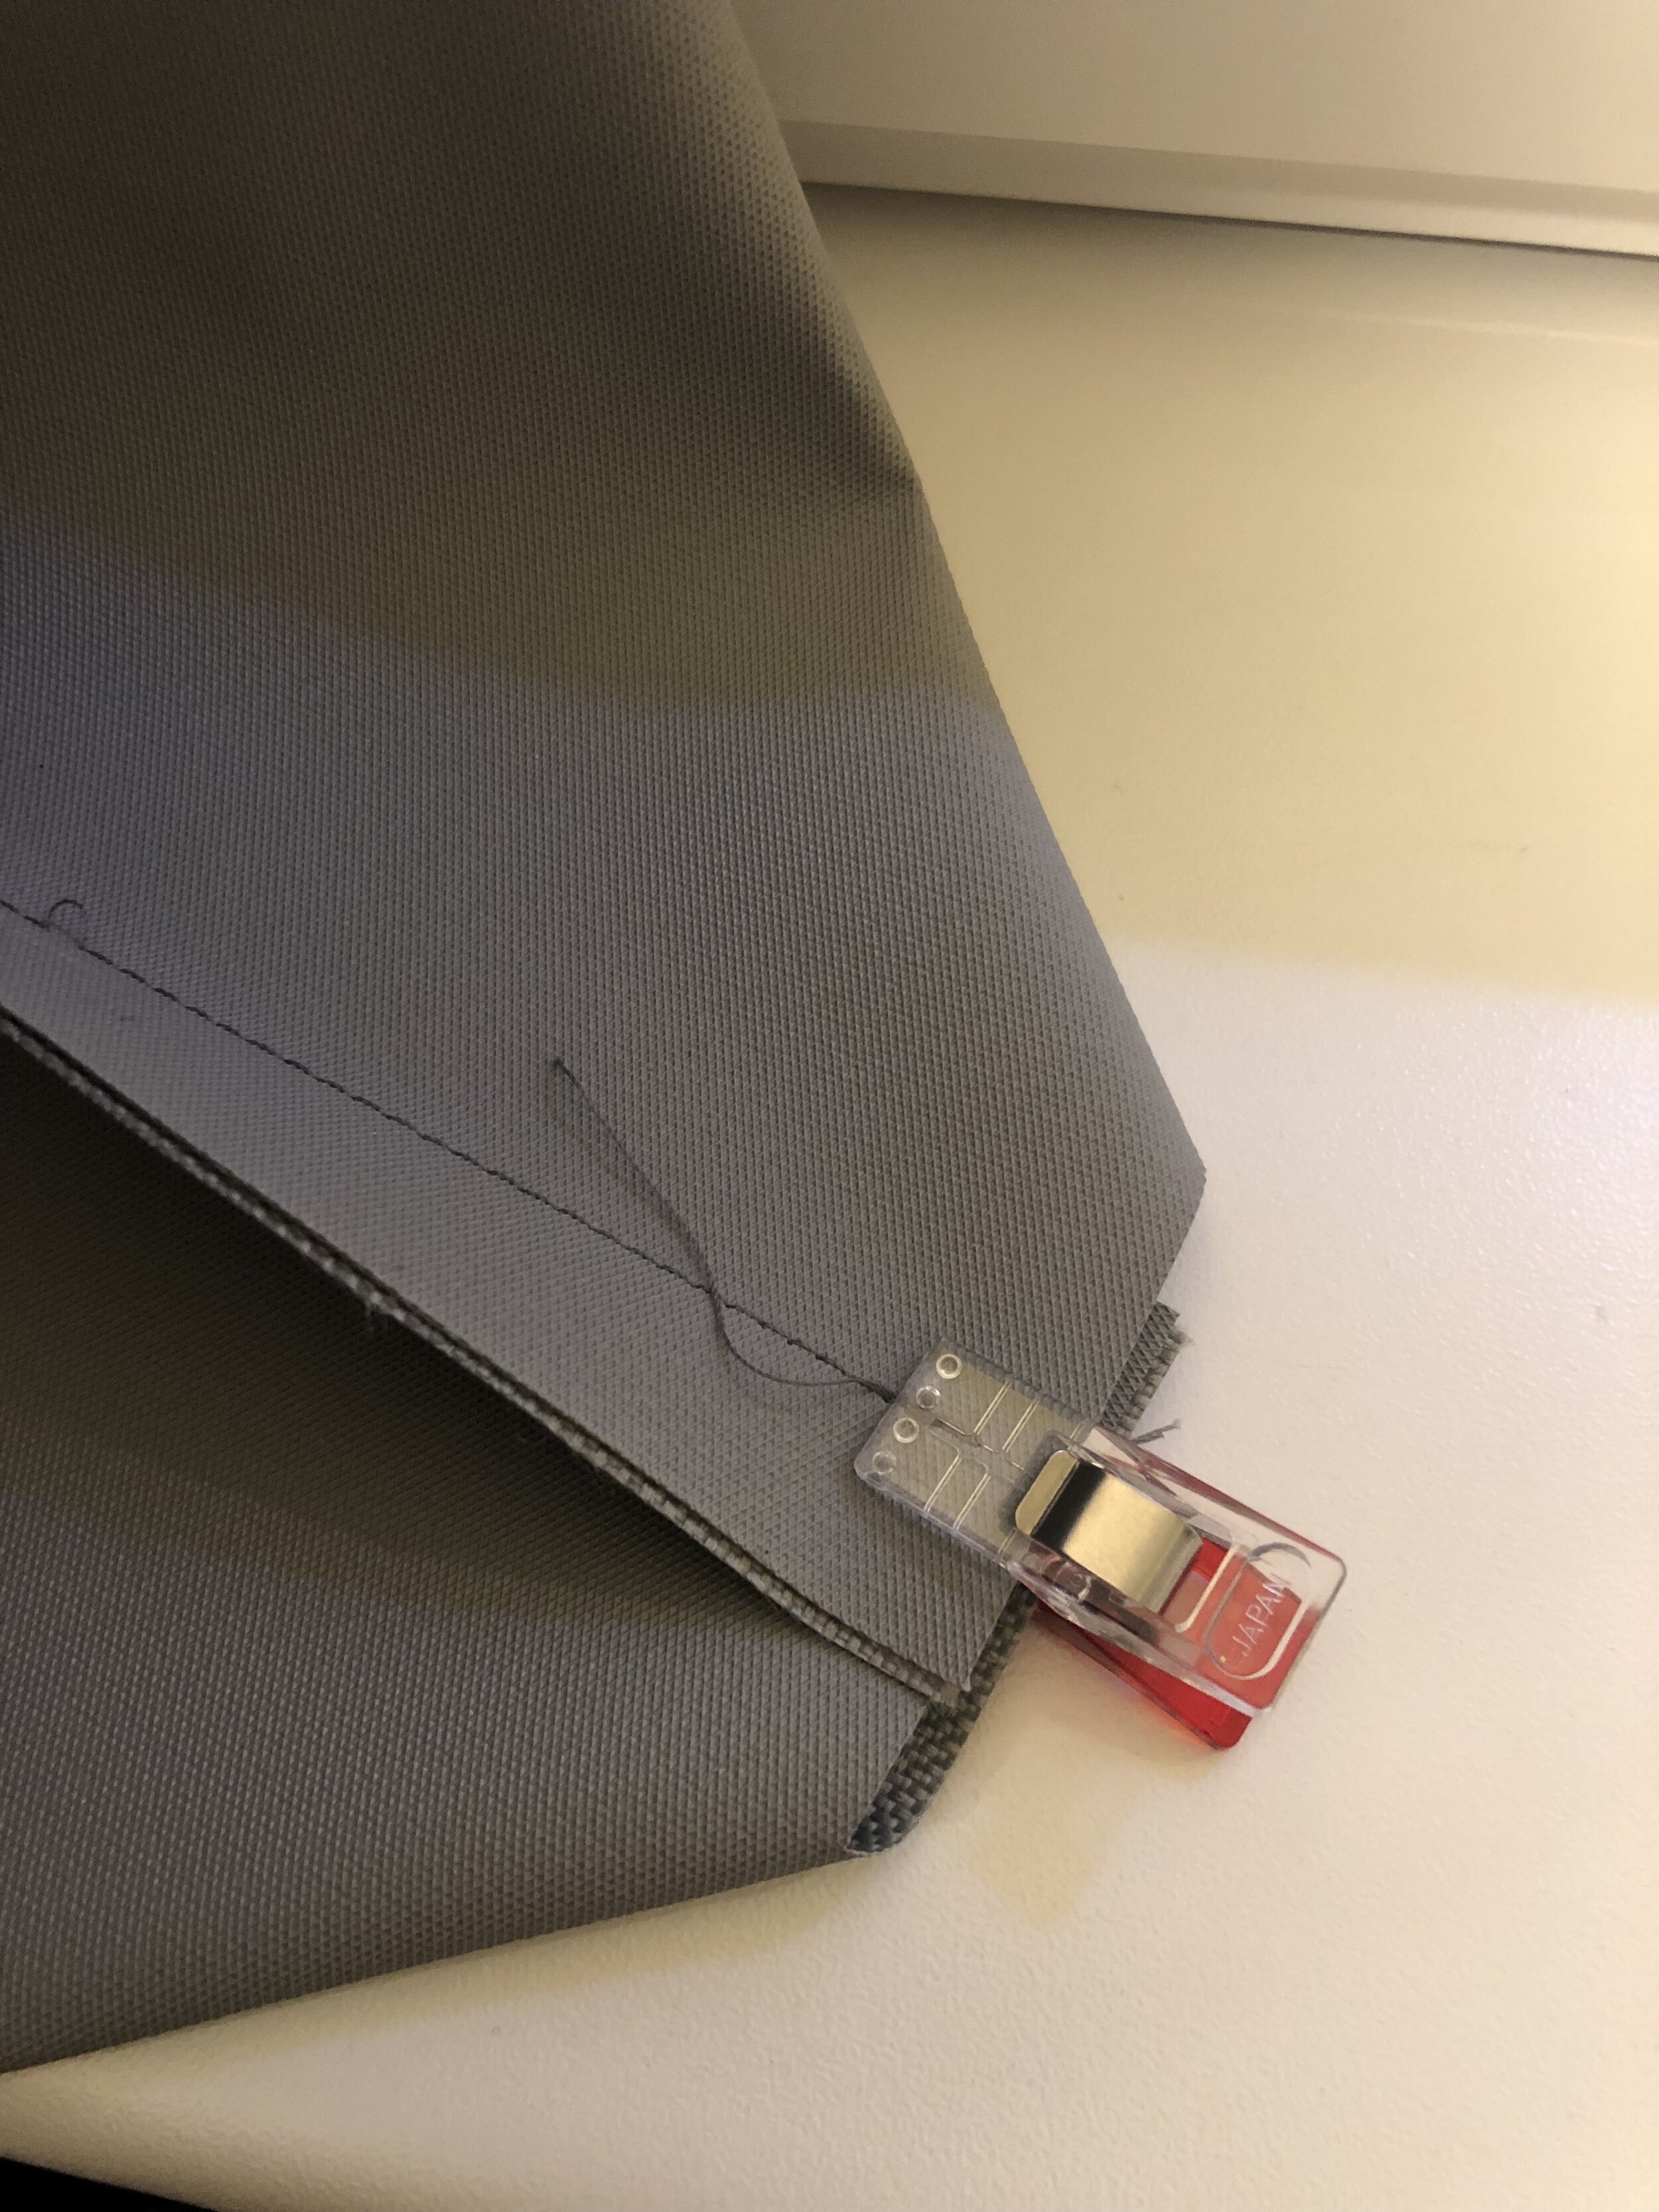
Sew down each side. On the bottom, leave a large gap for turning the bag right side out. I sew from the corner in a couple inches and the same on the other end of the bottom.
To box the corners, pull the lining apart until the notched corners line up on the diagonal. Sew closed using a 1/2” seam allowance.
Repeat for the outer pieces.
Turn the outer bag right side out and slip it inside the lining, so right sides are together.
Sew around the top using a 1/2” seam allowance.
Turn the bag right side out through the gap in the lining bottom.
If using any sort of waterproof fabrics, make sure the air is fully pushed out before closing the lining!
Turn in the seam allowance on the lining bottom and edgestitch closed.
Push the lining inside the bag and press down (with an iron if you can) around the top. Topstitch around the top close to the finished edge.