
Drawstring Backpack with Depth
/This year, for the Holy Hardcore Handmade Holiday Hootenanny, I took orders from the kids. One of those orders was a drawstring backpack, BUT it has to fit shoes (sorry Lex if you're reading this, but you already know what you asked for, just act surprised when you open it - I had to post something so as not to leave my readers hanging).
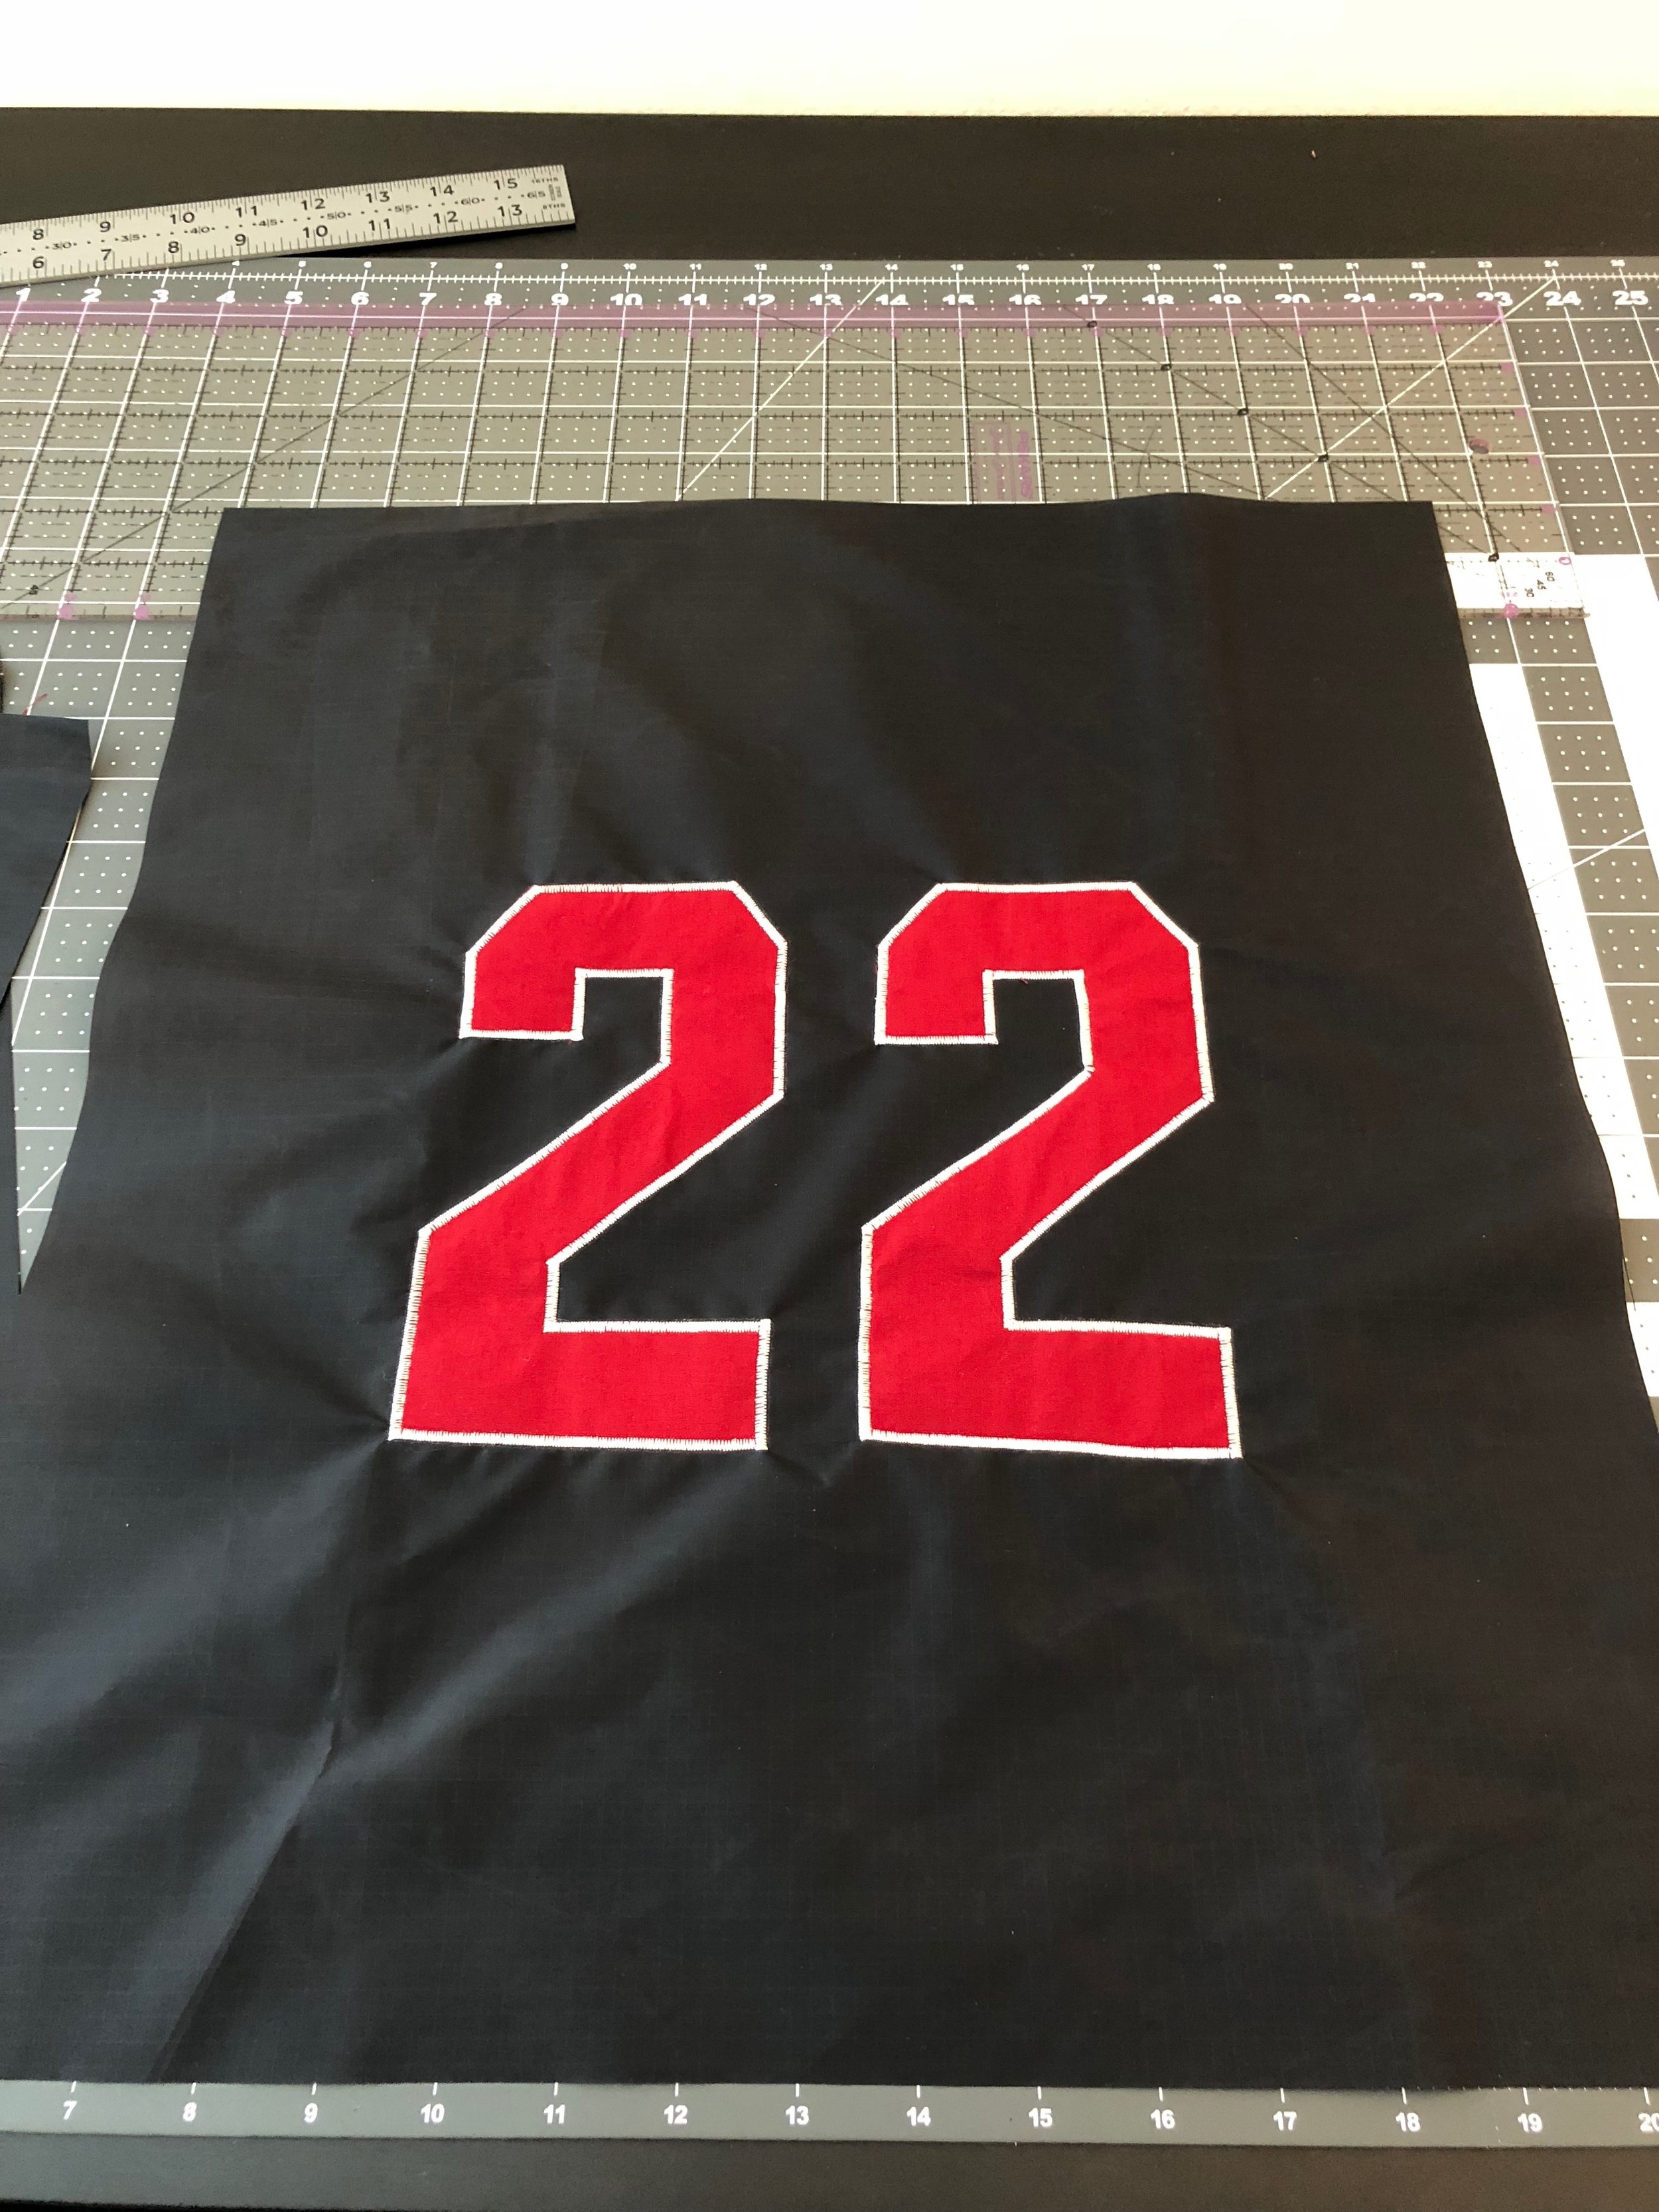
In order to add some depth, I decided to make the bottom a sort of football shape in order to give it some more room. This lined drawstring backpack features applique numbers to make it sporty, a vertical zipper pocket on the back for essentials like keys and phone, and grommets for the drawstrings.
This is pretty easy to make, the toughest part is getting the measurements right for the oblong bottom. I'm not going to give the measurements because your needs may differ, but I'll outline how I did this without complicated mathematical equations involving pi.
First, I looked around for something to trace that would give me the shape I wanted for the bottom. As luck would have it, my iron was about right. I wanted the bag's finished dimenstions to be about 13" wide by 4" deep, so I traced the tip of my iron onto a piece of paper to get the curve, and then measured to give two points that would be the widest part of the bottom at the center. Using my french curve, I extended those curves to the center point and cut out the pattern (but just half, because I cut the fabric on the fold to ensure they were nice and symmetrical).

Once I had the bottom piece cut, I took measuring tape and curved it around to find how wide I needed to make the front and back pieces.
Here's what you need to make a bag like this:
- Fabric for outer & bottom (I used ripstop nylon for the outer and canvas duck for the bottom)
- Fabric for lining (I used cotton broadcloth for this and the applique)
- Fabric & zipper for pocket (I used scraps of the ripstop nylon and a 14" red zipper, trimmed to size)
- 4 grommets (I used 5/8" grommets)
- 4 yards of cording (2 yards for each side)
- Nylon webbing or fabric tabs for the drawstring
Lining
Starting with the lining, cut your pieces (back, front and bottom). Place the front and back right sides together (in my case there was no right or wrong side), and sew a seam at 1/2" along both sides, so you have a tube.
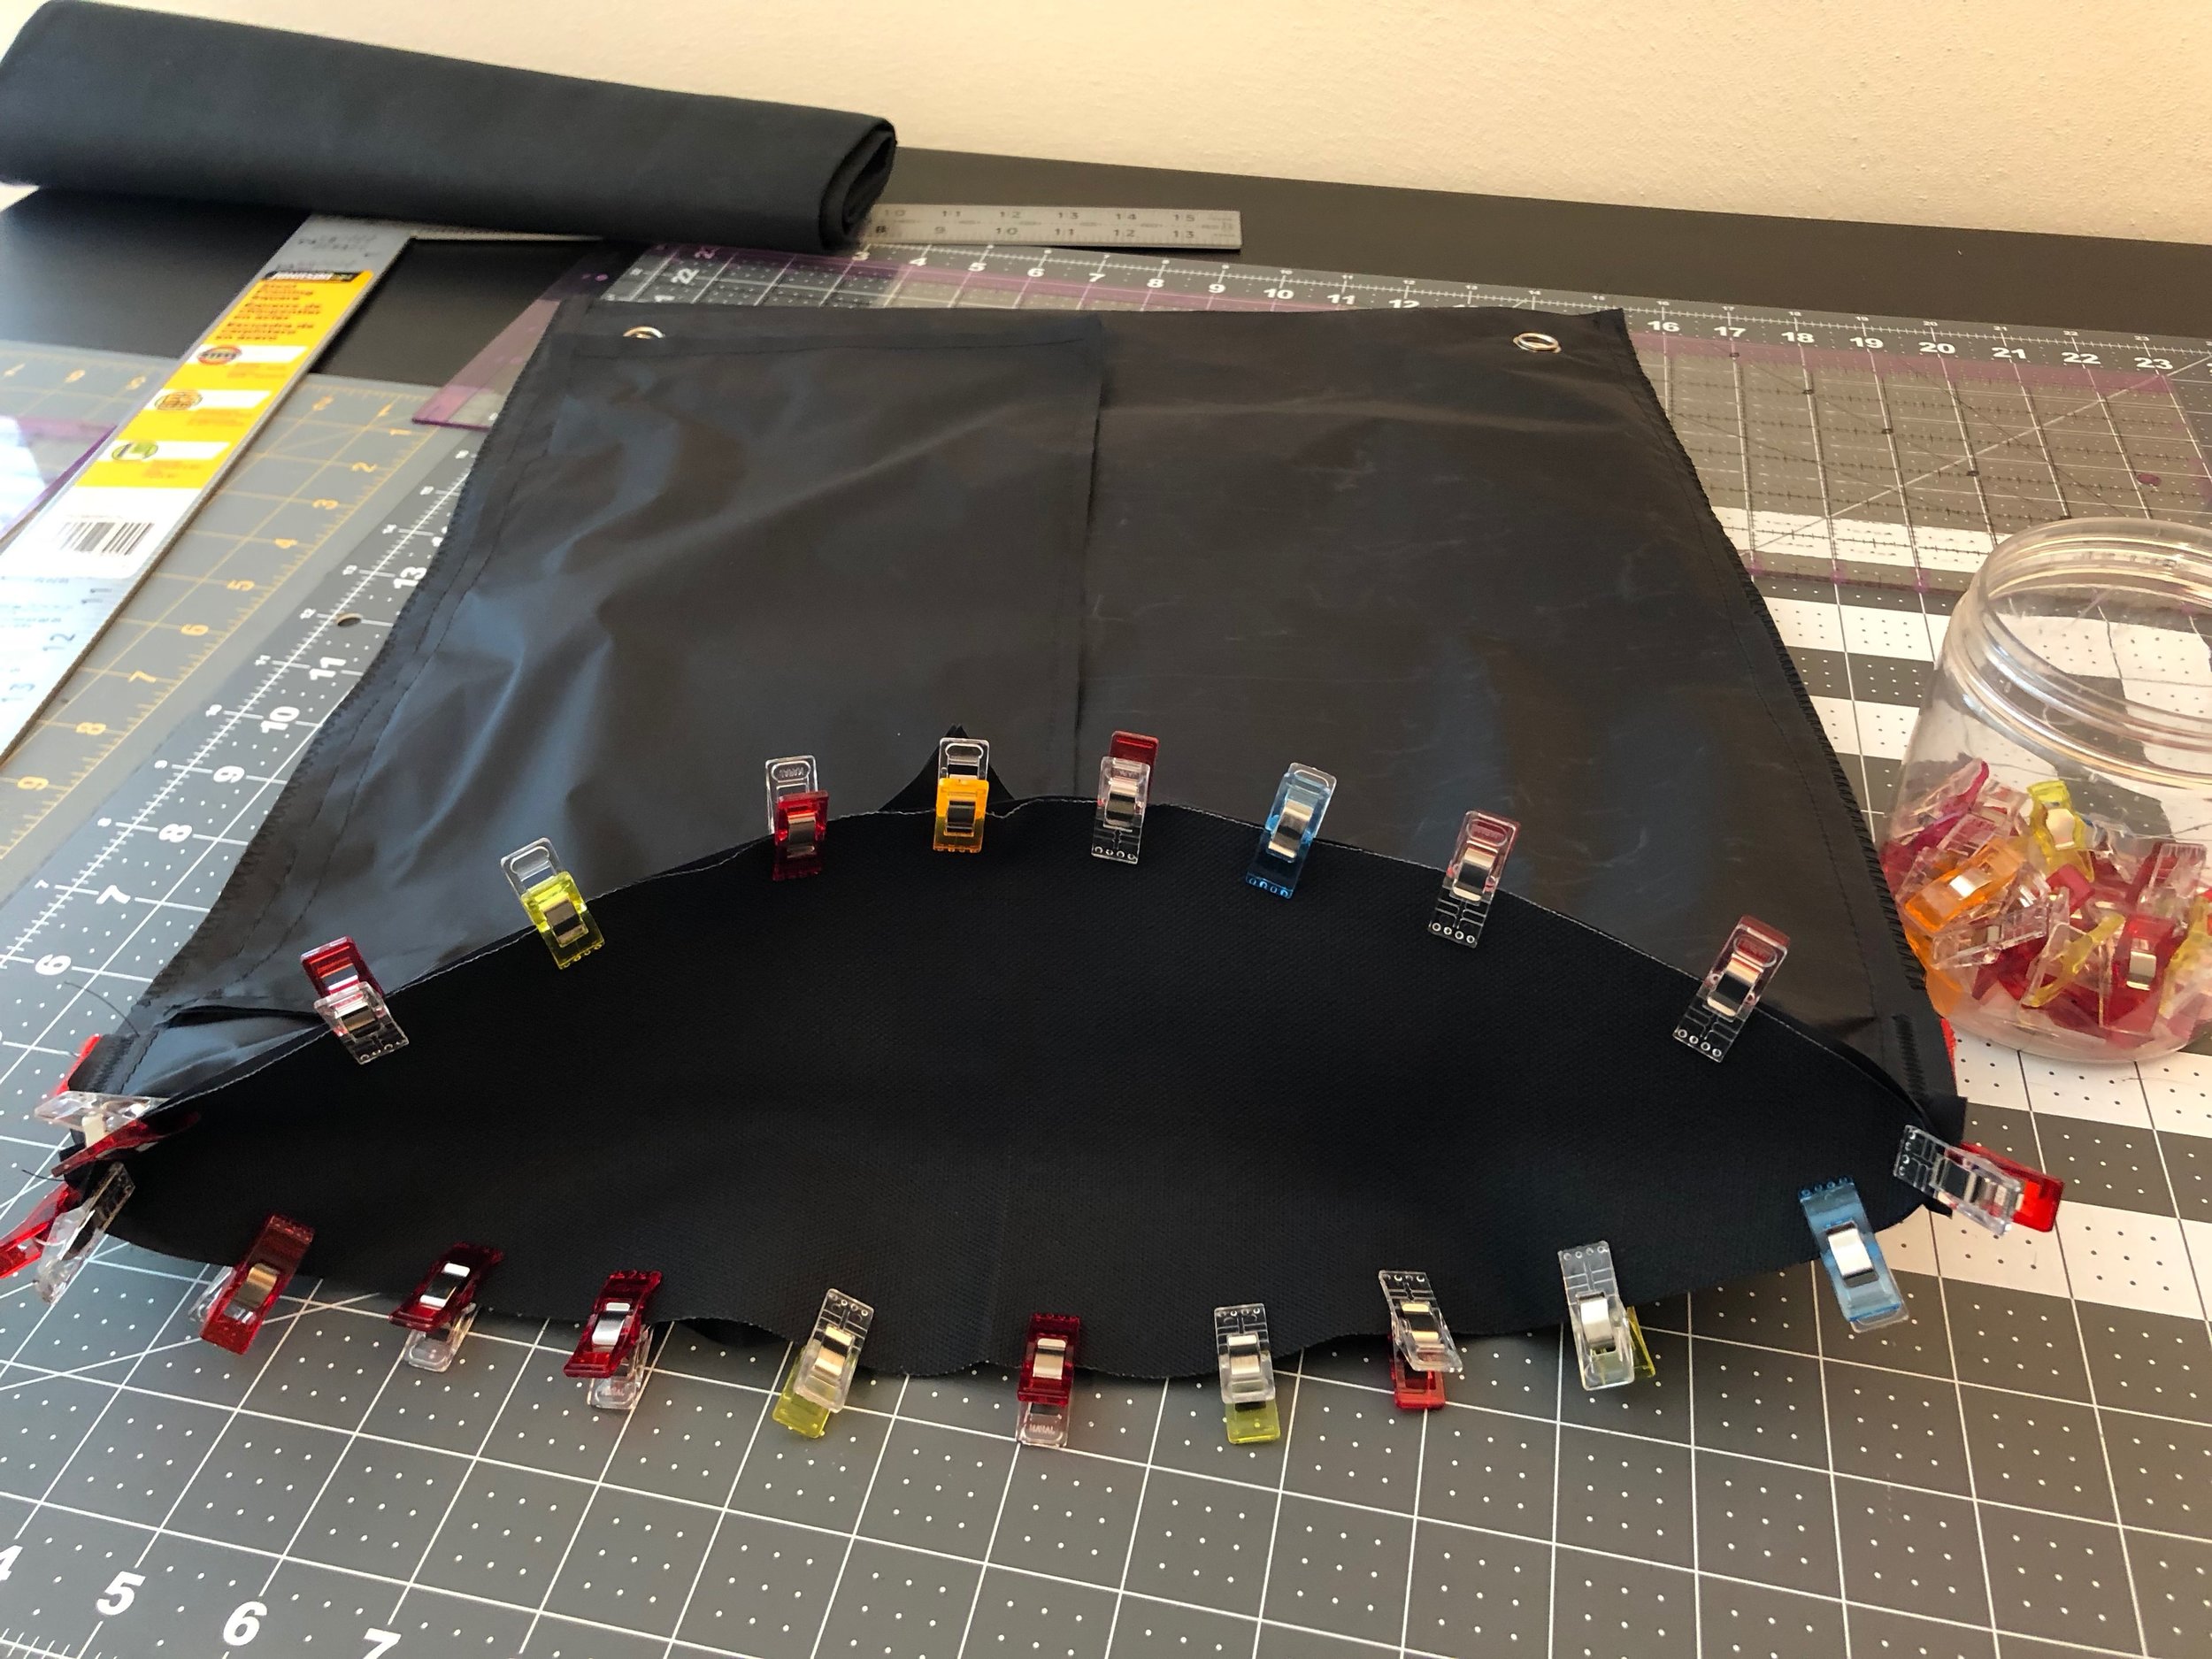
I find when working with gusset type items, it's easiest to fold the items in half and make a small clip at the centers, which makes it easier to get things lined up. Start with the front or the back, match up that center clip with the center clip at the bottom and begin pinning around, right sides together, until you reach the end. Repeat for the other outer piece.

Sew to the bottom using a 1/2" seam.
Outer
I appliqued my numbers onto the front piece first. I won't go through all the ins and outs of applique, but I'm getting much better at it. I have found that a glue stick works well for sticking your applique pieces in place except for when you're gluing it onto ripstop nylon...it doesn't stick well, so I did use pins to make sure they stayed put. Slapped some stabilizer on the back and appliqued the numbers on.
I took one of the pocket pieces and traced a 1/2" wide box where I wanted to place the zipper. I marked a line through the center of that box to serve as my cutting guide. I placed the pocket on the right side of the outer back piece and pinned in place (and because I used ripstop, I only pinned in the box so I wouldn't wind up with holes).

Sew around the outside of the box. Using a rotary cutter, cut along the center line of the box, clipping diagonally to the corners (careful not to cut through the stitches).
Turn the fabric through to the back side and press it along the seam created by the stitches to create a window for the zipper.

If cutting the zipper to size, be sure to bartack across the zipper teeth to keep it in place. Place the zipper facing up and center it in the window. Ensure the zipper pull is inside the window. Use a zipper foot and topstitch around the box to secure the zipper in place.

Flip the piece over, so it's facing down, place the remaining pocket piece face down over the existing pocket piece and pin or clip it together. Sew the pocket together, but be sure not to catch the outer piece...only sew the two pocket pieces together.

Grommets
At the upper corners of the front and back outer pieces, mark where you want your grommets to sit. I measured 1.5" from each corner (since I was using 1/2" seams and wanted my grommet to sit at 1" from the finished corner) and marked a dot.
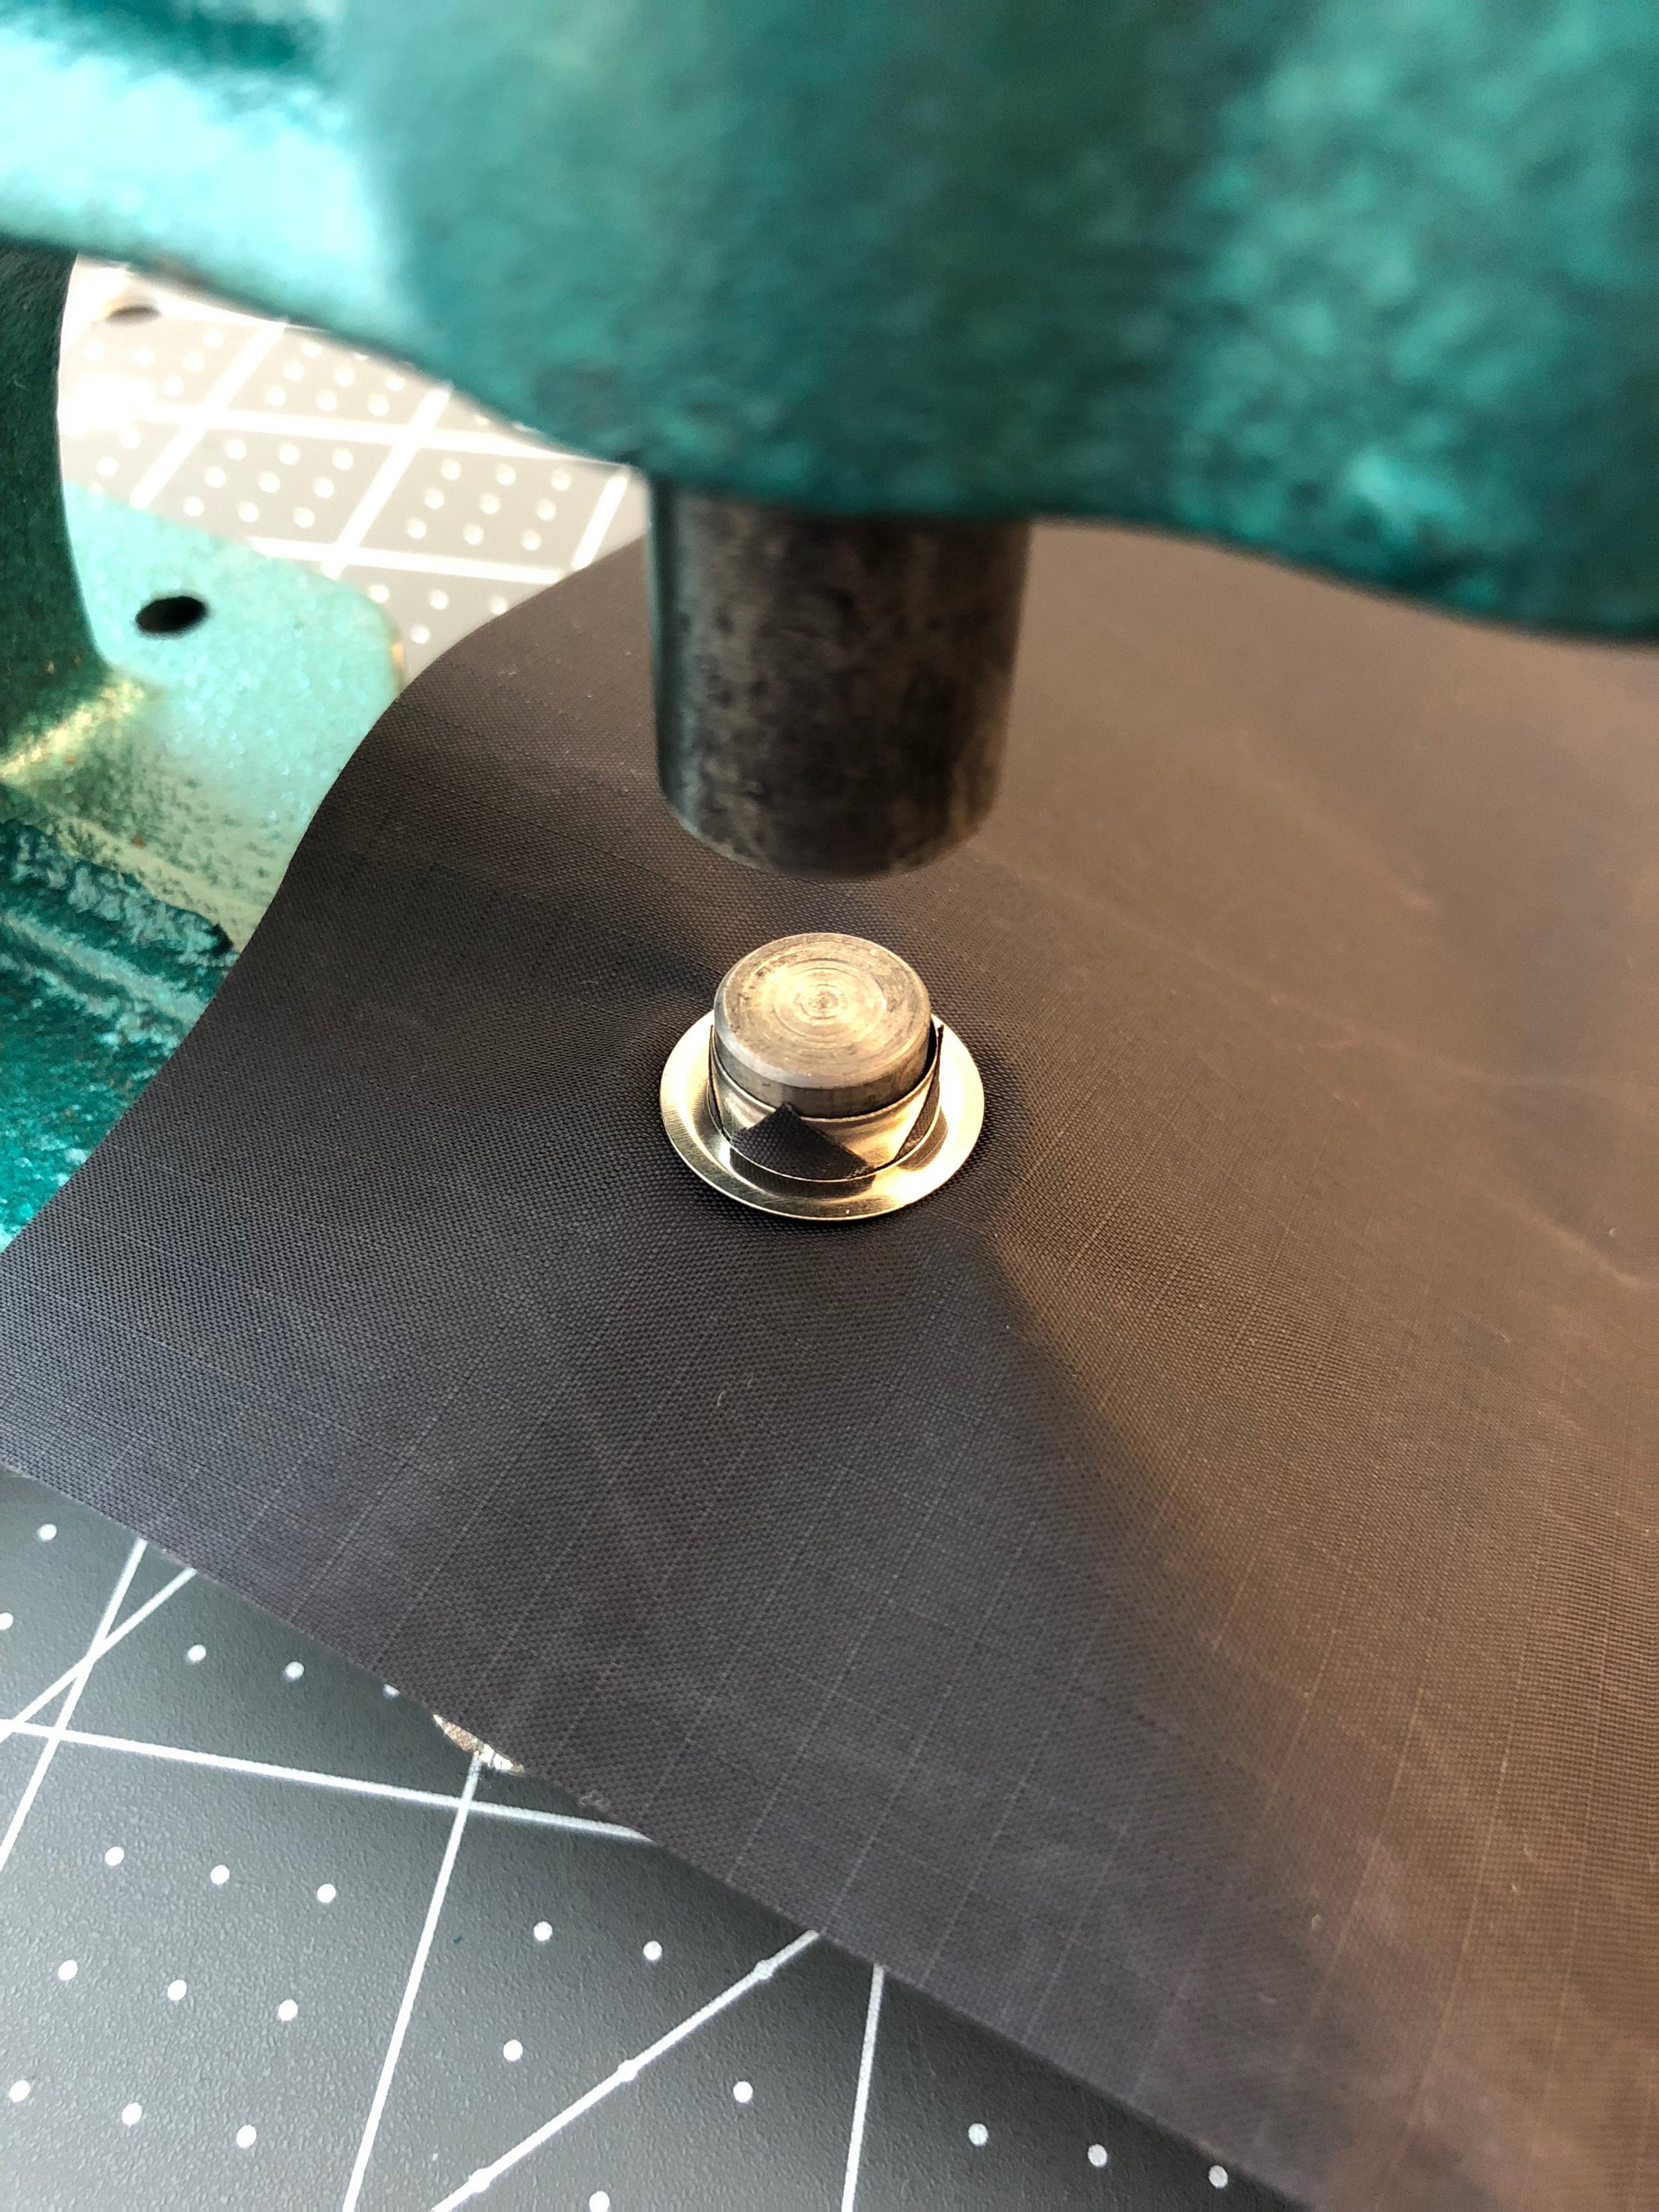
Using one of the grommets, I centered it on the marked dot and traced the inside circle. Using an Xacto knife, I then cut an 'x' to open the hole.

I recently invested in a grommet press, and it was worth every penny. I placed the outside grommet on the die, placed my fabric face down over it, set the washer and pressed the grommet together. Could not be easier. Repeat for the three remaining grommets.
Outer Assembly
I used nylon webbing I had on hand for the drawstring tabs. I cut two 4-inch pieces and folded each in half. I basted them together to keep them in place. I measured 1.5" up from the bottom corner on one of the outer pieces and placed the tabs at that point (right side of the outer piece facing up), with the loop facing in.

Place the other outer piece face down on top and stitch the sides together, making a tube. Use a zigzag stitch within the seam allowance to reinforce the tabs.

As with the lining, attach to bottom (right sides together).
With the outer bag inside out, turn the lining right side out and stuff it inside the outer. Right sides should be together. Line up the side seams and pin around the top. Sew together at 1/2", leaving a gap open for turning.
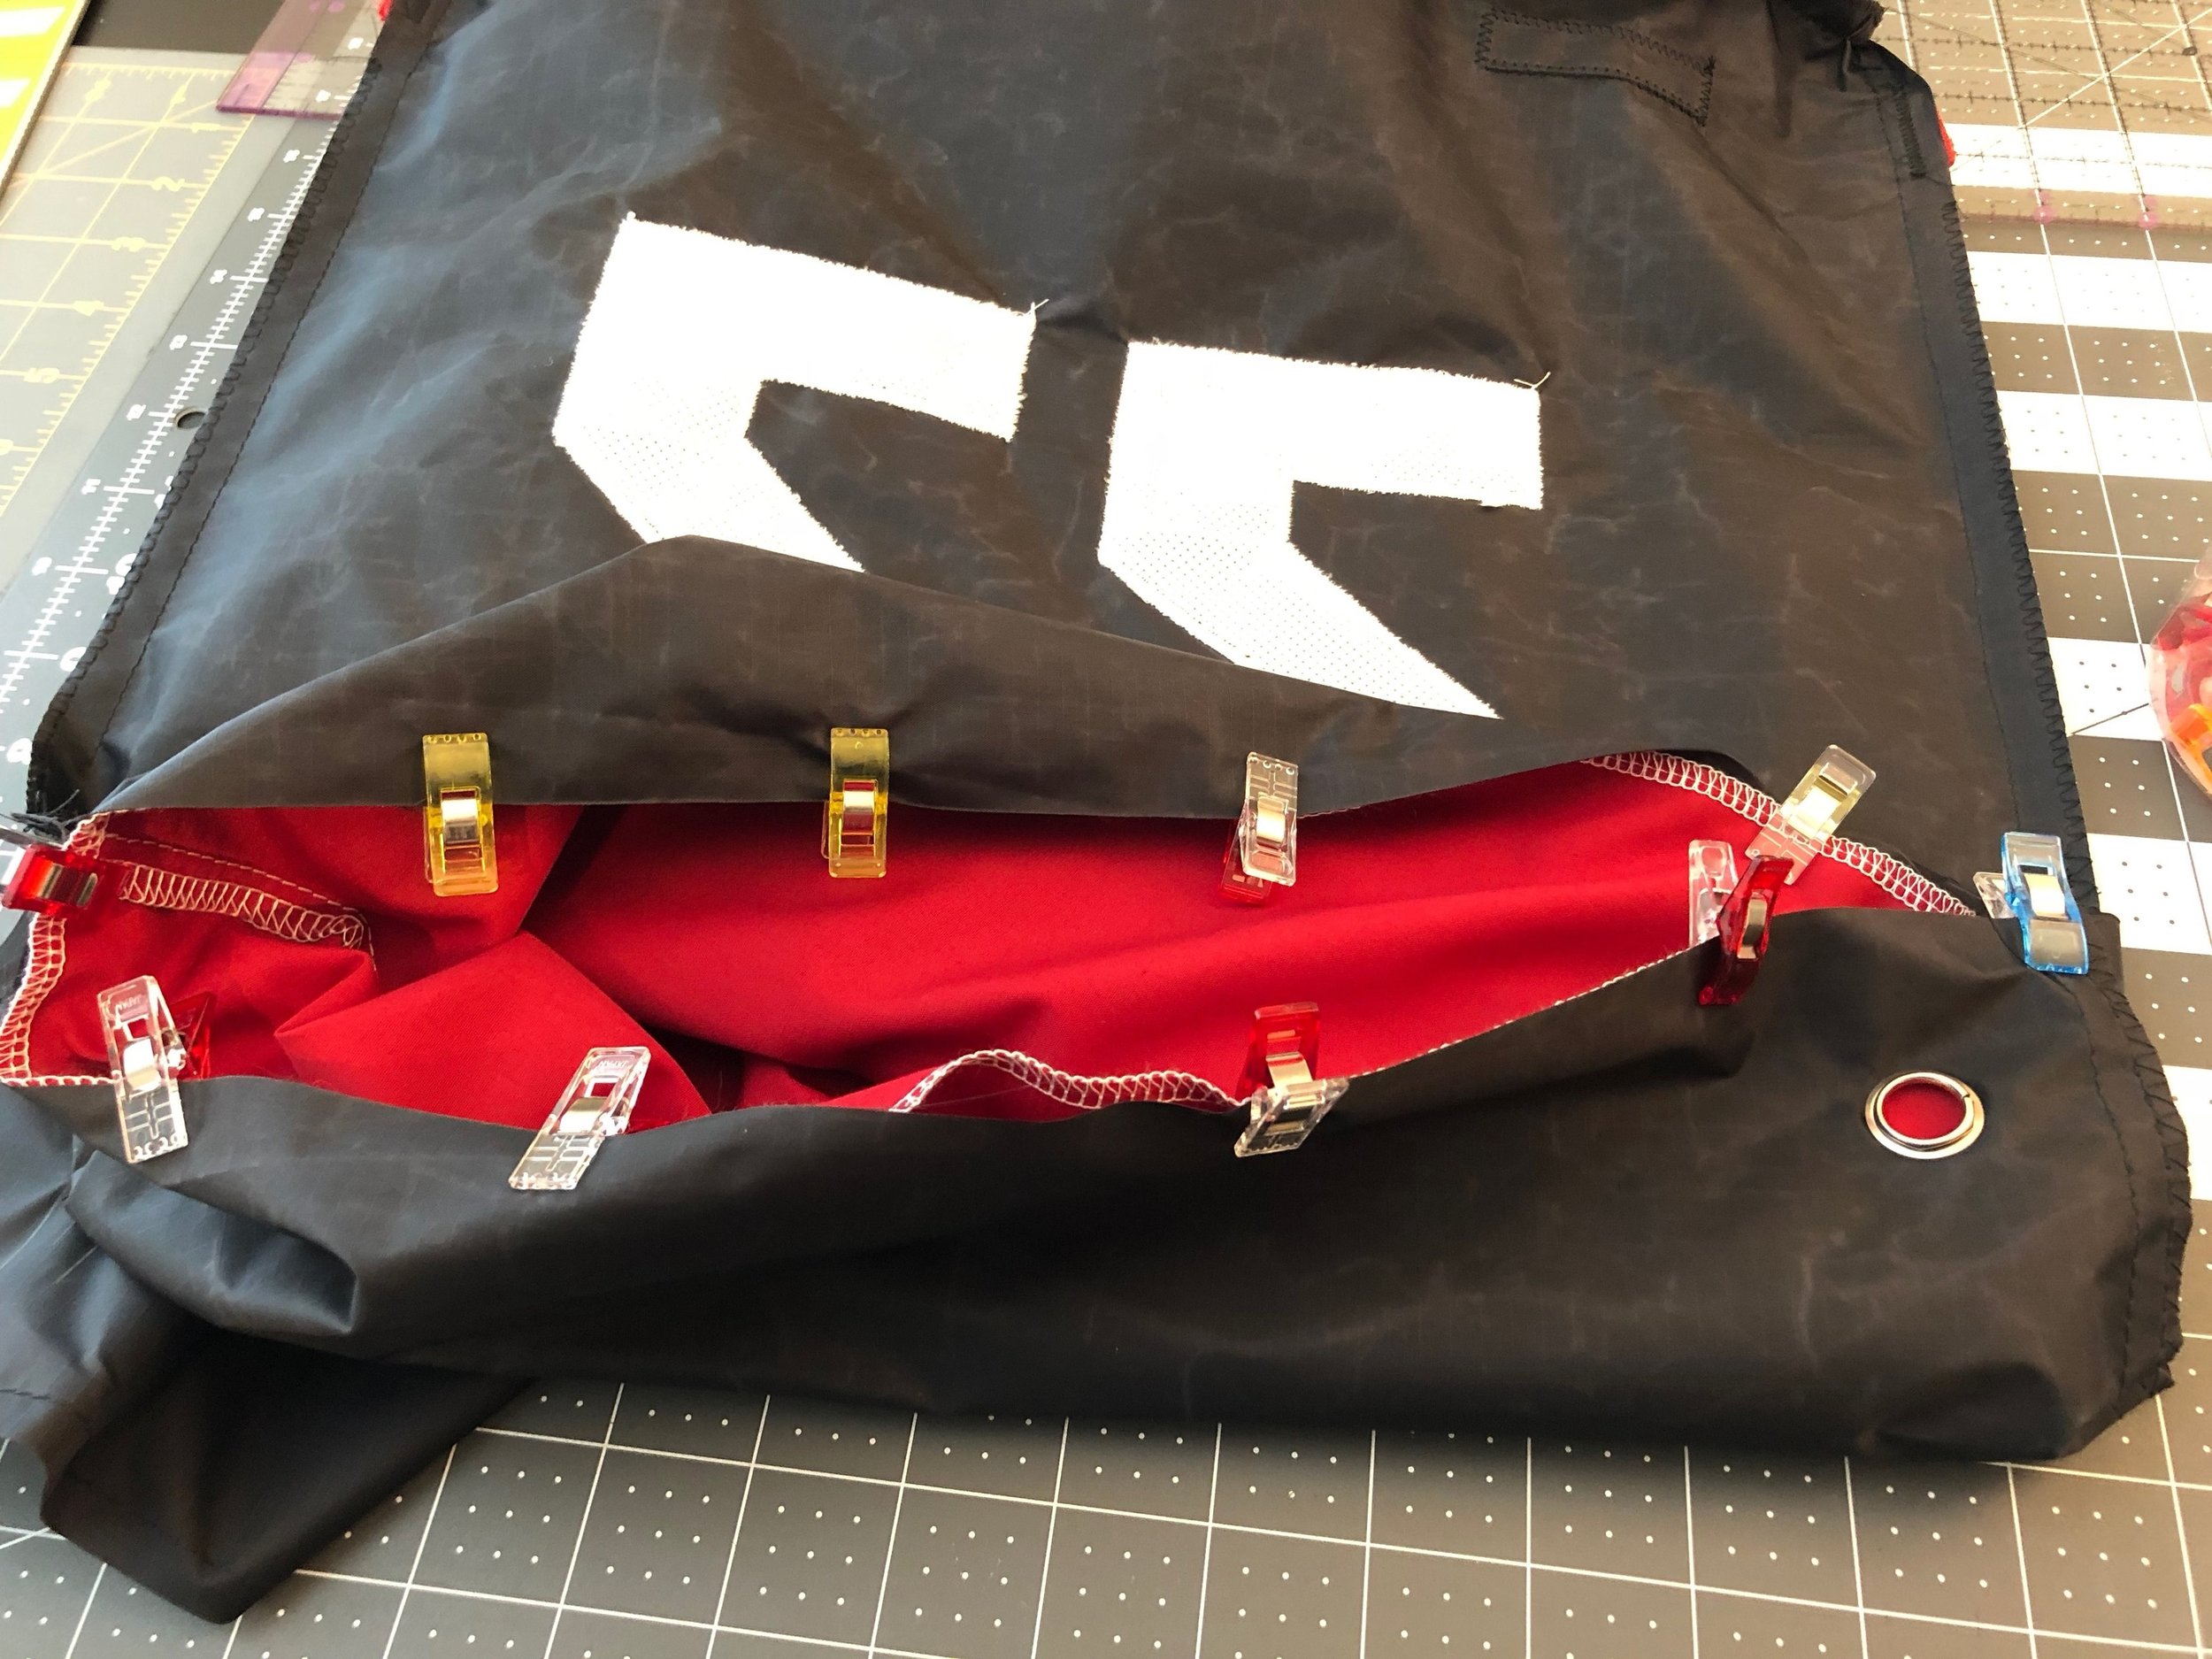
Turn the bag out through the hole and line up the top seam for topstitching. I wanted my lining to "peek" out a little bit as an accent, so I pressed it together with just a hint of the lining showing. Note, since I wanted my stitching to be "invisible", I used black thread in the spool and red in the bobbin, to match the lining. Topstitch around, closing the gap in the process.
To create a channel for the drawstring, topstitch again around the bag, below the grommets.

Attach one piece of the cording to a safety pin and feed it through one of the grommets, out the opposite side, around the back and come out on the last grommet (at the same side you started from). Repeat for the other piece of cording, starting at the opposite side.
The the cording through the tabs at the bottom of the bag, give it a pull and you're all set!

