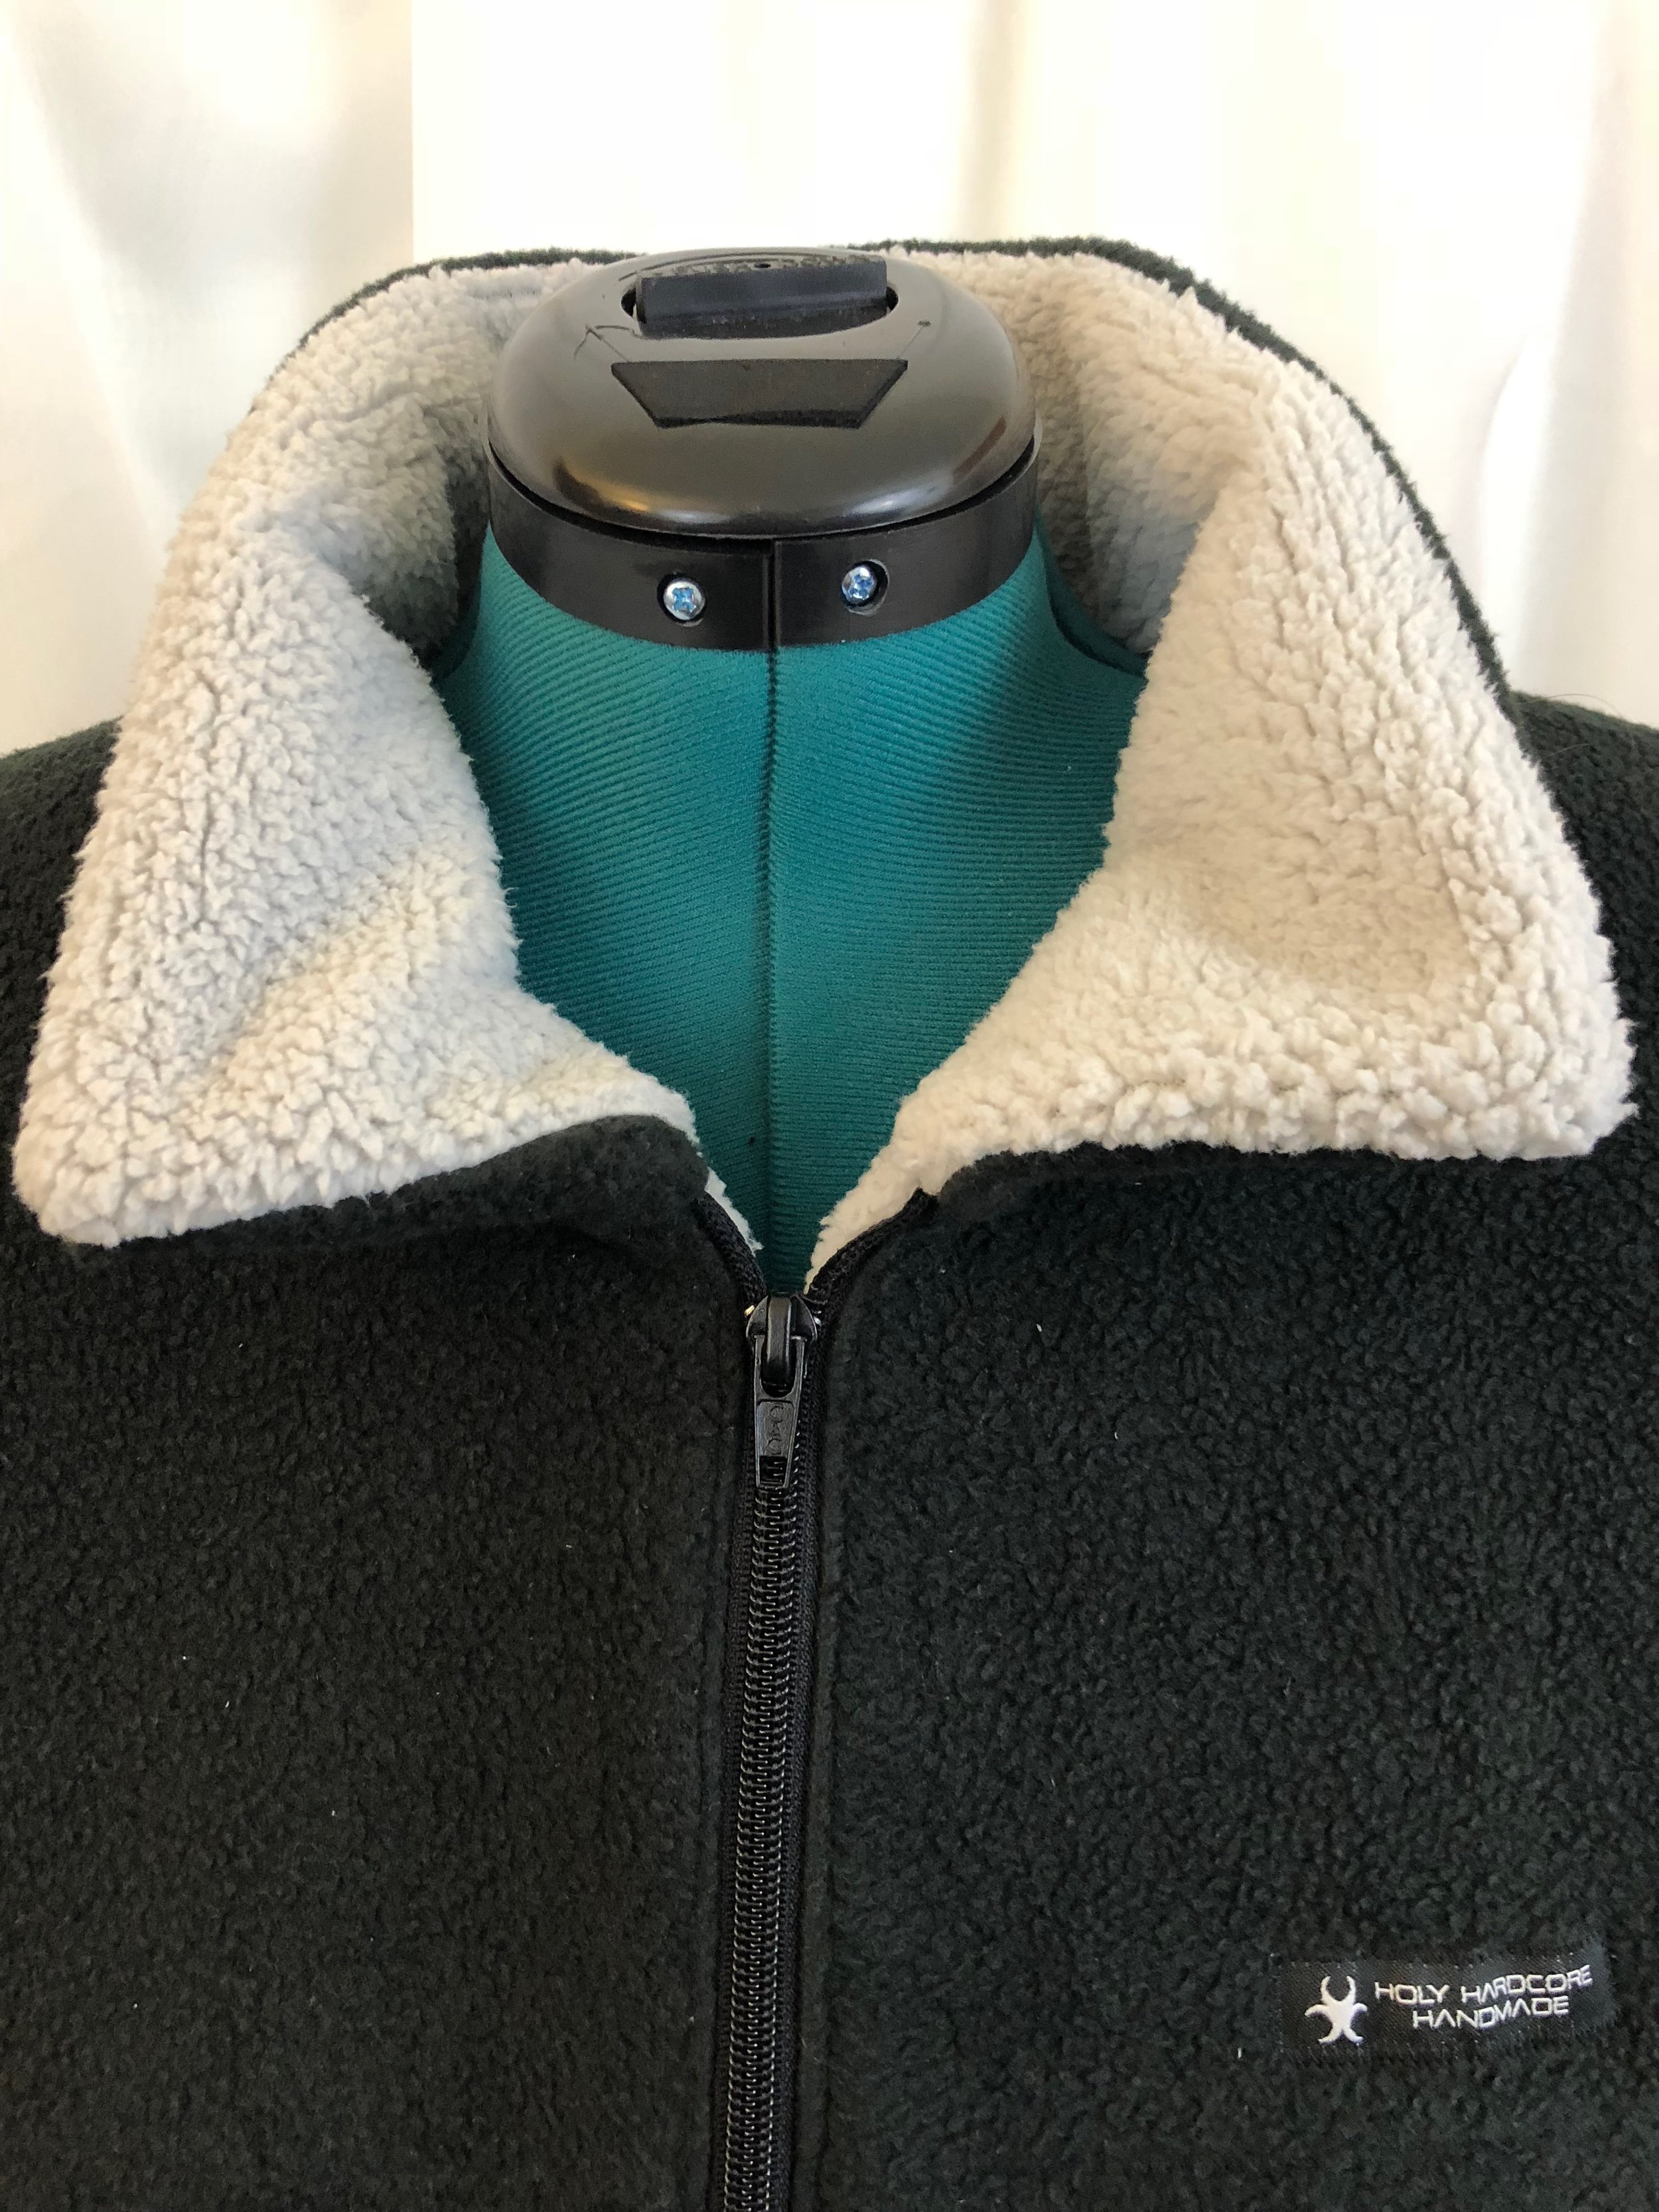
Shenanigans with Sherpa
/You know what makes a damn mess? Sherpa.
I’d say it’s a close second behind minky, and it has moved up on the list of things I will use sparingly going forward...but it’s so soft and warm...maybe I’ll forget how much of a mess it makes and do something with it again.
I found myself thinking, whose idea was it to make something with sherpa? Oh wait, it was mine. It seemed like a good idea.
I have a hoodie like this, with fleece on the outside and sherpa lining, and I really like it. The only problem is the hood, which doesn’t play nice when I put on my coat, which also has a hood. I either wind up looking like a hunchback if I don’t arrange the hood properly, or I wind up with too much bulk caused by two hoods. People, these are real problems.
So, on this fine Sunday following Thanksgiving, I thought I’d make one sans hood. I had a pattern that I thought might work, with a few tweaks.
I used McCall’s M5252 view B. But, I hacked it...a lot. The pattern is not lined, so I had to figure out how to line this bad boy. I’ll tell you how I did it.
First, I cut all the pattern pieces of my outer fabric (black fleece) per the instructions, except instead of two of the collar, I cut one of the outer fleece fabric, and one of the sherpa.
Next, I skipped ahead in the instructions and worked on the pockets (two of which I later took out). After I got the pockets in, I took the front pieces and sewed on the front yokes...again, not following the instructions at all.
I used the two "finished" front pieces to cut my sherpa lining front pieces, and the back piece to cut the sherpa back piece.
For the sleeves, I wanted the lining to be a bit smoother when I slip my arms in, so I didn't use sherpa for the sleeve lining. I had some spare performance knit fabric in black that was slippery enough to allow my arms to glide through, so I used that for the lining sleeves.
Next up was the zipper. The pattern called for a 26" separating coil zipper, and Joann's was fresh out, but I had a 24" zipper on hand, so I decided to use that and not have the zip go all the way up the collar as the pattern called for.
I took the zipper and placed it right side down on the right side of the outer fabric and then placed the lining on top (right side down), matching the top of the zipper tape with the top of the fabric. I should also mention here that I knew the zipper wasn't going to be long enough to reach the bottom of the fabric pieces, but I decided I'd just hem it to match. I wasn't sure if the side pockets were going to work since they were going to be pretty close to the bottom hem. I pushed ahead and sewed the zipper in on both sides of the jacket front.
I sewed up the shoulder seams on each (lining and outer) to attach the front pieces to the back, and then sewed up the side seams (again, on each). At this point I had a weird siamese twin thing going on.
I put in the sleeves on each, which made my siamese twin look even weirder, but I knew it was going to work when I turned it all right side out.
Last up was the collar. I sewed the two collar pieces together (right sides together) along the top and sides. I determined that it would work best if I attached the lining collar first (sherpa to sherpa, right sides together) and then flip the collar over to the right side. Originally, I planned to sew it down using the machine but when I tried this, the layers were so thick, it was not happening. So, I wound up hand stitching the collar closed around the outer edge. Thankfully it's fleece and my terrible hand stitches are completely hidden!
Once the collar was on, I turned it right side out and zipped it up to look at it. This is when I determined the side pockets were going to have to go. They were way too close to the original cut of the fabric and I needed to hem about 3" off the bottom to account for my short zipper. So, I pulled out the pockets and sewed the seams shut. Good thing I'm a master of the seam ripper!
To hem it, I knew I wasn't going to be in the mood to mess around with multiple layers of sherpa, so I measured out where I wanted the hem to be on the fleece. From there, I carefully cut the sherpa down so that it would slip under the hem. Since fleece doesn't fray, and folding under a hem was going to create way too much bulk, I just cut the fleece down to about a 1" hem, tucked the sherpa underneath, and sewed it closed with a straight stitch. I trimmed down the excess as close as I could to the stitches.
I hemmed the sleeves in a similar fashion, put it on, and walked to the grocery store.


