Garage Door Bug Screen Final
/Finally, I have triumphed!
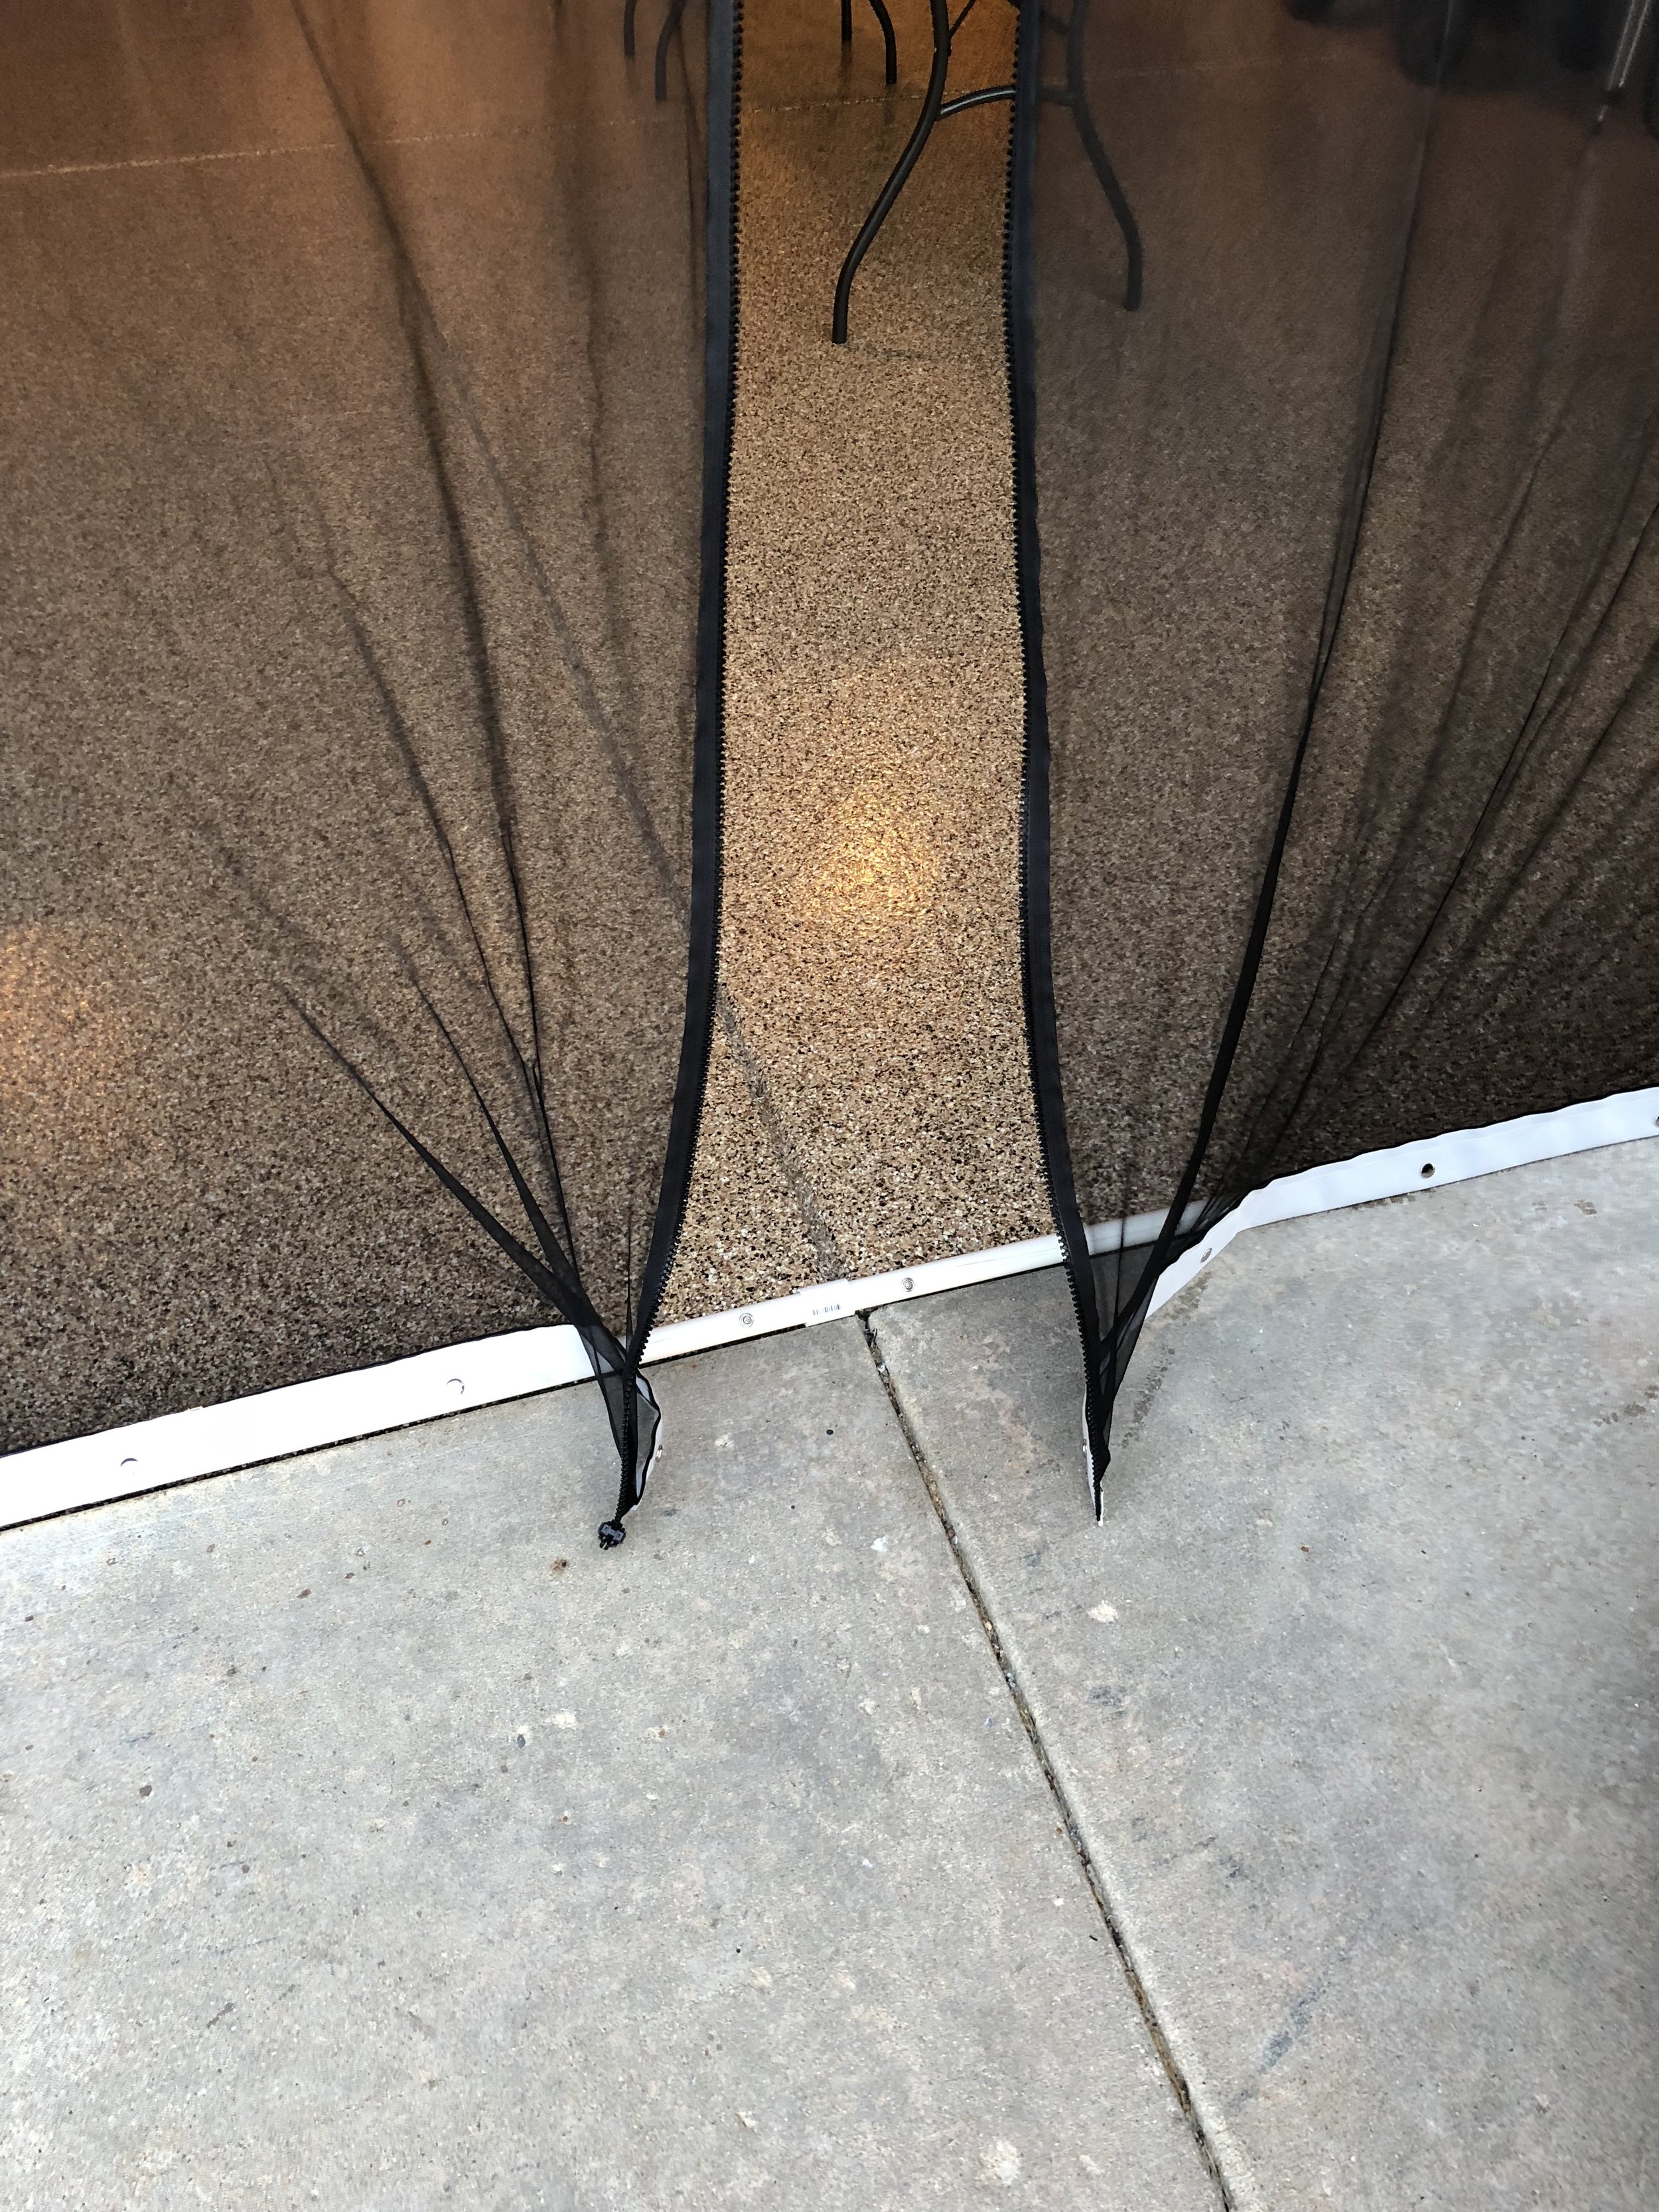
Last post, I had put it all together and determined that it wouldn't roll up properly because I had 4 separate dowel rods fed through a channel at the bottom. I needed a continuous piece so I went to Home Depot and picked up some 3/4" PVC pipe with a coupler (they come in 10' lengths and I needed 16'). I cut them to size and then coupled them in the middle.
I decided I would attach snaps to the PVC pipe (I used 3/8" cloth-to-surface snaps, much like the twist locks). Keeping the pieces of PVC separate, I set the PVC down on a table and clamped it so it wouldn't roll. I took a pencil and keeping the pencil flat on the table, marked a line down the length of the PVC so that my screw holes would be lined up properly.
Then I marked where I wanted the screws for the snaps. There are 10 on each half of the PVC. I spaced them 2" in from either end and then at 10" intervals. I drilled pilot holes and then screwed the snaps into the PVC.

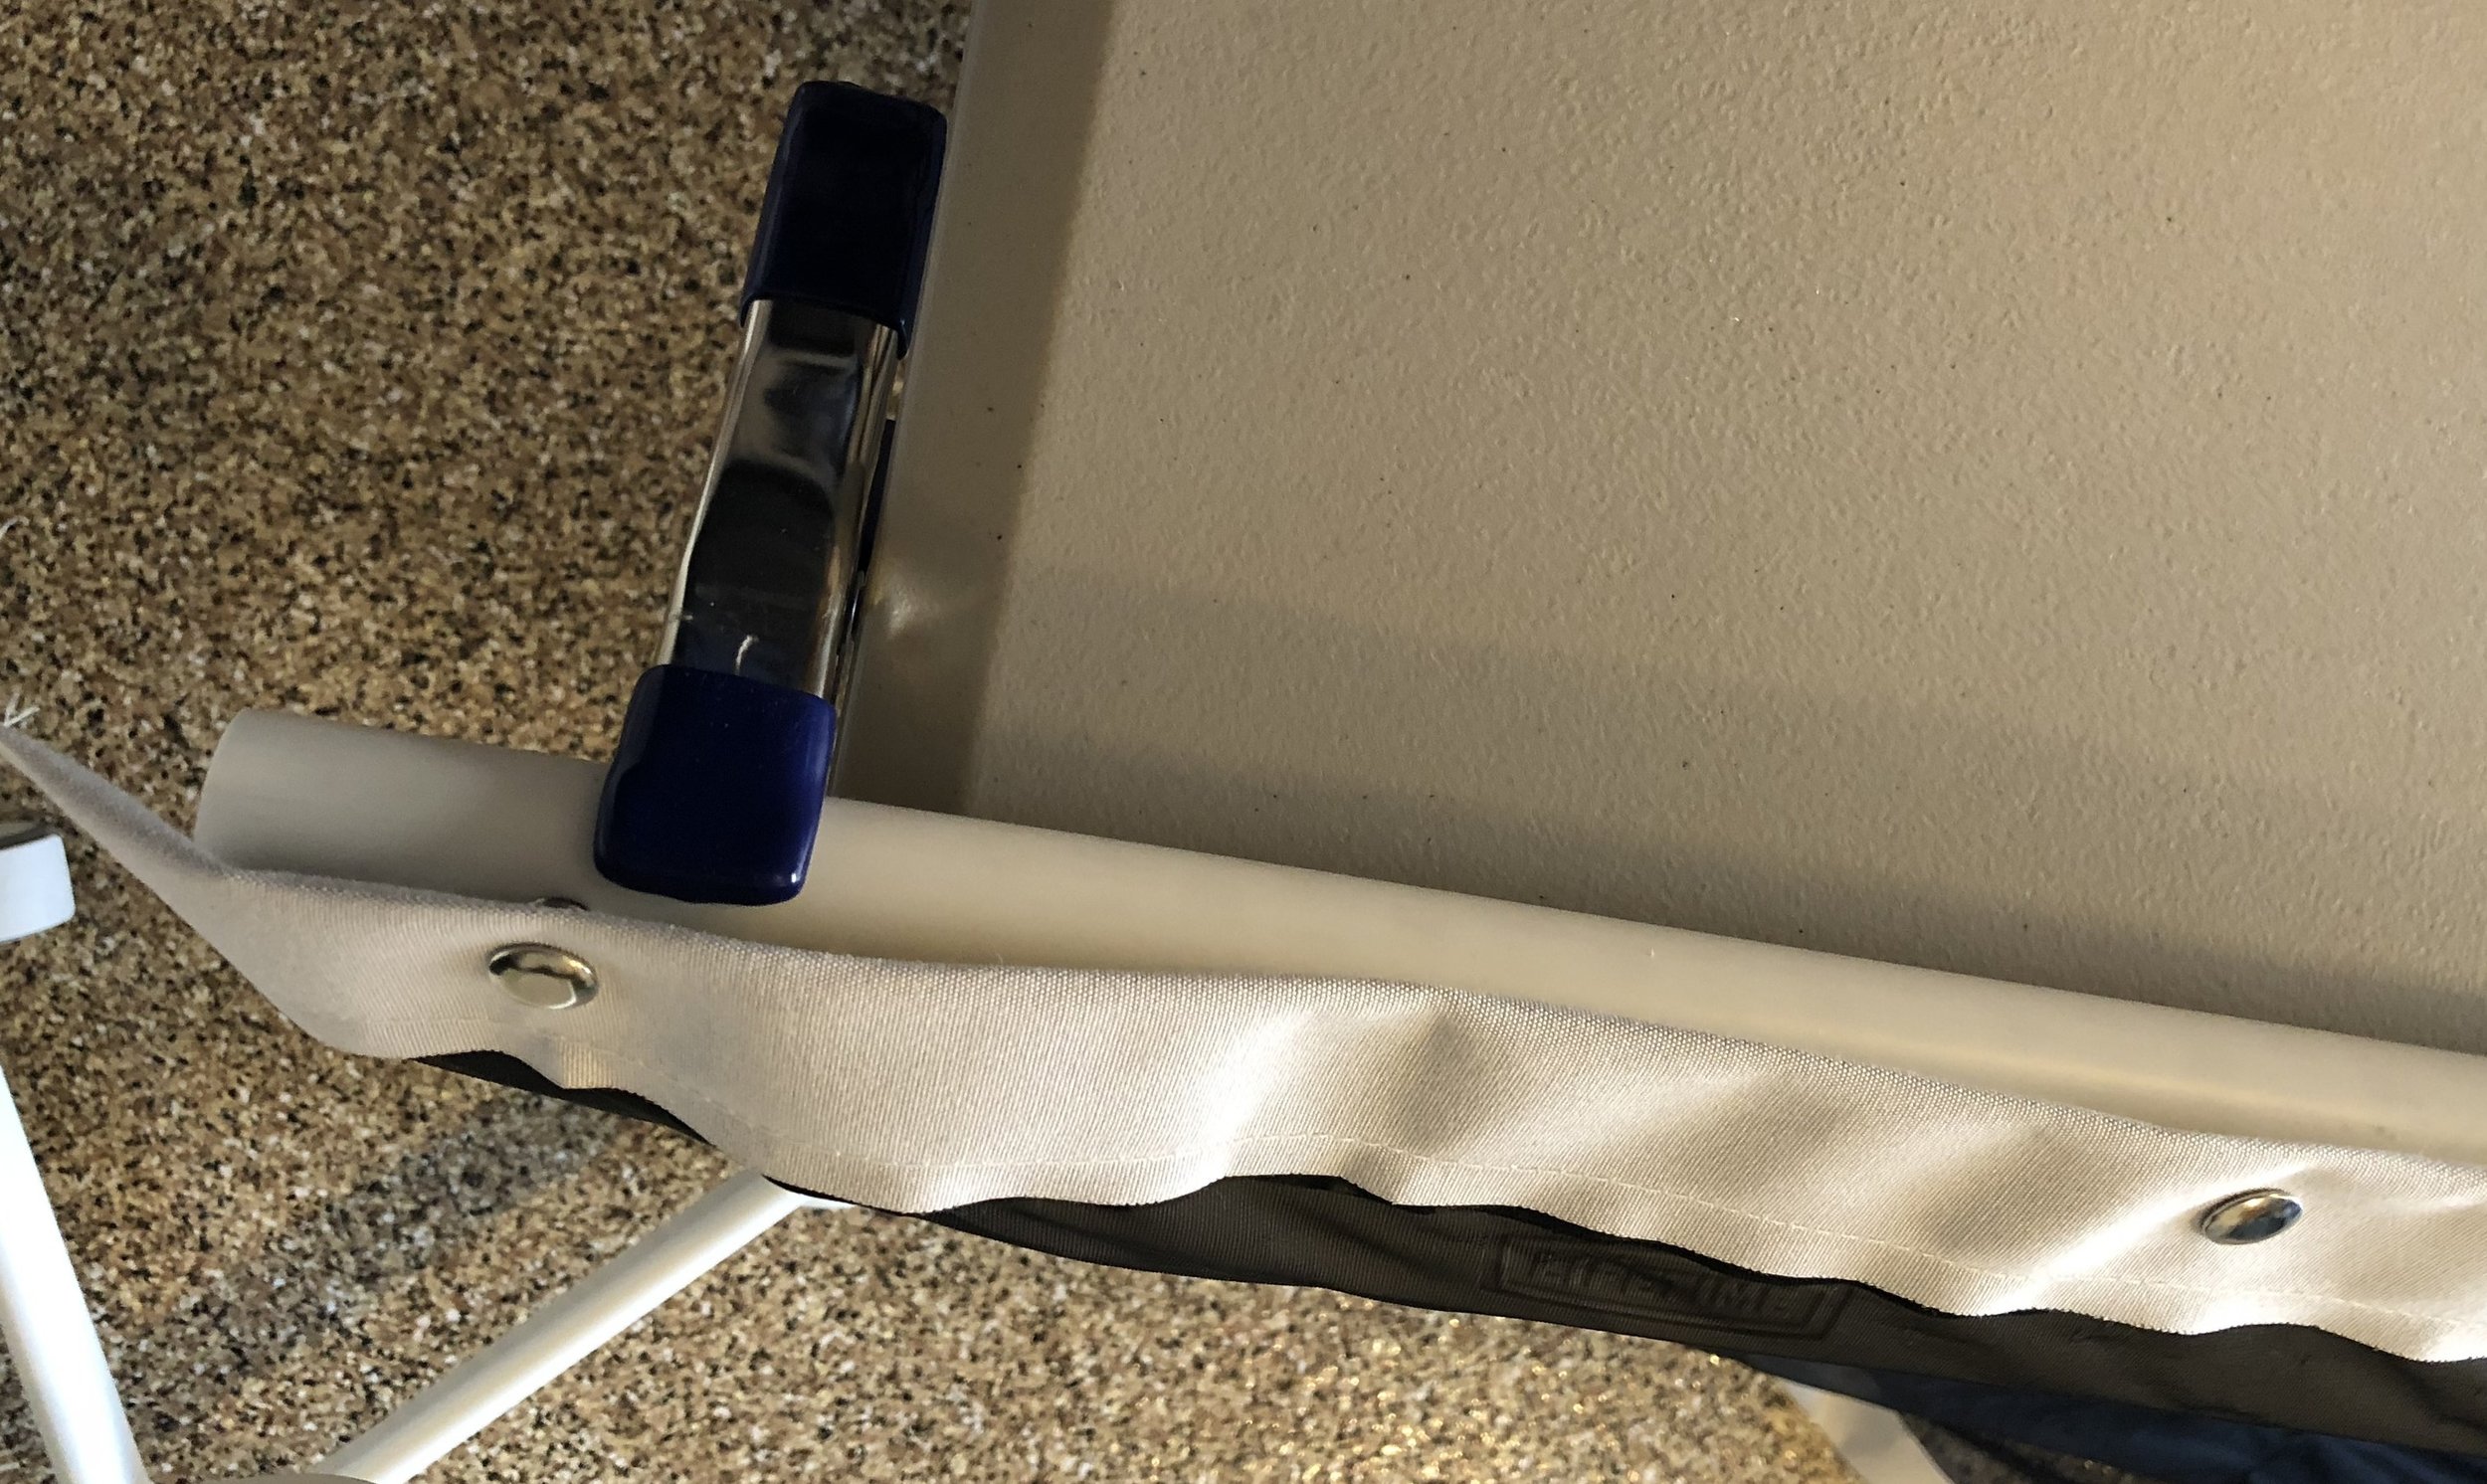
Because the original screen just had satin blanket binding, I had to bind it with something more substantial, so I used some scraps of the Sunbrella fabric I had been using for the Bimini Top project. I cut those pieces 4" wide and then creased it in half. I just wrapped it right over the blanket binding (since I didn't want to lose any dimensions) and sewed it on.

To set the snaps, I started at the center (where the zipper is) and marked the first snap. Using an Xacto knife, I cut a little 'x' at the mark. I pushed the snap stud through the hole (with the snap stud on the outside of the binding. I used a snap setter to set the snap washer.
I snapped the first snap to the PVC and then marked the next snap. I followed this method along both sides to ensure I had good placement of each snap.
20 snaps later and voila! Now for the moment of truth...will it roll up?
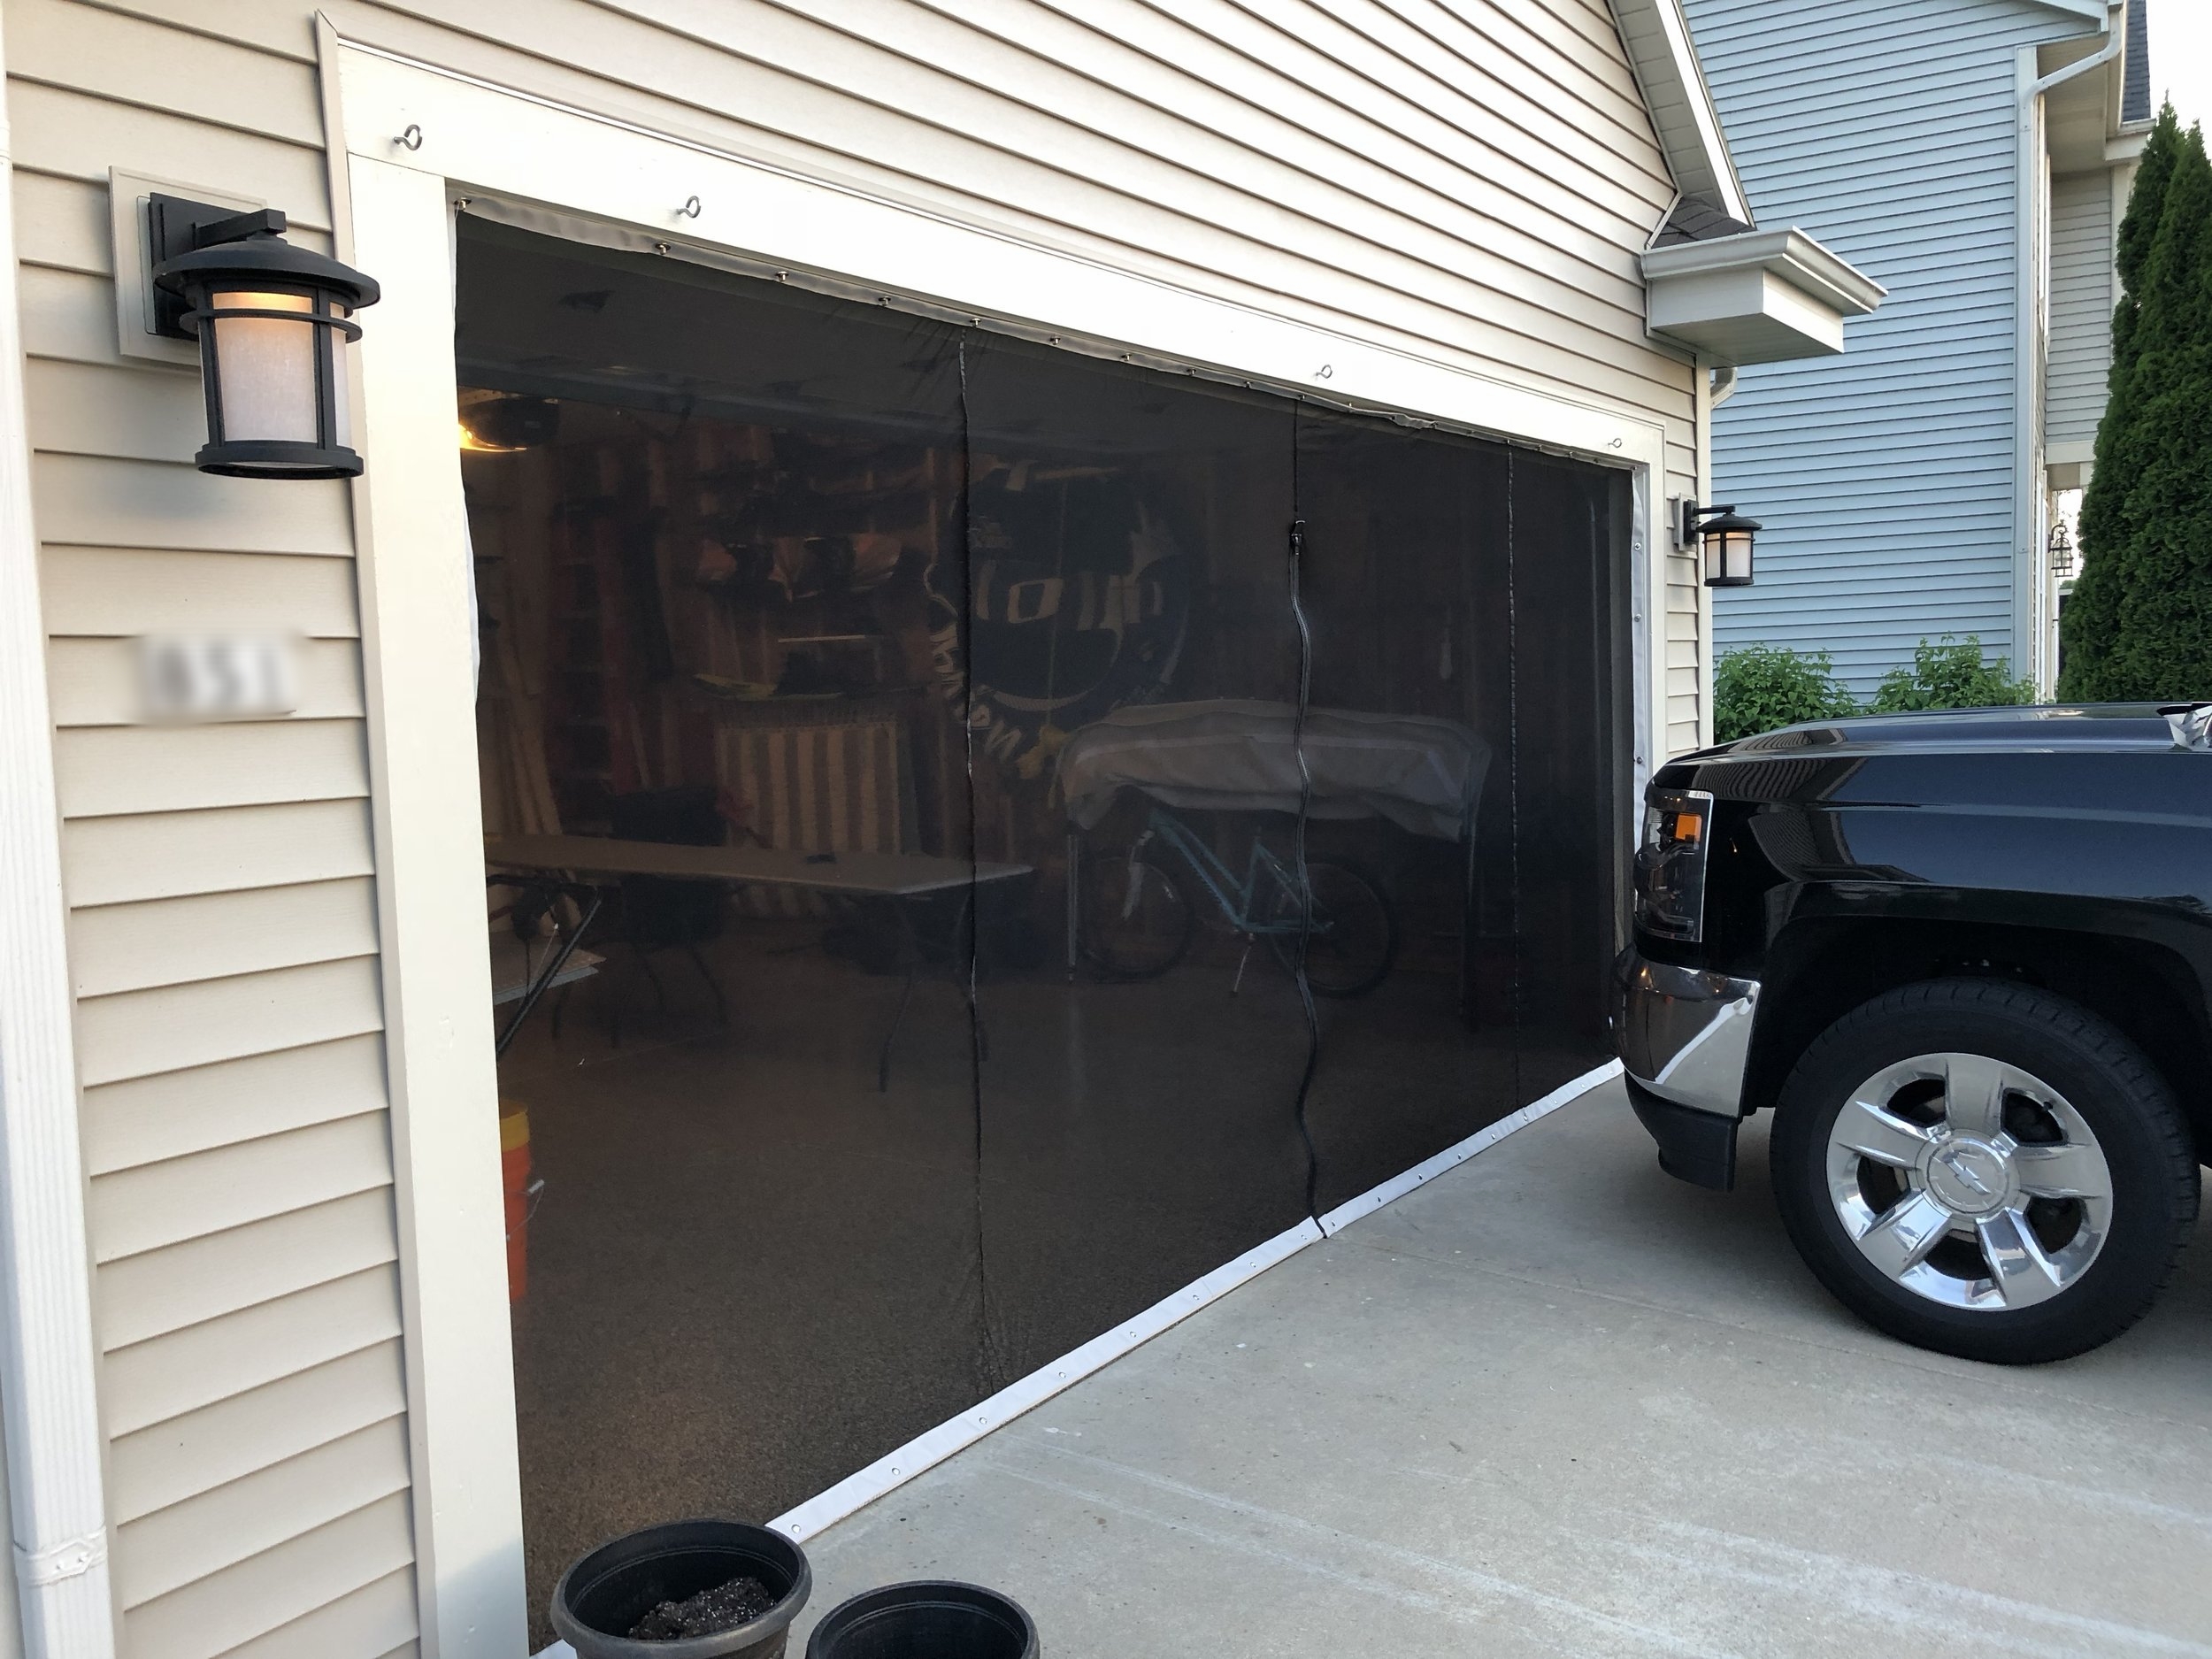
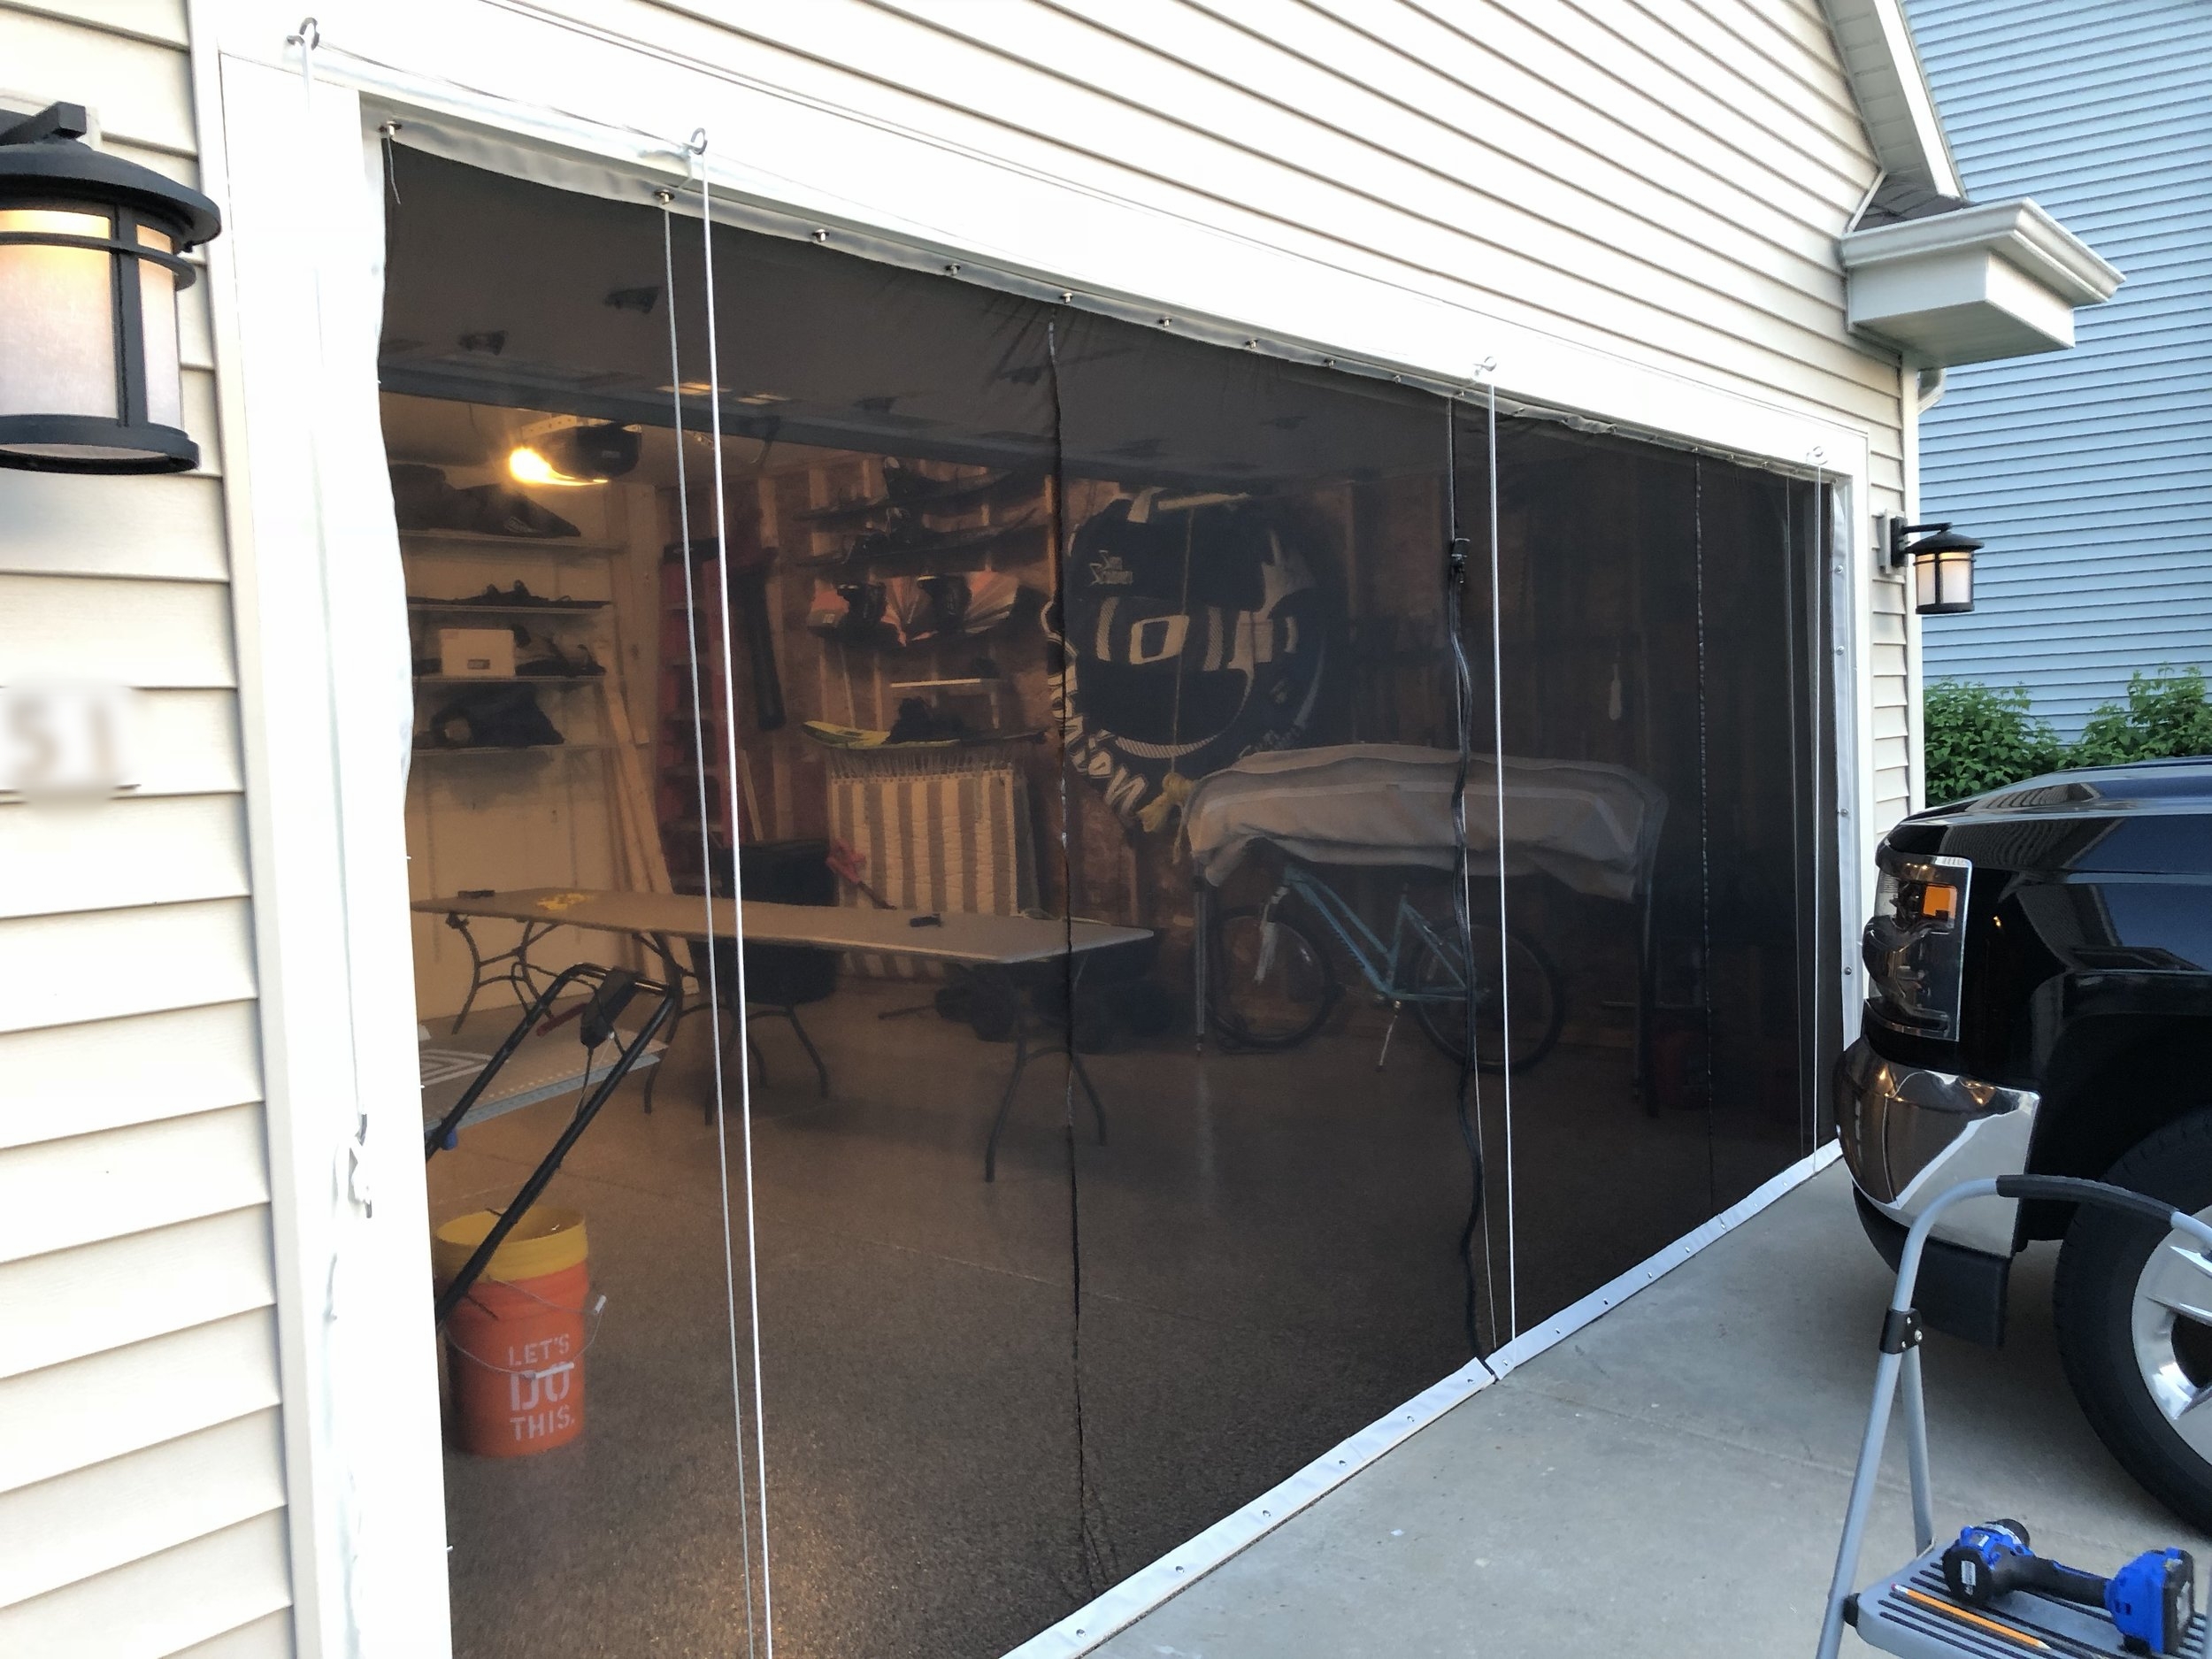
I put the screen back up around the garage frame. It fits absolutely perfectly - nice and tight, and the PVC adds the right amount of weight to keep it down and in place.
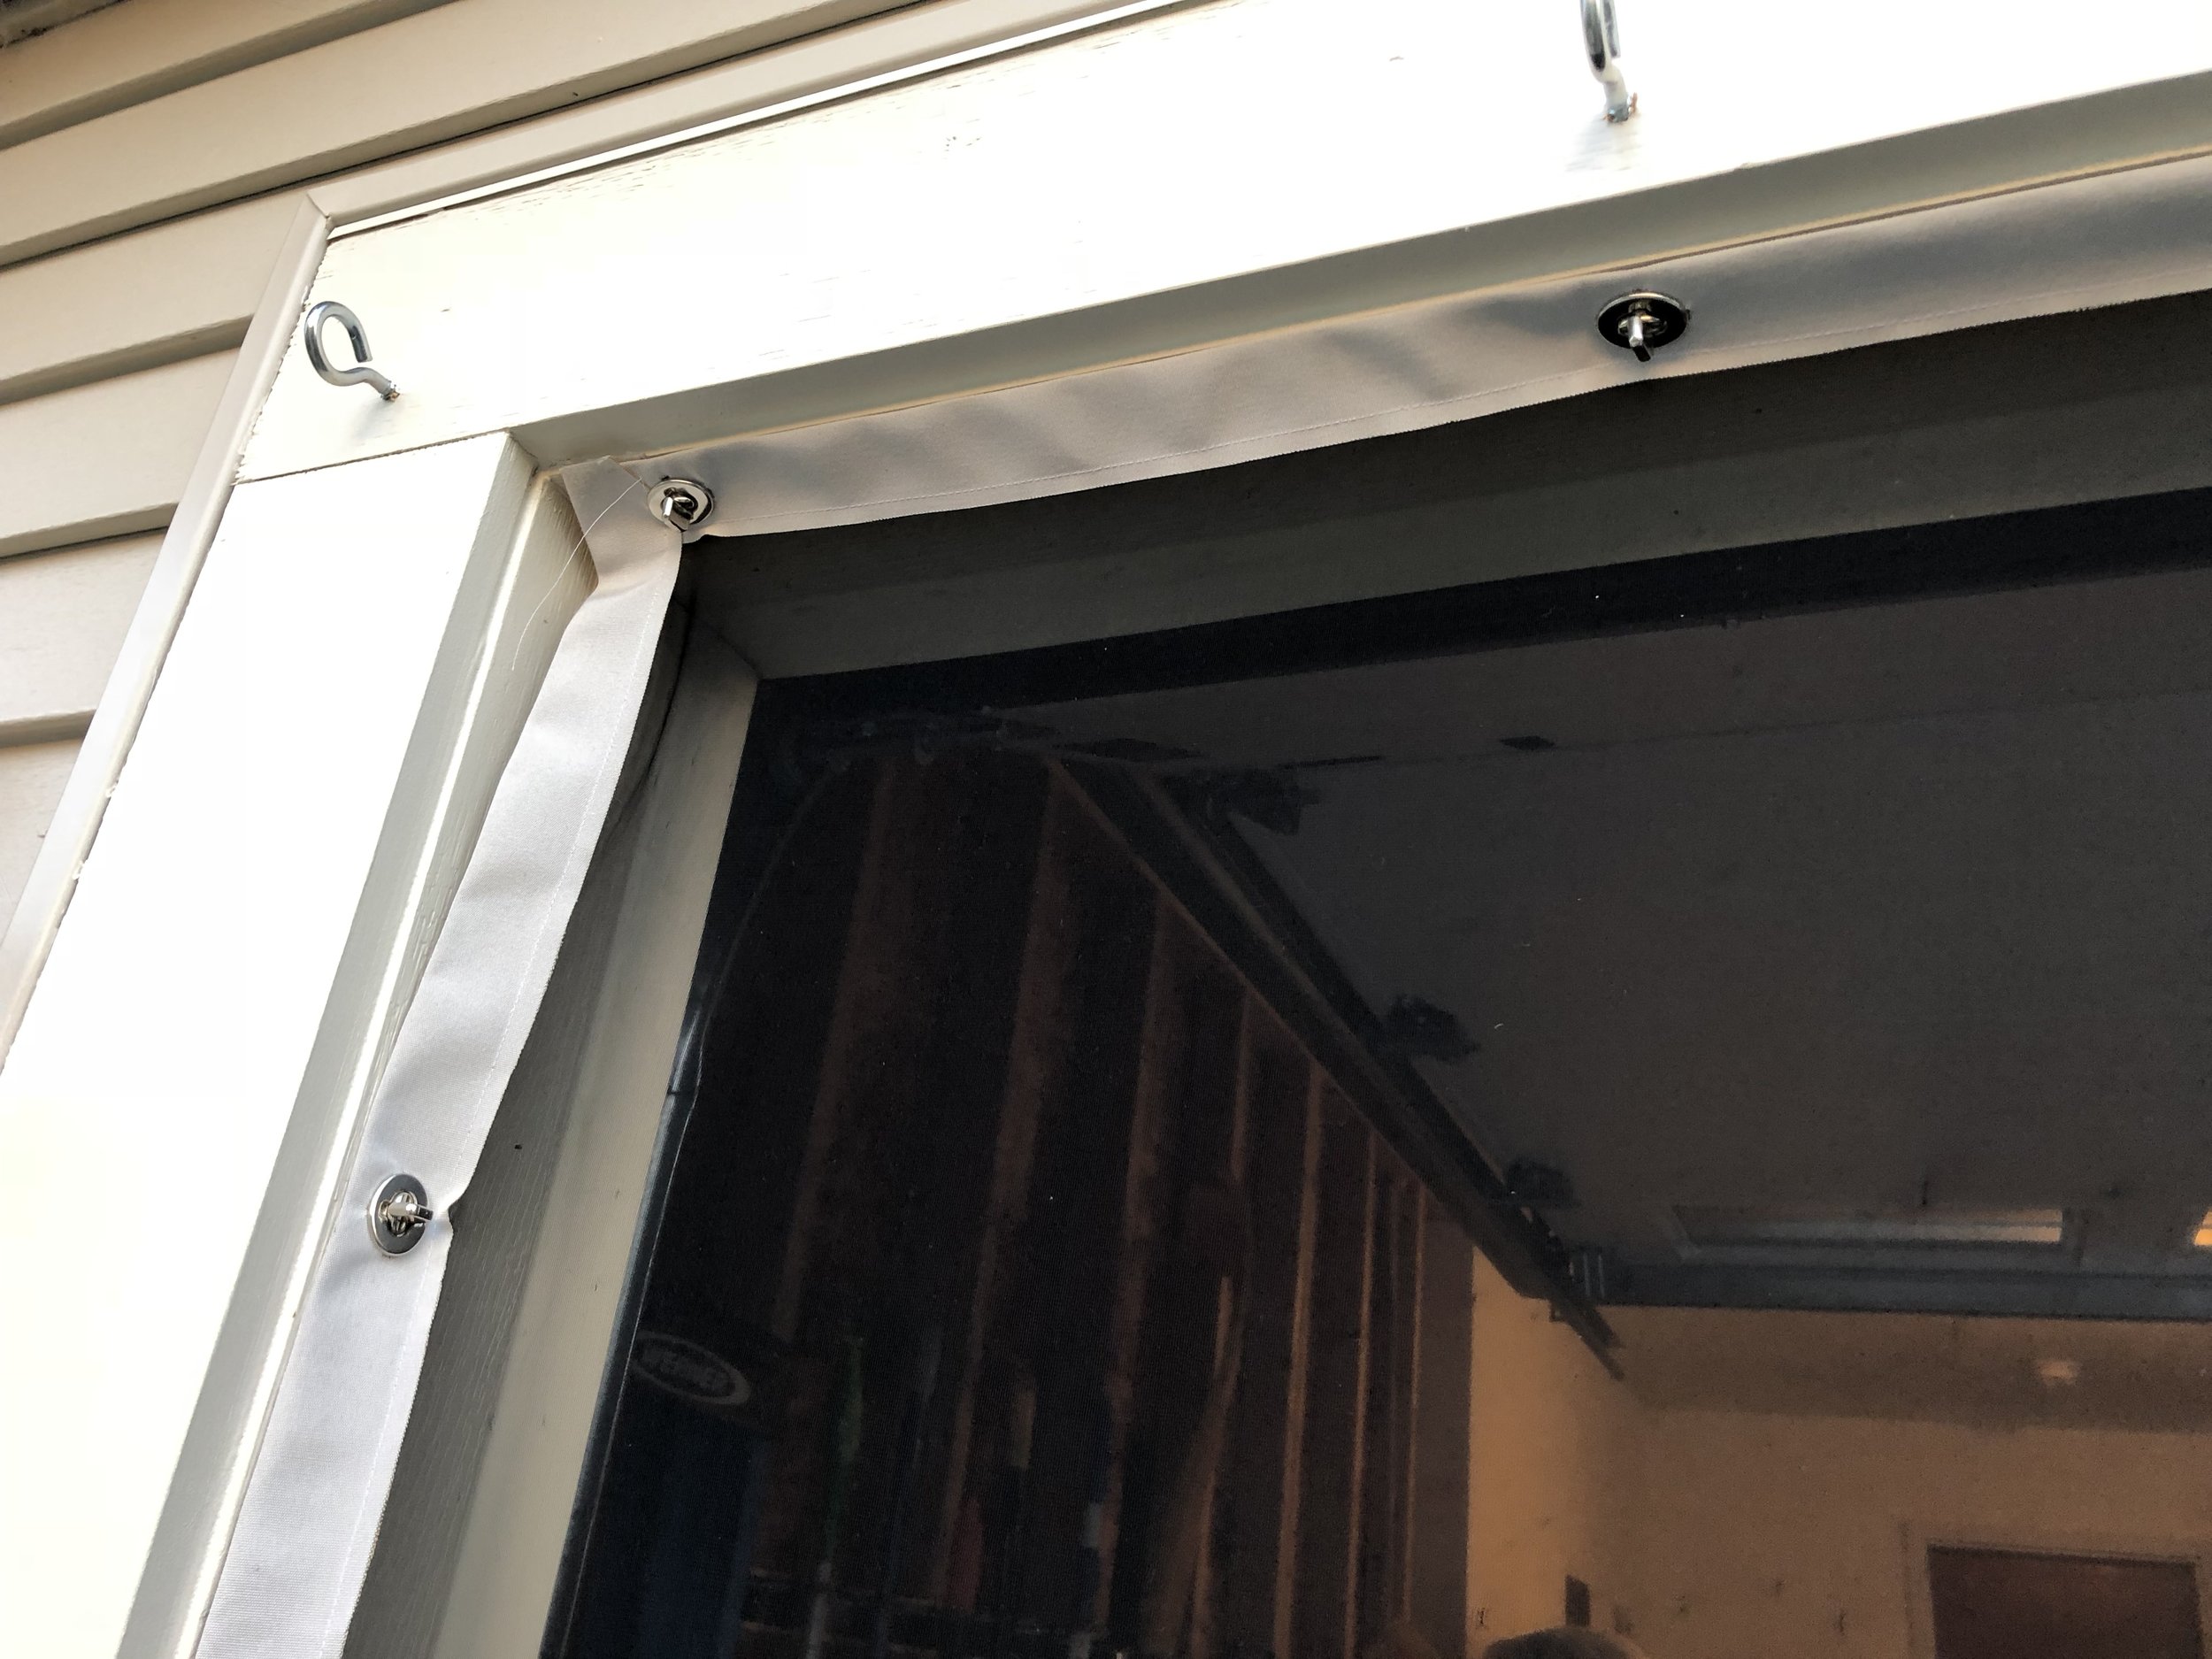
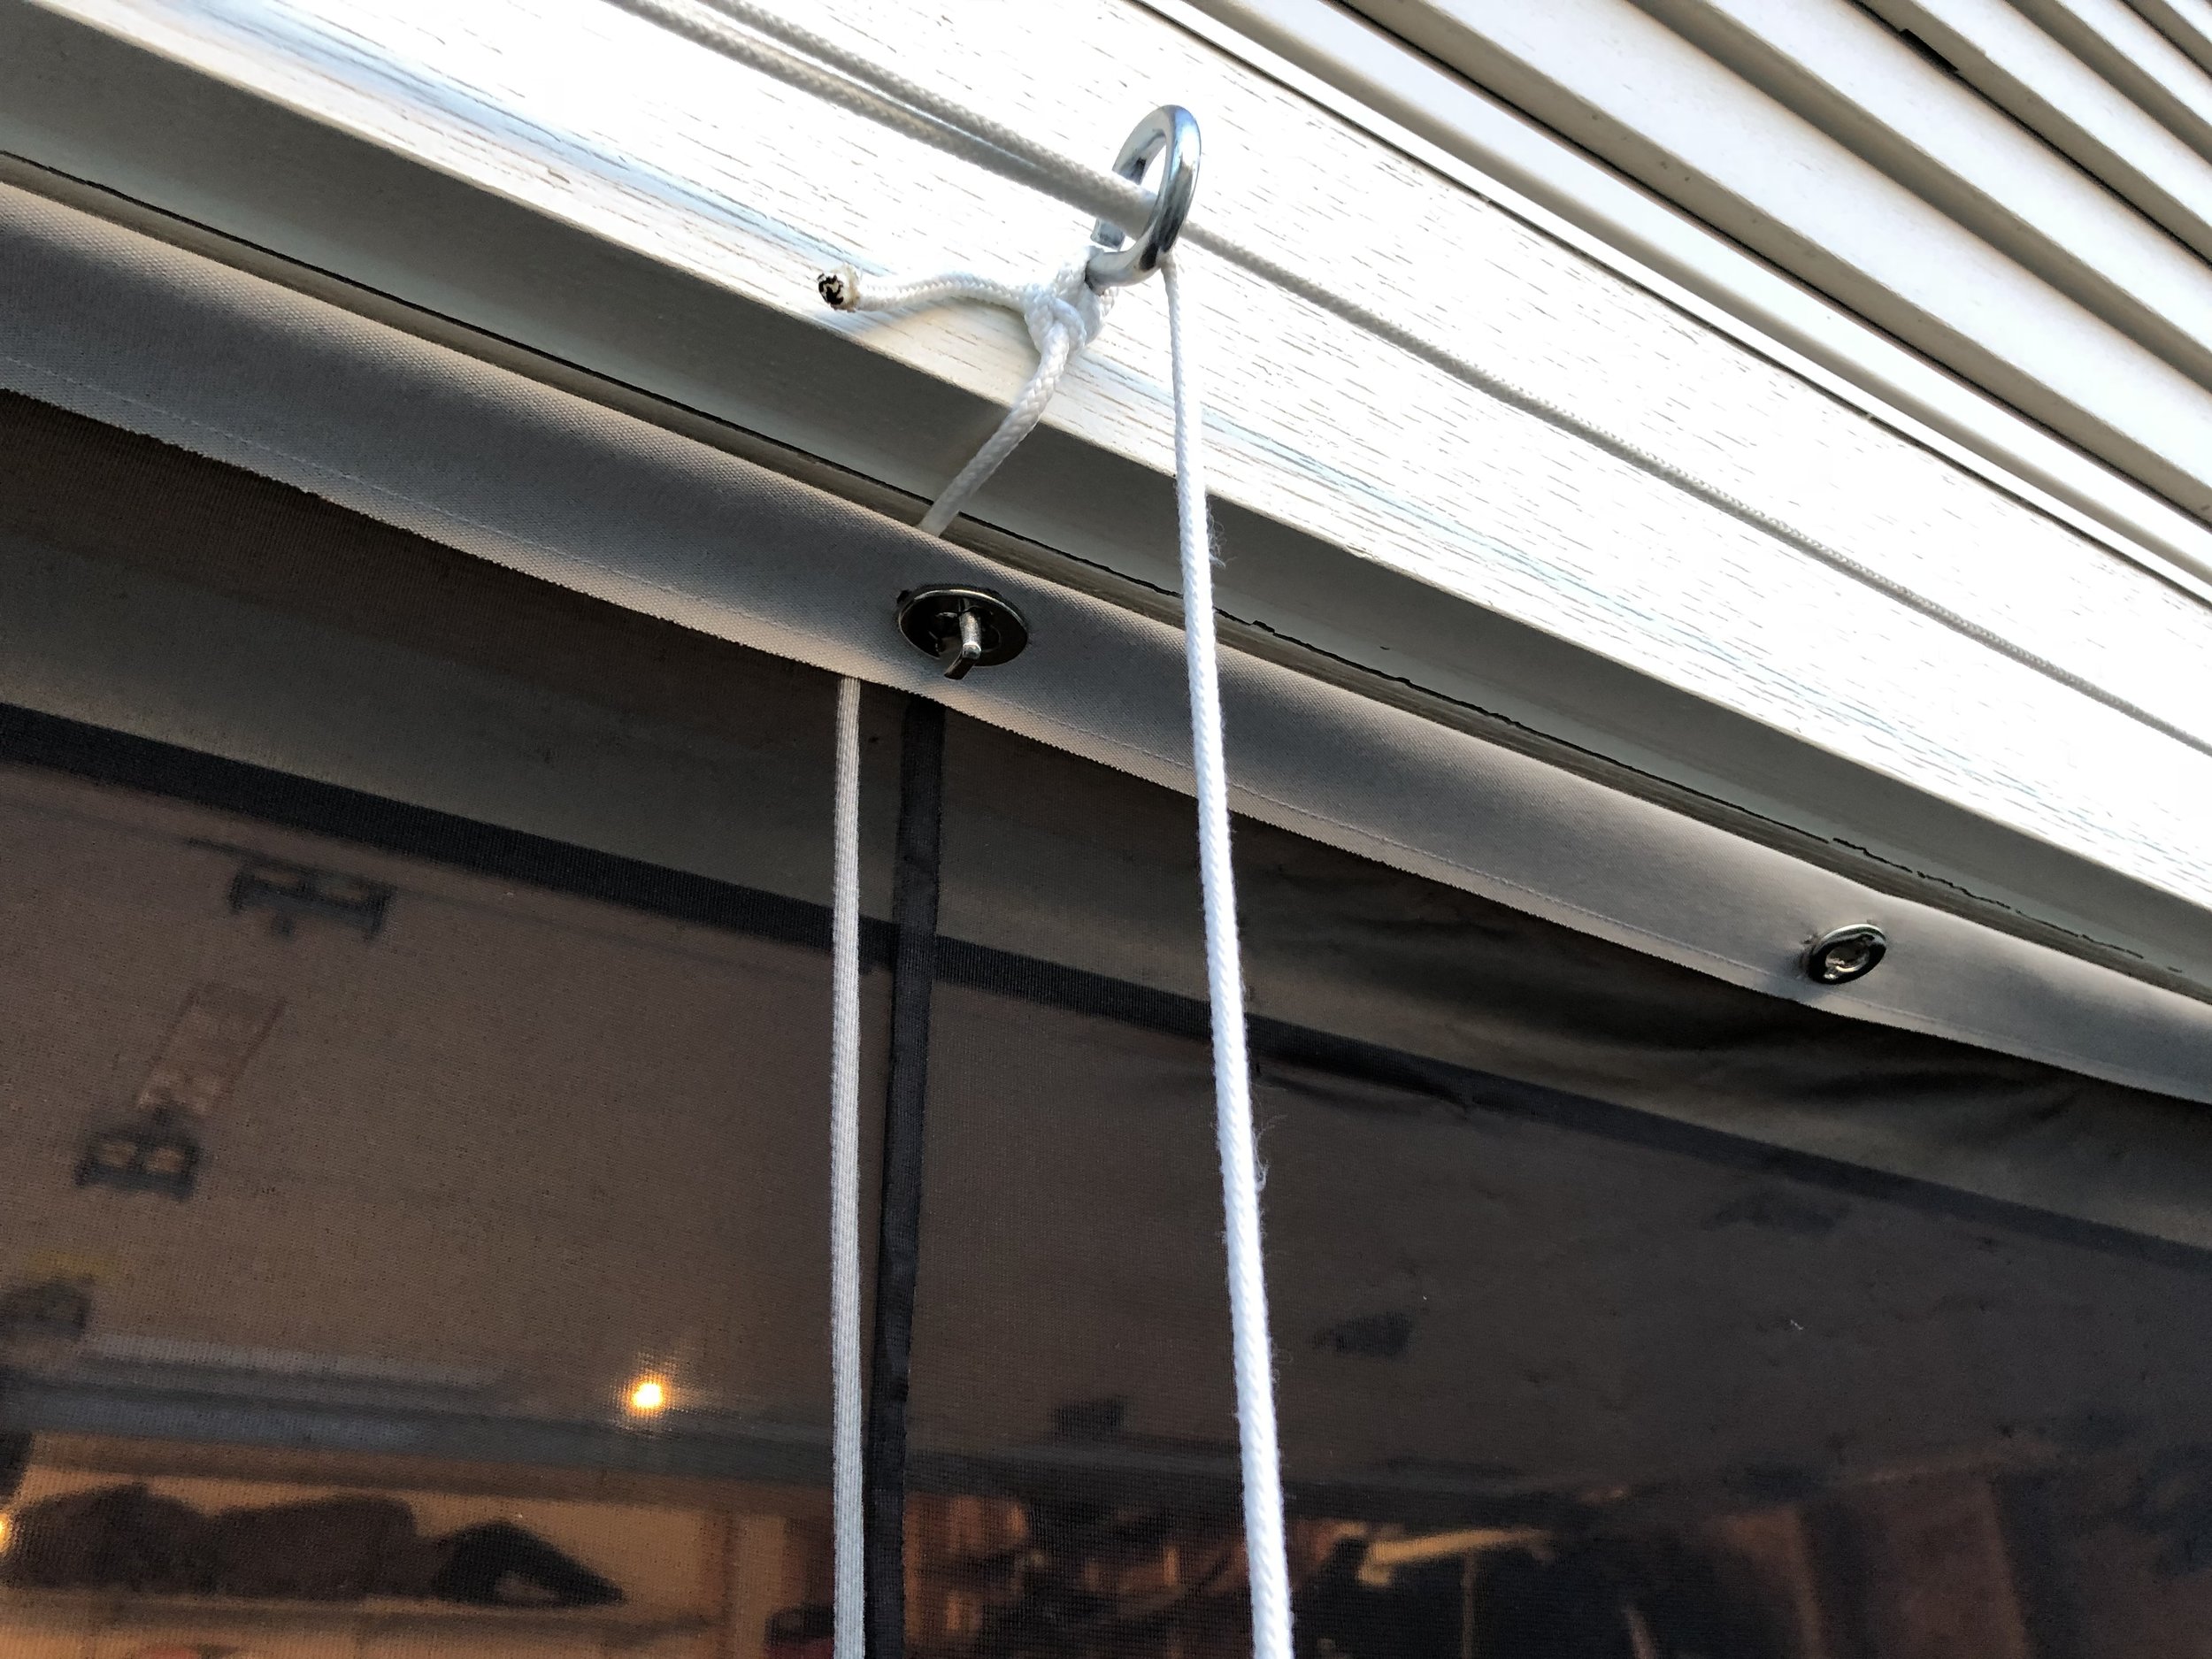
To set the cording, I had three pieces of rope (I think it's 1/4") in three different sizes - long, medium and short. From the outside of the garage, I started with the long piece, I took one end and tied it to the shank of the last eye hook (mounted to the garage fascia). I fed the cord back through to the inside of the garage (so it was behind the screen). I pulled it under the PVC and then fed it through the eye of the hook. Then, that cord went through the remaining 3 eye hooks. I did the same for the middle and other side.
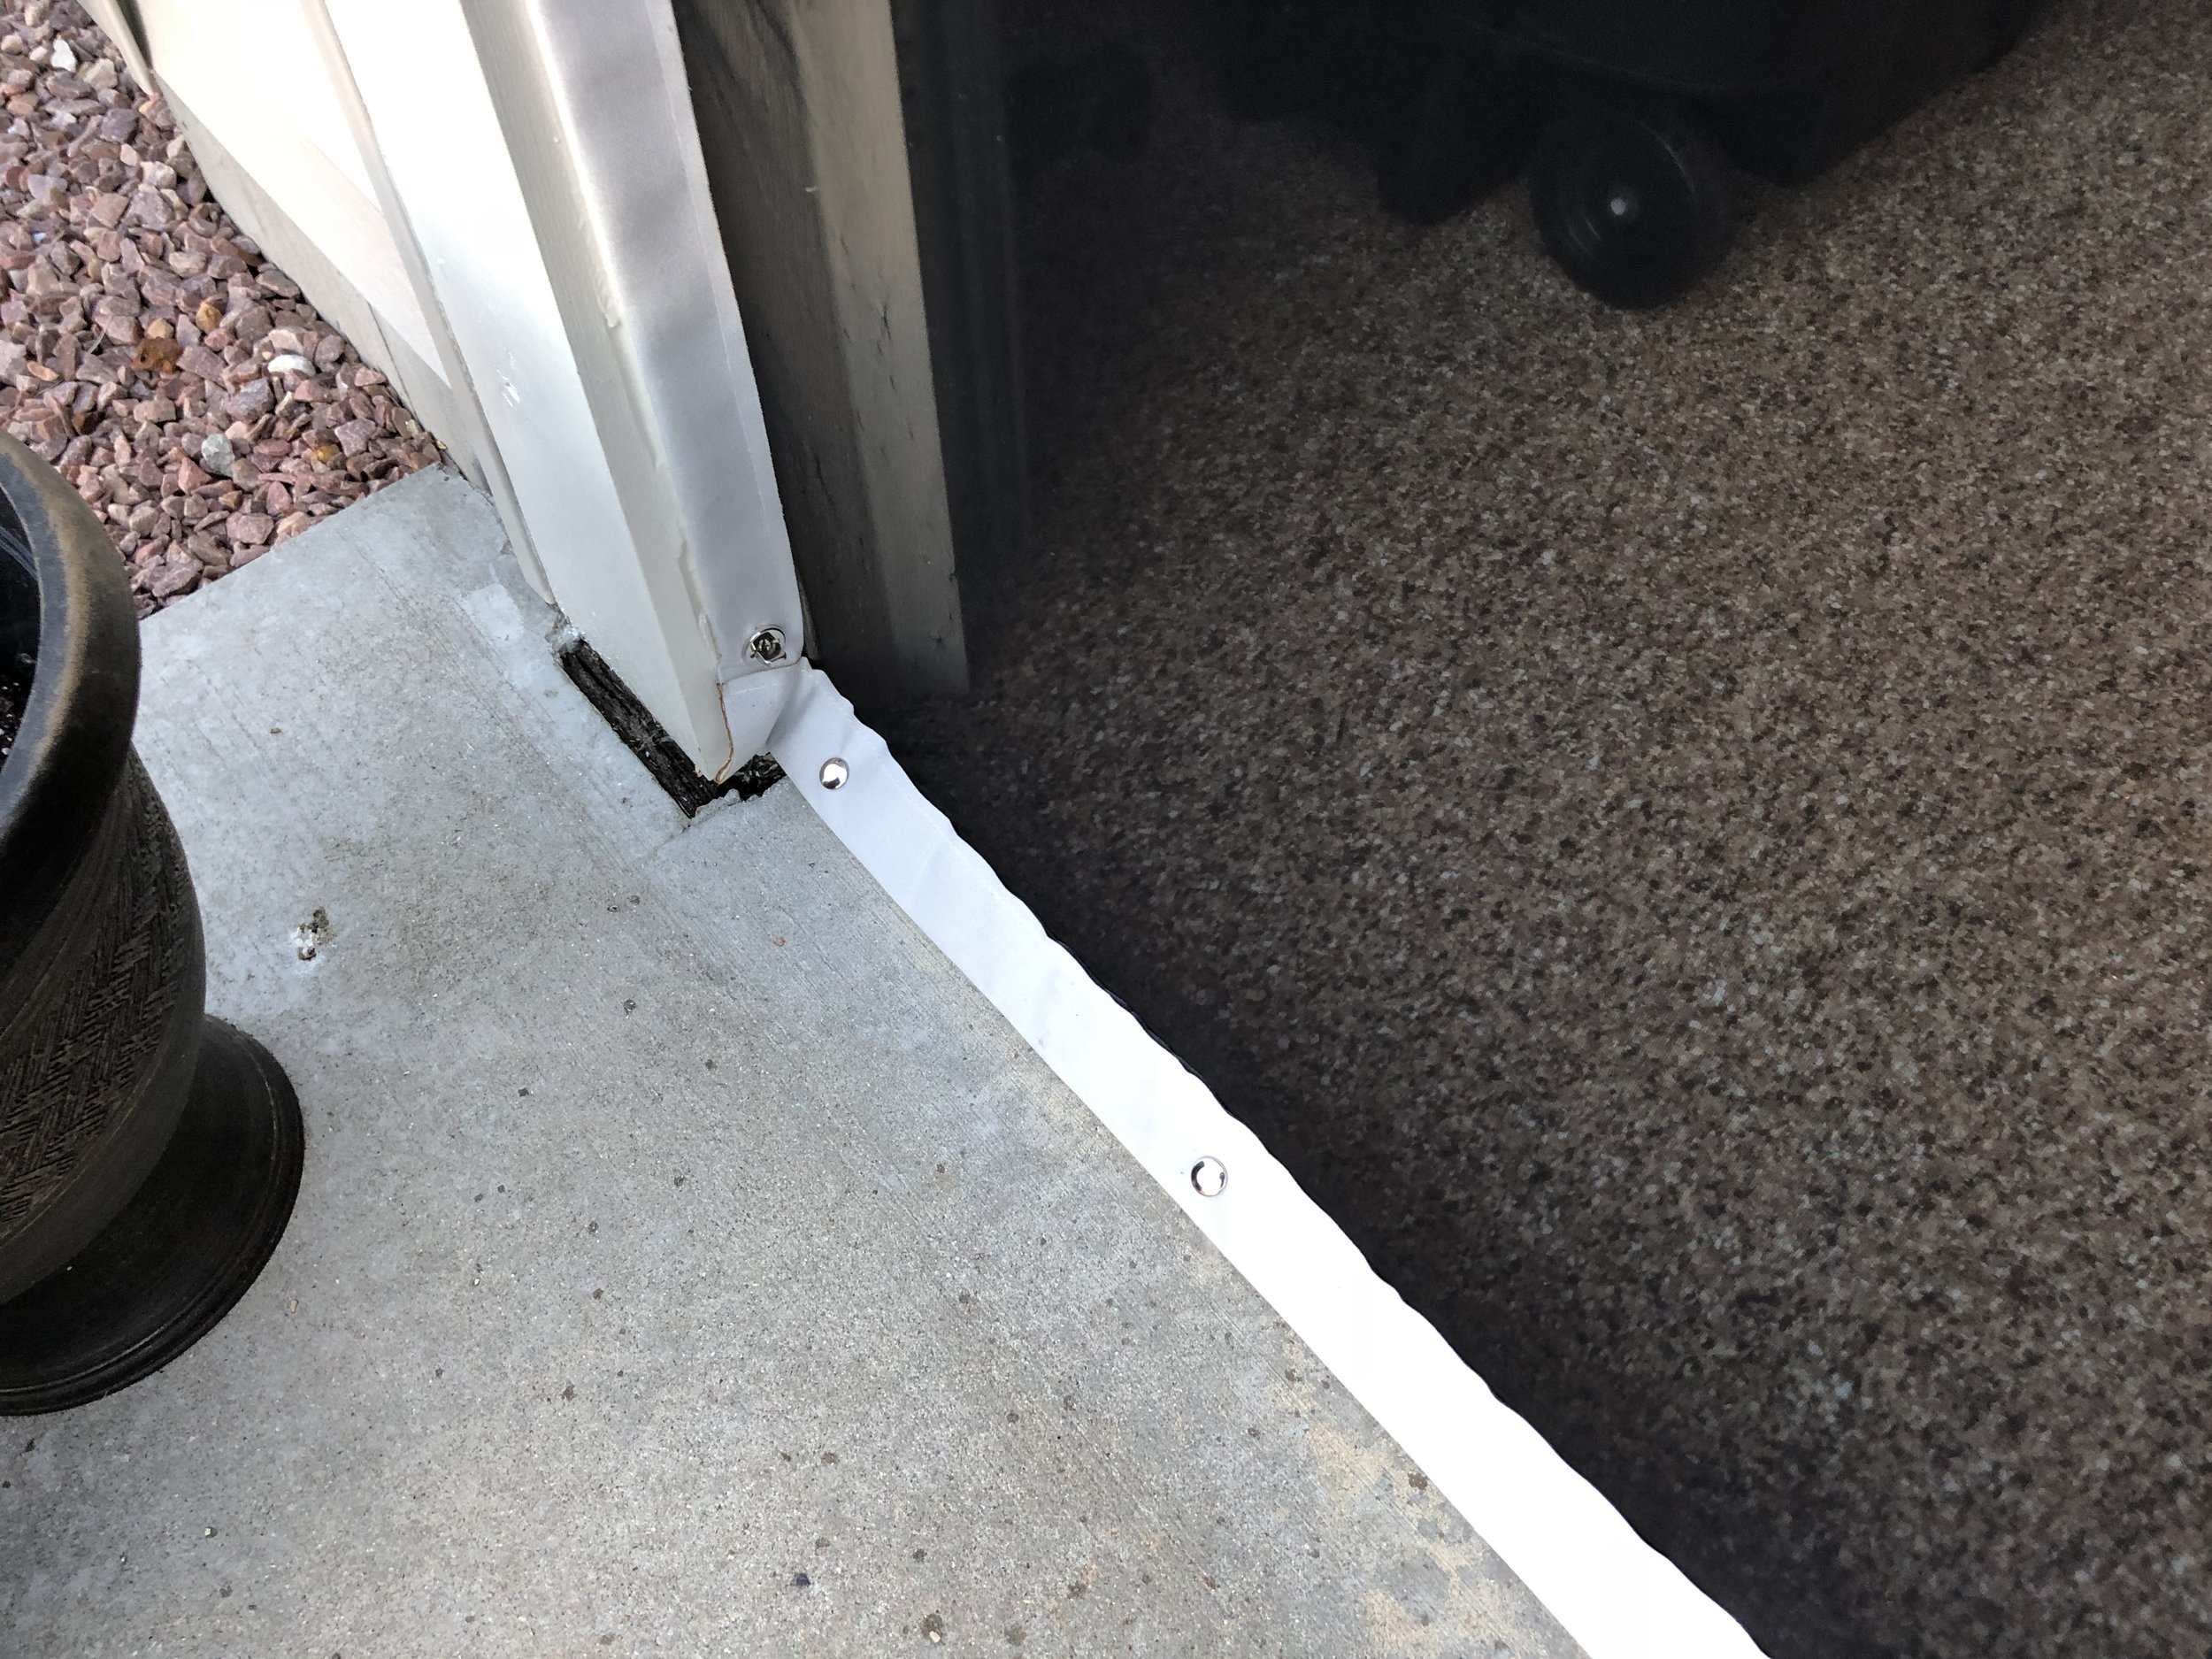
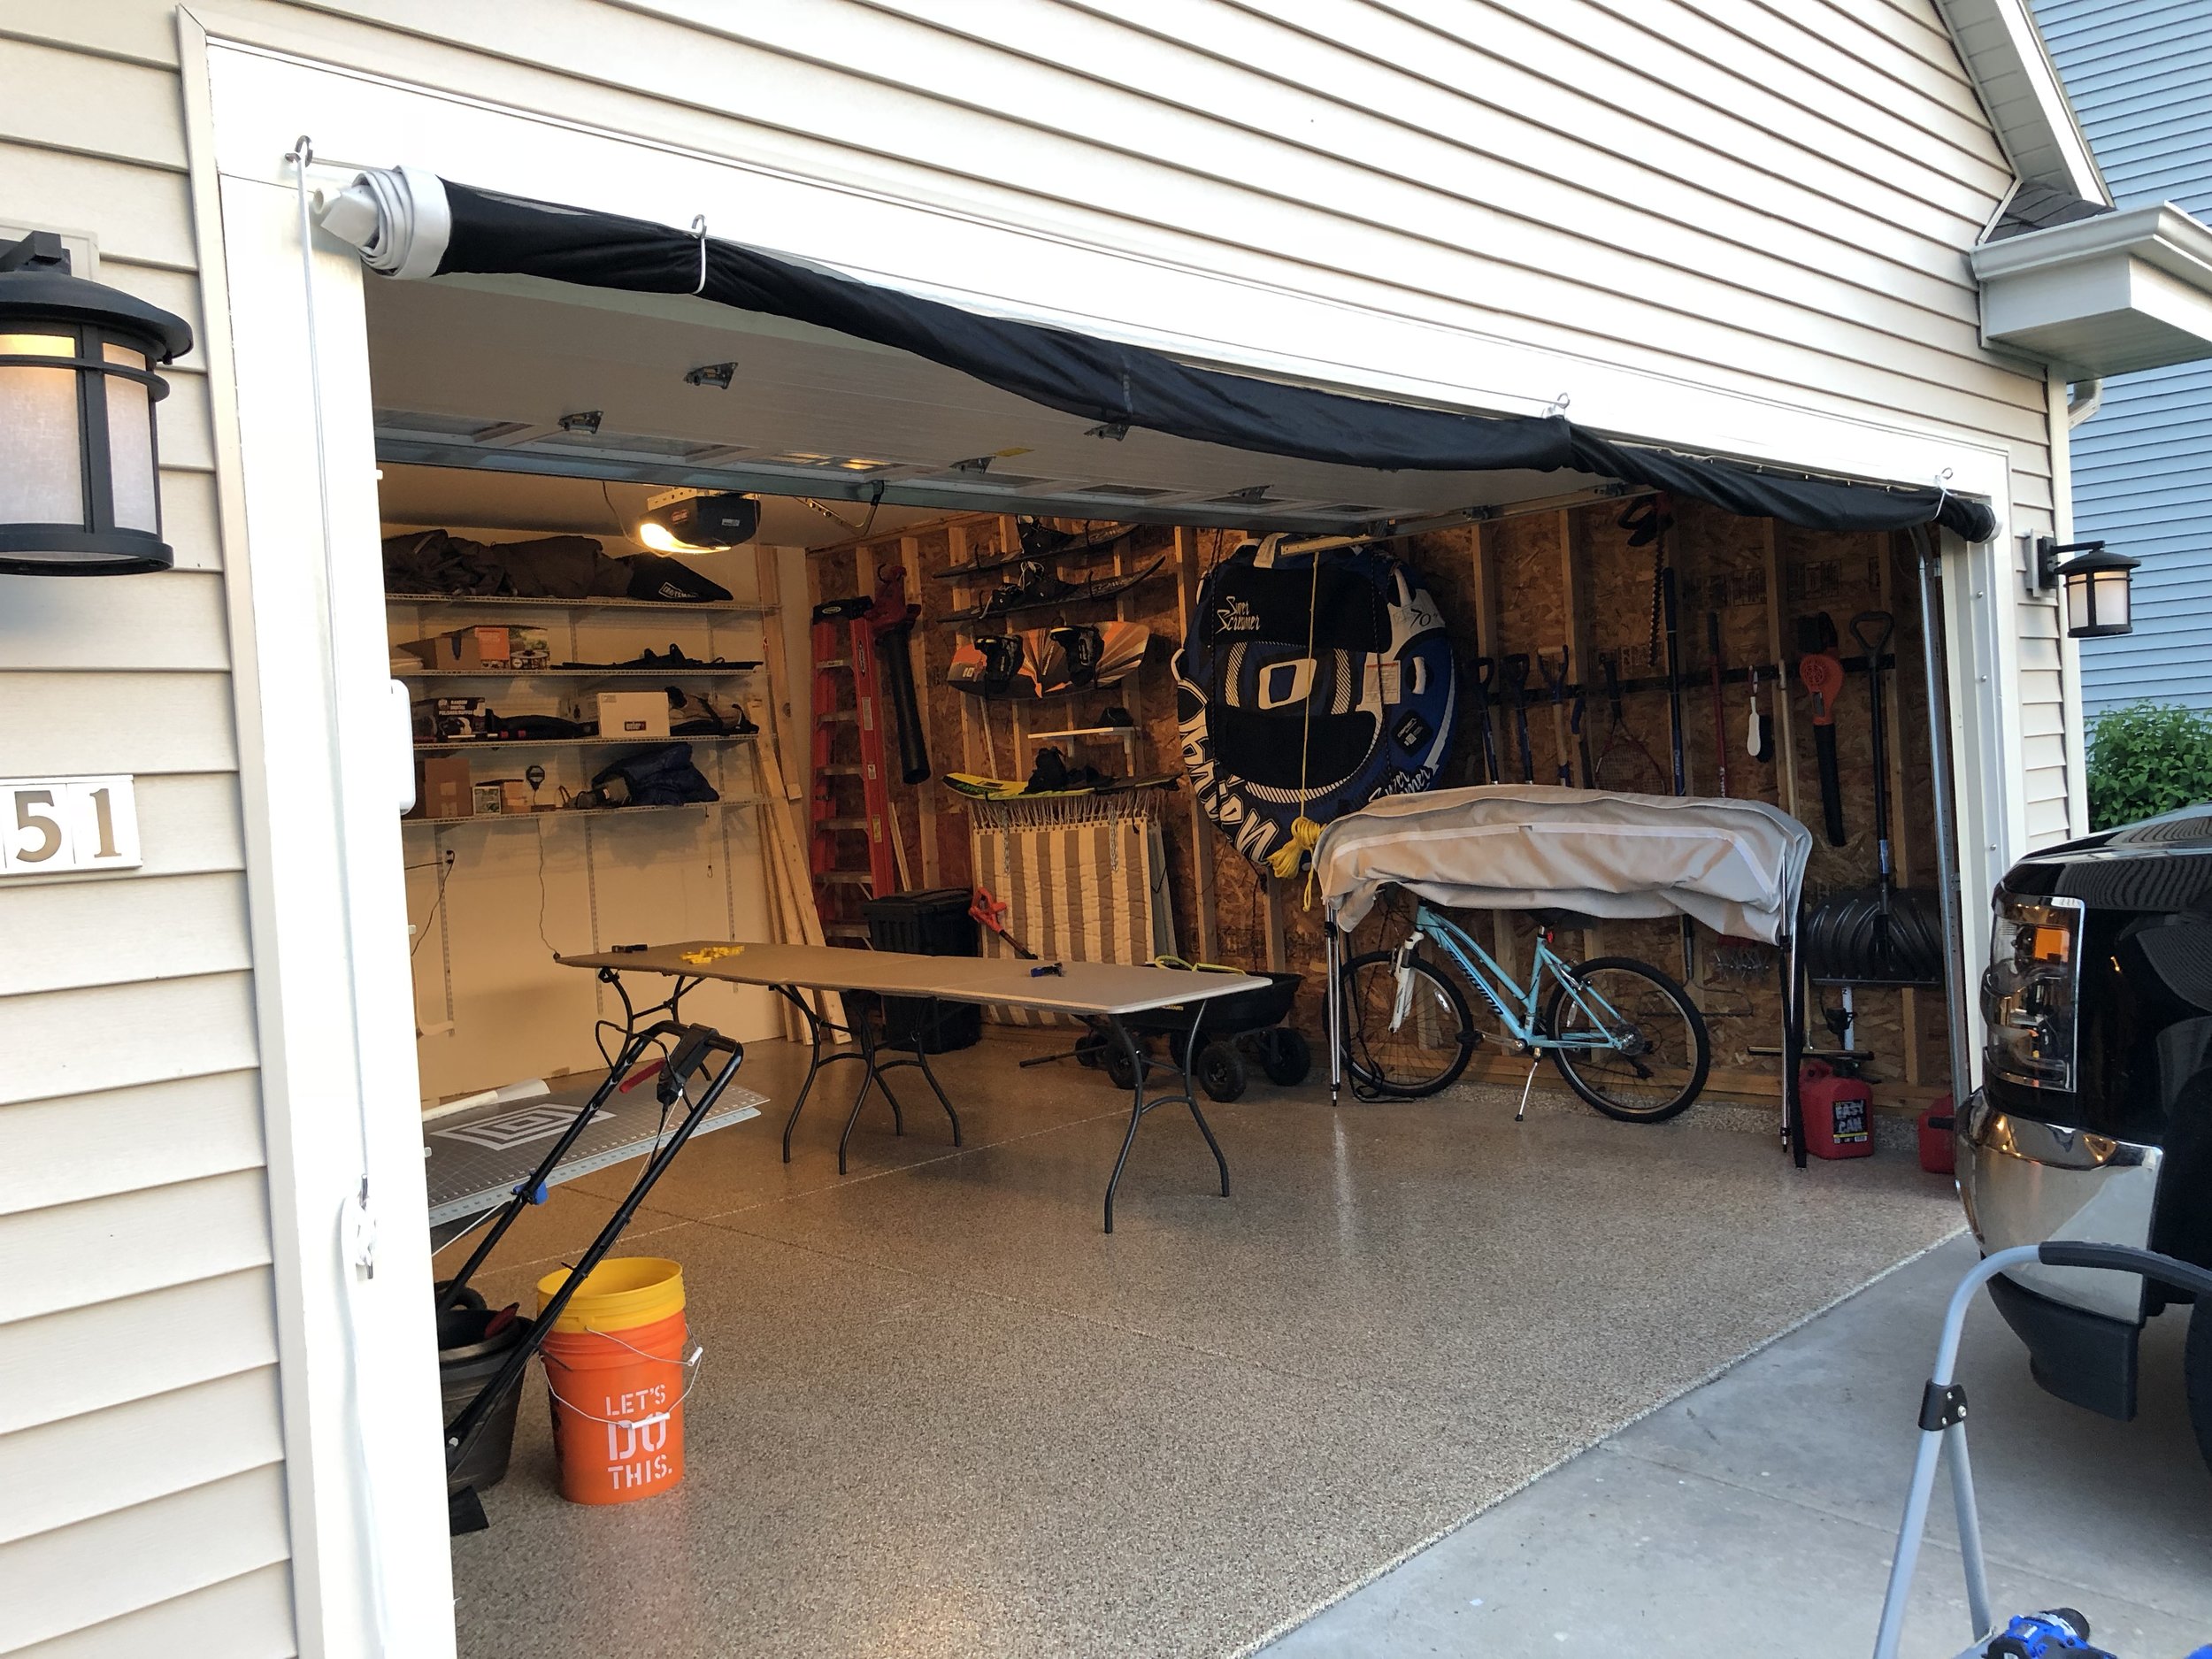
All three rope ends go through the final eye hook and I installed a cleat to tie them off. Ensuring the side locks were released, I gave it a gentle pull...and it started to roll! I rolled it all the way up and cleated the rope. SUCCESS! Of course, I looked around and no one was outside to share my triumph. Oh well. I was happy!
I rolled the screen back down, locked it down and went into my bug-free garage to start on my next project!