
Patio Swing Recover Part 3
/Close only counts in horseshoes and hand grenades. And lawn jarts. Remember lawn jarts? If you don’t, then you missed the 80s…
This project is 98% completed, but for the purposes of blogging, it’s close enough. What’s not close enough is the canopy cover, which I went to finish up on Saturday, only to find that I was 2” short when attempting to attach the side panels. Why was I two inches short? Well, that just so happens to add up exactly to the 1/2” double hems I had put on the long edges. Since we’re not playing lawn jarts, close doesn’t count.
So, I pulled out the hems and had to order 16 more feet of binding so I can bind those edges rather than hem them. Whatever, it will look nice when it’s done.
The hardest part was the cushion, which is done (for all intents and purposes). The one thing I forgot to apply while it was in pieces was little ties so that the bottom can be secured to the swing. Of course, this cushion really is heavy enough to stay put, but as soon as I think it’ll be fine, a windstorm will happen. So, I made little ties and will hand sew them on.
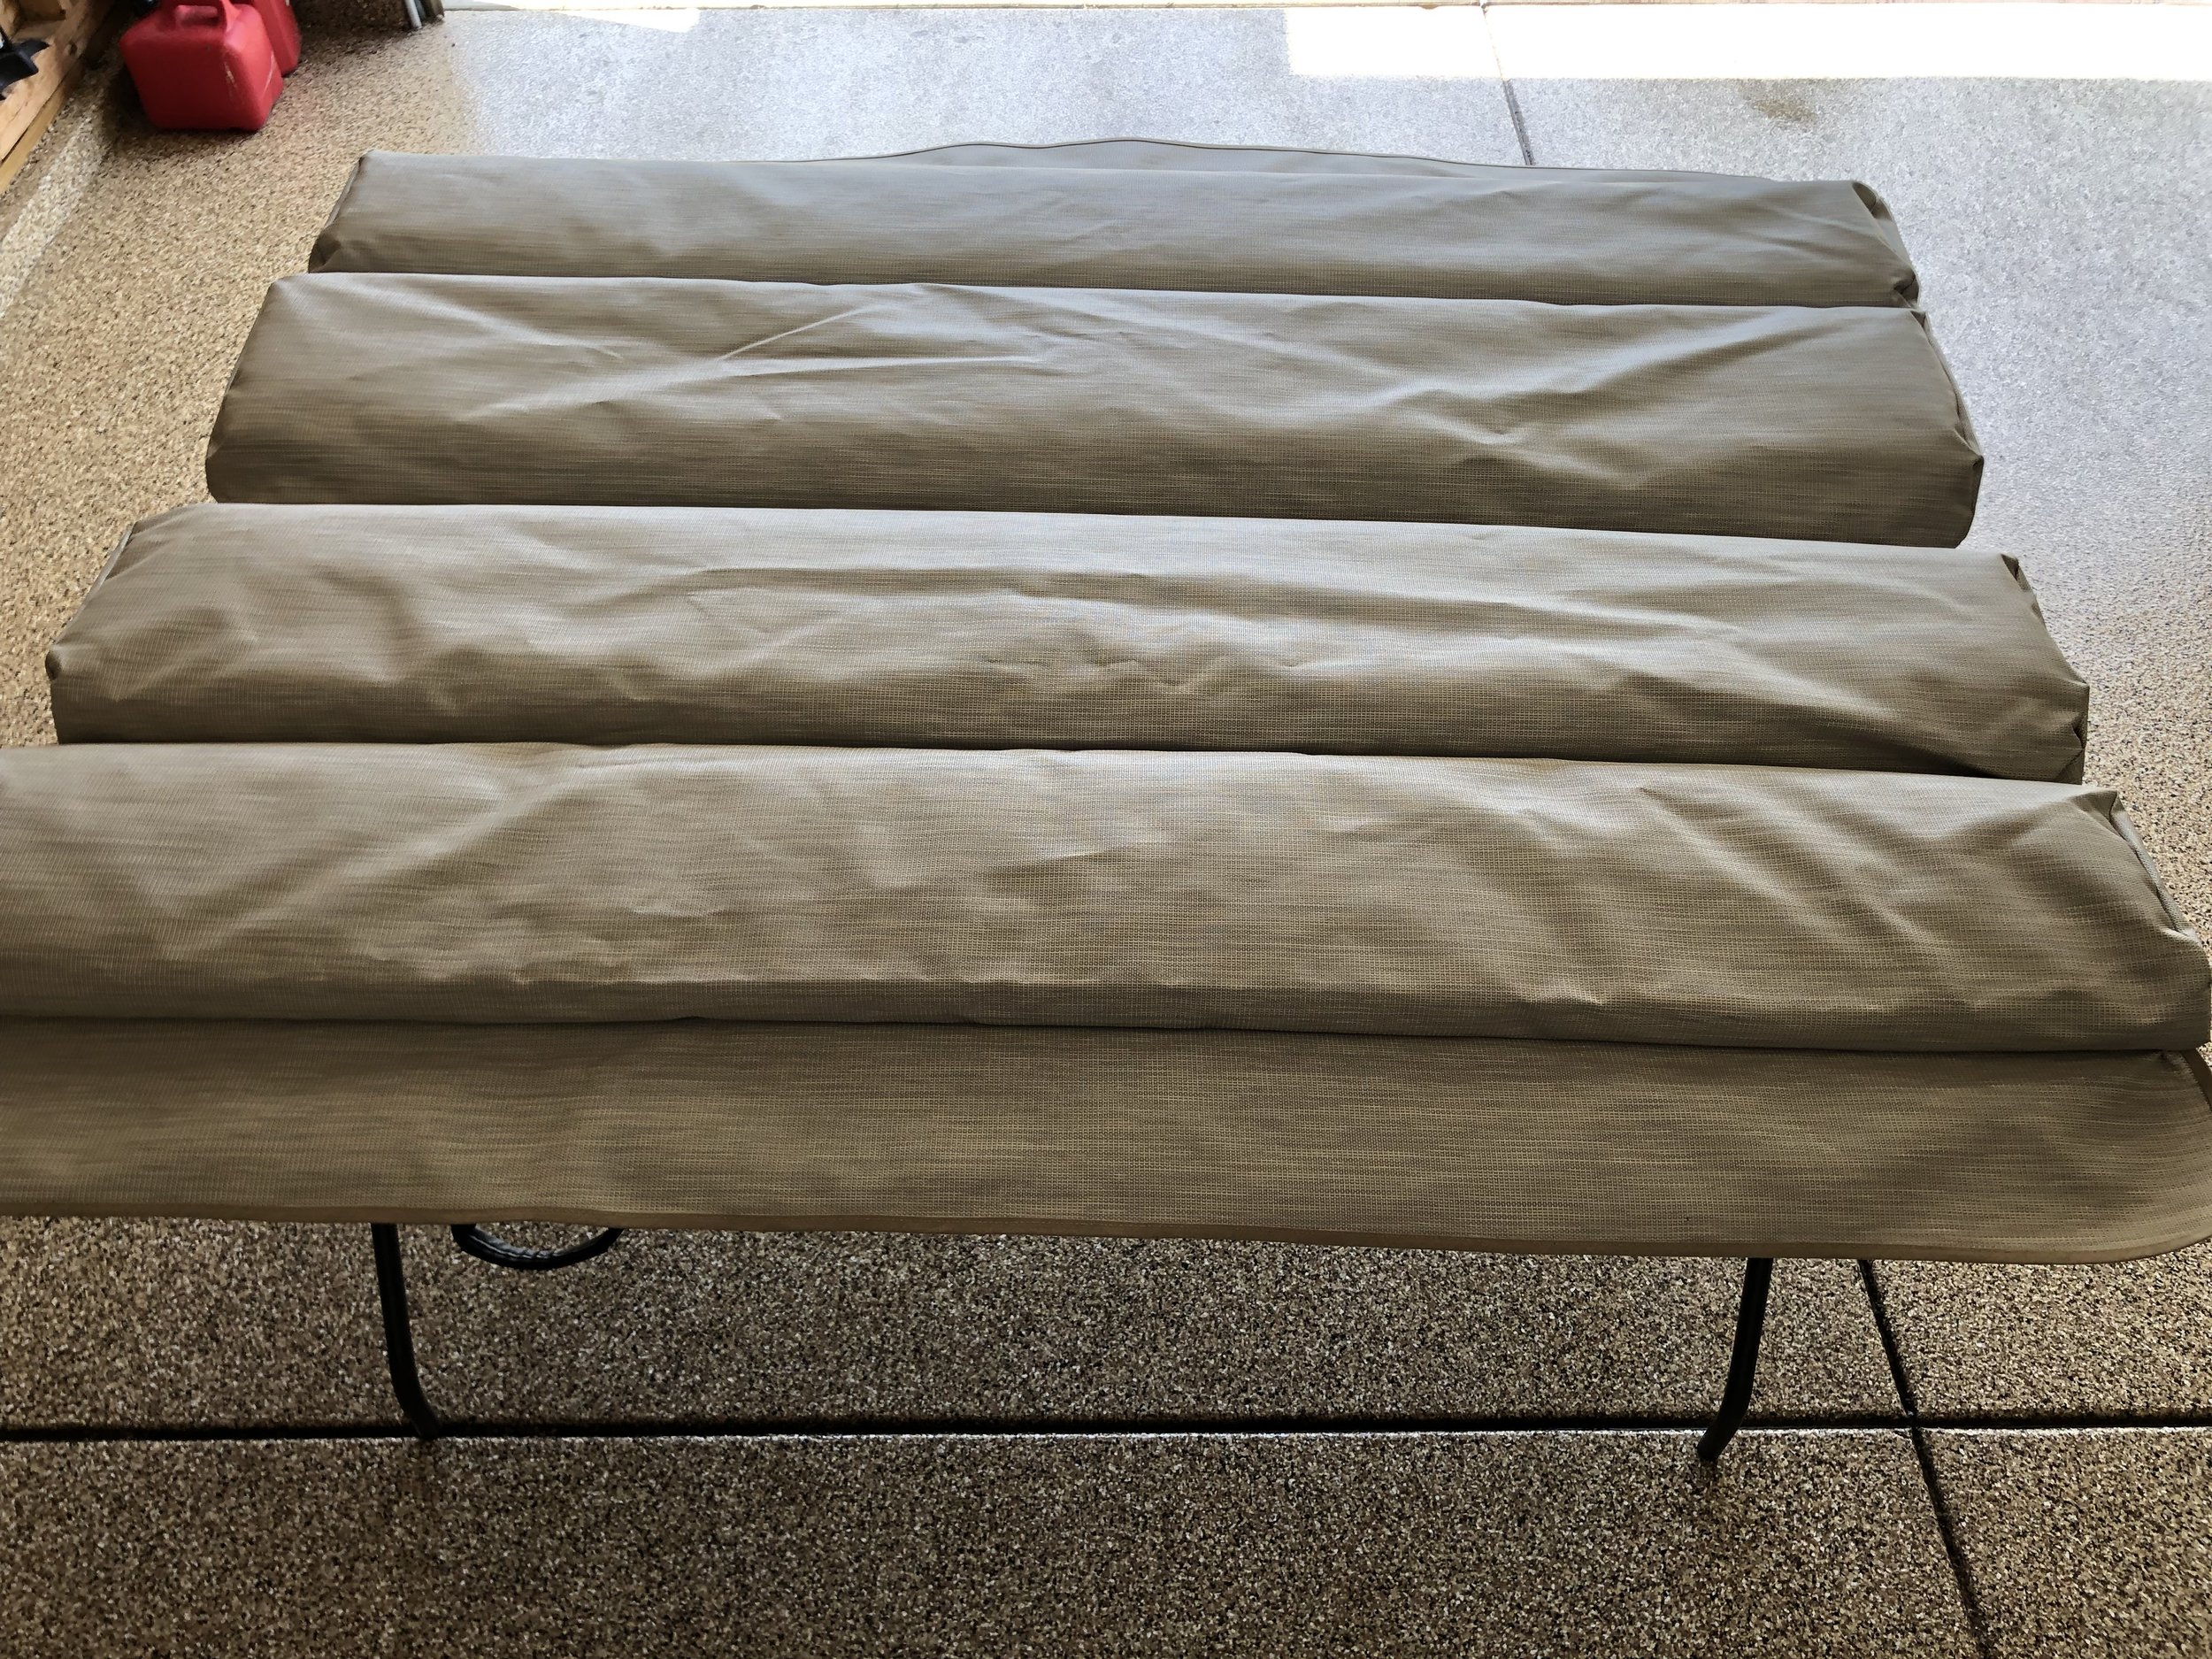
I’m happy with my decision to install zippers on the bottom of each cushion channel. This would have been an absolute nightmare to sew with the filling stuffed in there, so this was definitely the way to go. I stuck in the original Dacron for photo purposes, but my client has requested better foam, so I’m going to order some open cell foam and use some of the original Dacron to wrap it and that will tighten up the cushions (they look a little baggy right now because the Dacron isn’t as thick).
So here it is, once I get a picture of it installed on the frame, I’ll update this post with a photo!

Bottom view - zippers run along each of the cushion channels for easy insertion/removal
Top view of the cushion

