
Garage Door Bug Screen
/Last weekend it was too hot to deal with my bimini top project during the day, so I waited until the sun went down and figured I'd tackle it then...forgetting that summer weather brings flying, biting insects.
Squirrel! I diverted my attention this week to solving the bug problem.
I looked around online for garage screen kits and they are pretty expensive - the ones I found ranged from $300 - $1,500! I looked at some of the products to get an idea of how they worked and spent a lot of time in my garage mulling over how to make it work. I really liked the idea of being able to have something retractable and envisioned some sort of pulley system to be able to raise and lower it, but given the space constraints, I'd have to put something like that on the outside and I wasn't loving how that might look. Instead, I decided I'd find a way to affix it to the garage door (when it is raised) and velcro around the sides to keep it in place.
I priced out some screening, velcro and a 60" double-sided zipper and Sailrite had the best price. I got all of the materials I needed for about $80 - 13 yards of netting fabric, one zipper, and 55' of velcro. For the velcro, I got self-adhesive (sticky-back) hook and sew-on loop because sewing through self-adhesive velcro really gums up the needle. Sailrite sells their velcro separately (hook and loop in separate pieces), so that worked out well for this project.
My materials arrived on Friday and I got to work since it was cooler and biting insects were noticeably absent as a result!
I drew out a plan, taking measurements of the garage door opening. I put my work tables together and marked out my cutting area with painter's tape and a Sharpie. I planned to fold the fabric in half to cut it (because it needed to be 110"h x 52"w), so I drew out my cutting lines to make sure everything would be nice and square.

Based on my measurements, I would need 4 panels, so I spent most of Friday night getting those panels cut.

Netting is folded back on itself to cut a panel
I decided to begin assembly with the two center panels, which would have the zipper opening so I can get in and out of my screened in garage.
I took one panel and sewed on one side of the zipper. I topstitched that, but not all the way to the top of the zipper (since the zipper won't run the entire height of the panel).

One side of the zipper attached & topstitched
Then, I stitched on the other side of the zipper. Because this is a separating zipper, I found it much easier to actually separate the zipper when sewing it on. If you do this, just make sure that when you pin the second panel that you reattach the zipper to ensure everything is lined up correctly. This really was not the proper way to insert a zipper into a seam, but I did it anyway and yes, it looks a little janky but I don't care, it's going to serve its purpose and it doesn't need to be perfectly sewn.
Once both sides had the zipper sewn on and topstitched, I zipped it together and pinned the remainder of the panel. This is where I quickly realized that pinning was not going to work because the mesh was so fine and after sewing about 6" it was already uneven.
Remember how I said that sewing through sticky back velcro gums up your needle? Well, so does seam stick basting tape. To make things worse, putting seam stick on mesh, which is not a tight weave, results in the "stick" going through the mesh. However, I really didn't have another option, so I hunkered down and went with it...with Q-tips and Goo Gone at the ready to clean the needle and the machine as I went.
Next, I stitched the two outer panels to the sides of the center panels.
I determined that I wanted to make a little cut-out at the top right and left of the overall assembly to allow some room for the garage door rails. Once the entire thing was together, I marked in those cutouts and cut them out, adding a 1" hem and doing the absolute worst binding job to contain the seam-sticked edges. Again, it's a garage screen, I don't care if it's pretty!
I sewed the velcro (loop) along the top of the panel and along either side. I also sewed a line of velcro loop 21.5" from the top, along the entire length - this is where it will attach to the top of the frame above the garage door to seal it.
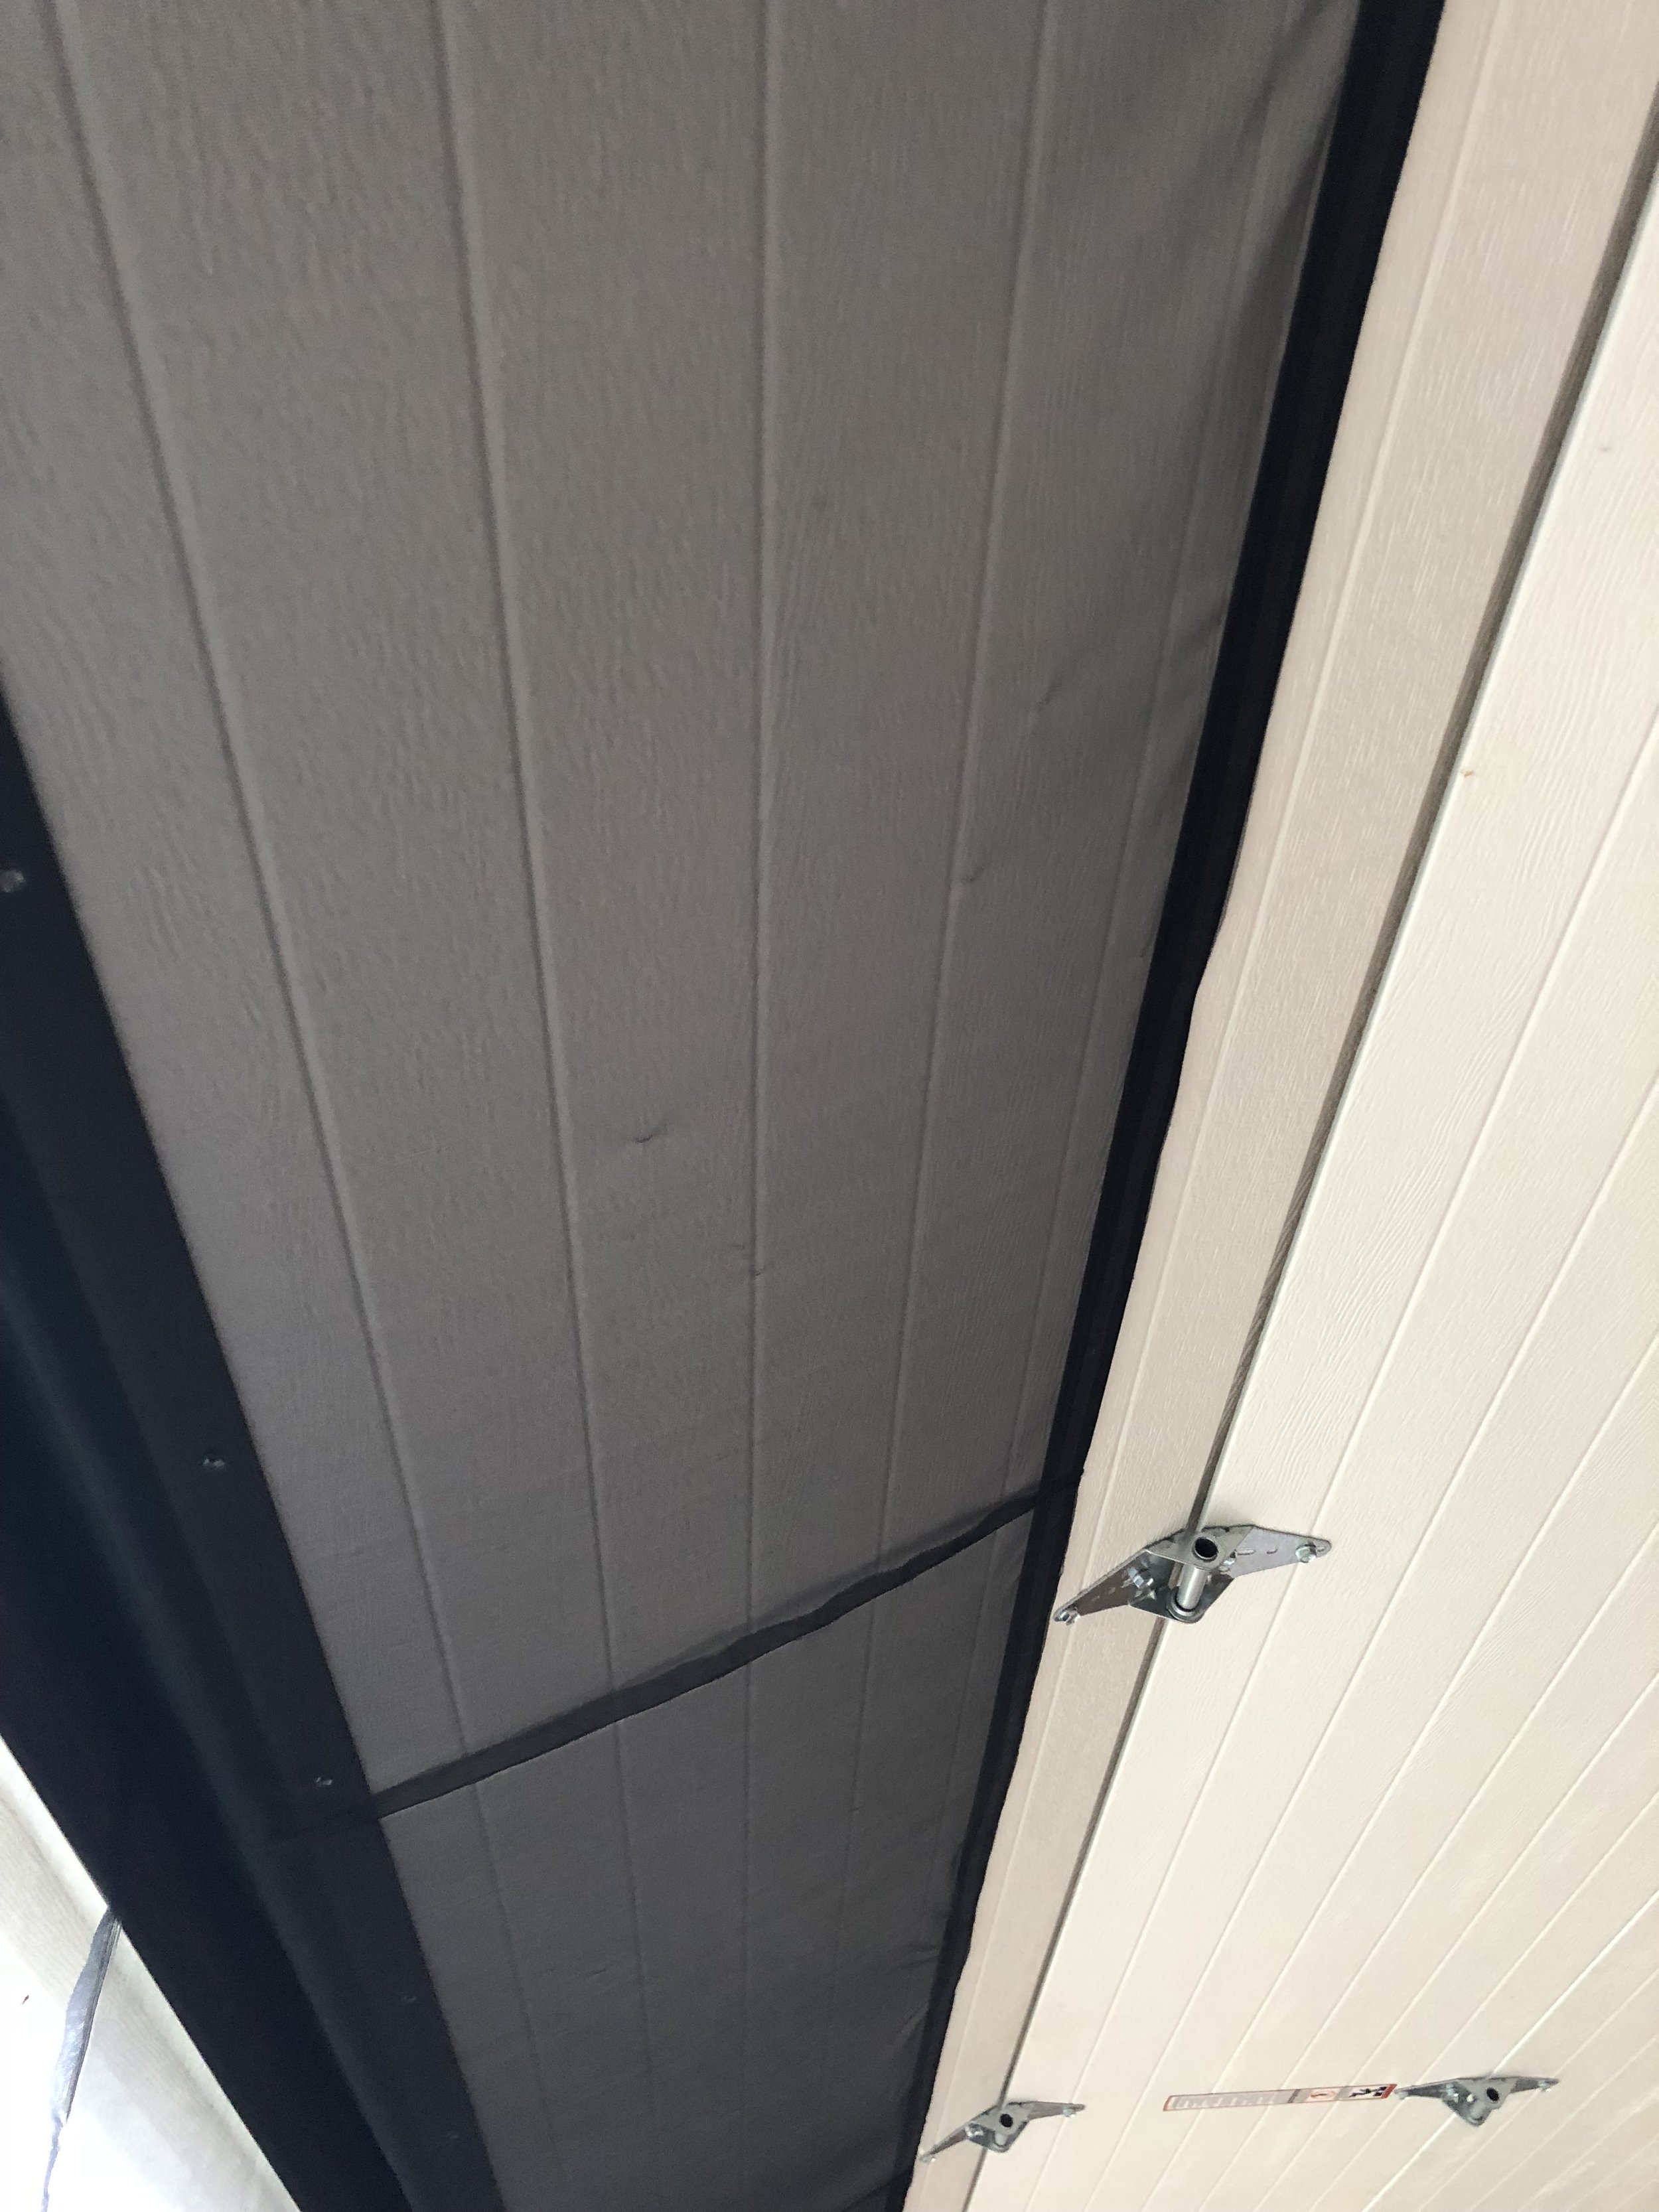
I had to clean the interior of the garage door because I ran a line of velcro about 19" from the bottom of the door and this is where the very top of the panel will attach. Why? Because I don't want to mess with fully removing the screen. I want to be able to roll it up and leave it attached to the door. I didn't think there would be enough clearance to get it nestled up in the gap between the door and the frame, so this was my next best solution. Why 19" up? Well, I have those safety sensors on the door and I needed to make sure that when it is rolled up, it's completely out of the way and doesn't trip those sensors. There's nothing worse than when you're trying to leave and the damned door won't shut because something is blocking the laser. #planning

At this point, I attached the panel to the velcro on the garage door and the frame to test the fit. Thankfully, my measurements were correct and it fit!

One word of caution about this netting - it snags pretty easily. You can see several flaws where I snagged it on various things during the construction process.

For the bottom, I used some blanket binding tape to create a little channel at the bottom. I wanted to add a little weight at the bottom so I created that channel to stick some dowel rods inside.

The hook side of the velcro (the sticky back side) needed to be placed on the wood along each side of the garage door and along the top.
I also attached 5 straps of the loop velcro to various intervals at the top. These are used to secure it in place when it's rolled up.
The final product attaches to the garage door itself, up into the frame, and then down along the sides. This ensures those little biting fuckers can't get in through a gap!
The velcro secures the panel to the door, then loops under the bottom of the door and onto the frame to prevent bugs from coming up through the space between the door and the frame.
When I want it out of the way, I roll it up and secure it with the velcro straps! I envisioned this looking slightly more elegant, but whatevs. It'll do.

I lower the door partially to roll it up so I don't need to get on a stool to do it.

We'll see whether gravity is stronger than velcro...
Problem solved! Now I can get back to finishing my bimini top!
EDIT 06/09/2018: Problem NOT solved. Velcro ain't workin. Read this post for details on the fail and the revisions made!