PS4 Carry Cases
/
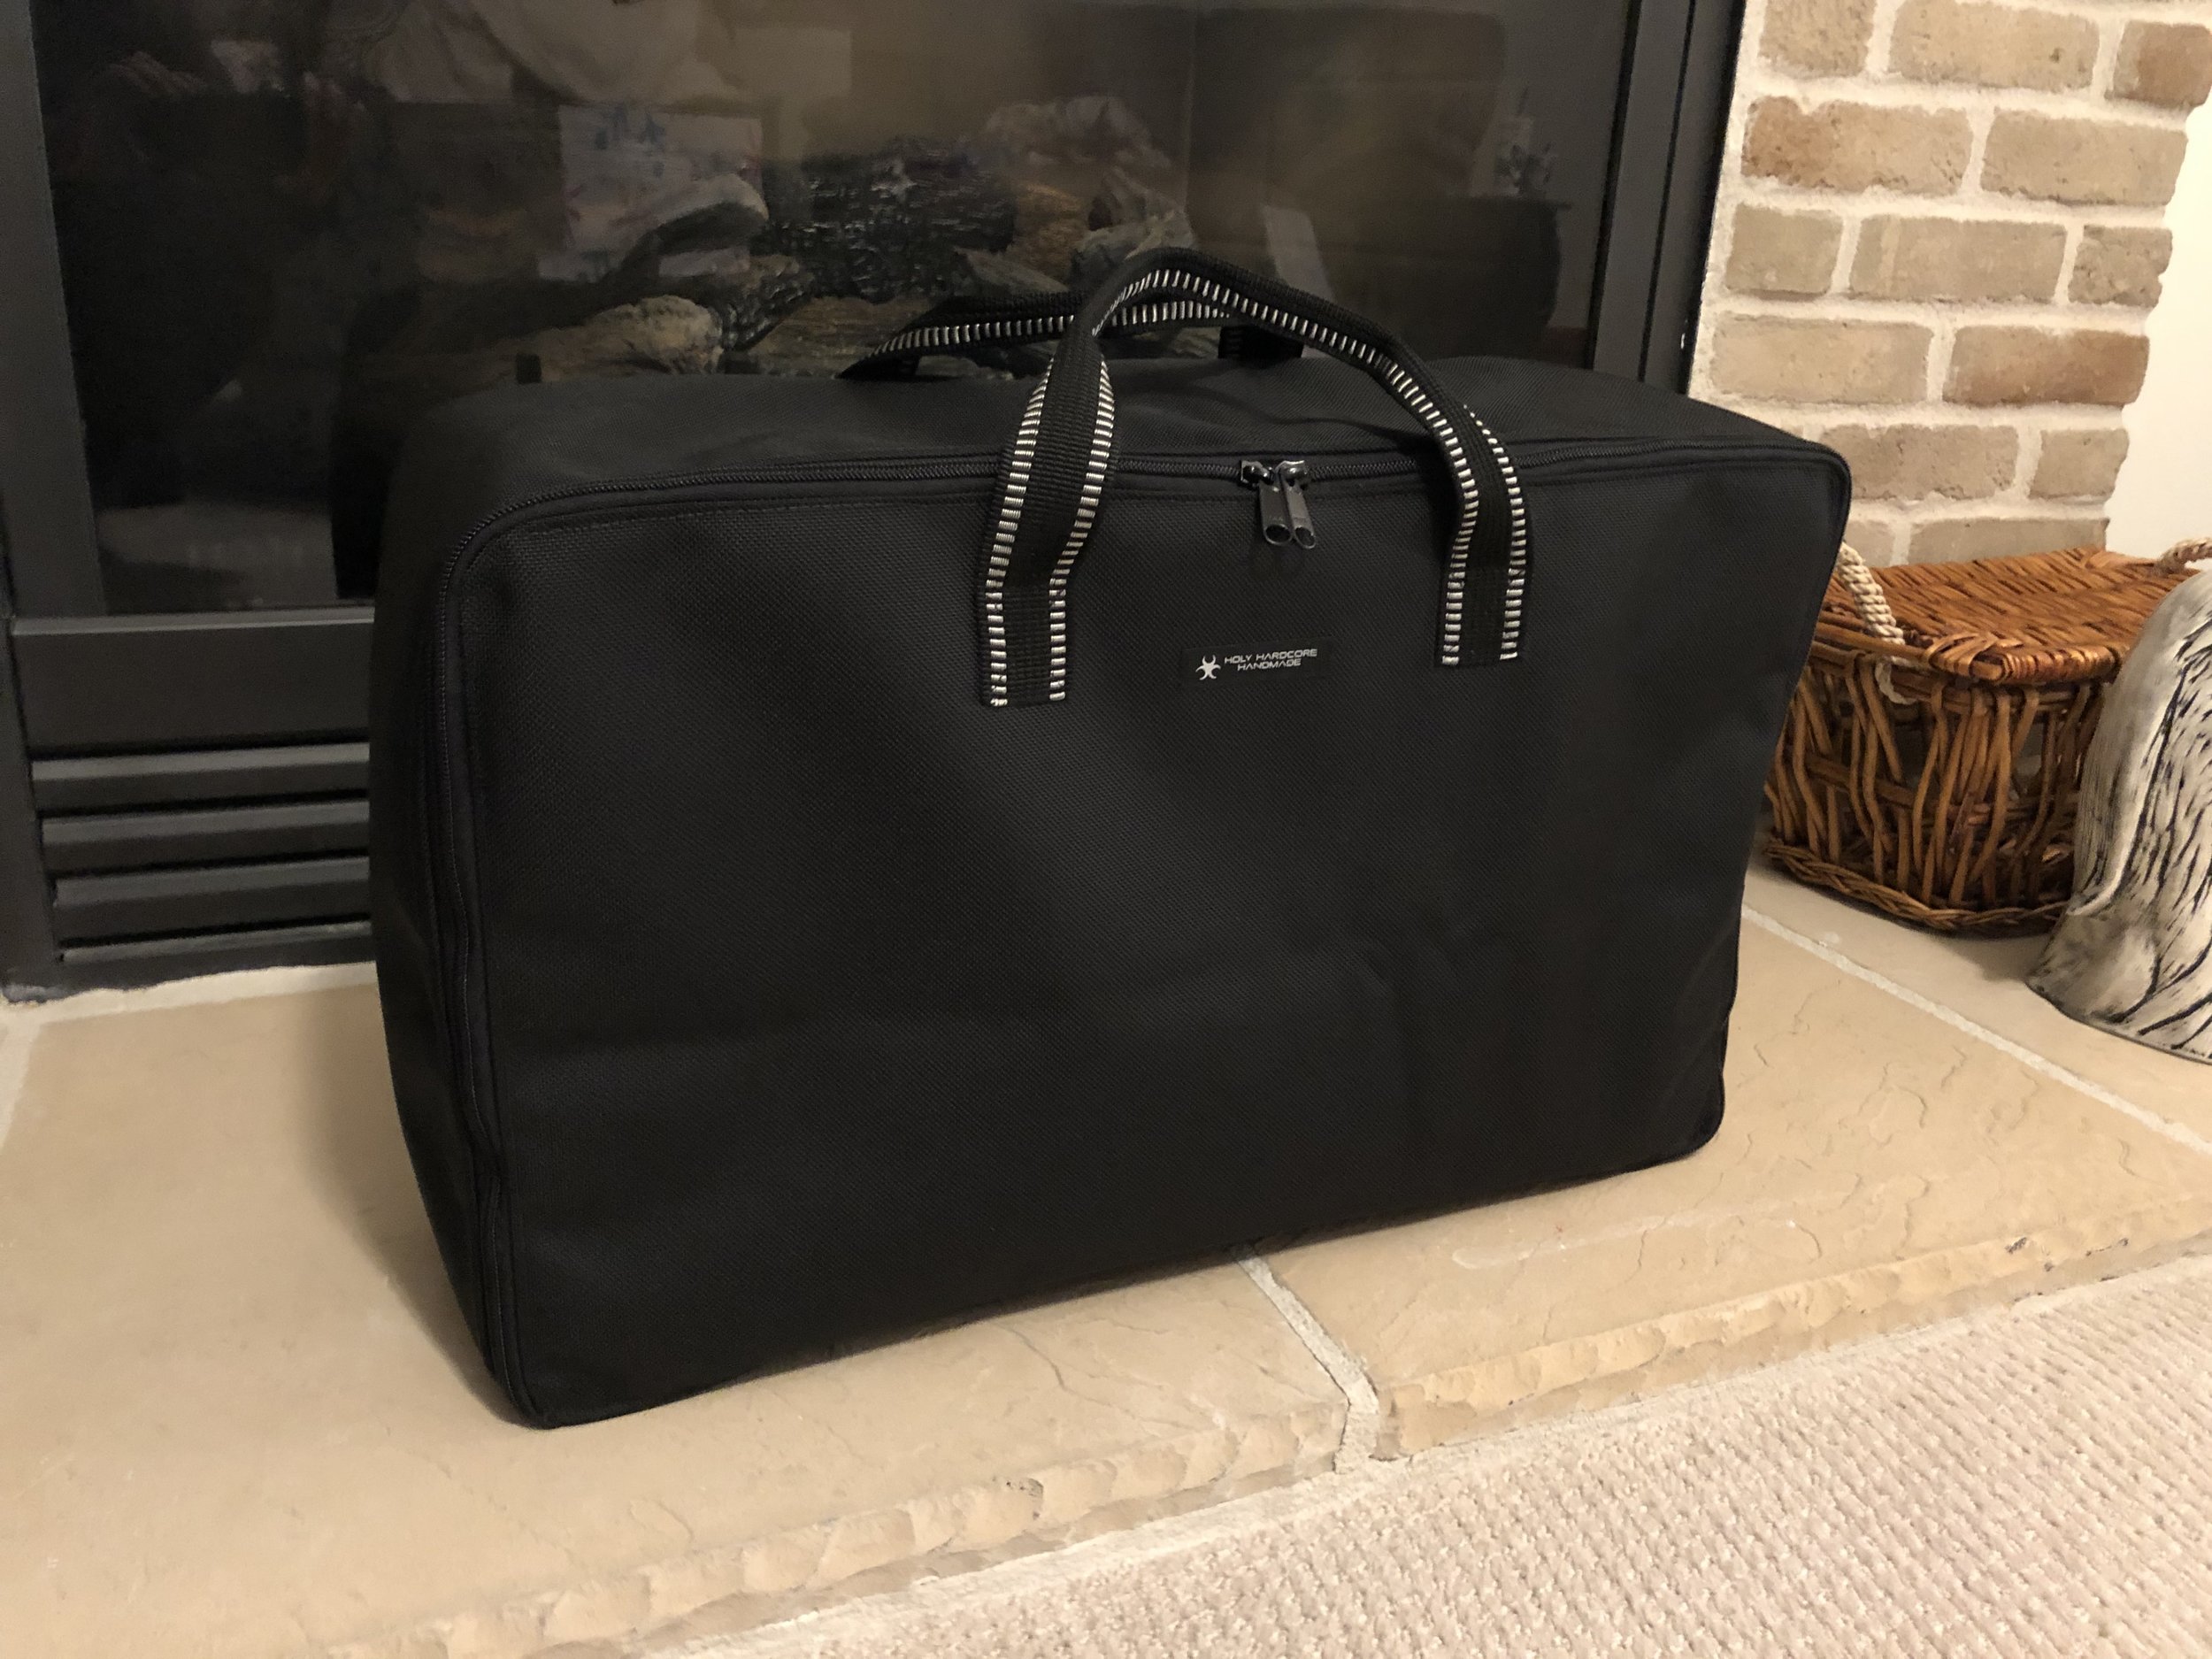
The Brady boys got to design their Xmas gifts this year. They both wanted carry cases for their PlayStations, so we got out the measuring tape and designed cases to custom fit their gear.
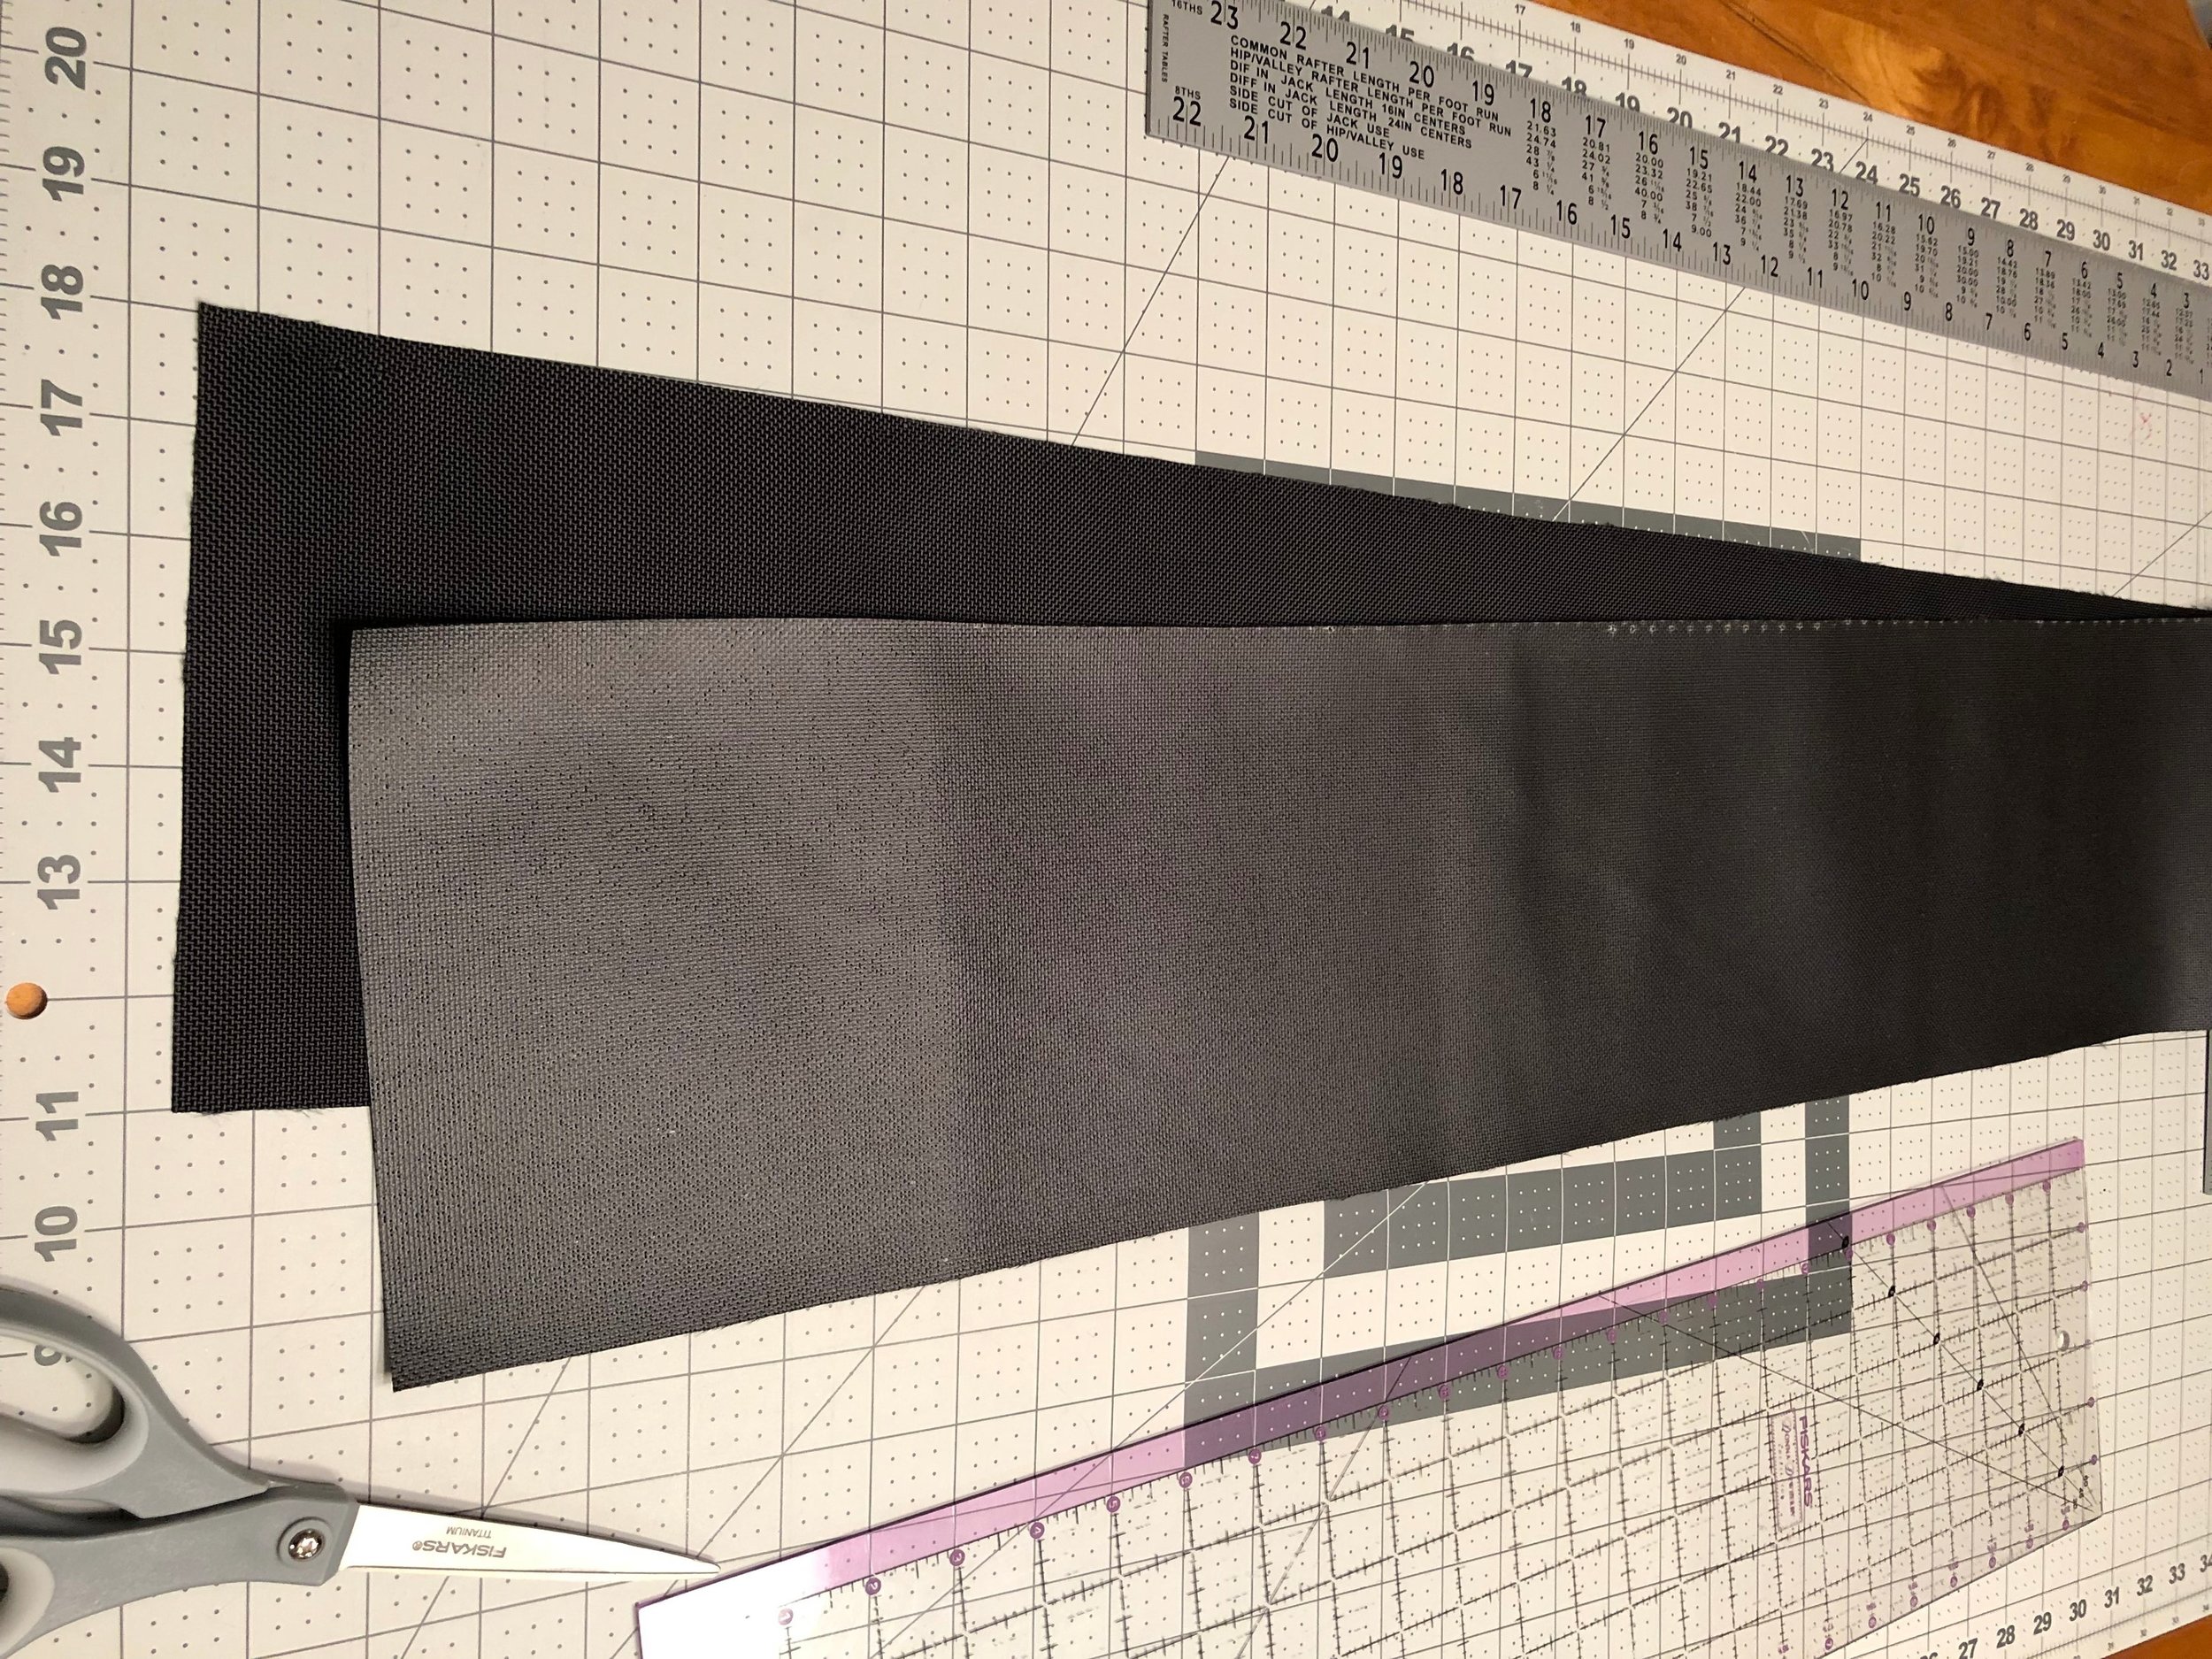
These were both done with ballistic nylon on the outside (purchased online from Seattle Fabrics, which is a great place to get fabric for things like this, it’s much better than what you can get at a craft store like Joann’s).
The boys were not up for fun design so these are both super boring plain black. The only accent I got away with was the handles. I almost did one of them out of pink camo strictly out of spite, but I restrained myself.
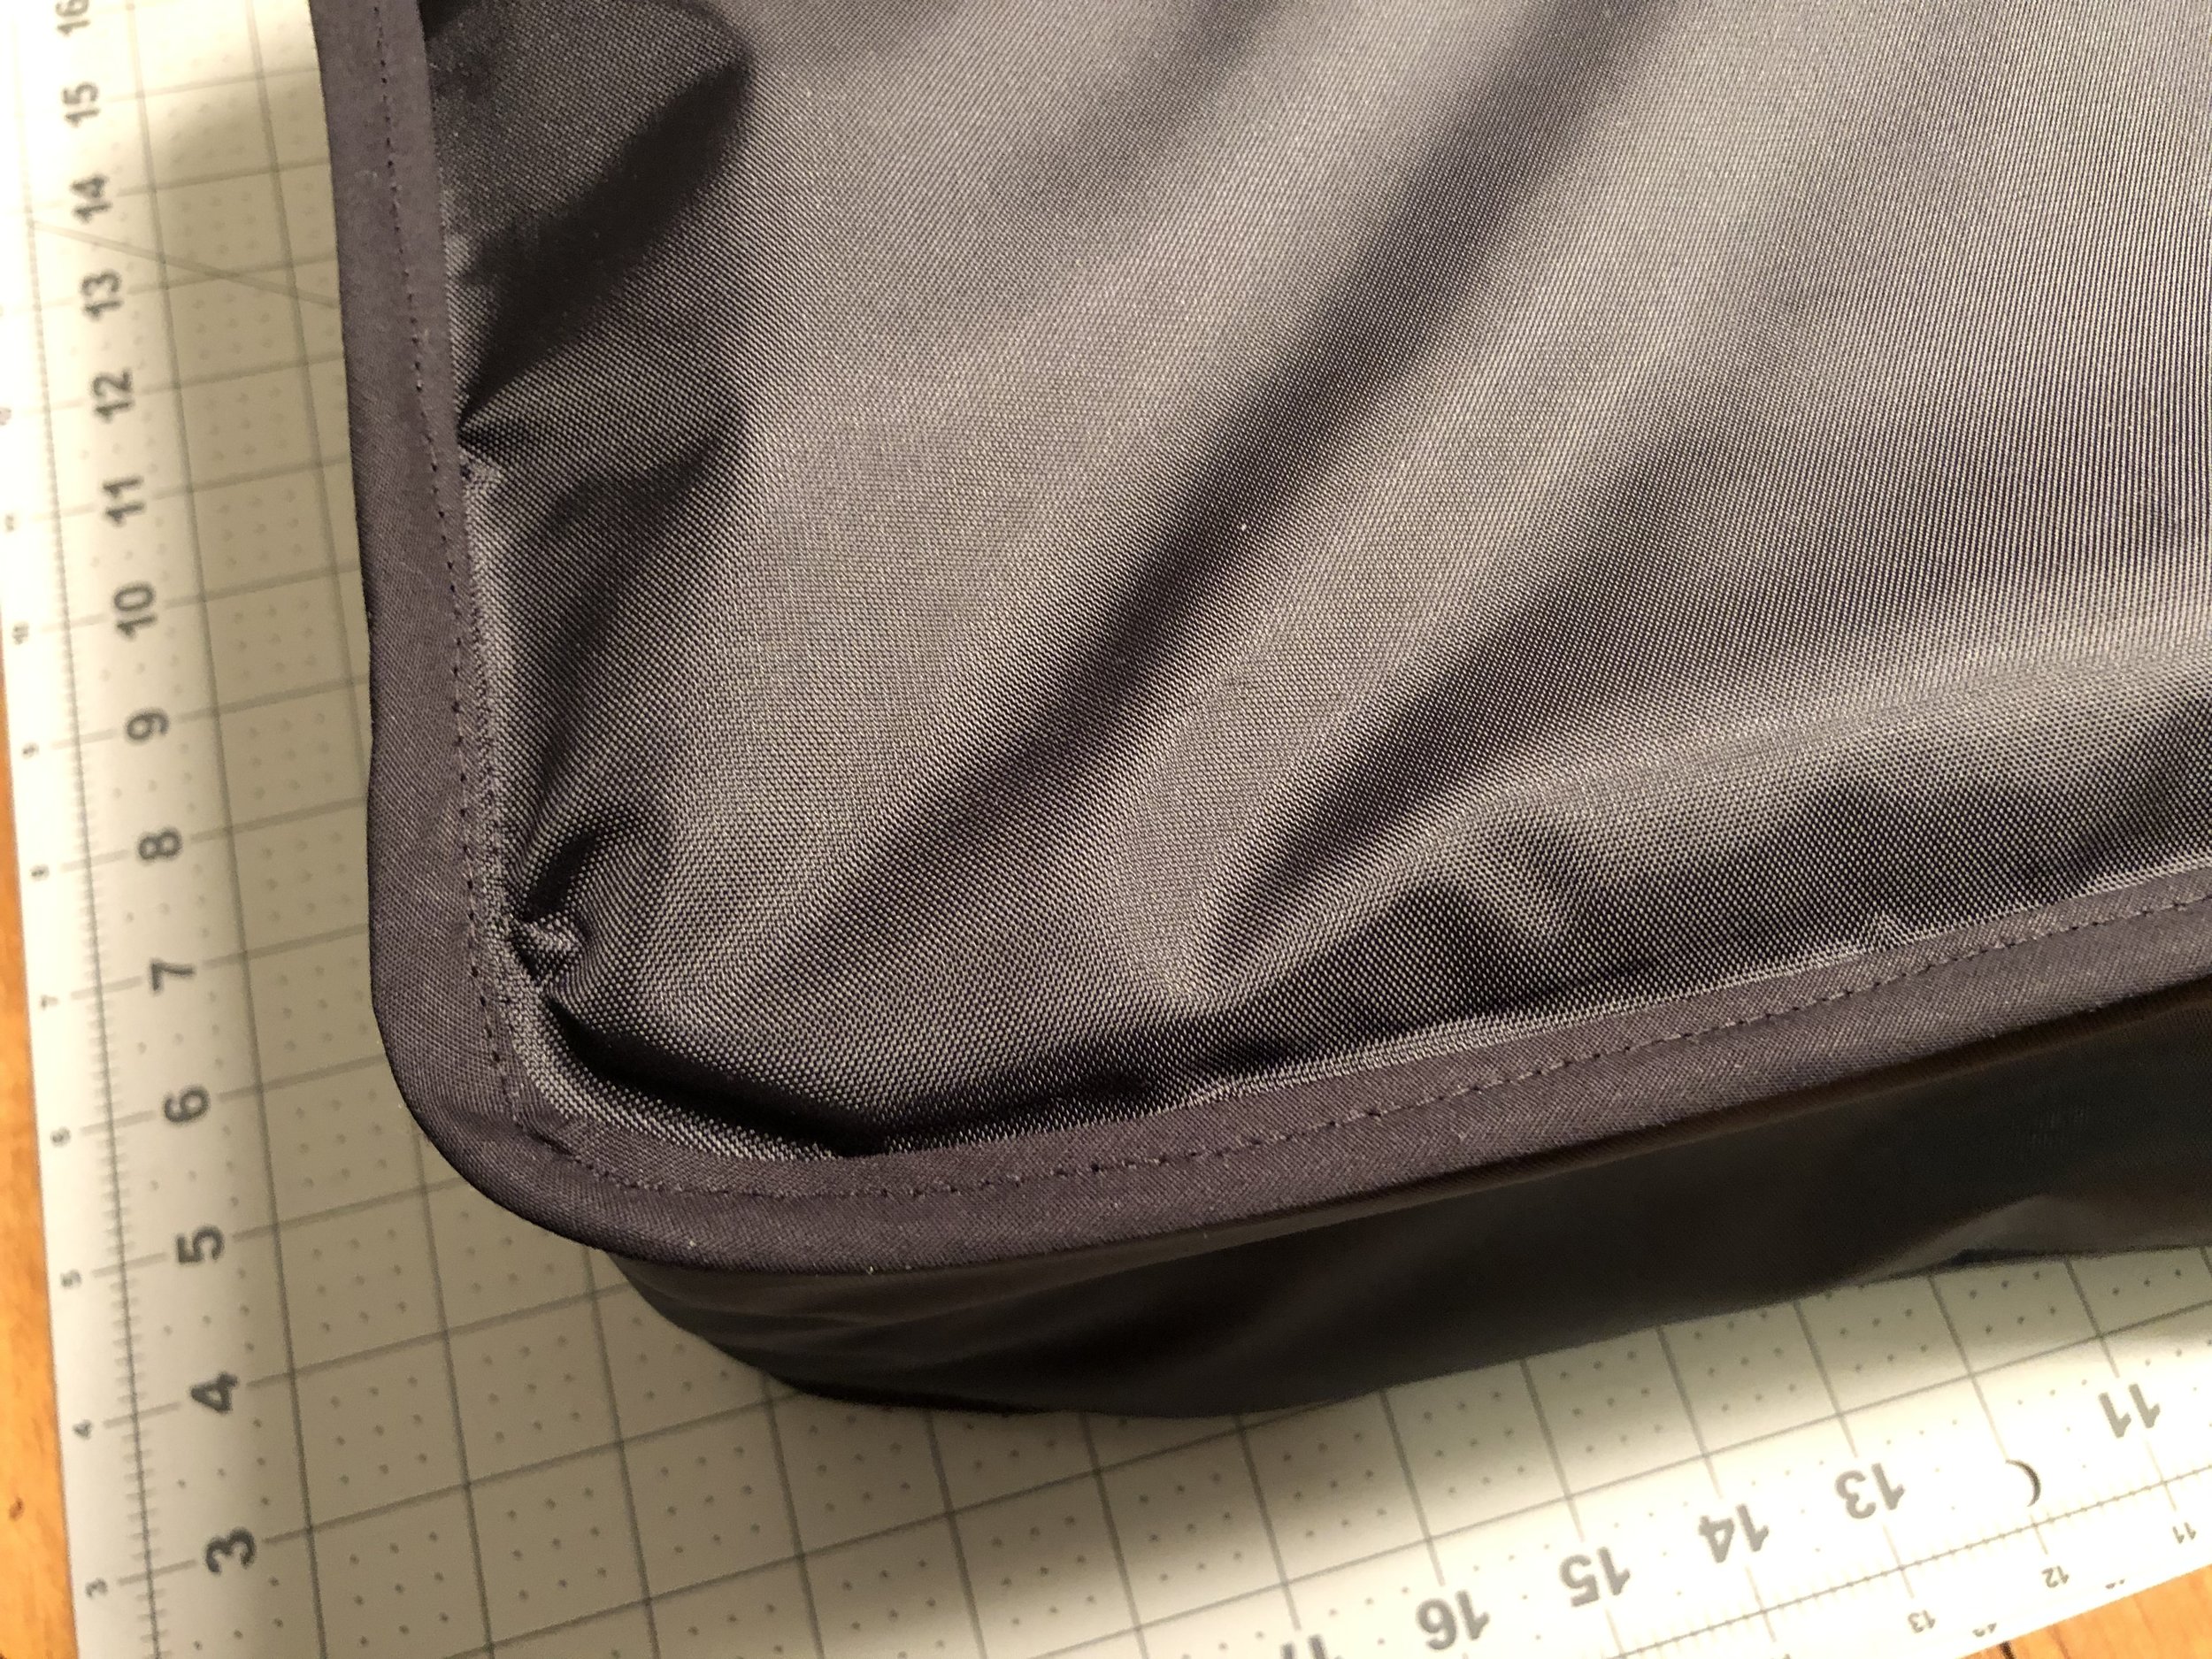
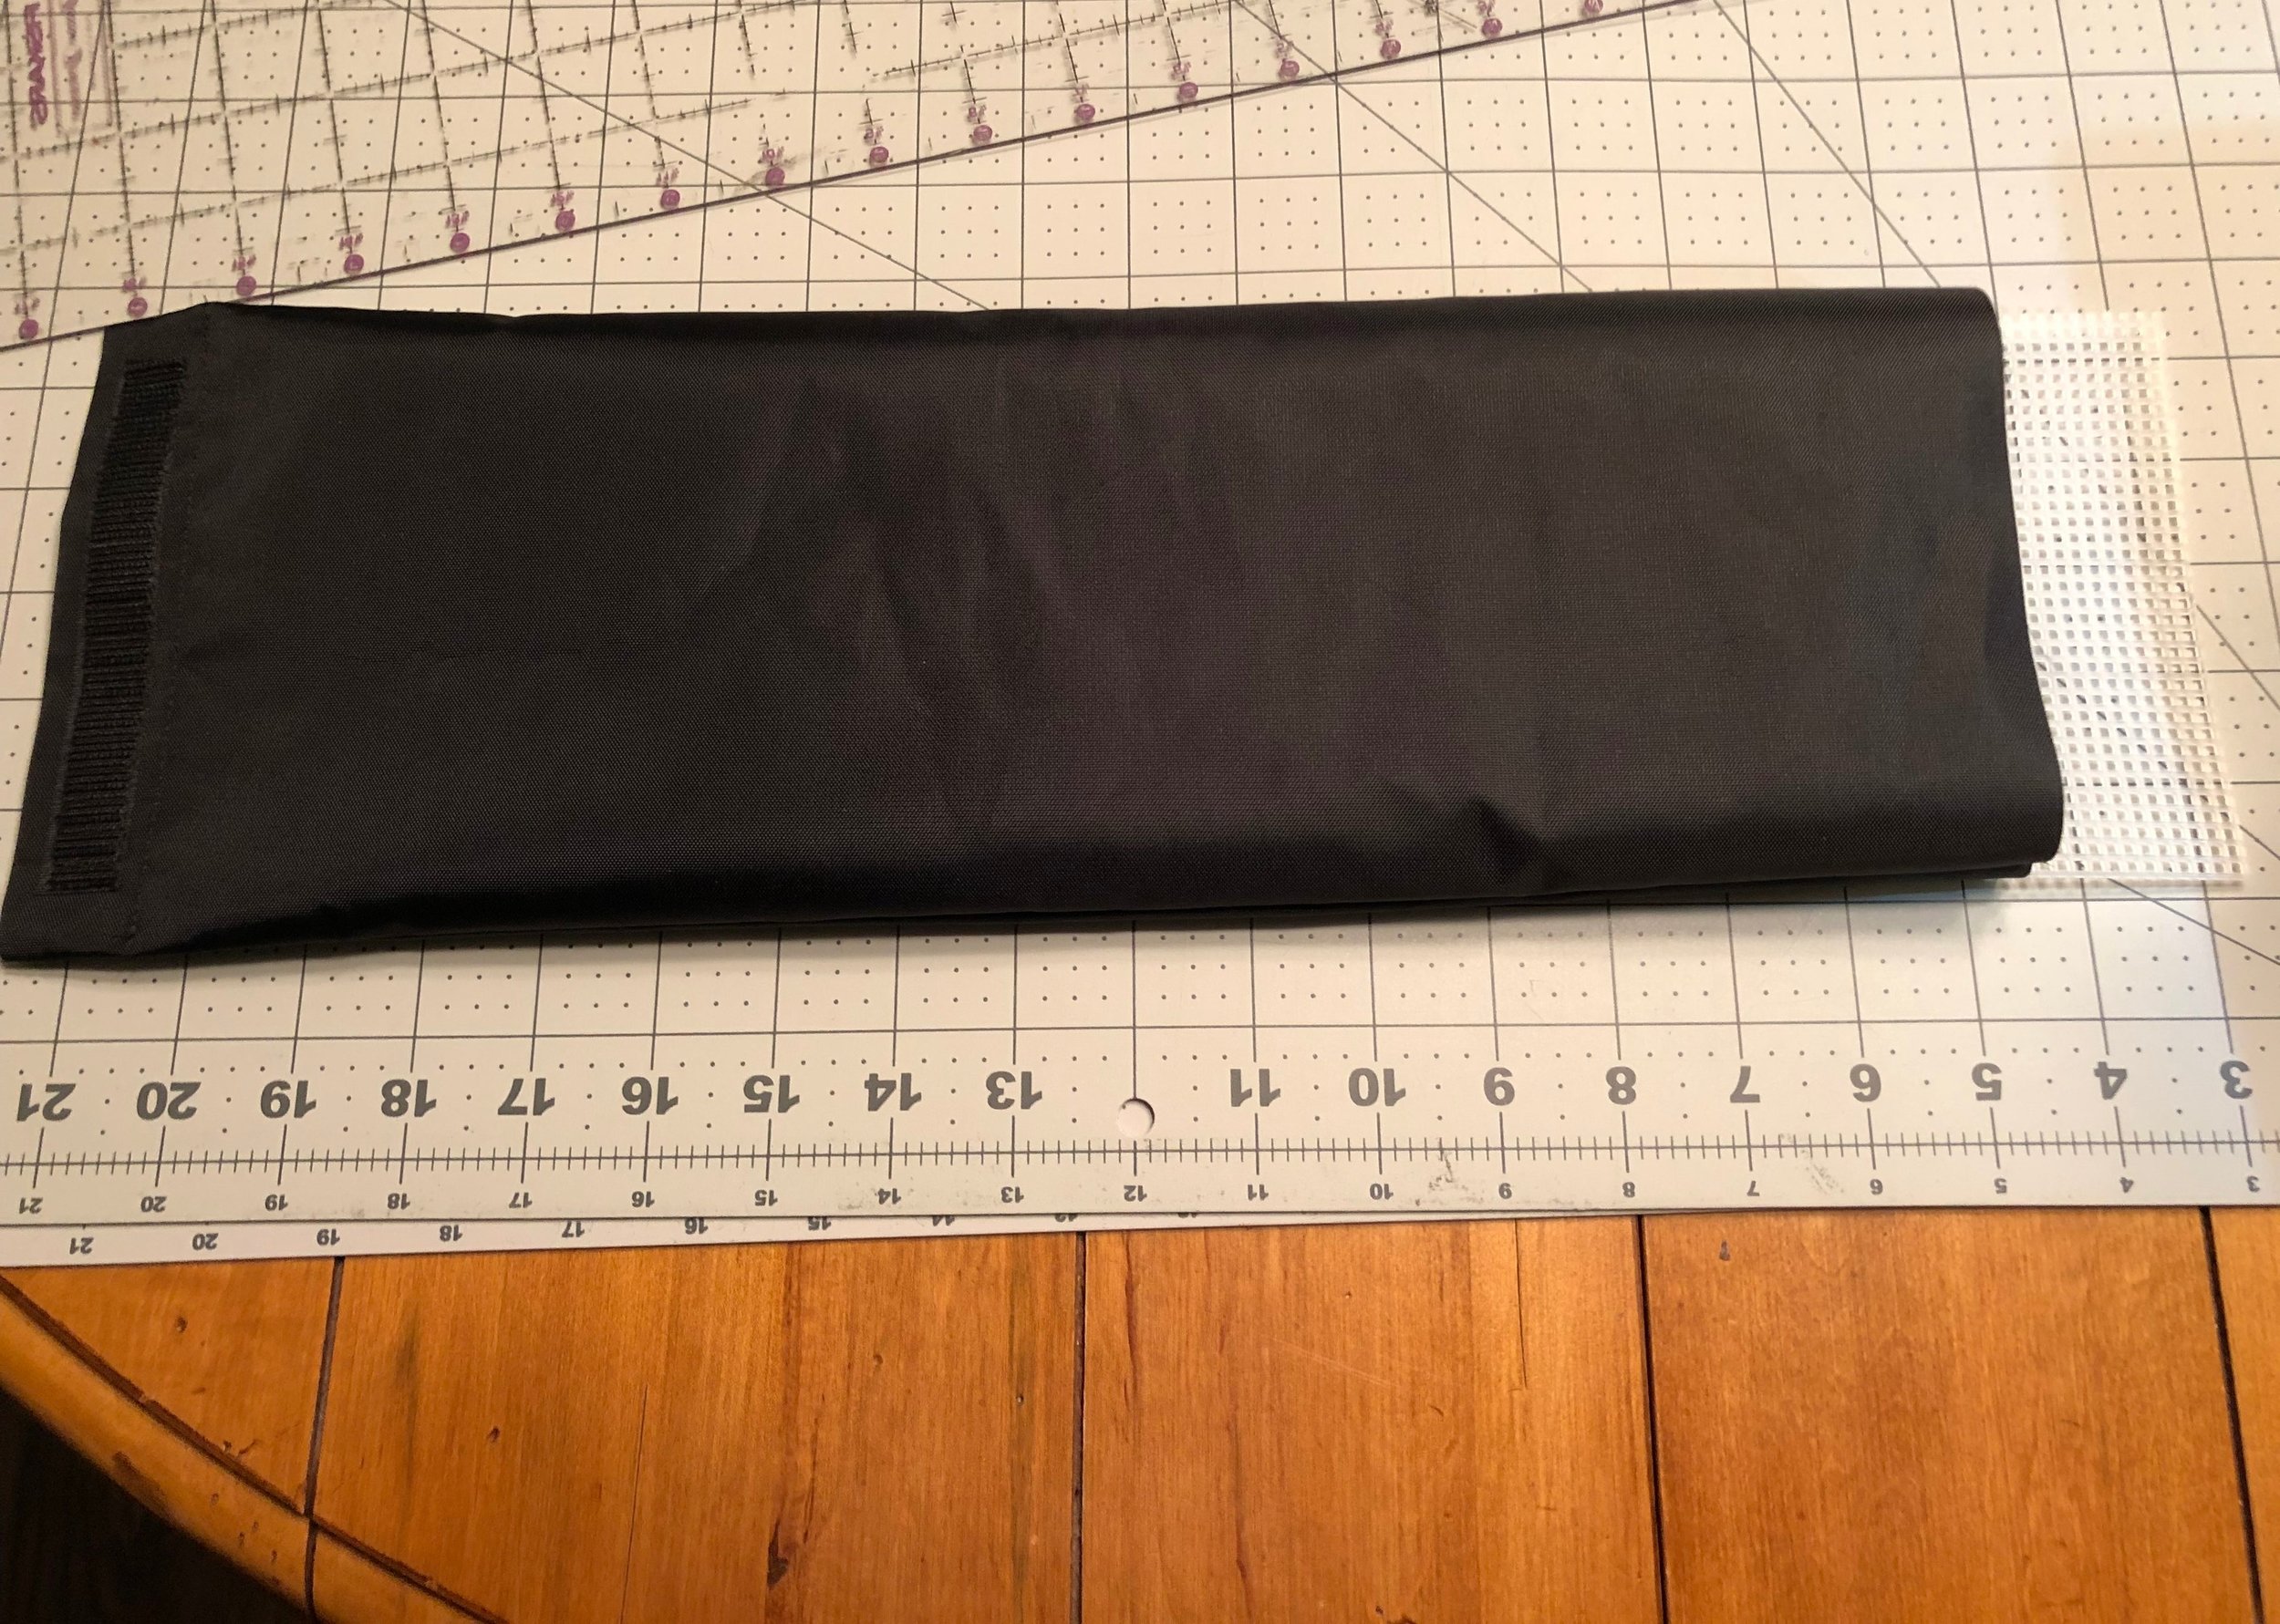
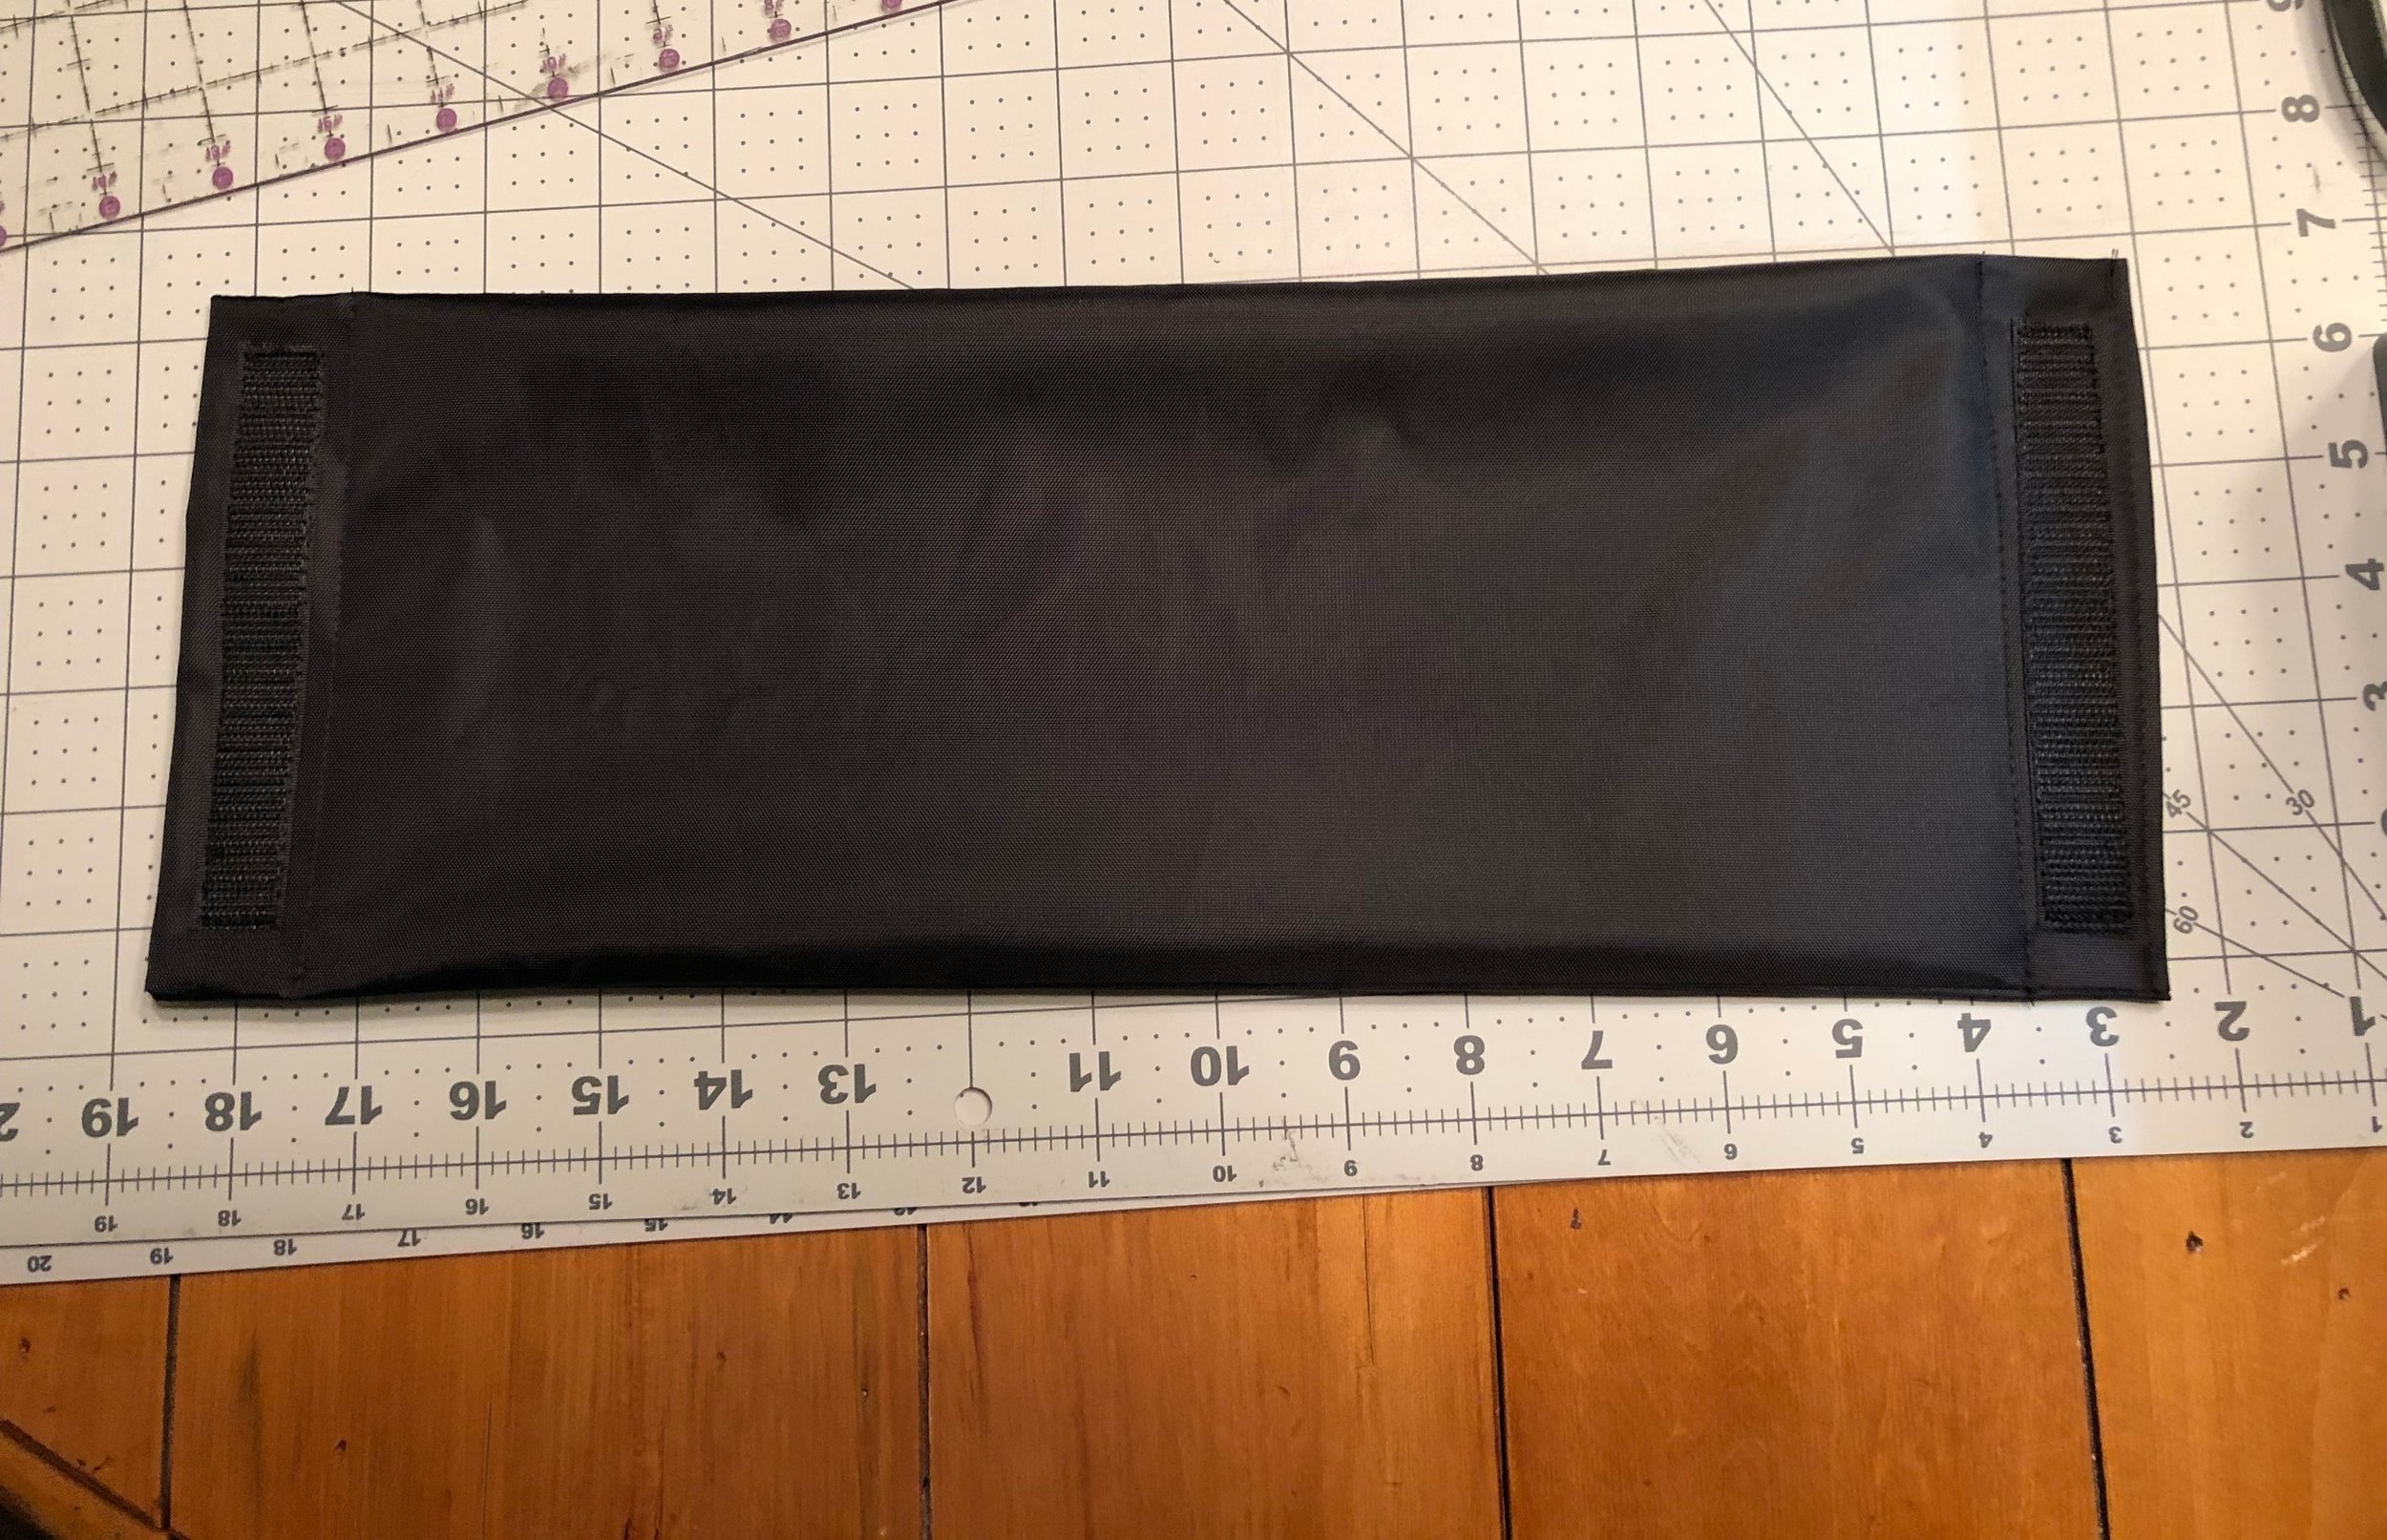
I did two of these, both the same size, but the second one I did is constructed differently than the first. I made the first one in a way that hid the seams, which looks nice, but the problem is that the lining isn’t firmly attached to the bottom and sides, which for this particular application, I don’t love. So, I did the second one differently and bound the seams instead. This way, the lining would not be free to puff out wherever it wanted and stays where I want it to stay.
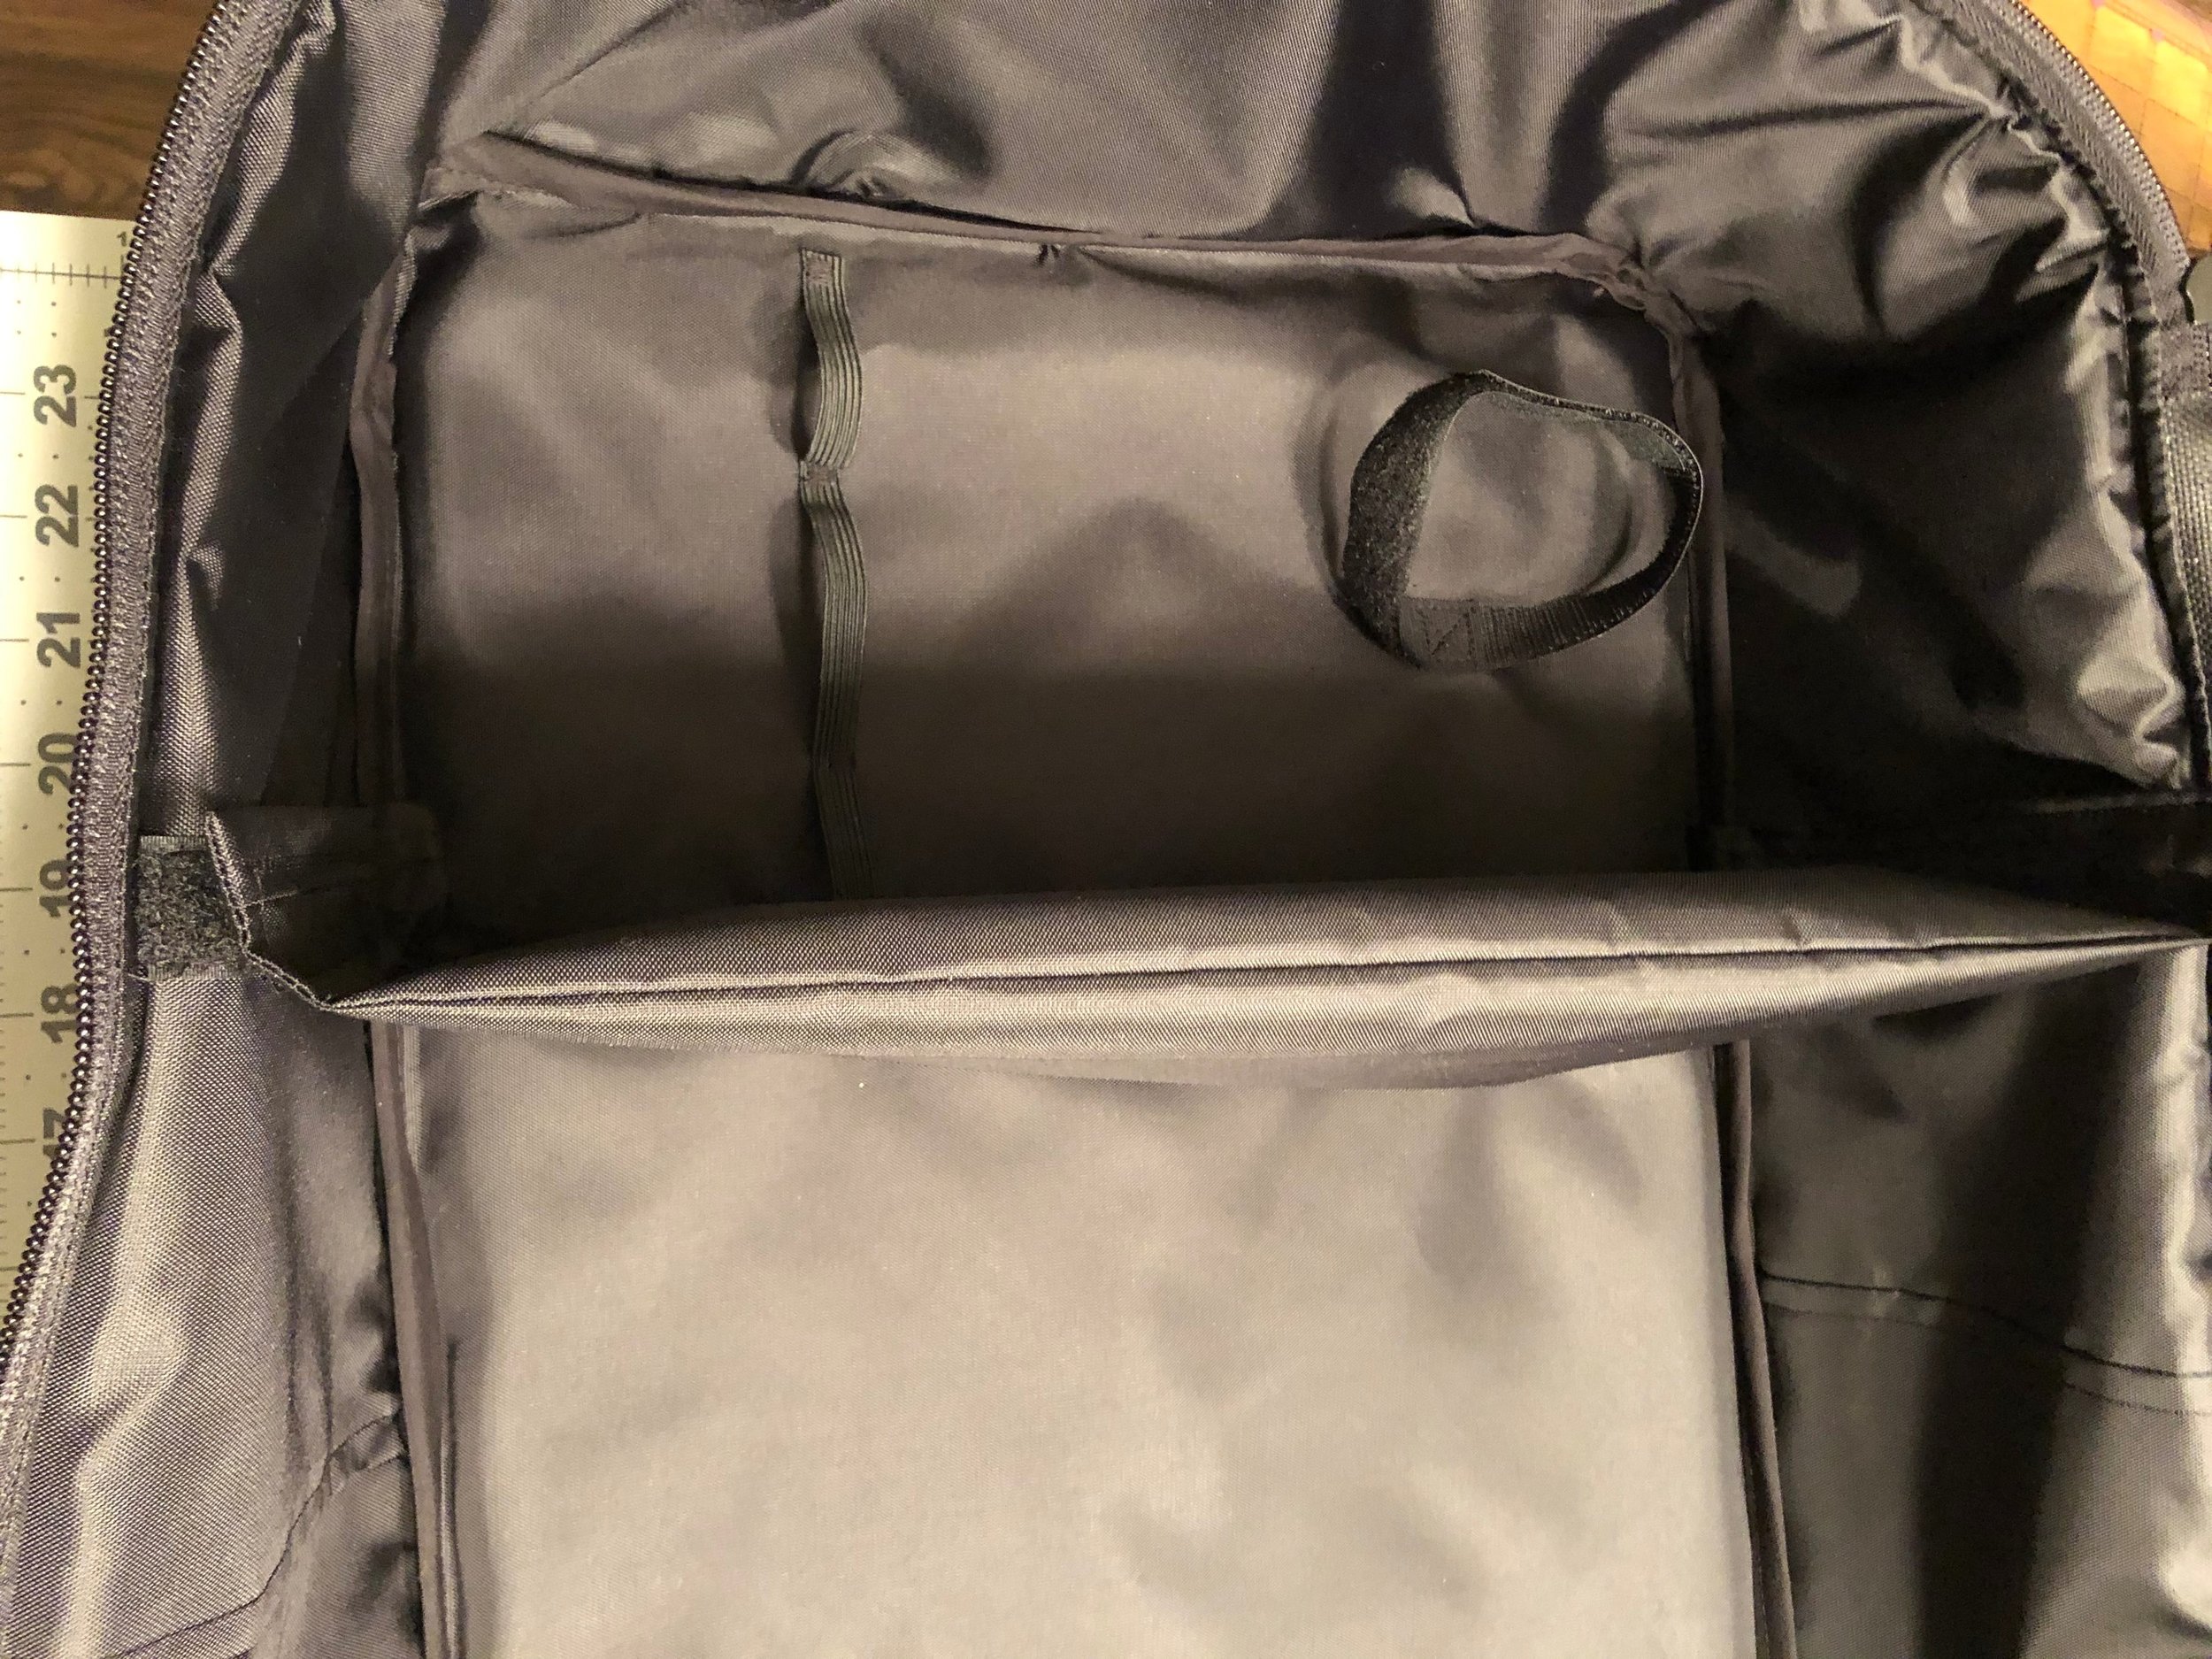
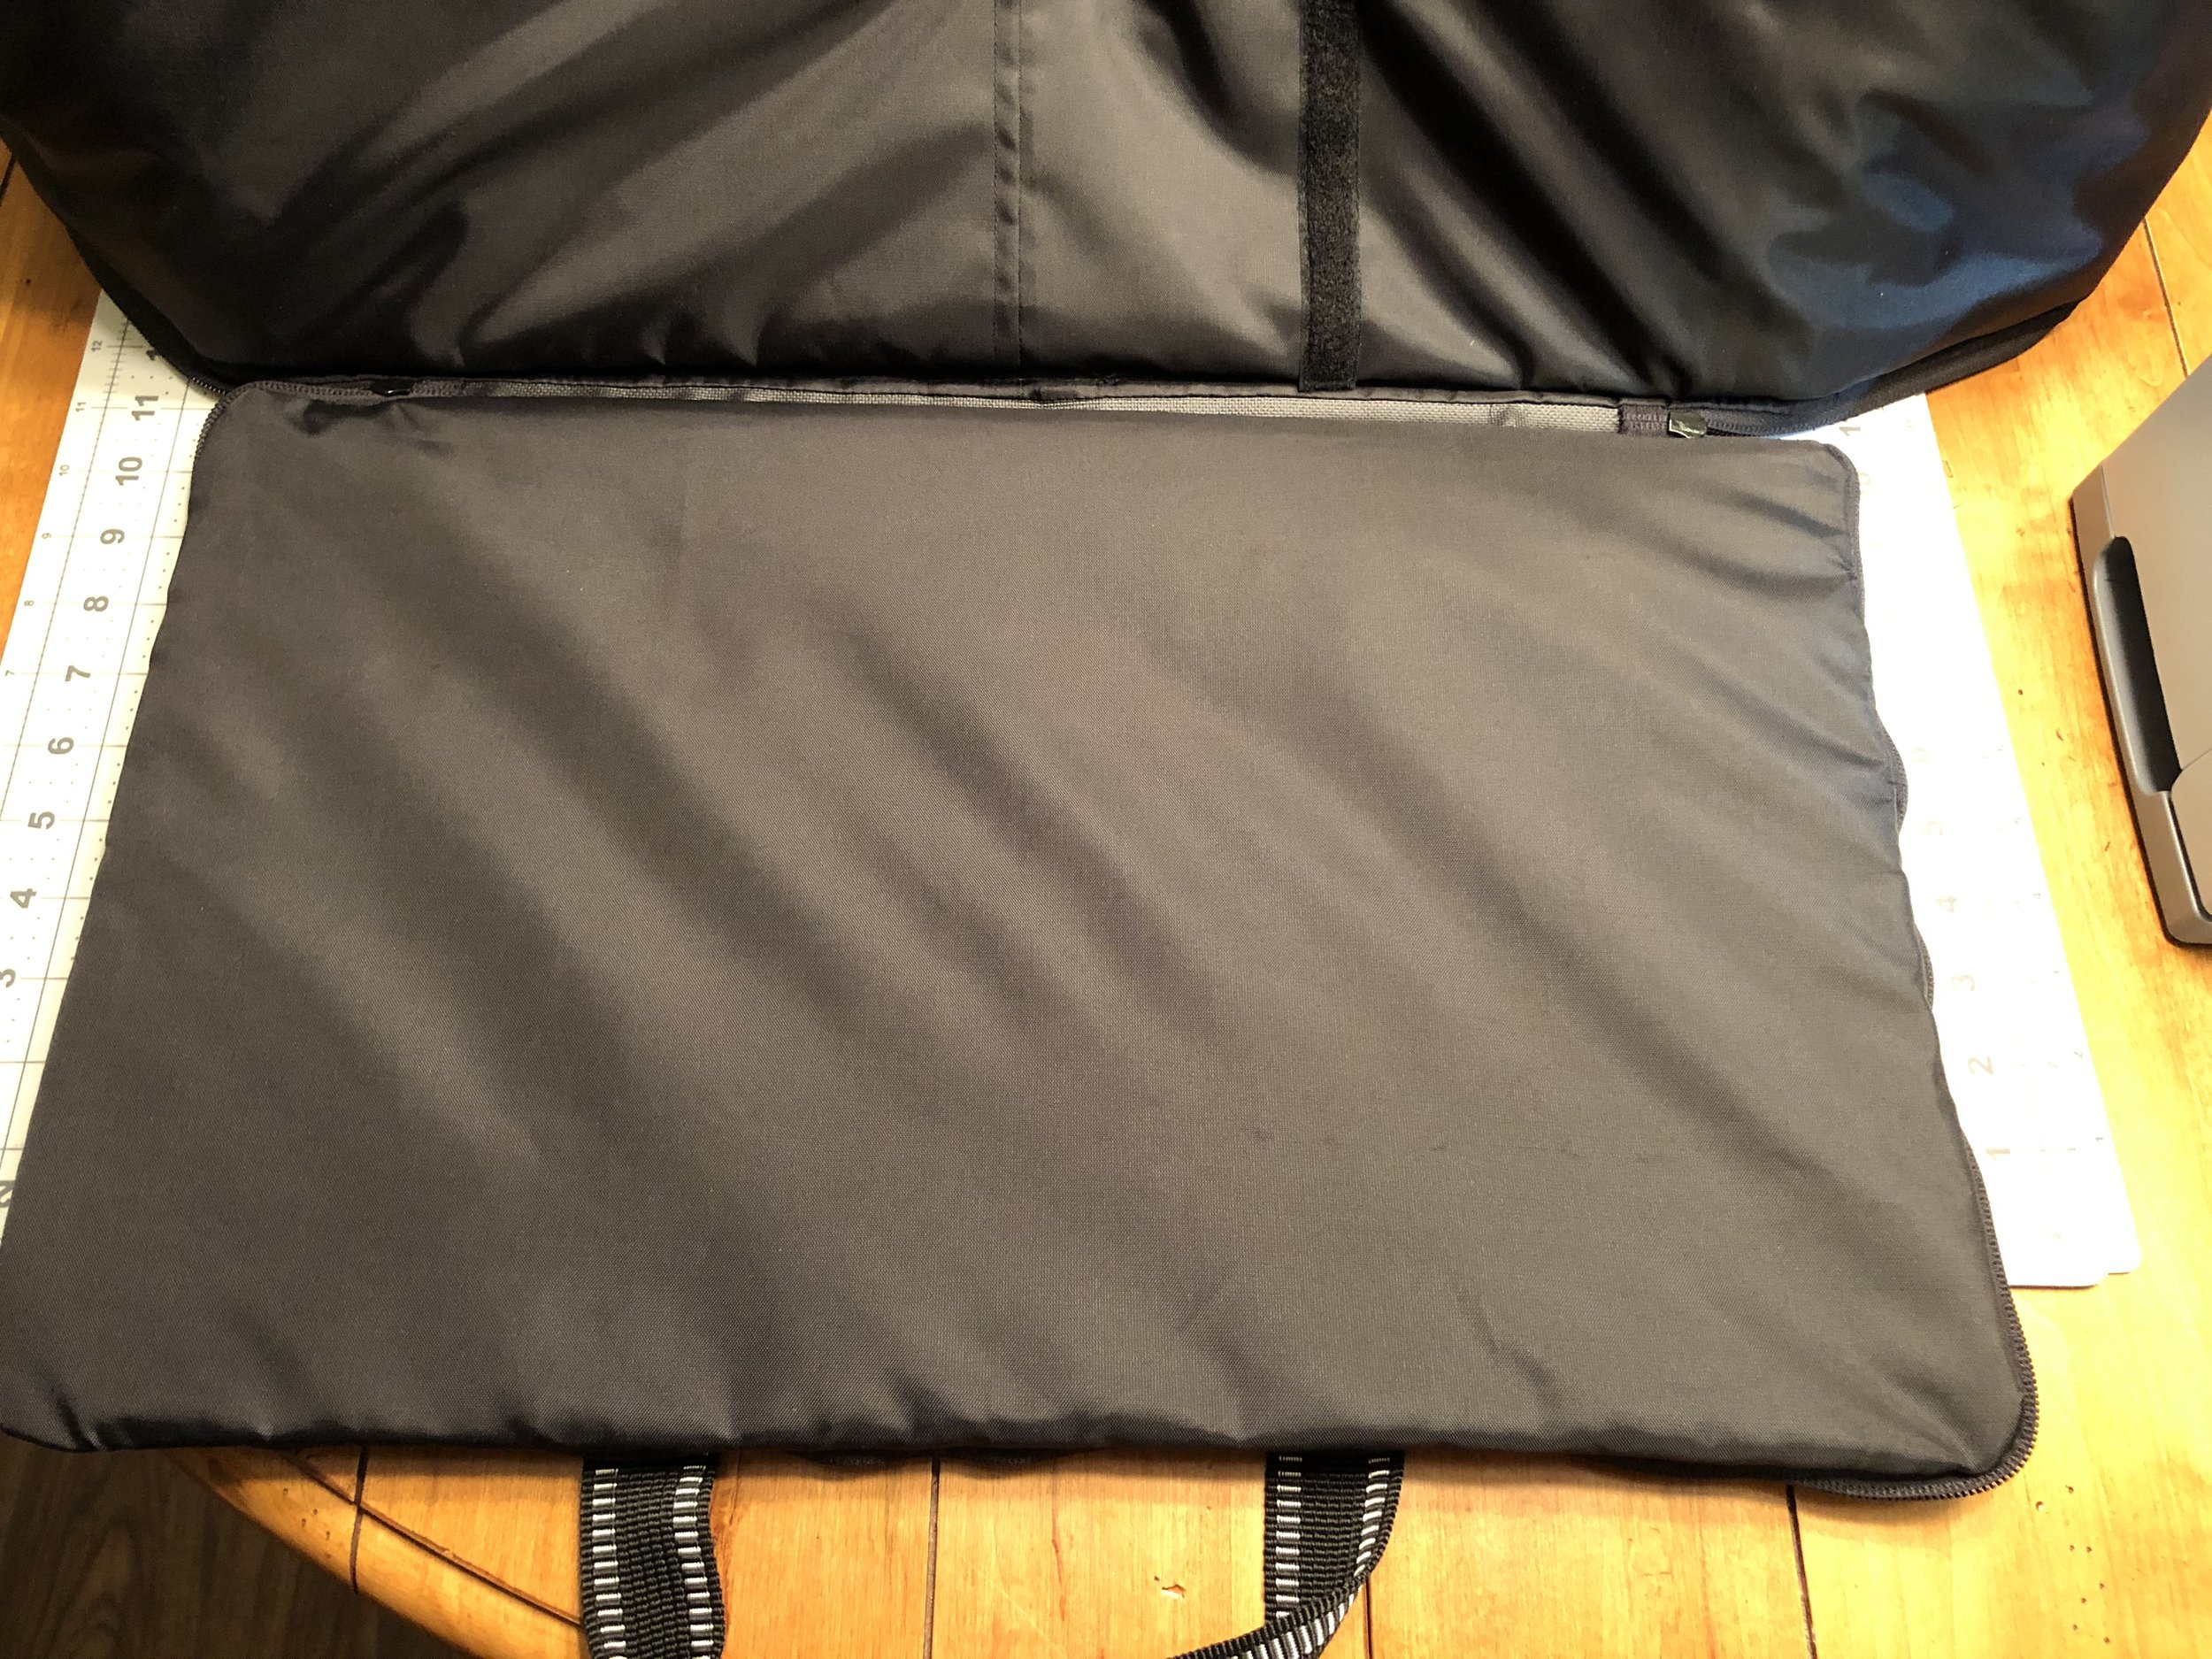
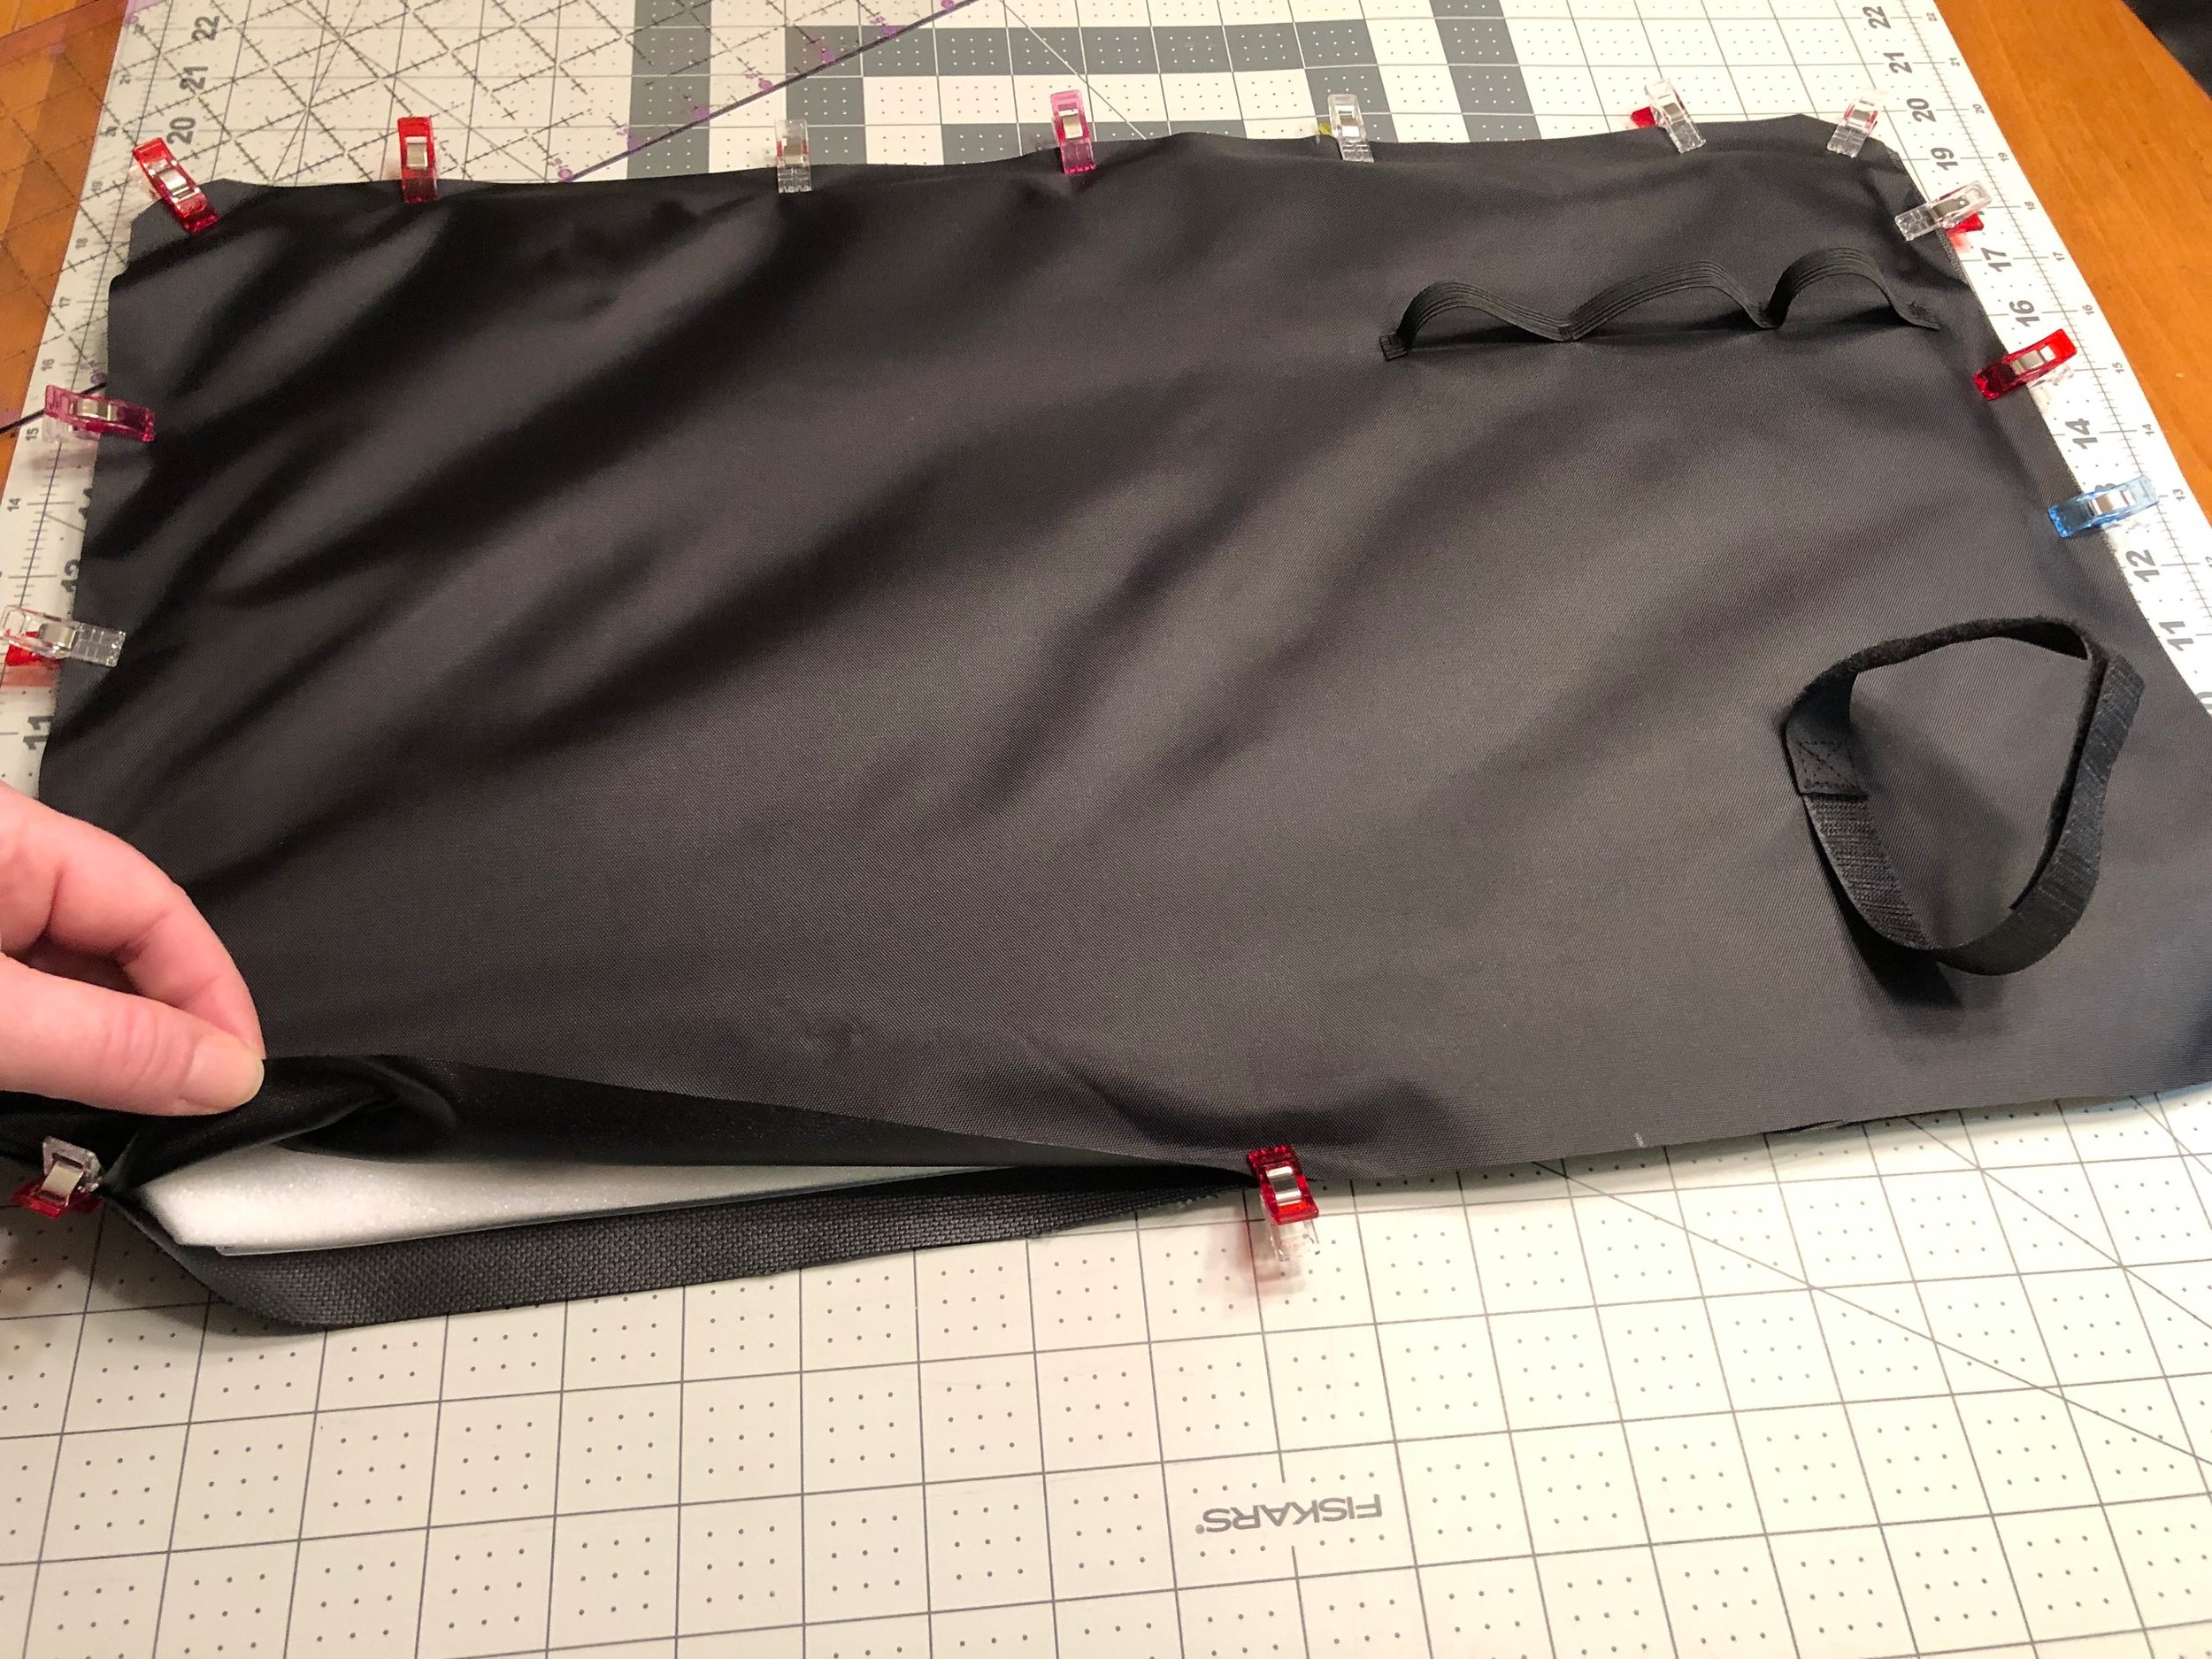
The bottom lining has elastic sewn into three loops so that cords can be slipped under the loops and secured in place. It also has a velcro loop sewn into the bottom to hold the controller. There is a divider that is attached by velcro to the sides to divide the console from the accessories. The gusset has a double zipper that goes slightly around the bottom to allow the top to open completely.

Materials
#5 Zipper chain
#5 Zipper pulls (2)
Side gusset (1 ballistic nylon outer; 1 nylon lining)
Top and Bottom (2 ballistic nylon outer; 2 nylon lining)
Zipper stop piece (1 ballistic nylon outer, no lining)
1.5” Webbing for handles
1/2” Elastic
3/4” Velcro
Foam interfacing for sides, top and bottom
Divider (1 piece nylon lining)
1/2” Double Fold Bias Tape
Plastic canvas (or cardboard) for divider insert
Zipper Gusset
Click through the slideshow below for photos.
Take the outer gusset piece and sew it right sides together using 1/2” seam allowance to create a tube.
Grade the seam and topstitch.
Take the lining gusset piece and sew it right sides together using 1/2” seam allowance, creating another tube.
Topstitch lining seam if desired.
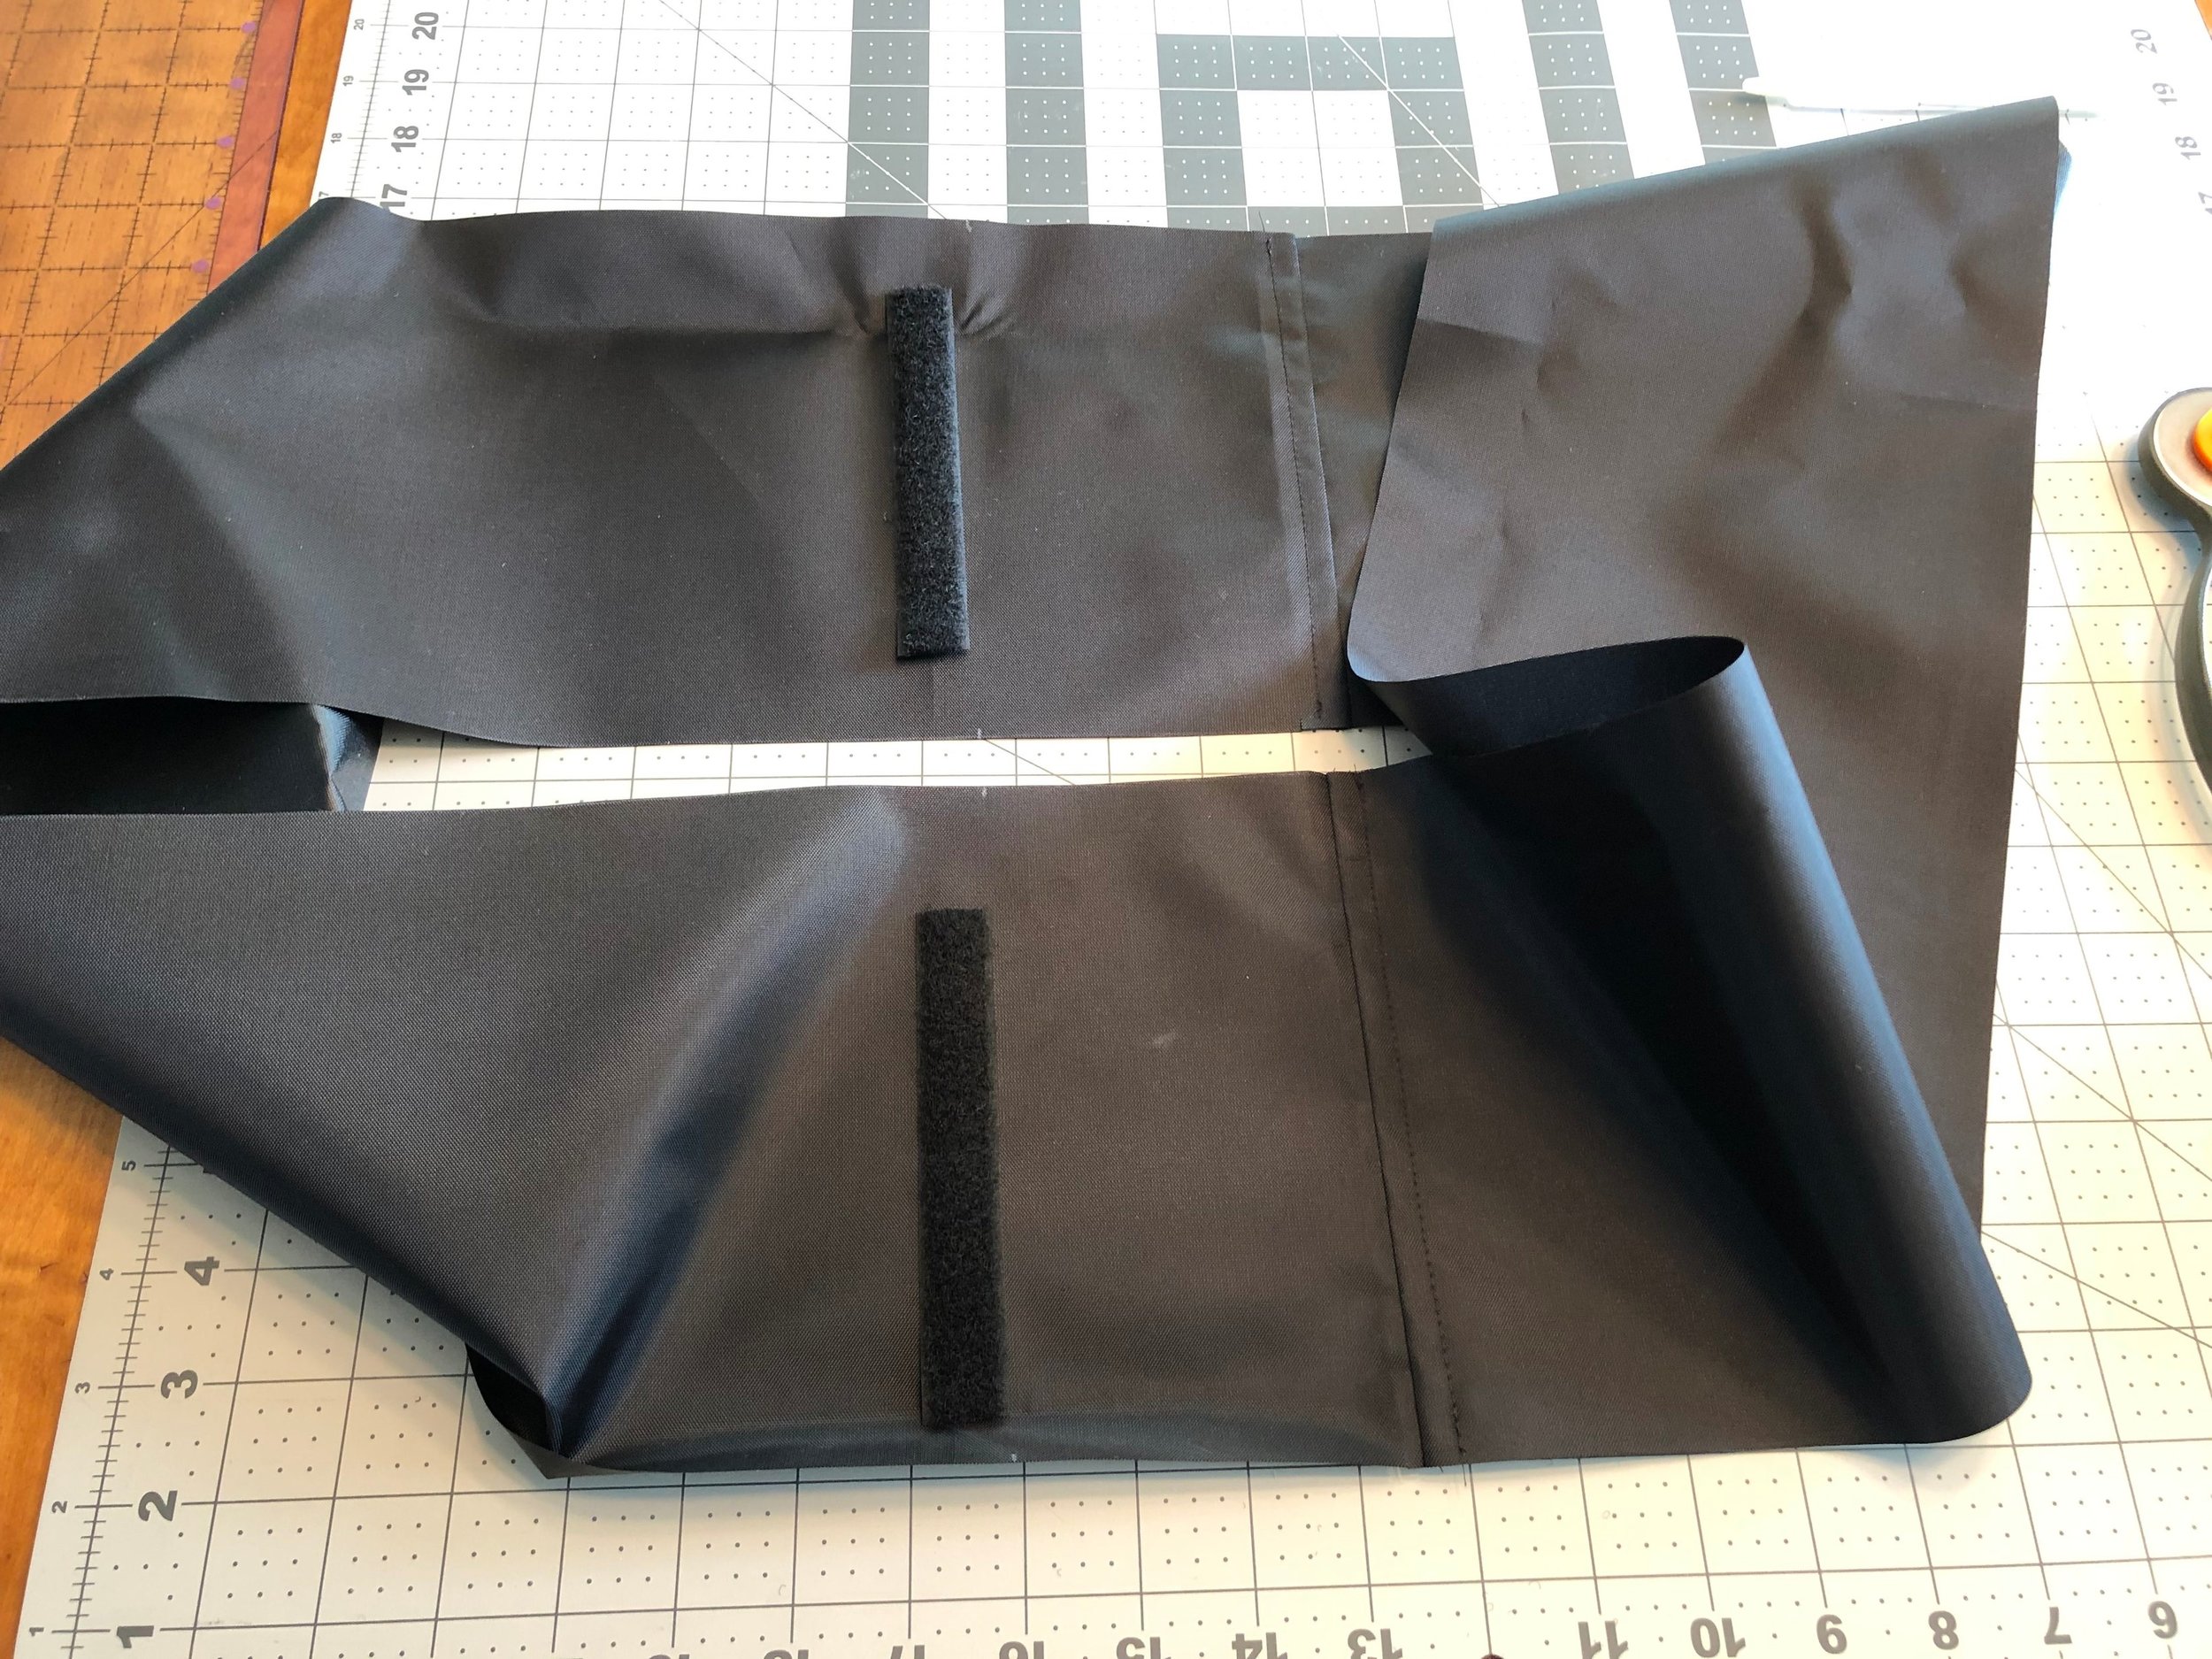
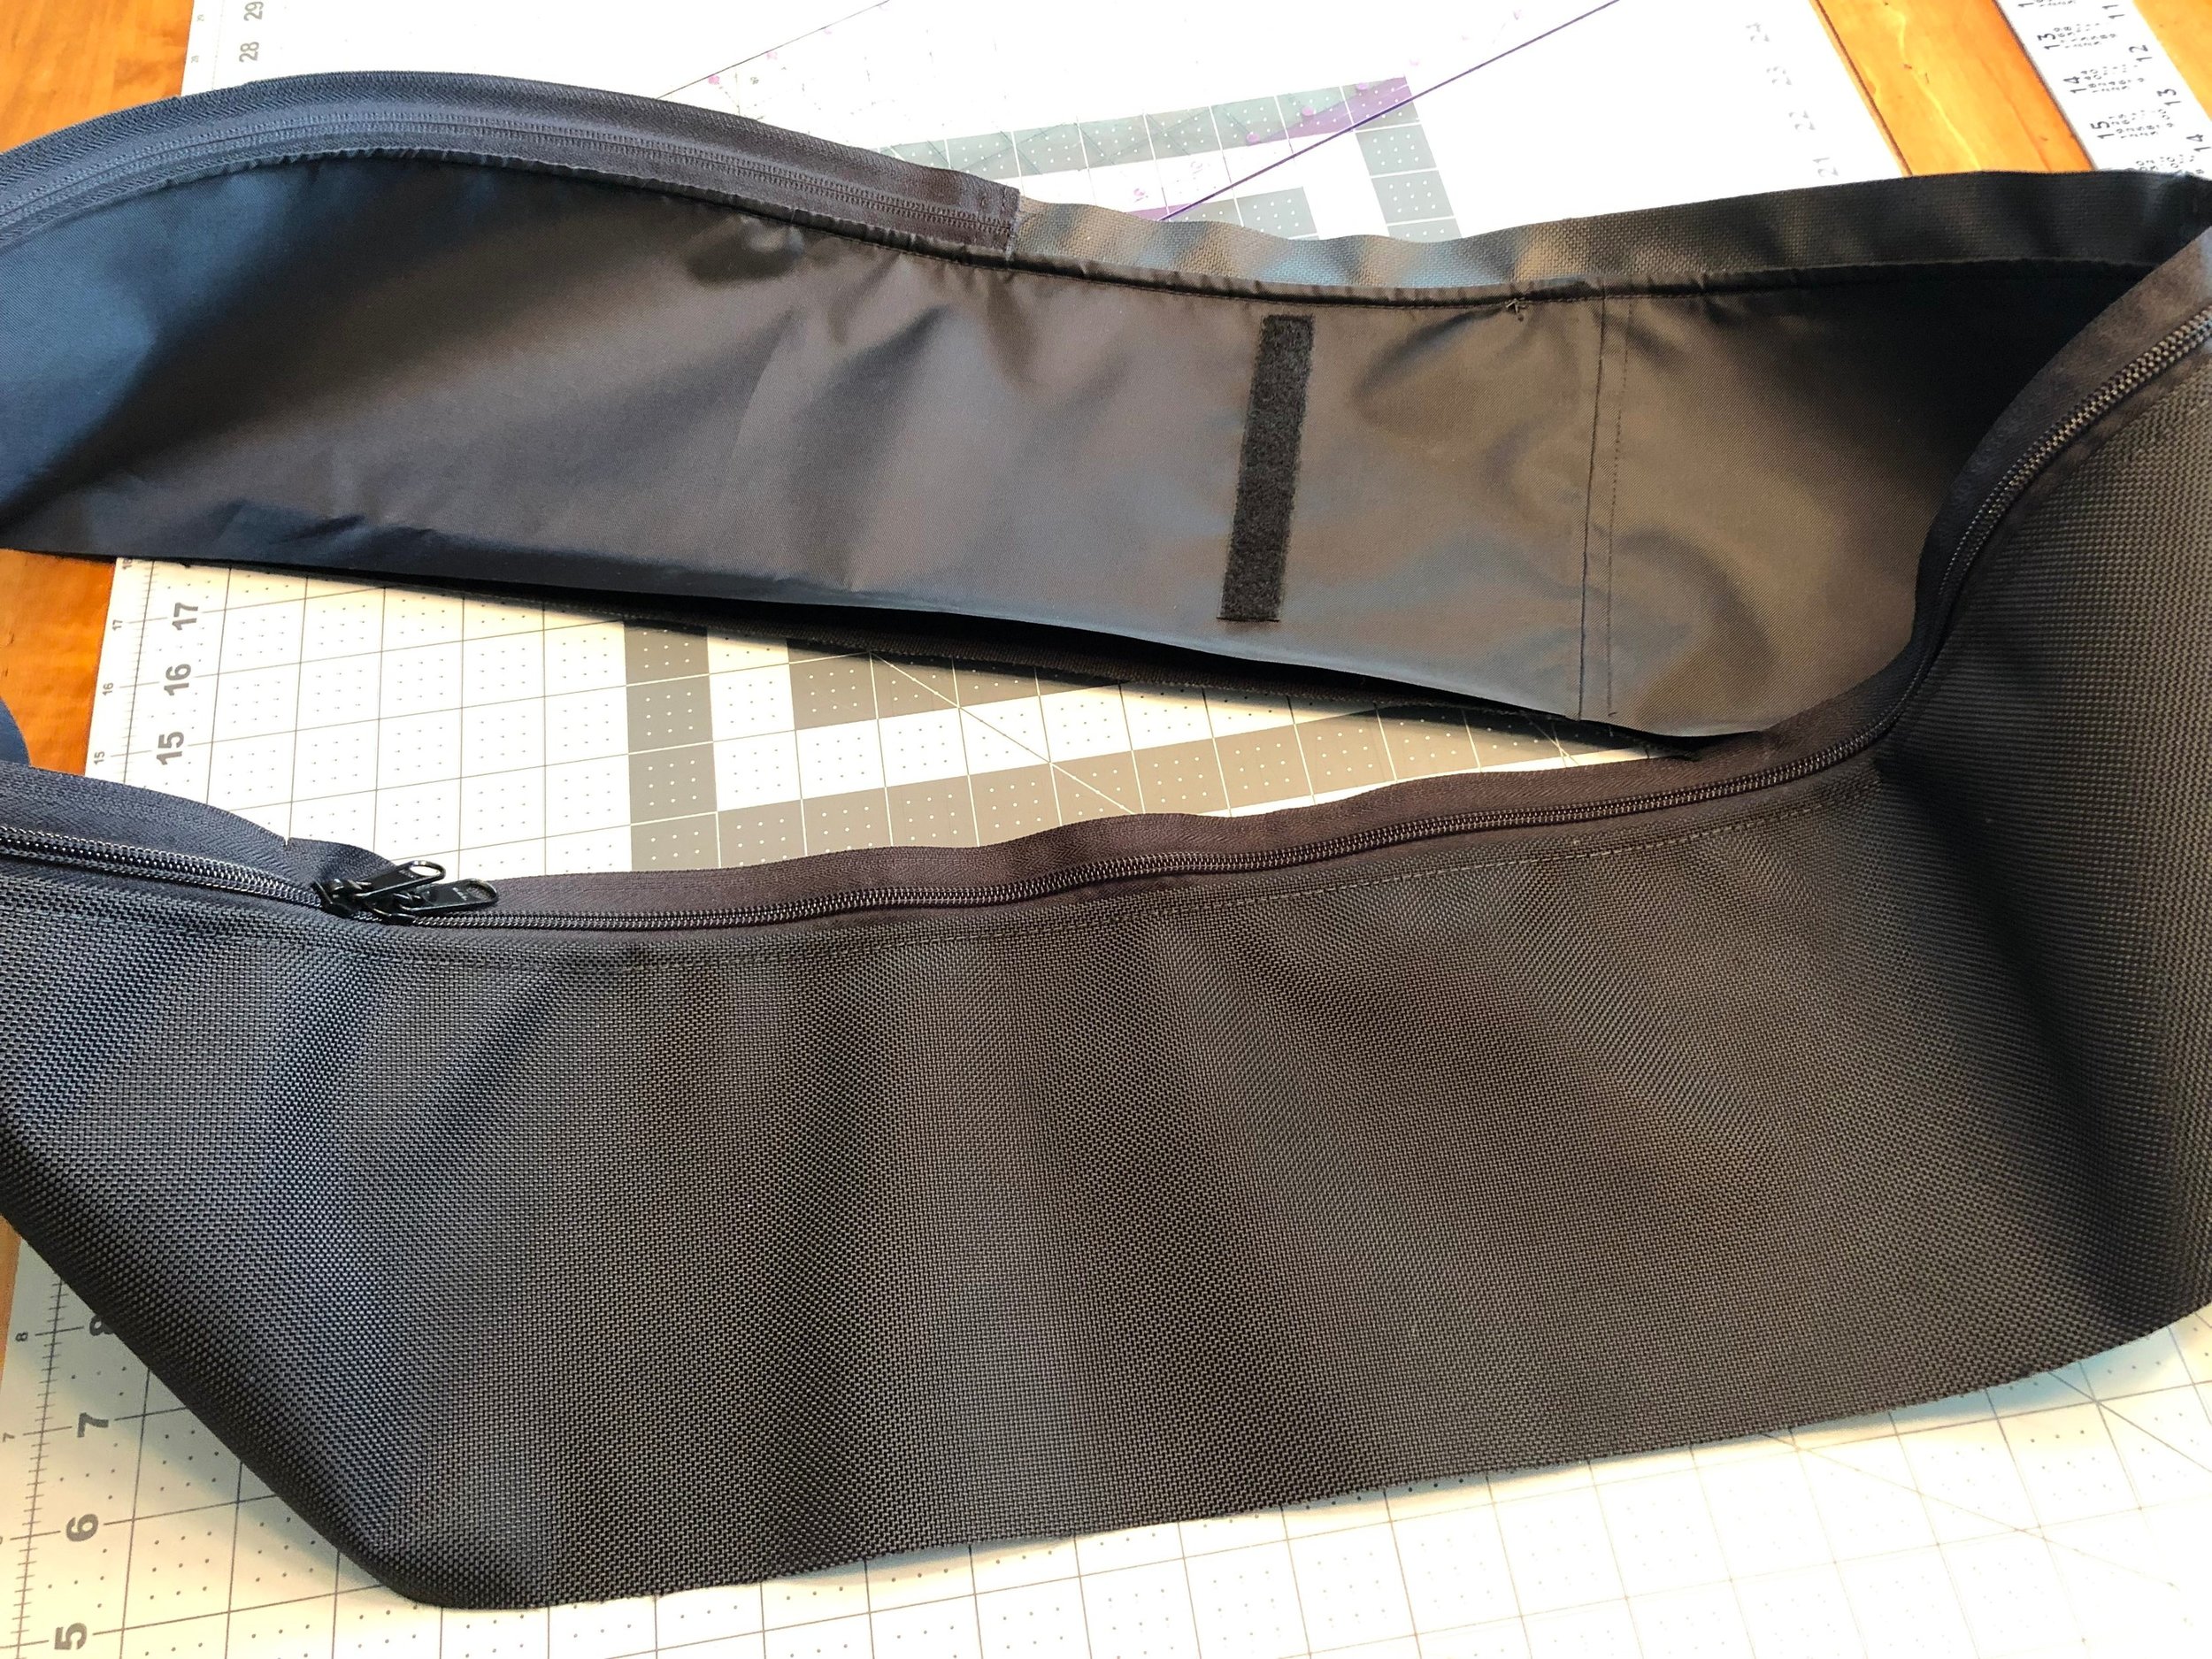
Measure and mark where the divider velcro pieces should sit on the lining gusset piece. Sew the velcro in place.
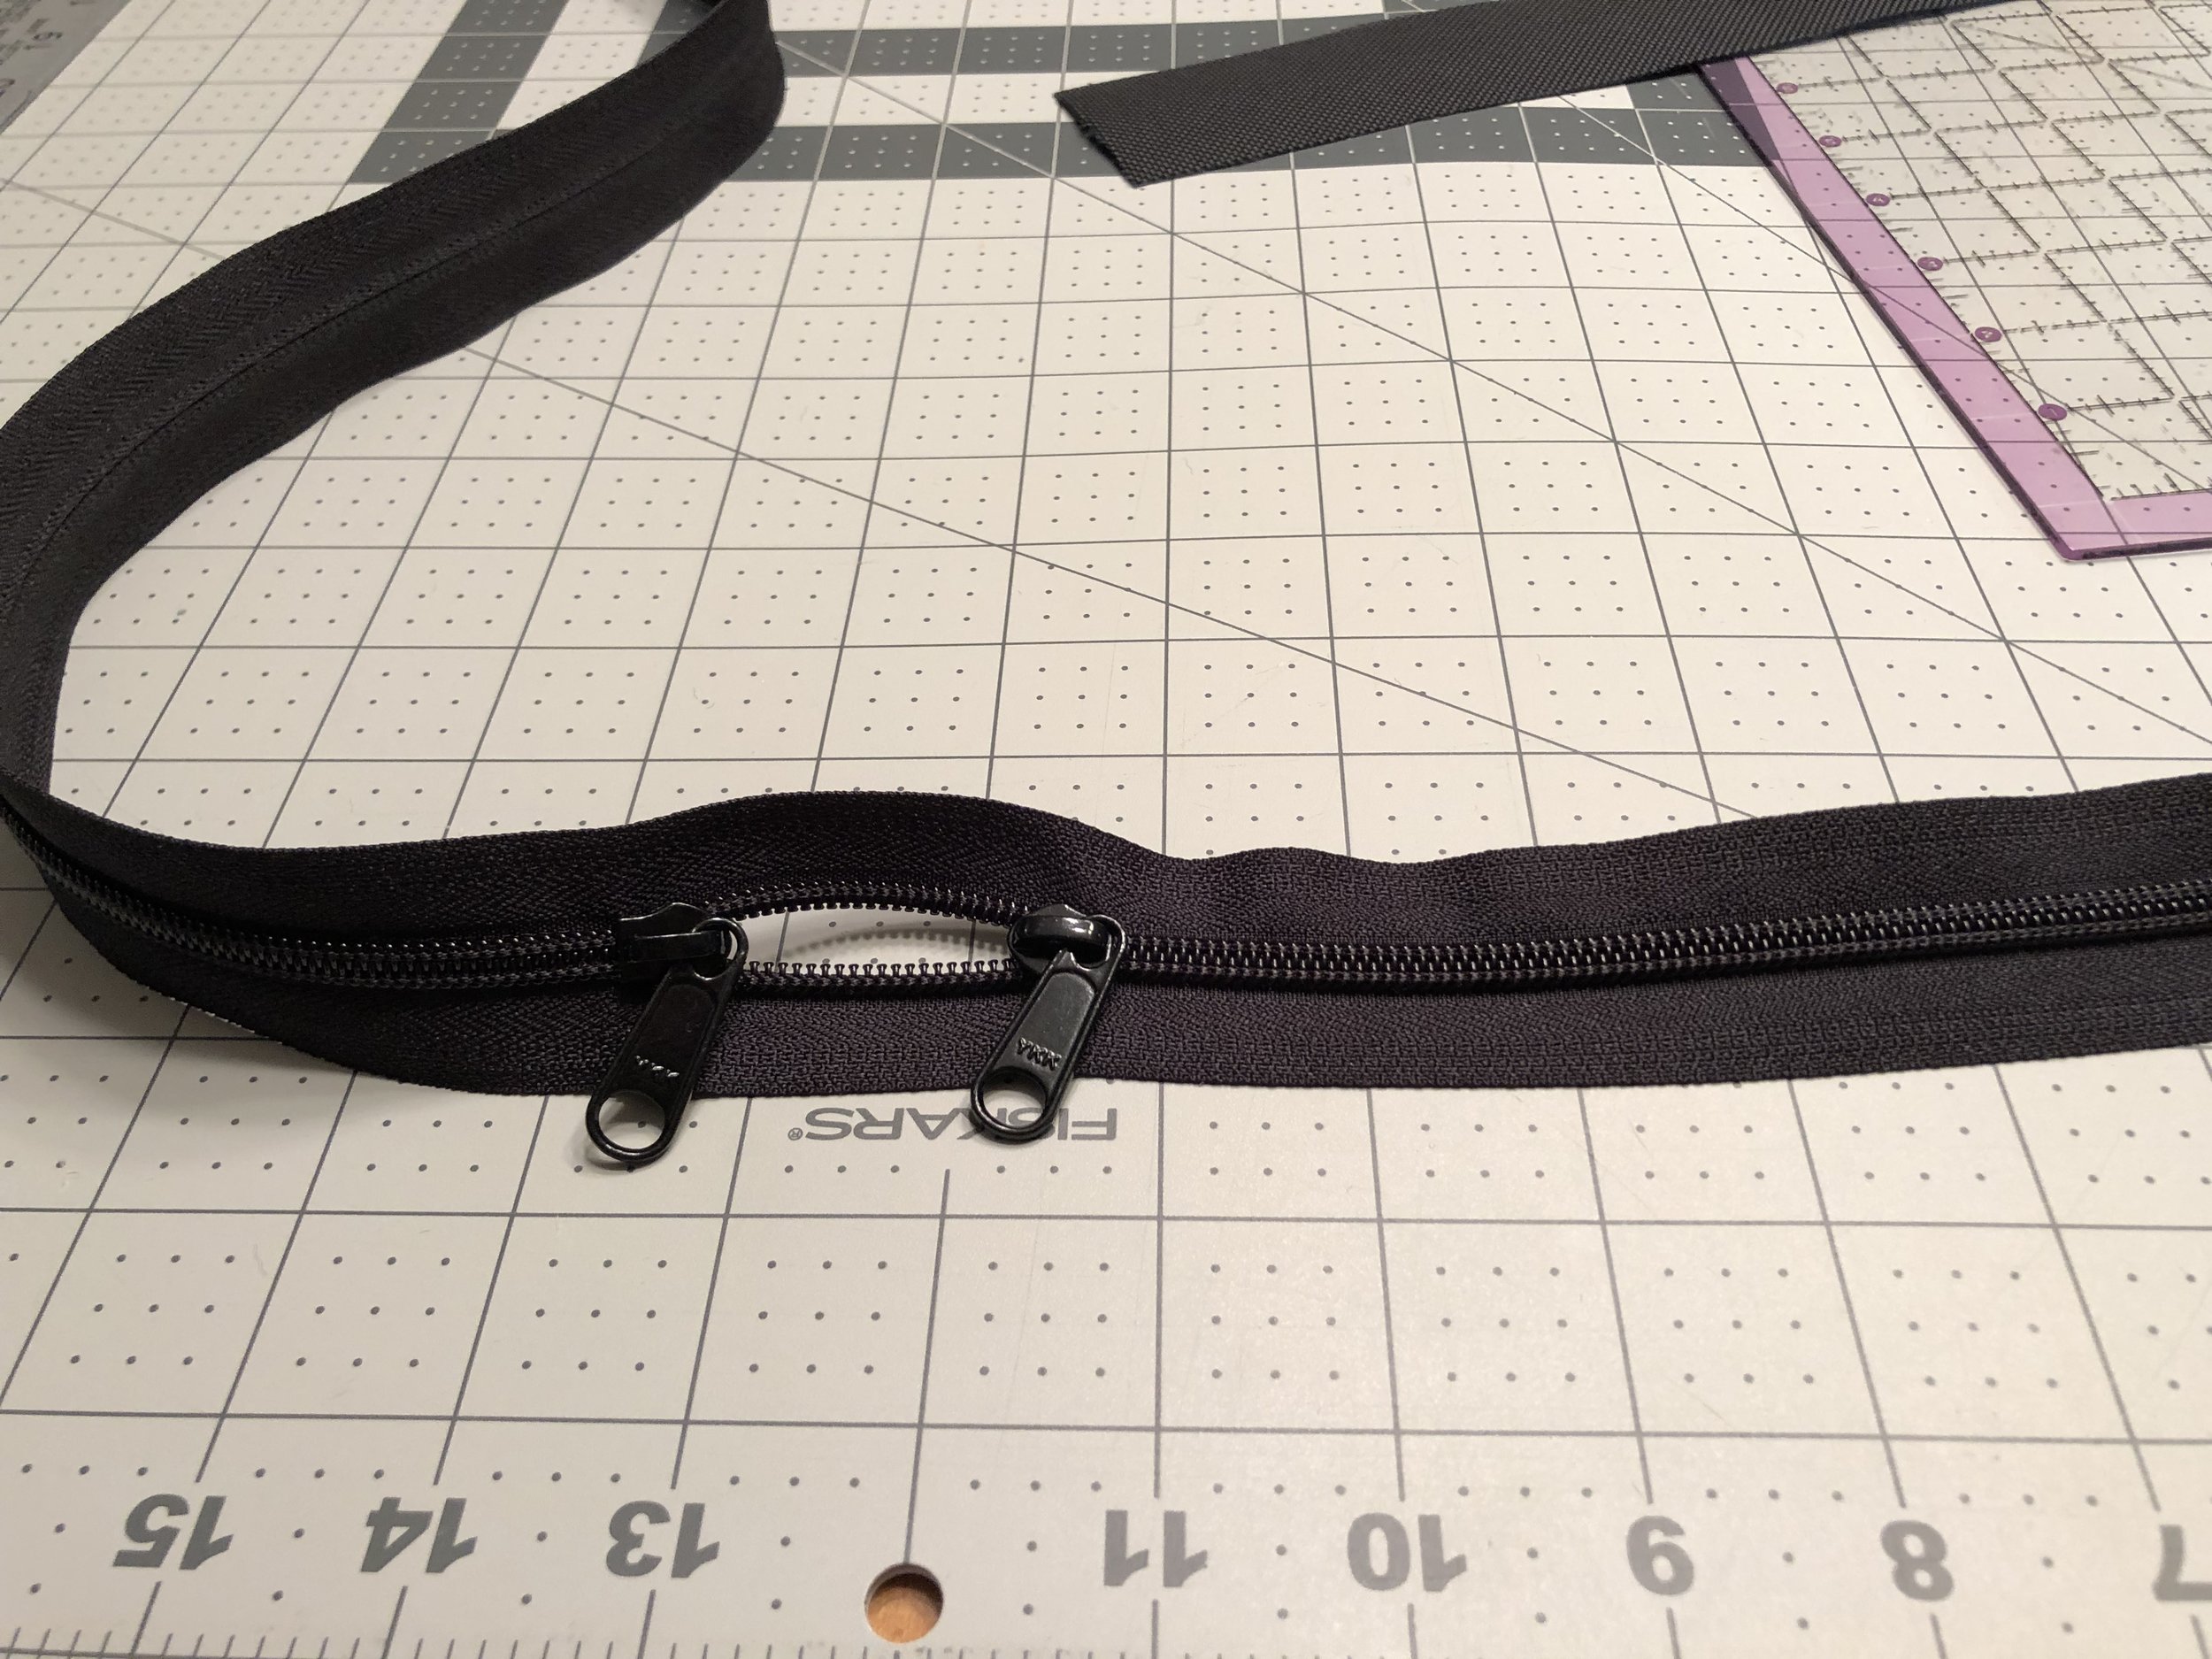
Install the zipper pulls on the zipper chain, with the pulls facing each other so they unzip out toward the raw ends.
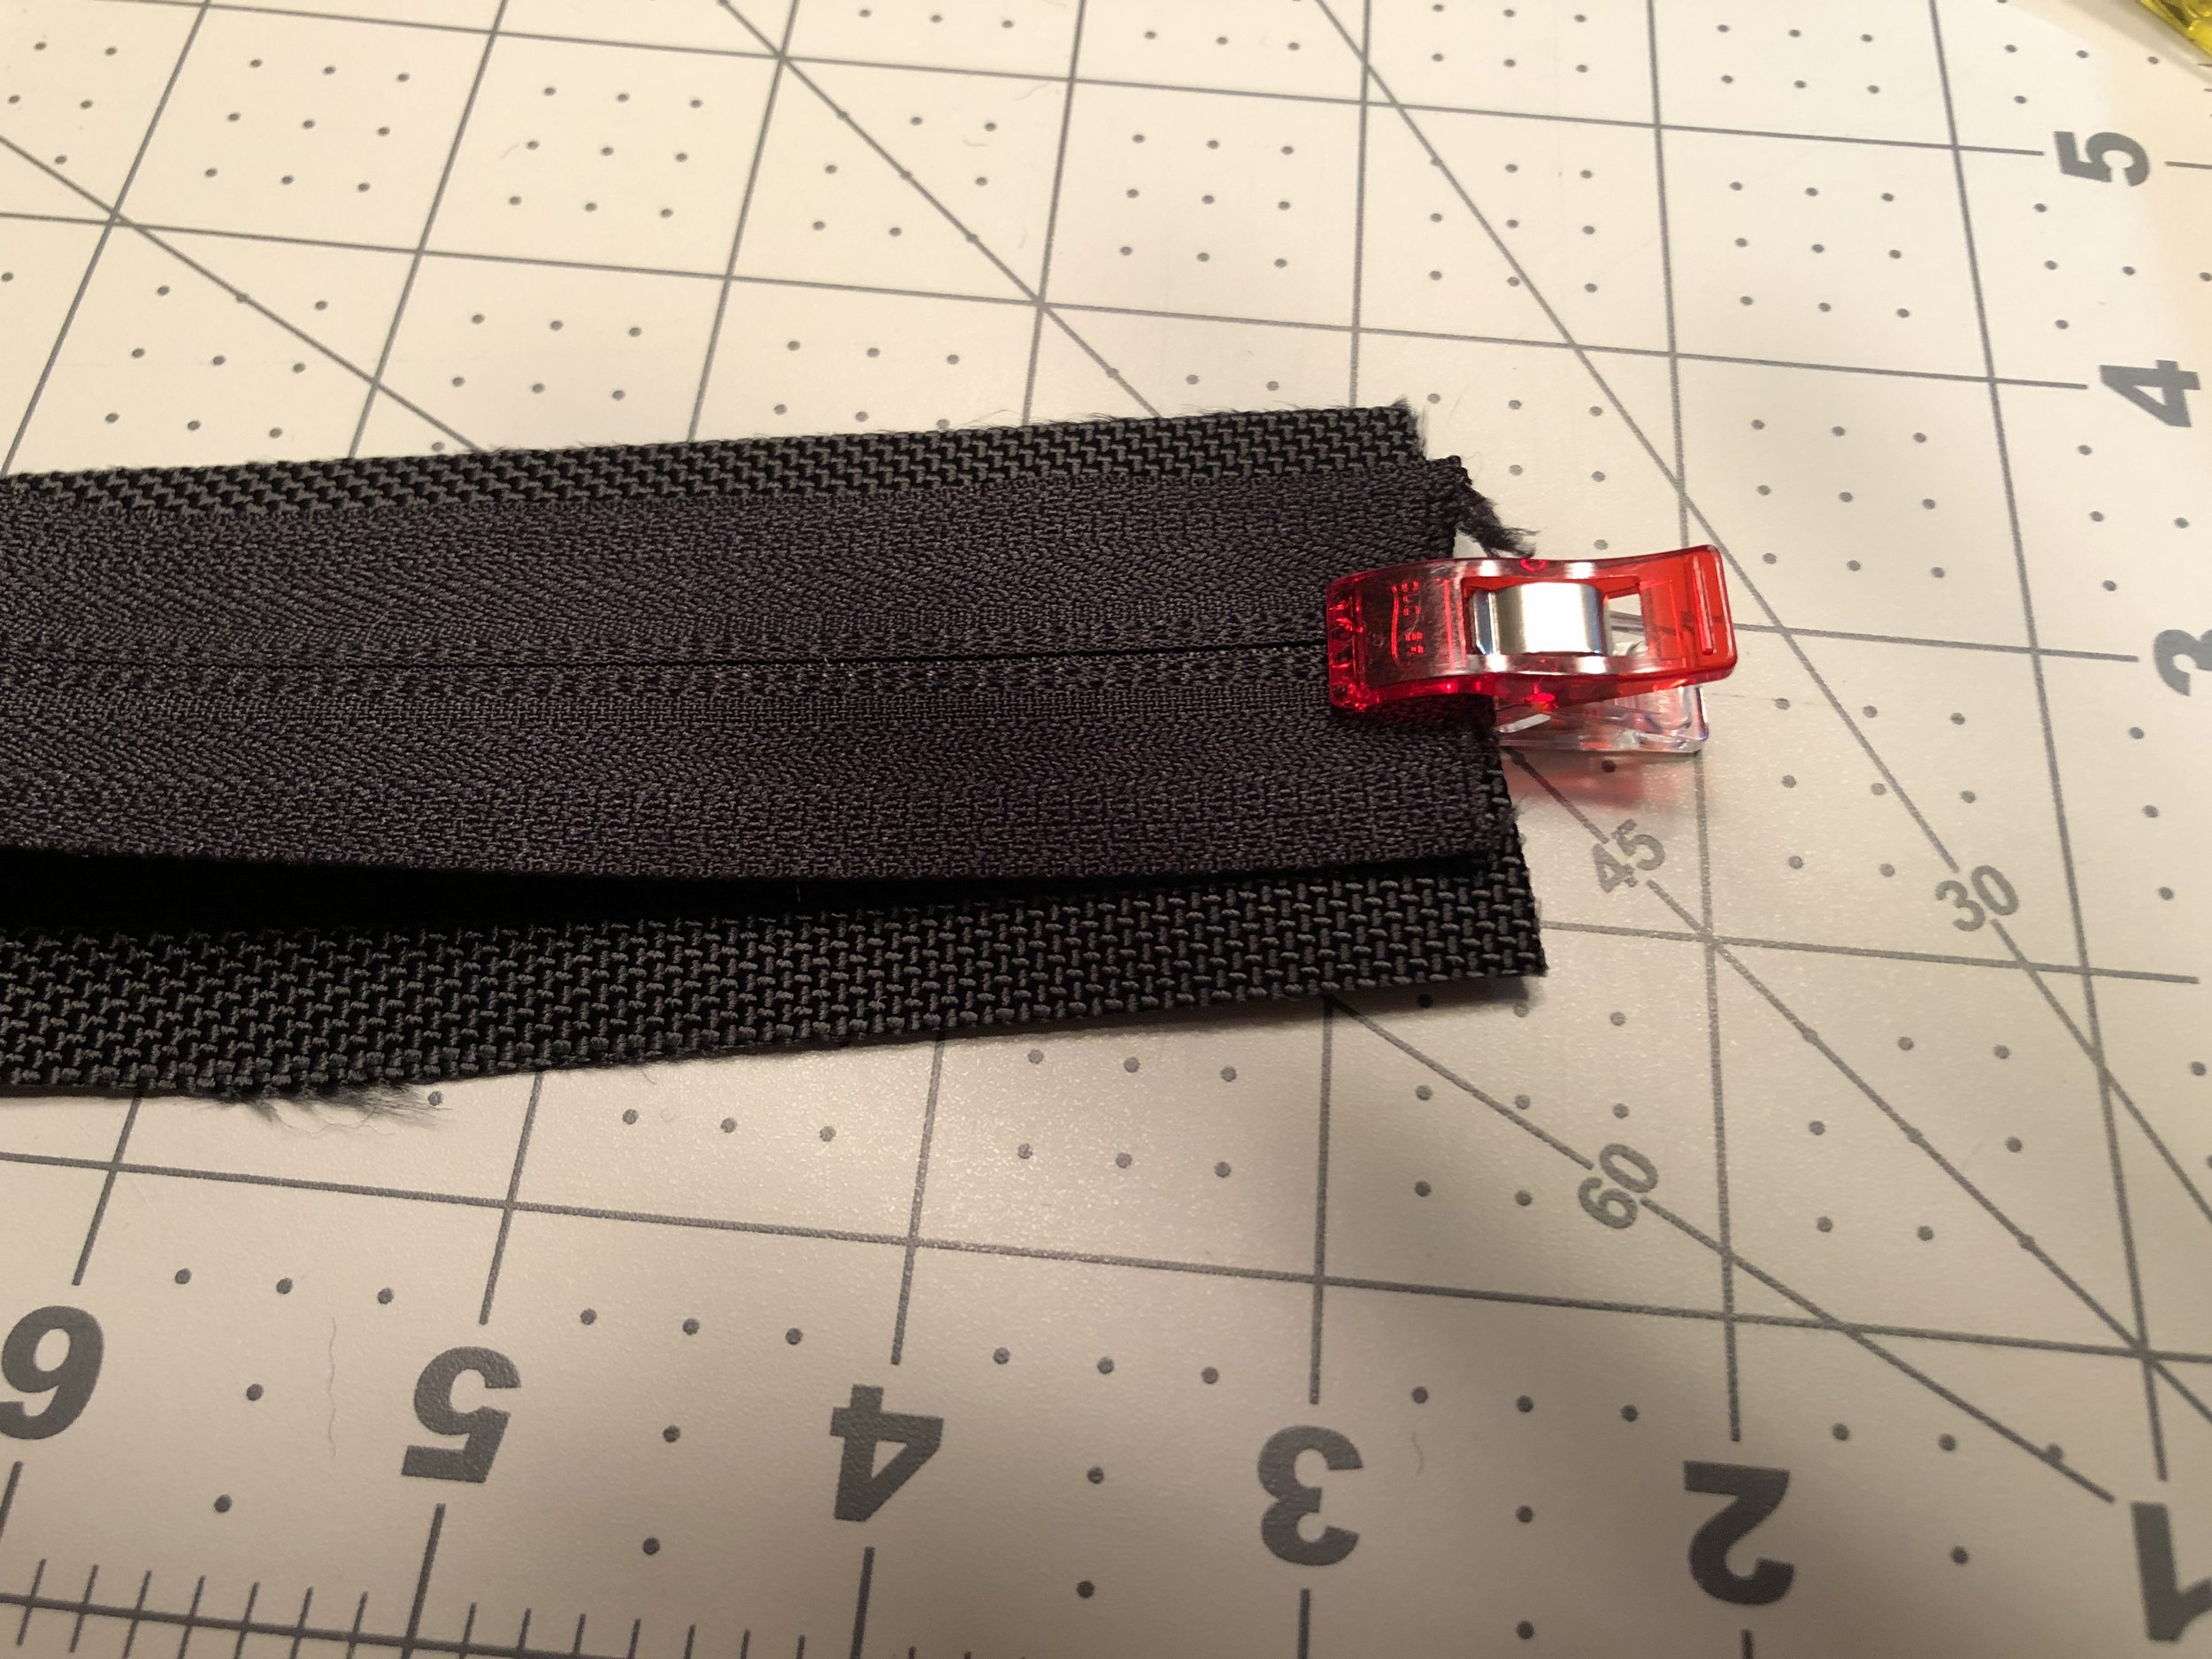
Take the zipper stop piece and place it face up. Take one end of the zipper tape and place it face down on top, lining up raw edges.
Sew using 1/2” seam allowance
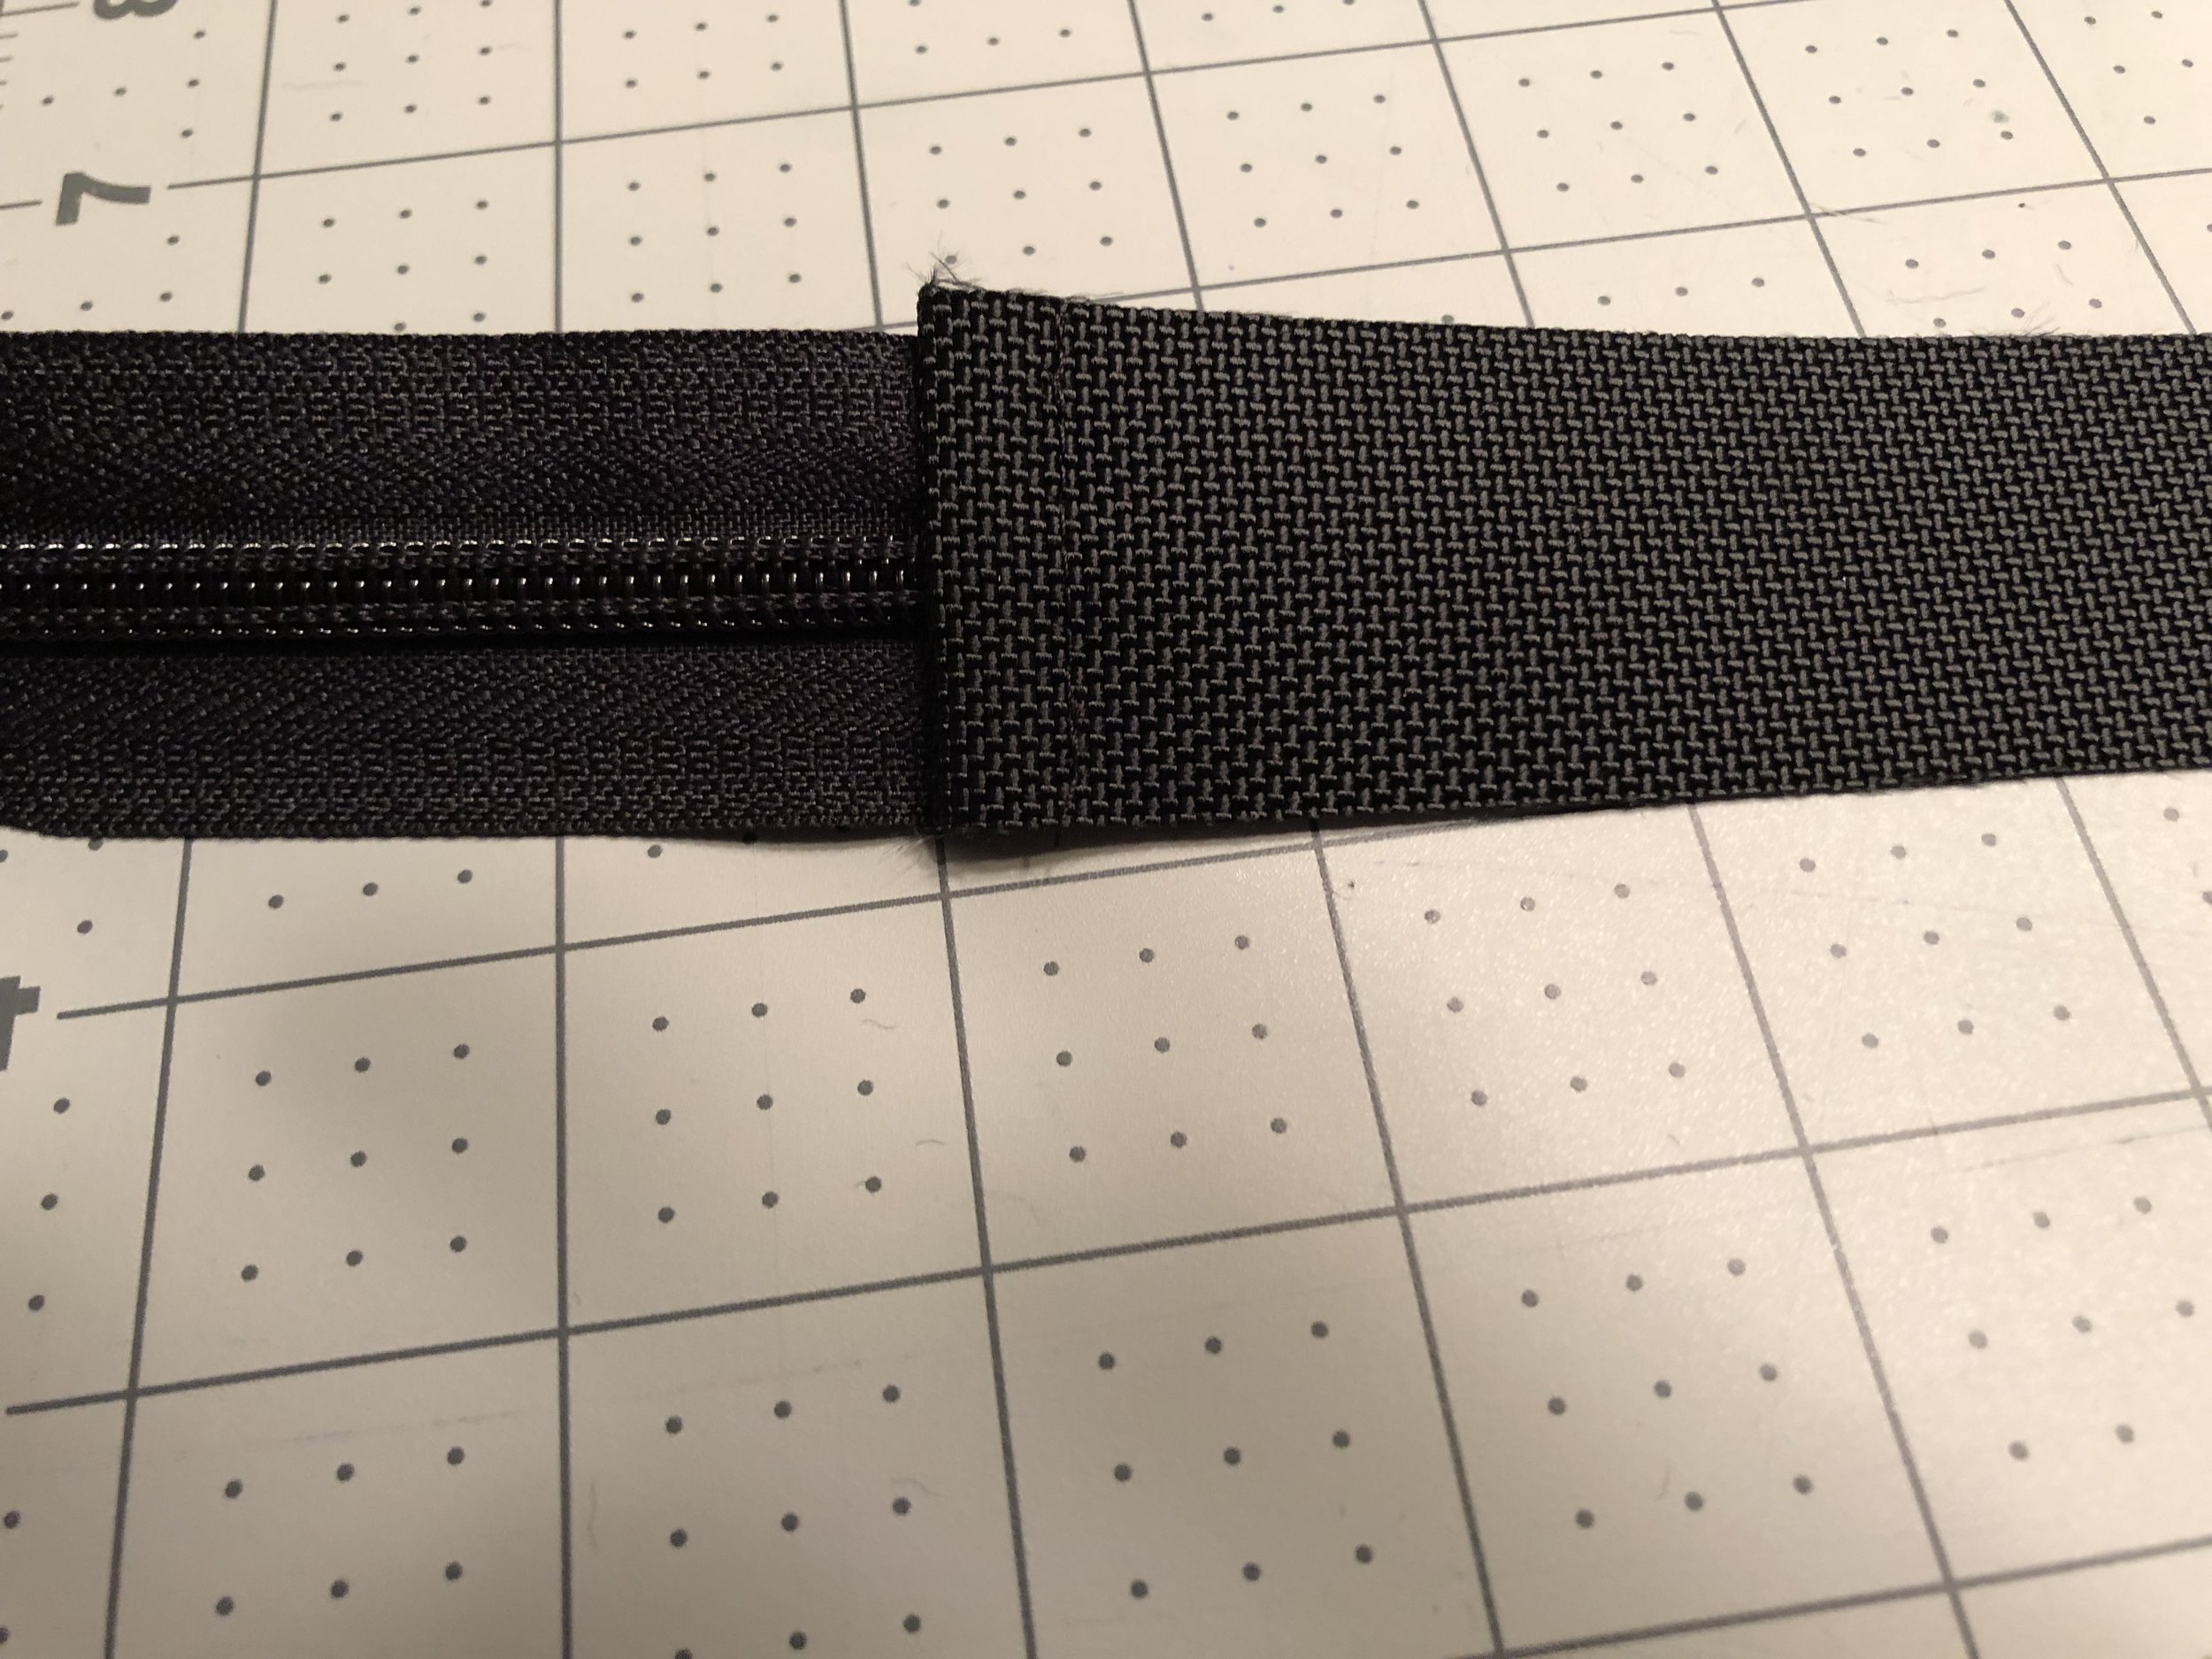
Turn it out and topstitch along the seam on the zipper stop side.
Repeat for other end of the zipper tape to create a loop.
Make quarter marks (centers of the gusset top/bottom/sides) on all pieces - outer, lining and zipper loop.
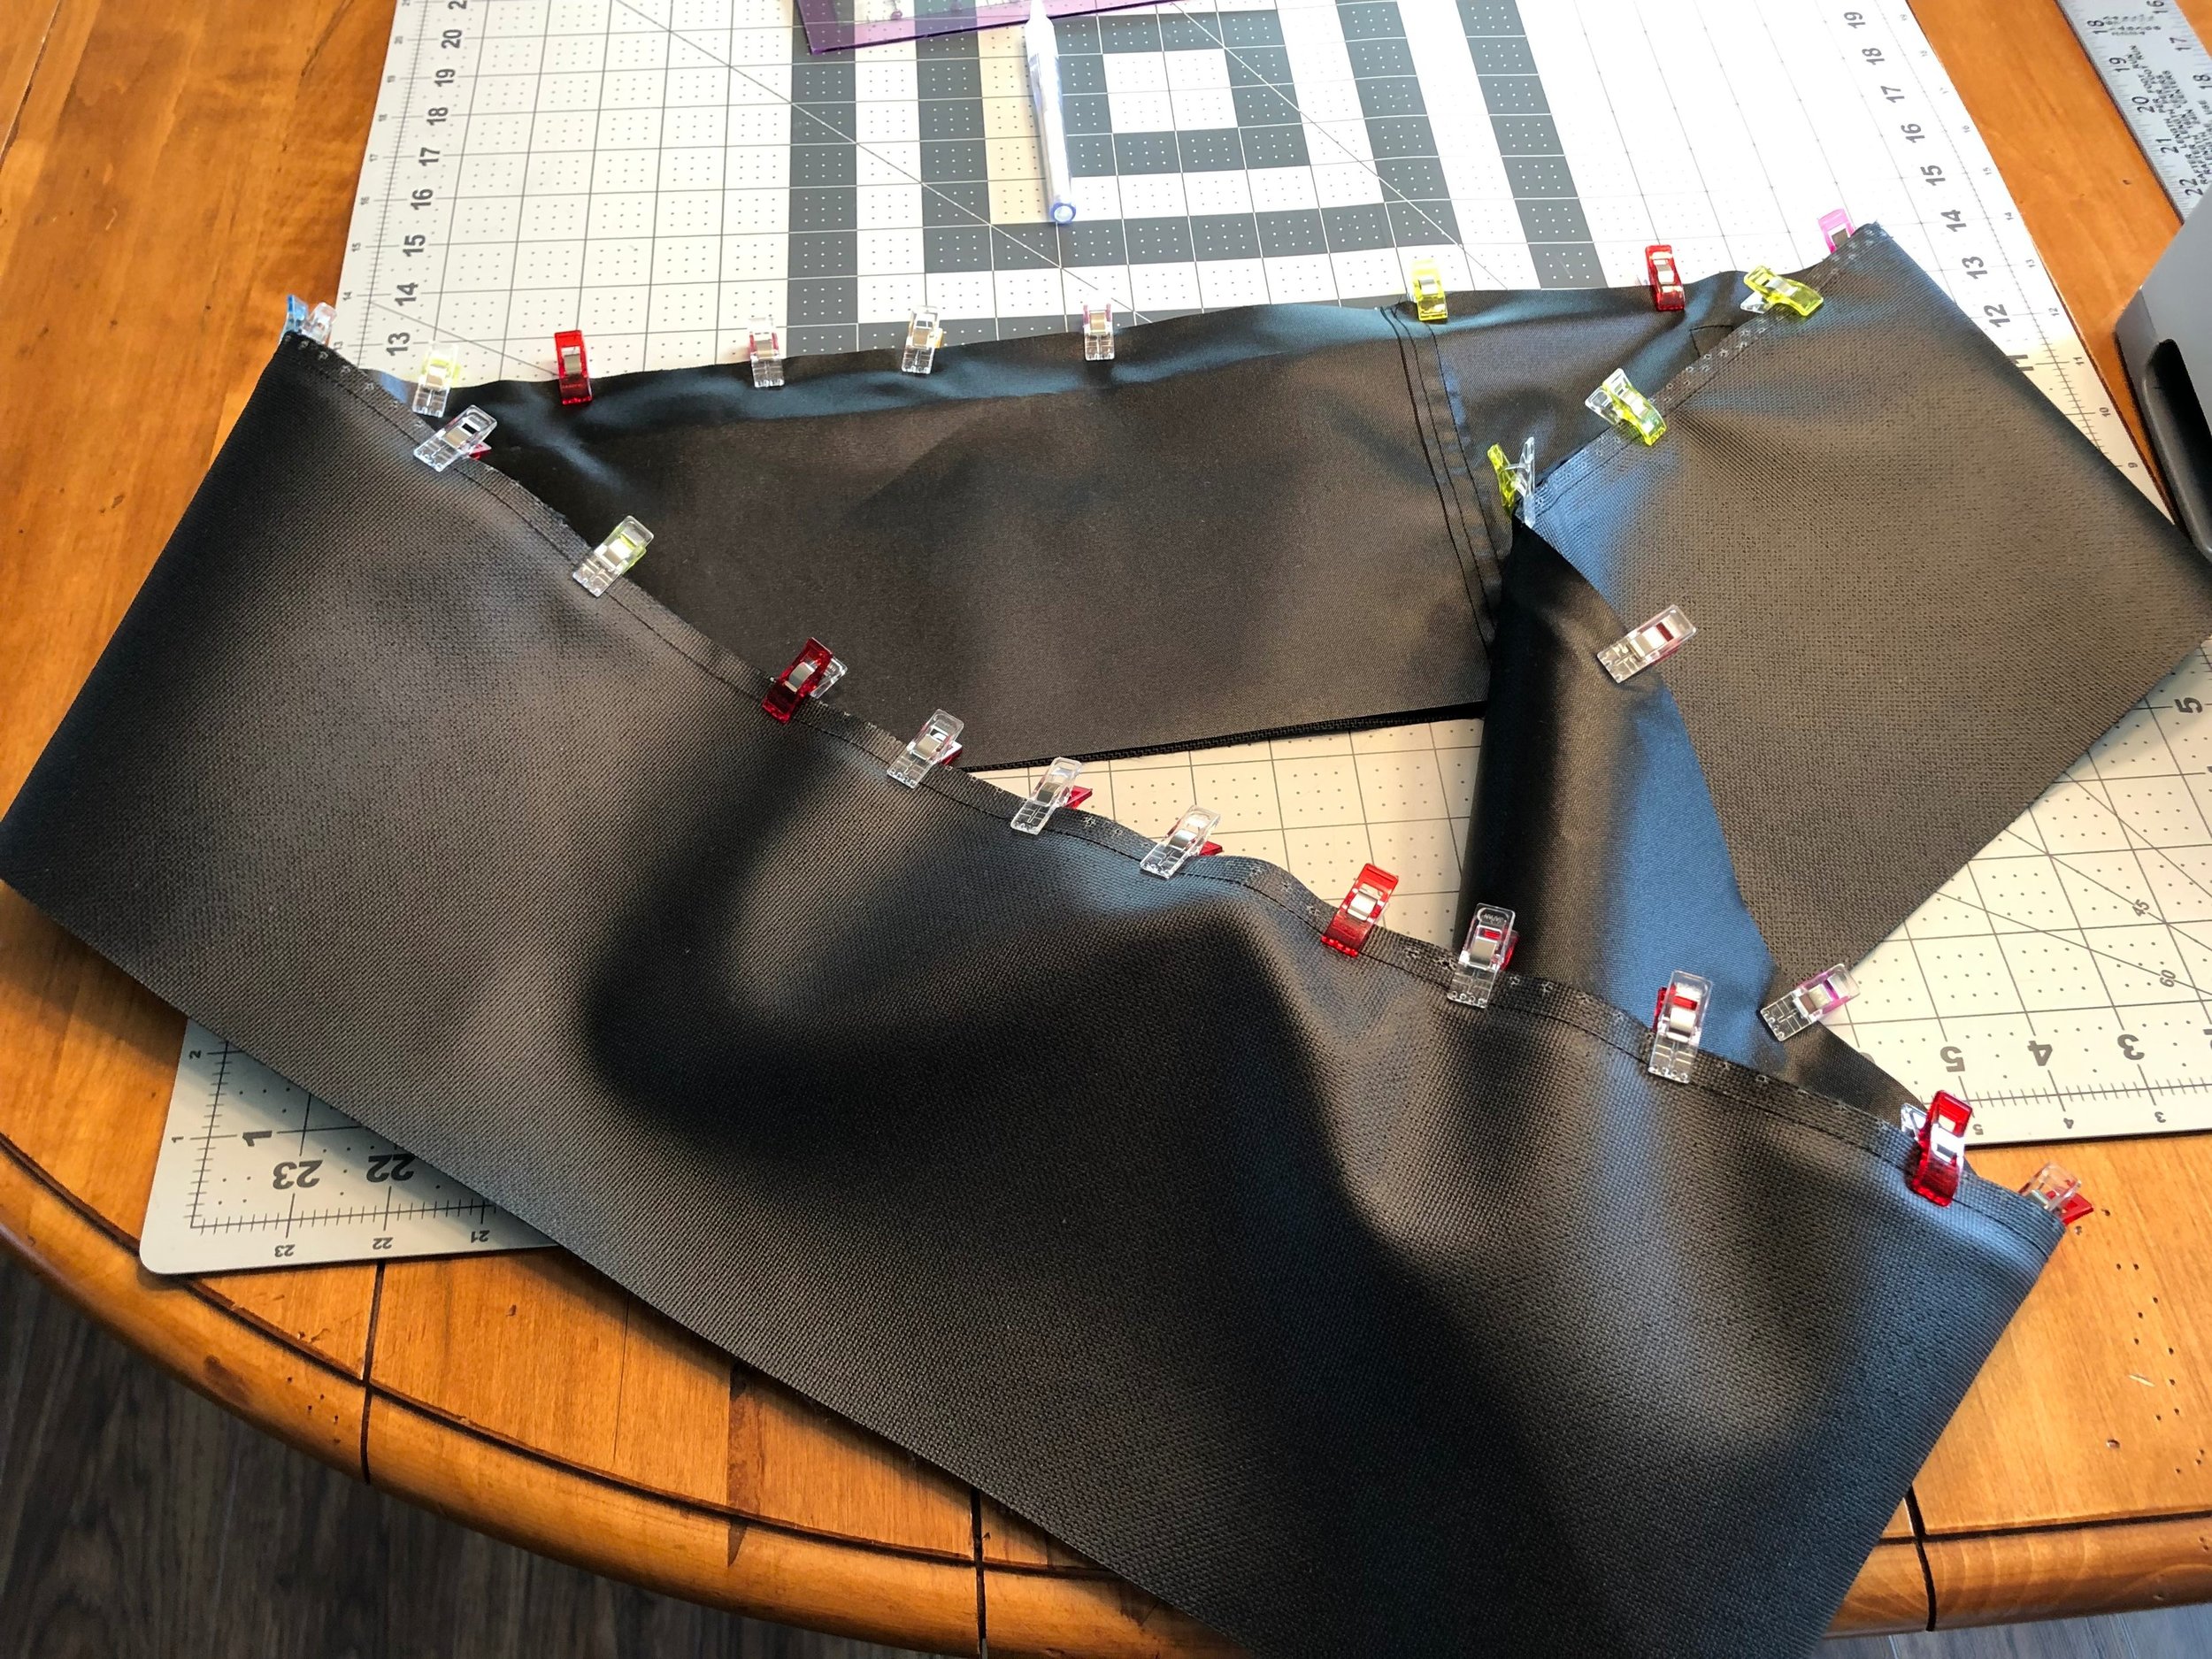
Clip the zipper face down on the right side of the outer loop, matching up quarter marks.
Take the lining piece and clip it on top of the zipper tape, so right sides of the lining are facing the right side of the outer piece.
Sew around using a zipper foot.
Insert the foam between the outer and lining around the entire loop
Clip the raw edges together and baste in place using a zipper foot. Use the edge of the foot as the guide.
Set the loop aside for later.
Bottom Lining
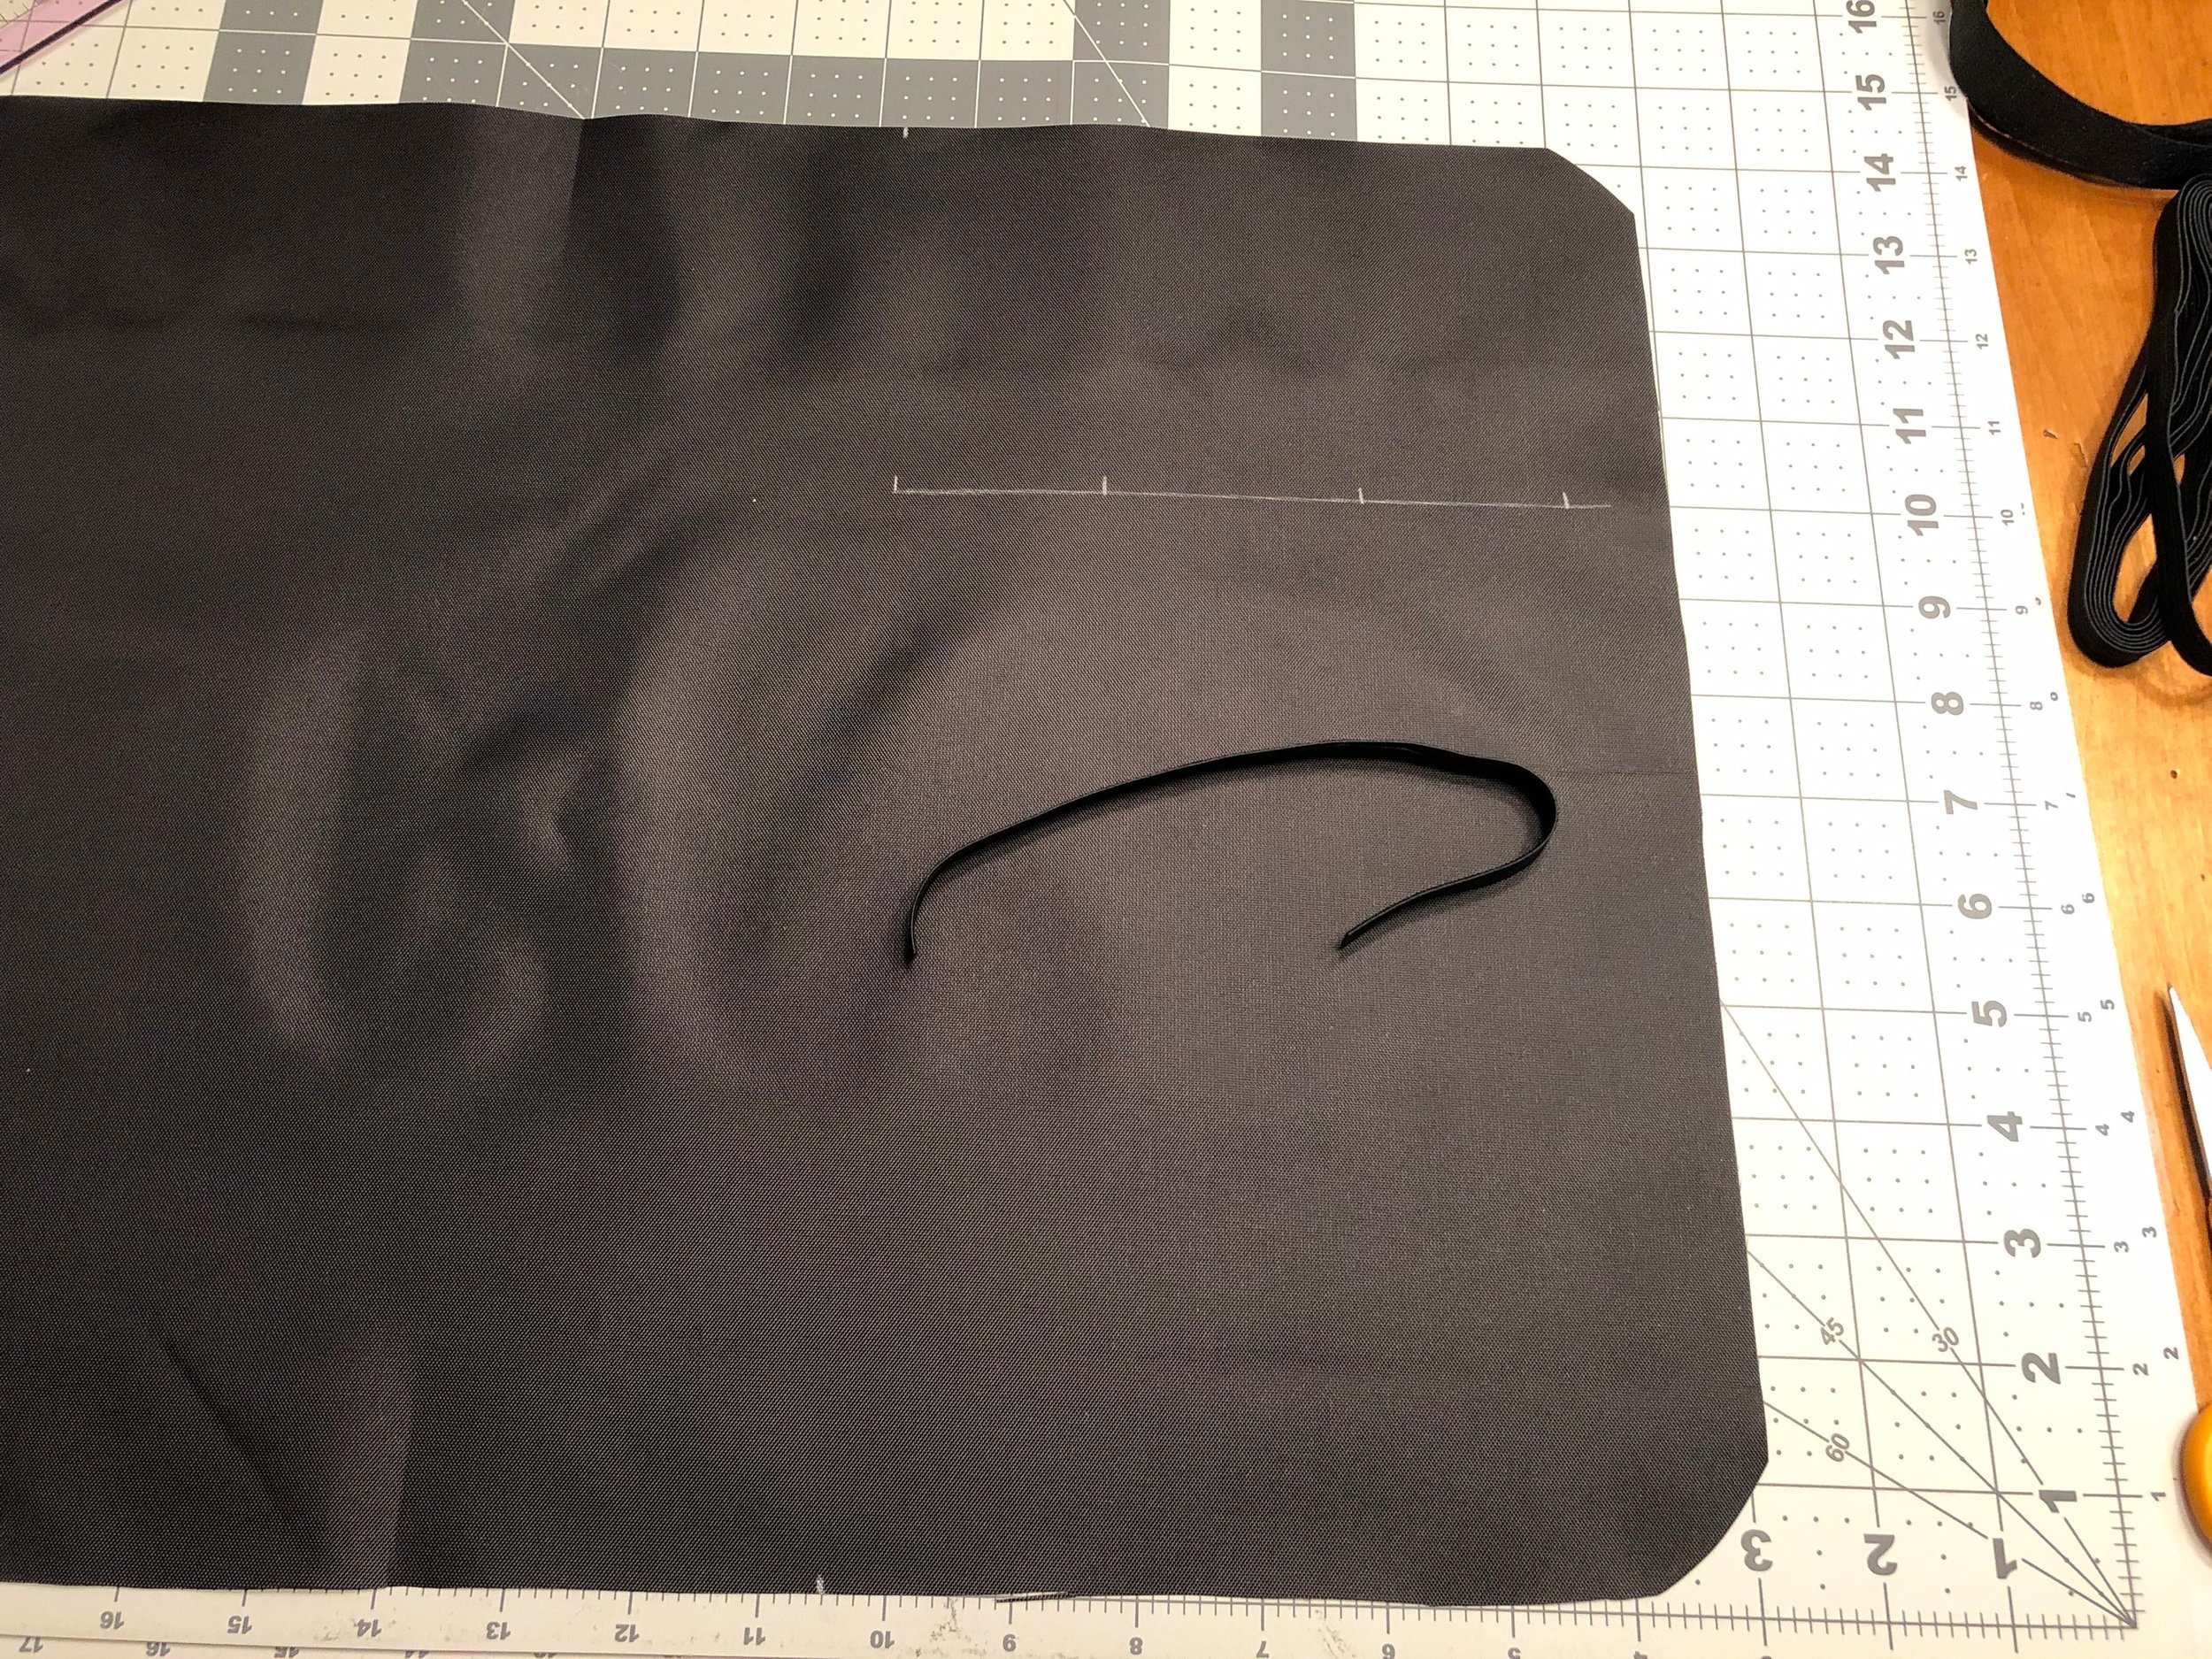
Mark on the bottom lining piece where to place the elastic cord holders and velcro loop.
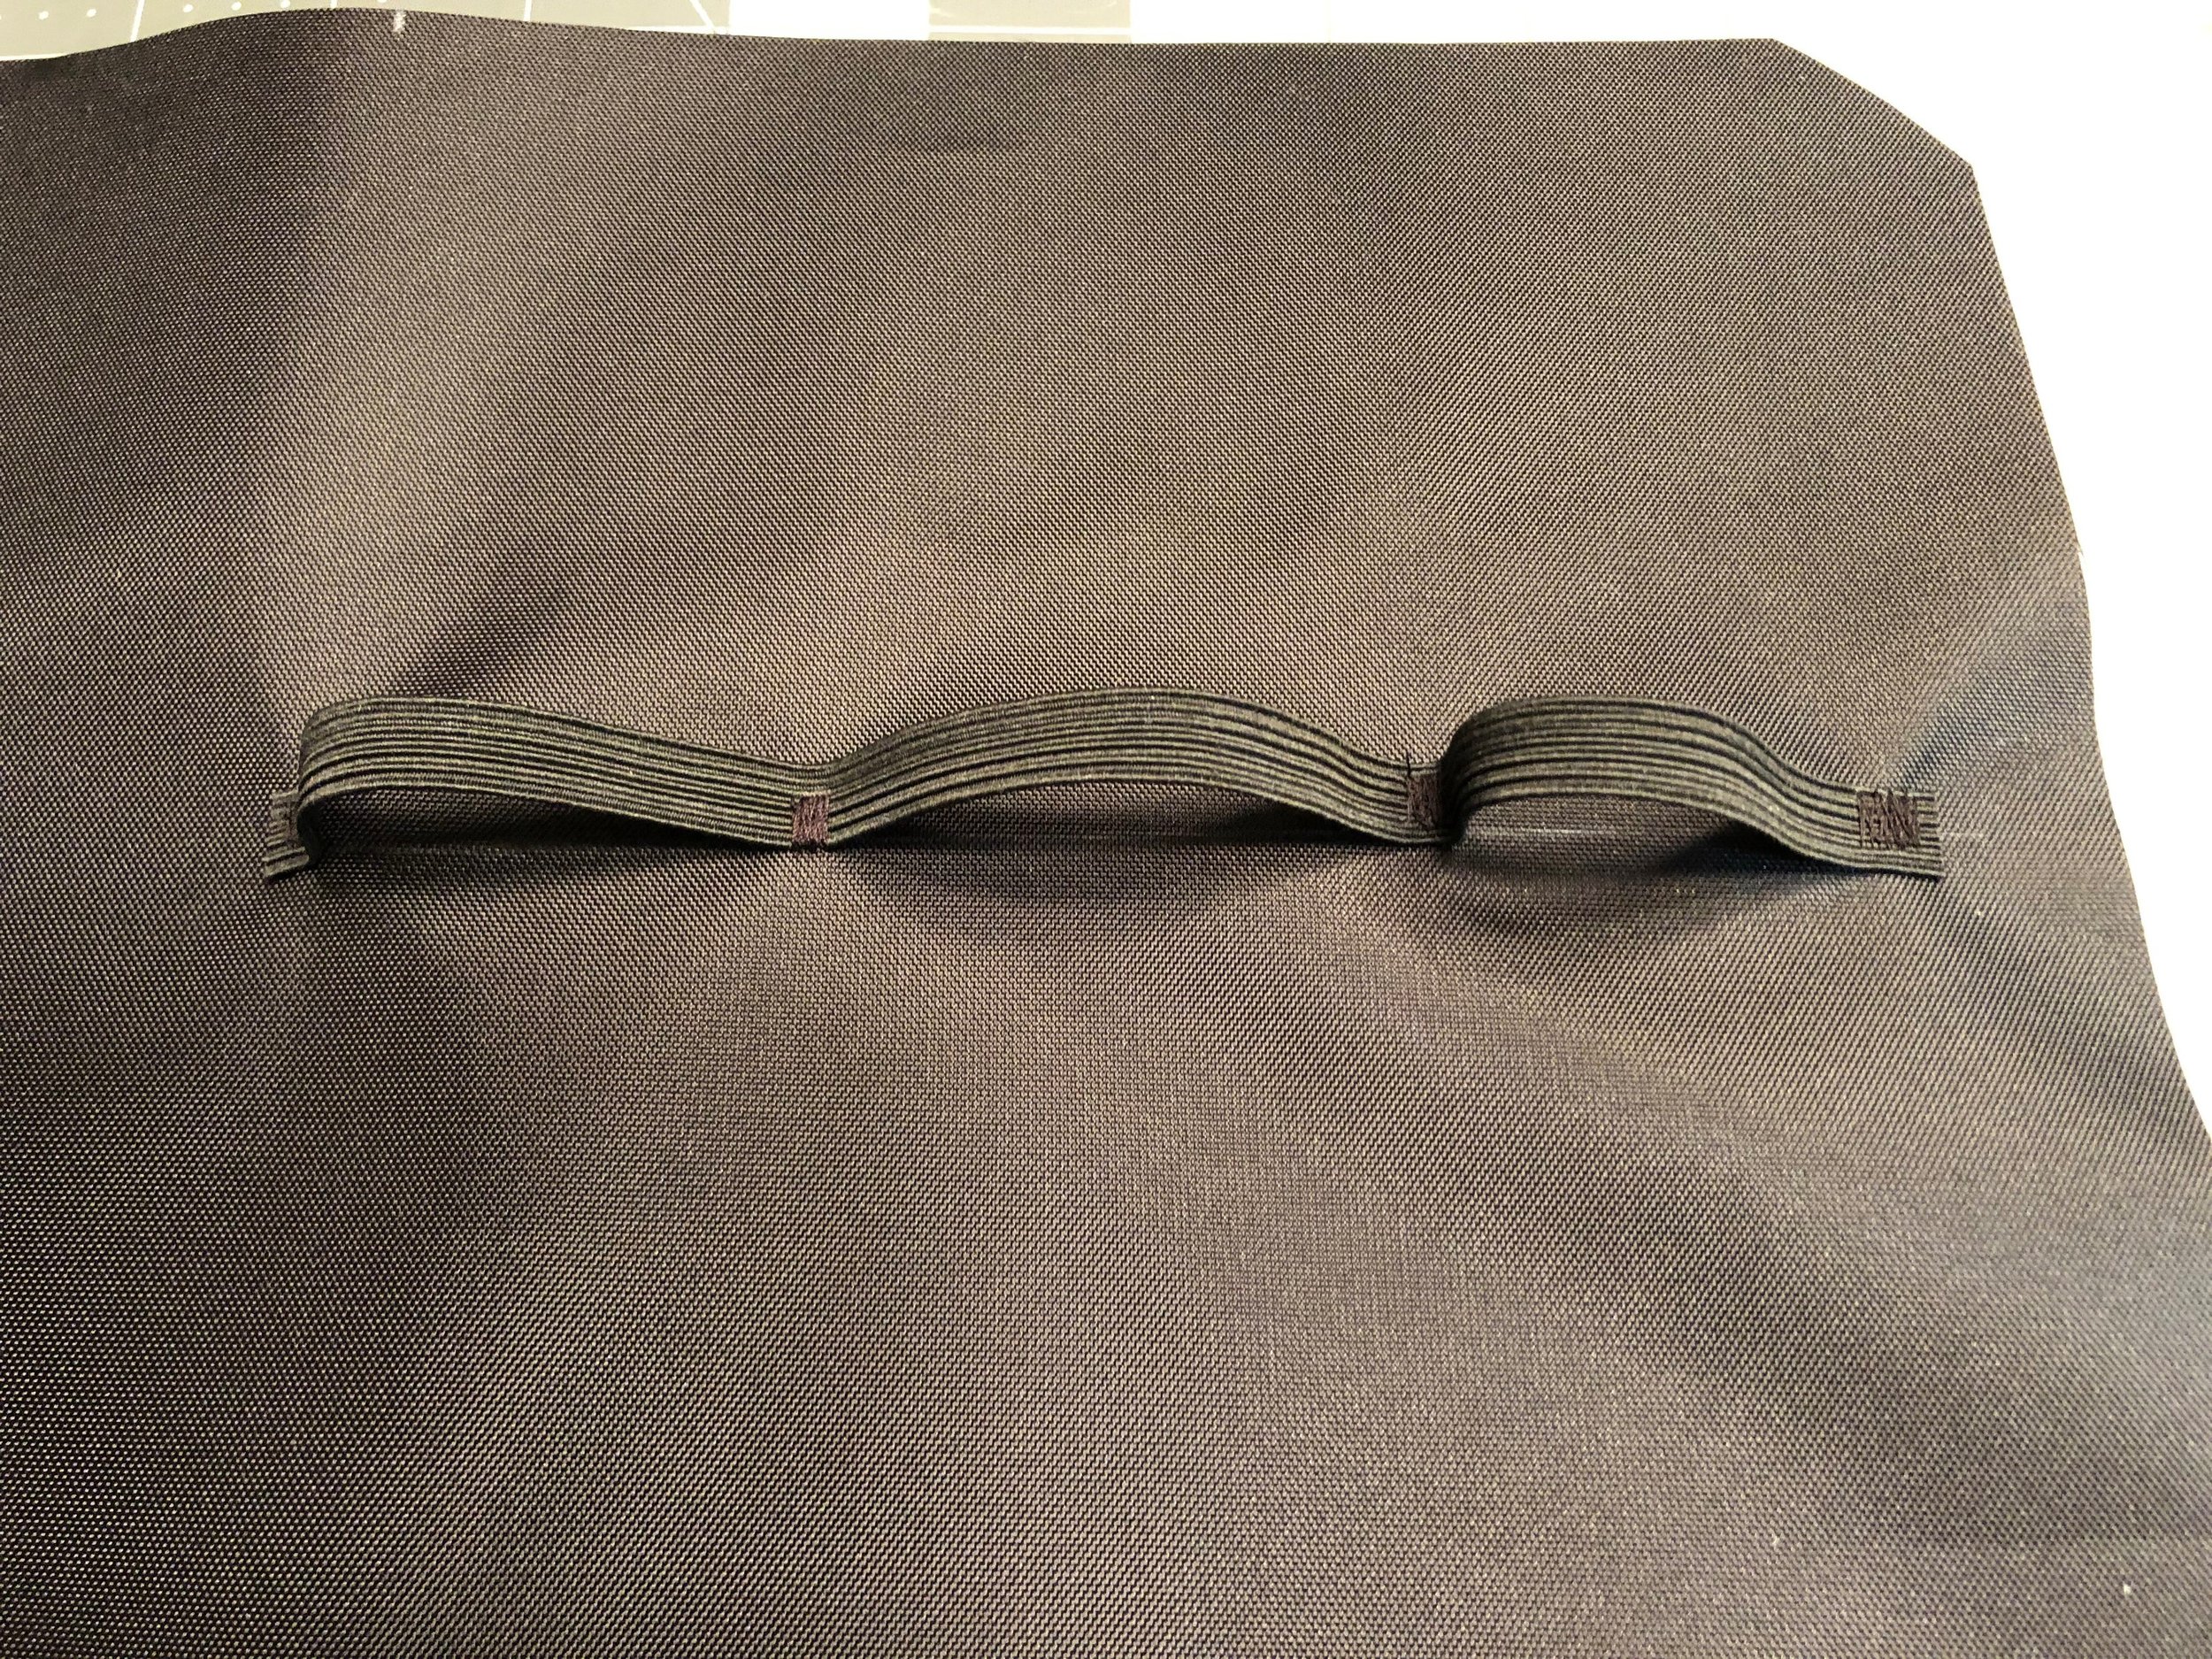
Take the elastic and sew down using a zigzag stitch at the first mark.
Gather up a little slack and sew down a the second mark, again using a zigzag. Repeat for the remaining loops.
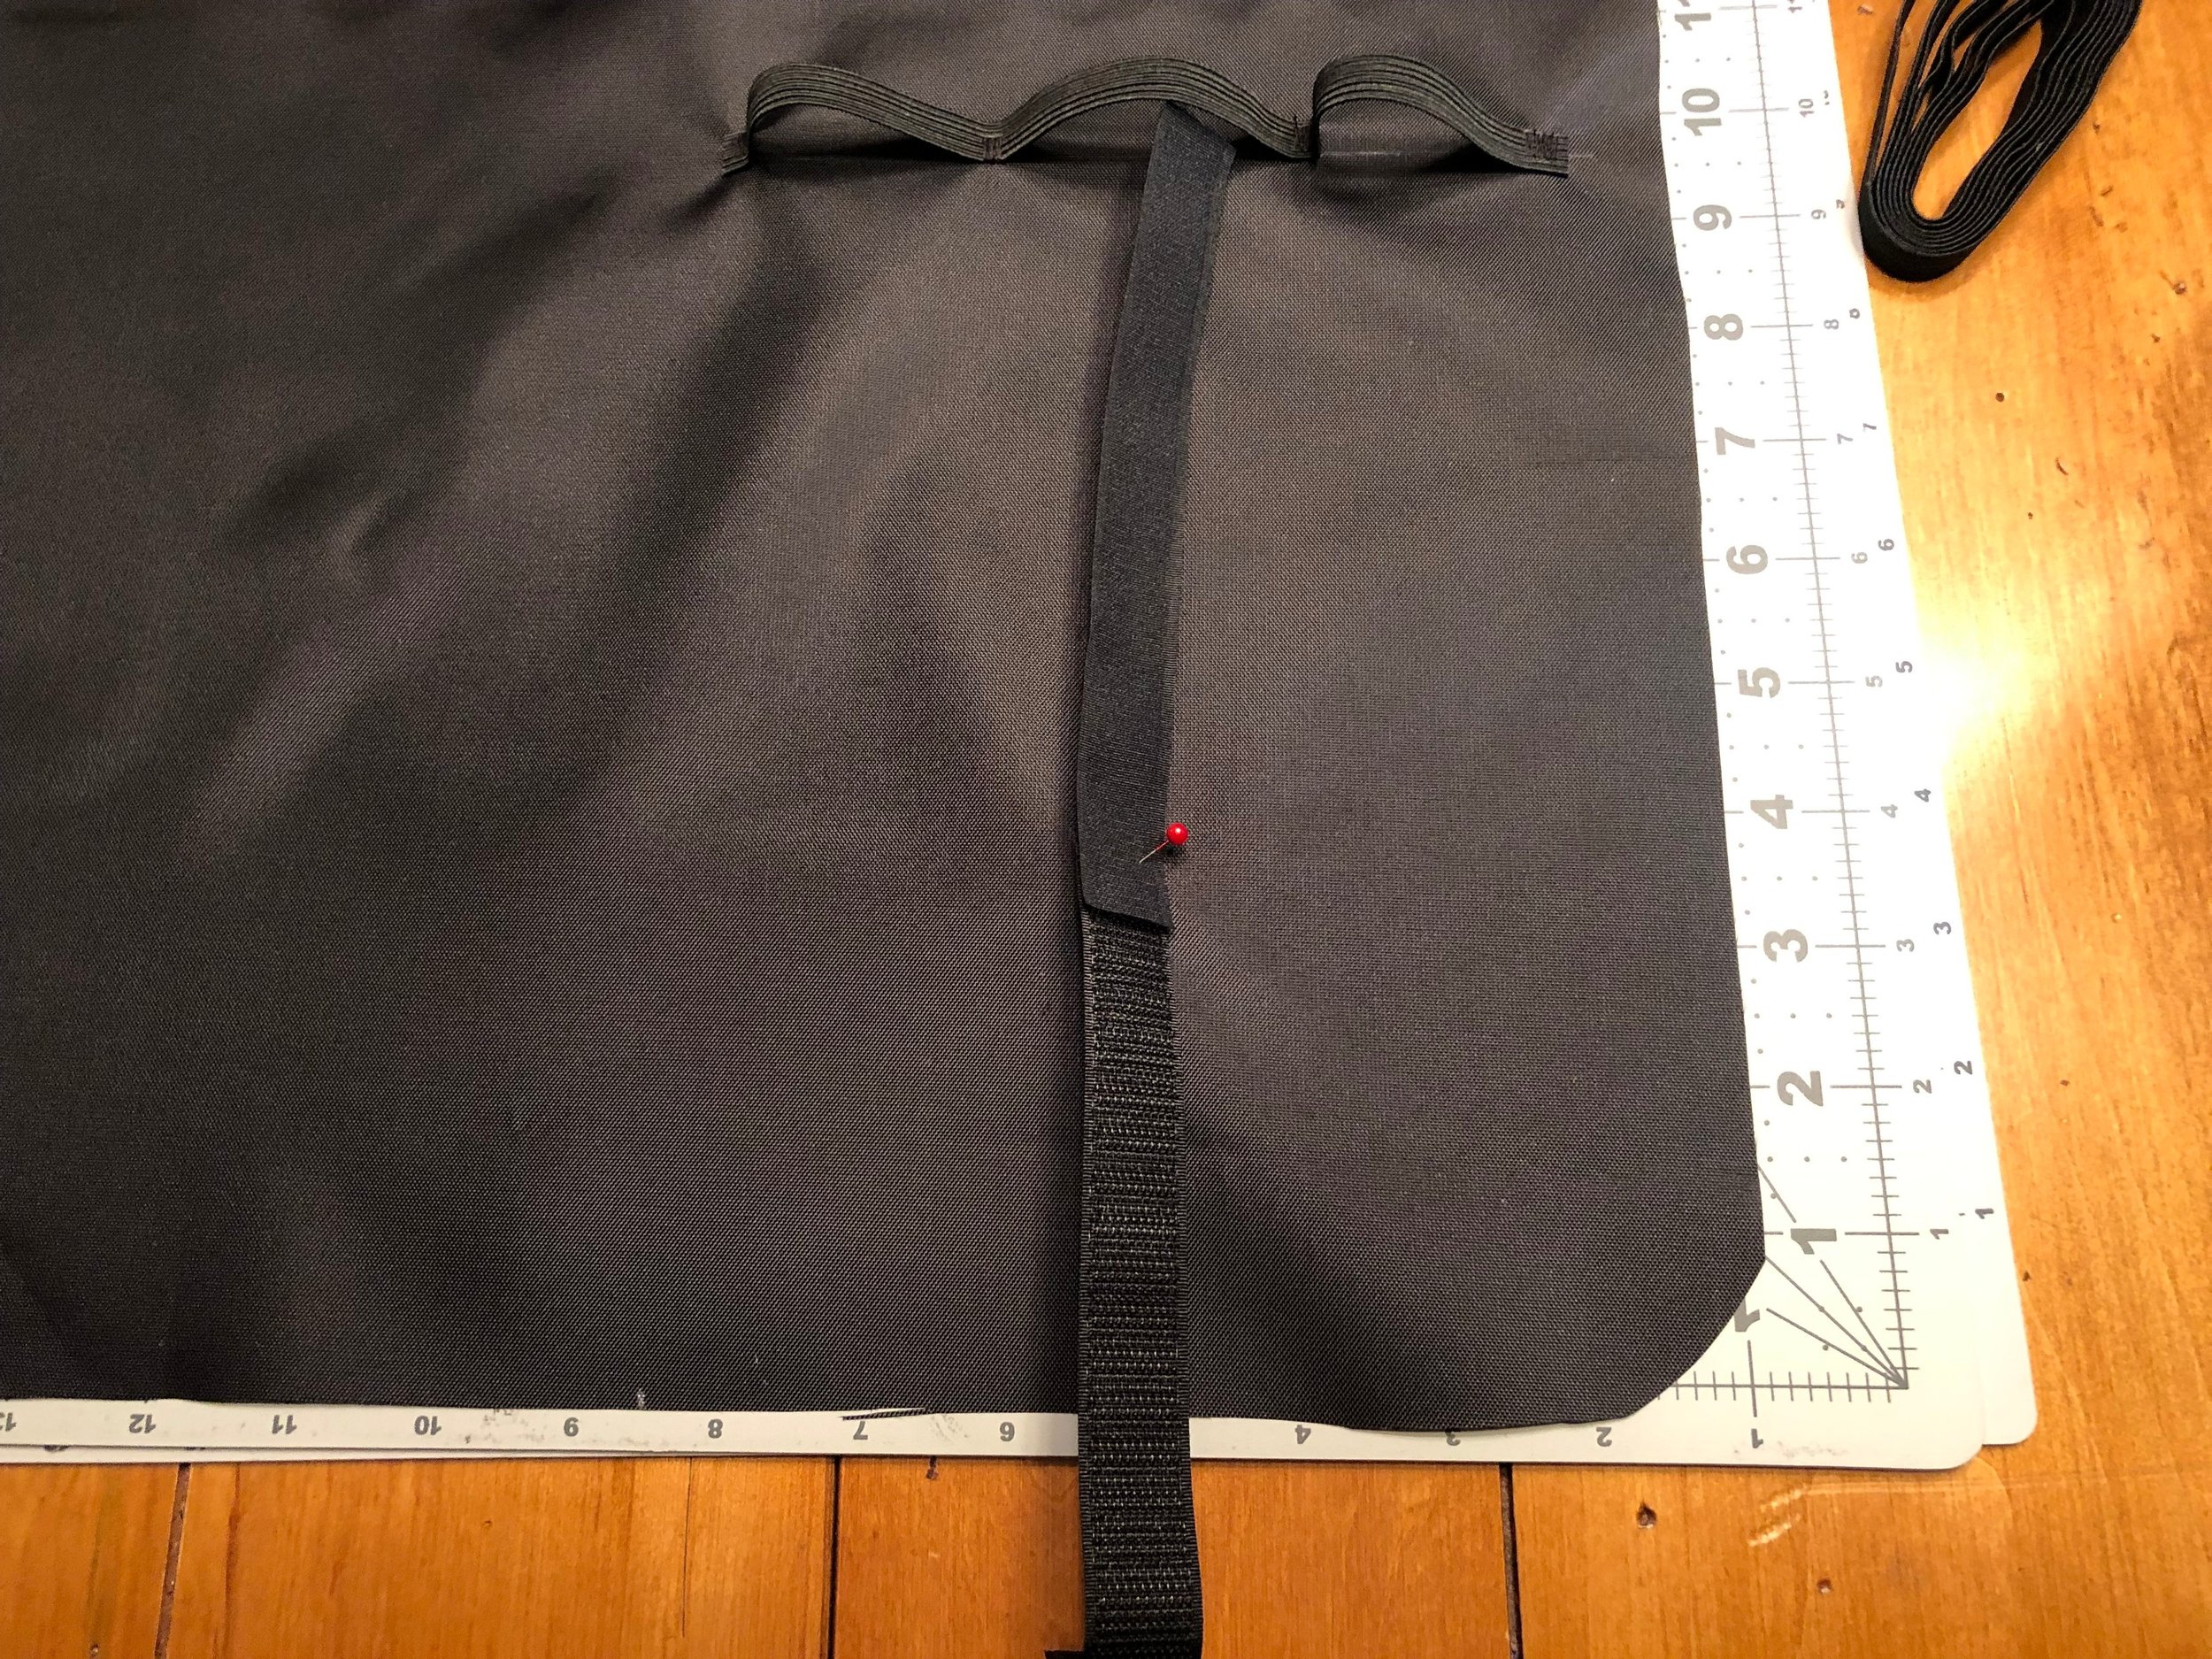
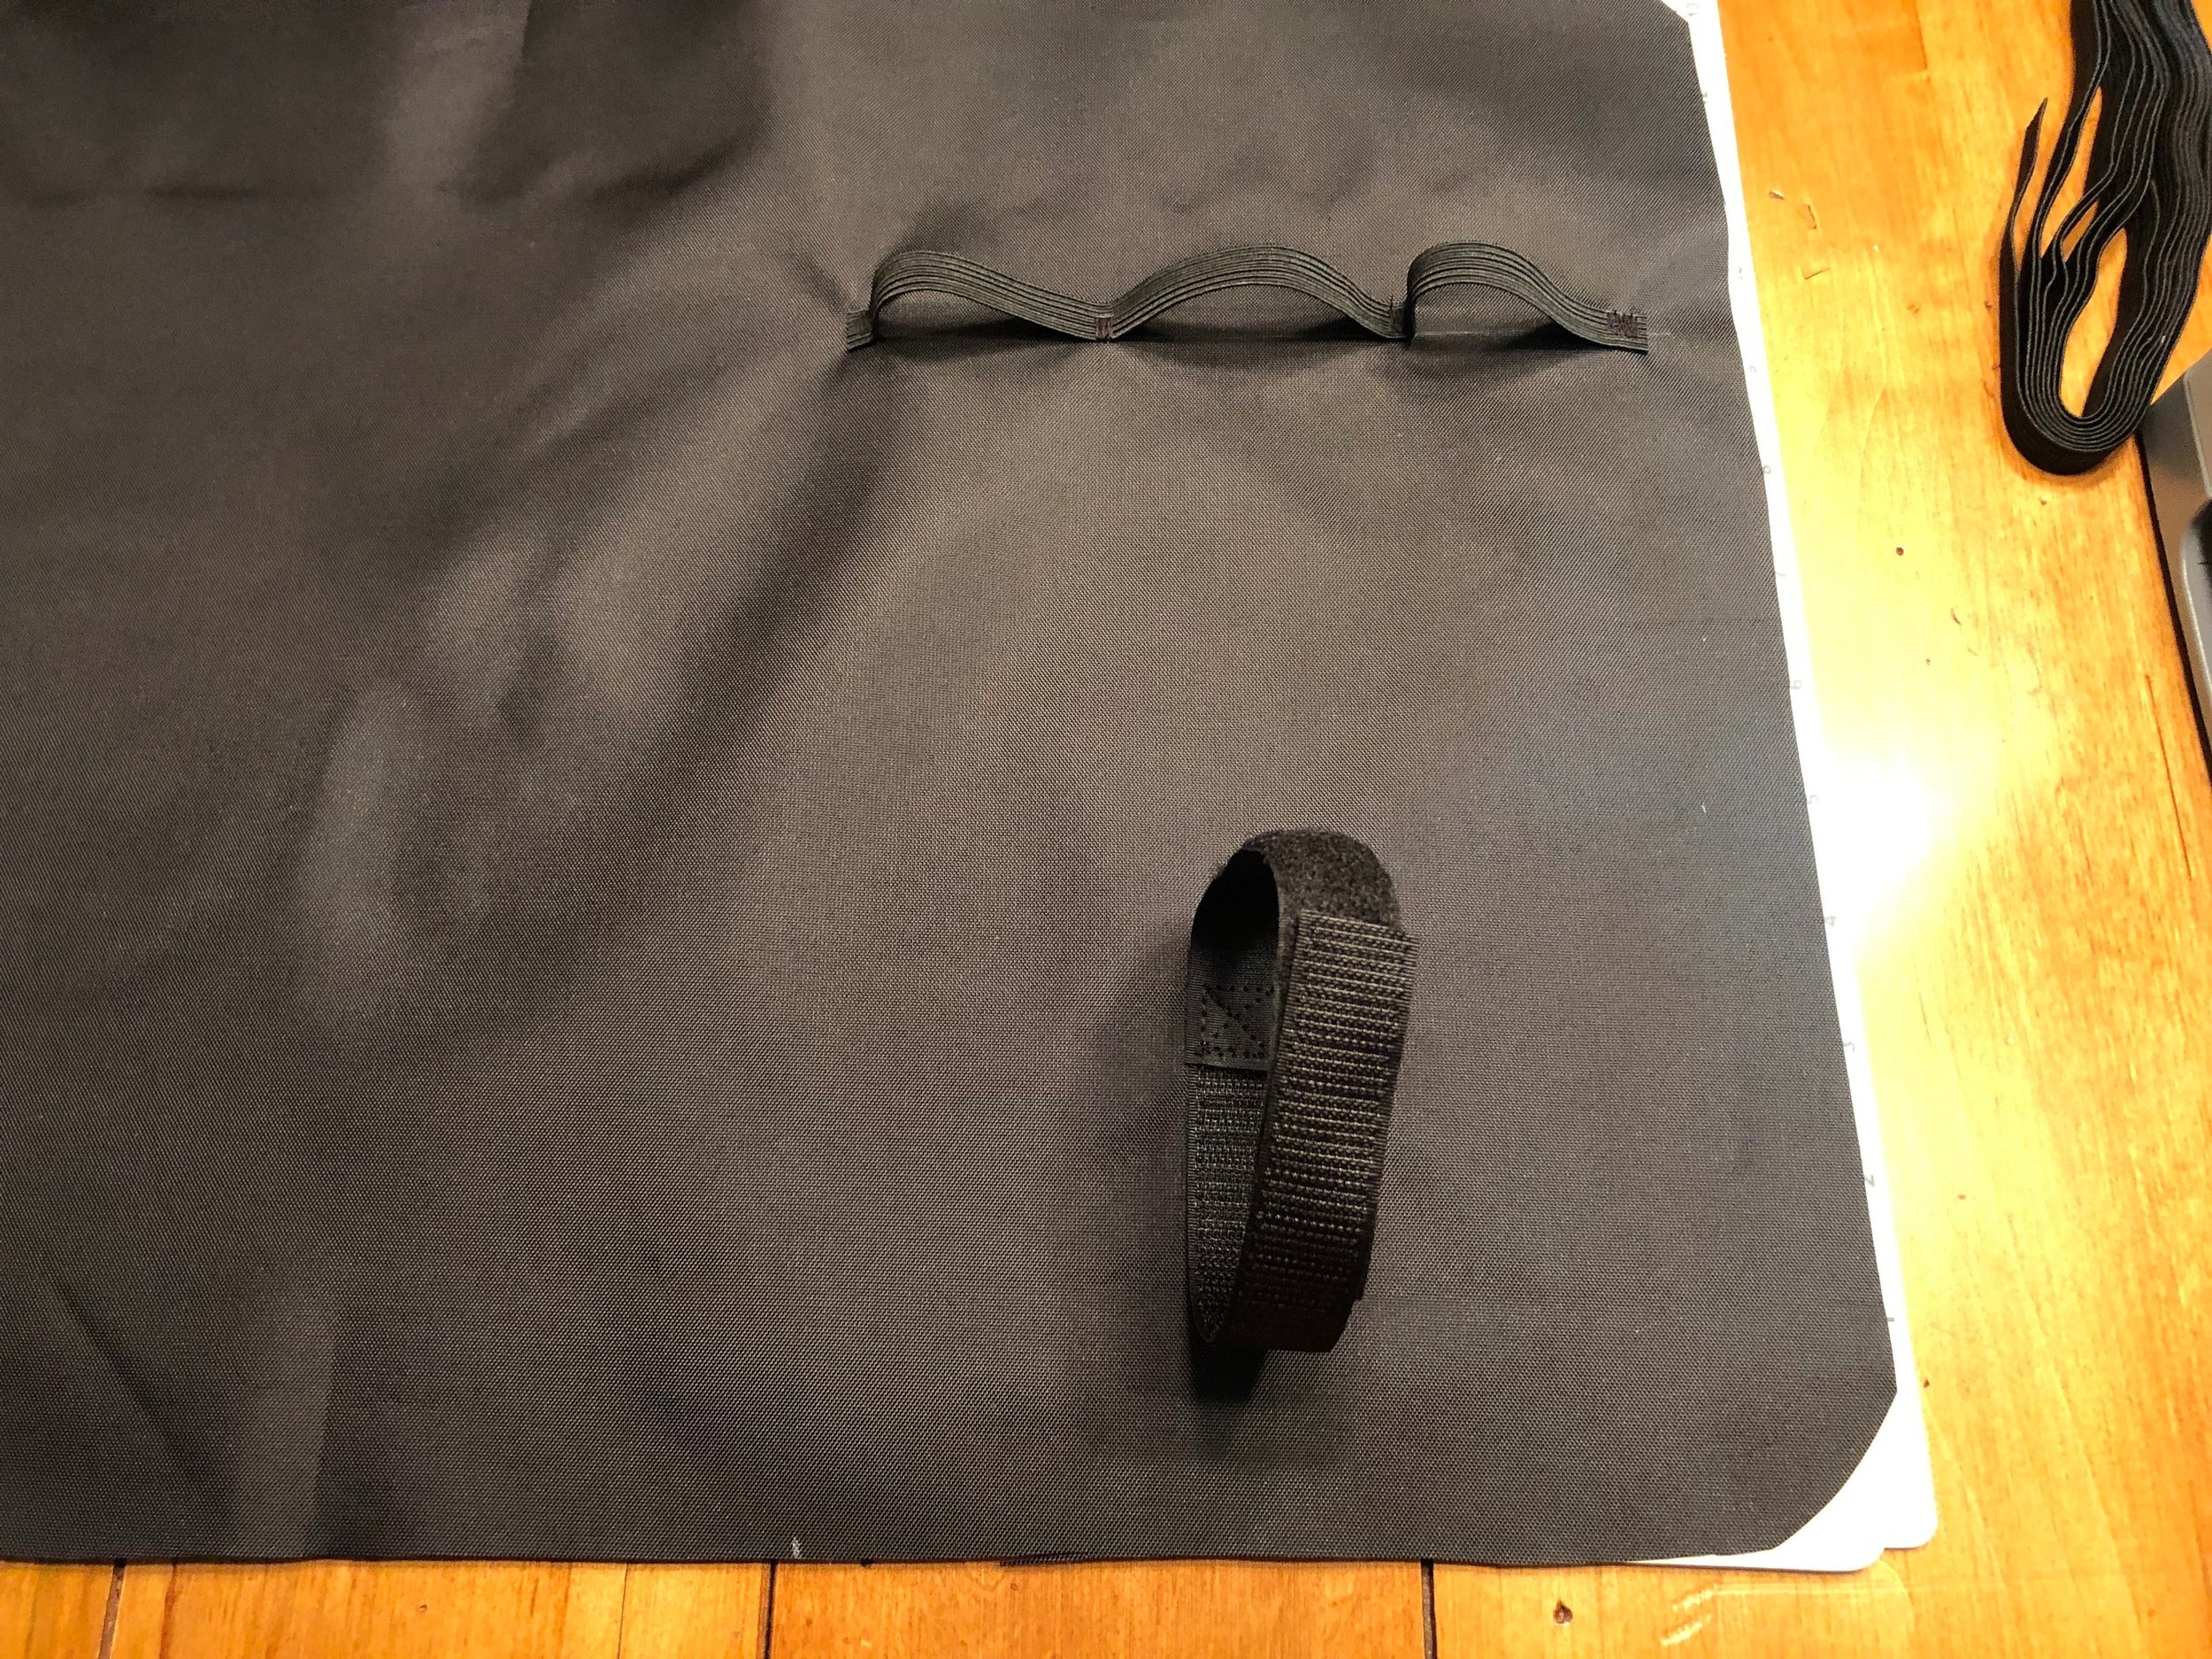
Take your velcro and attach them together at the center with the loop facing down and the hook facing up.
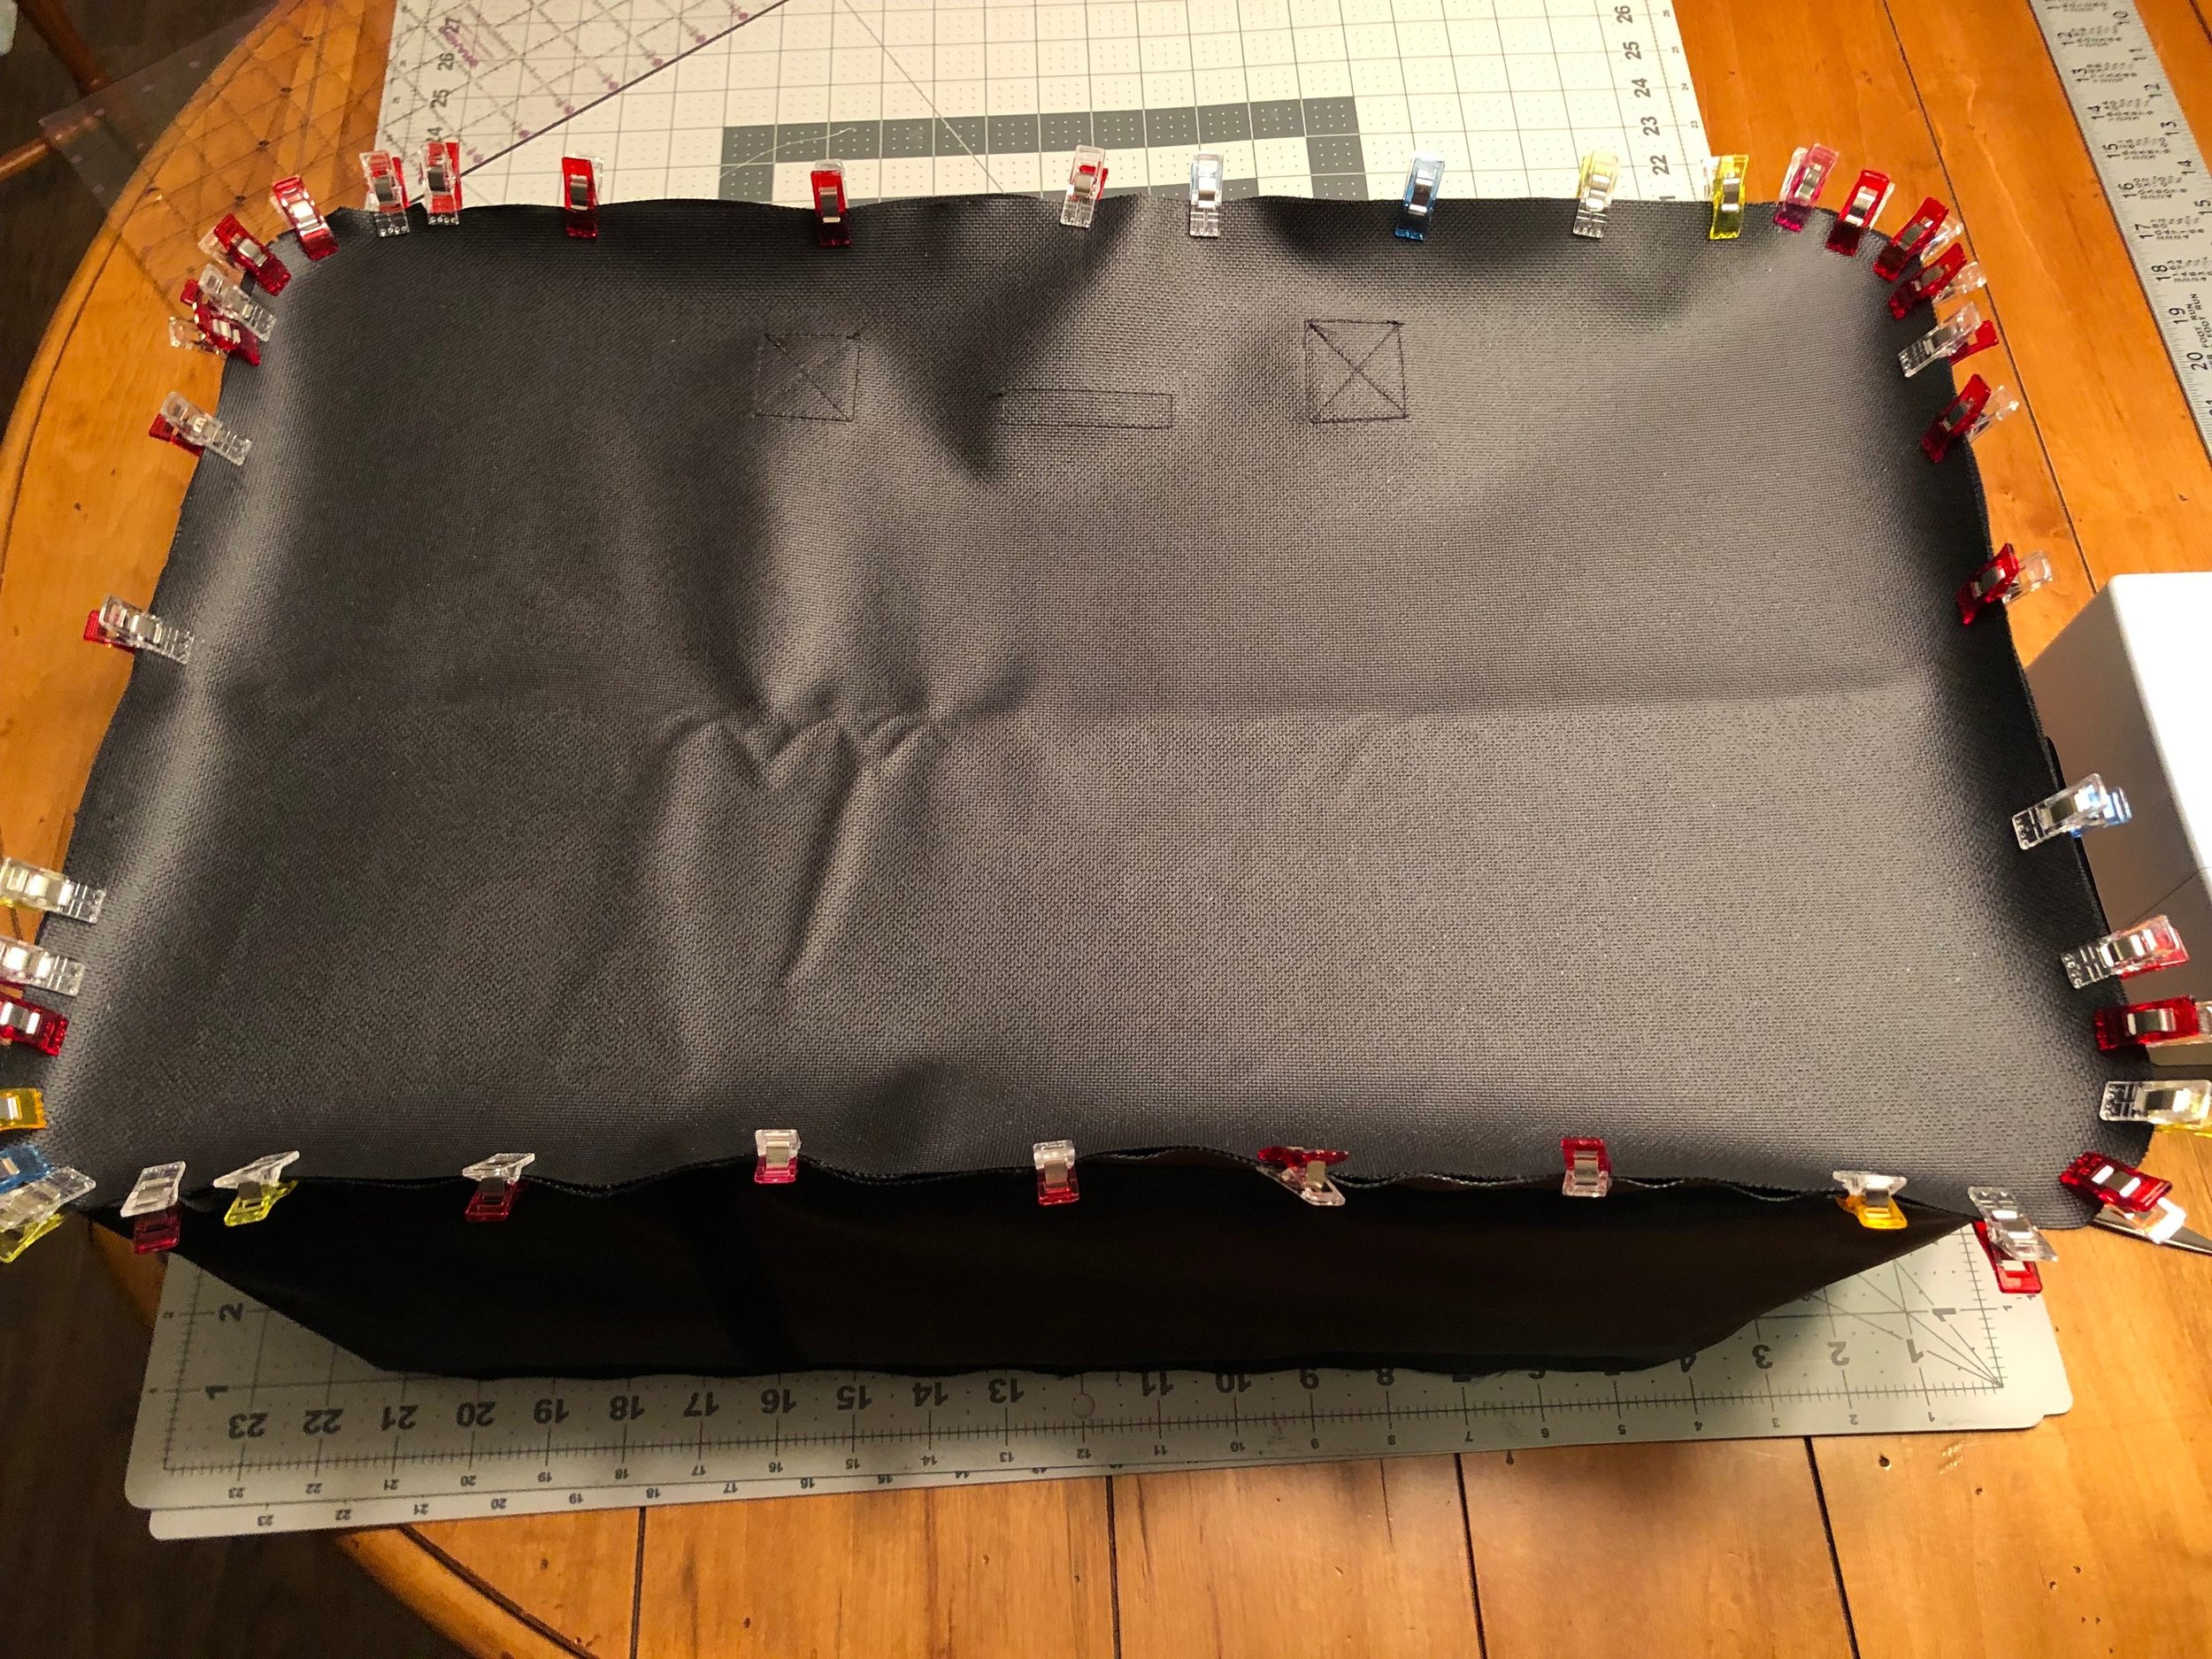
Sew the overlapped portion to the lining, using an ‘x’ box to reinforce.
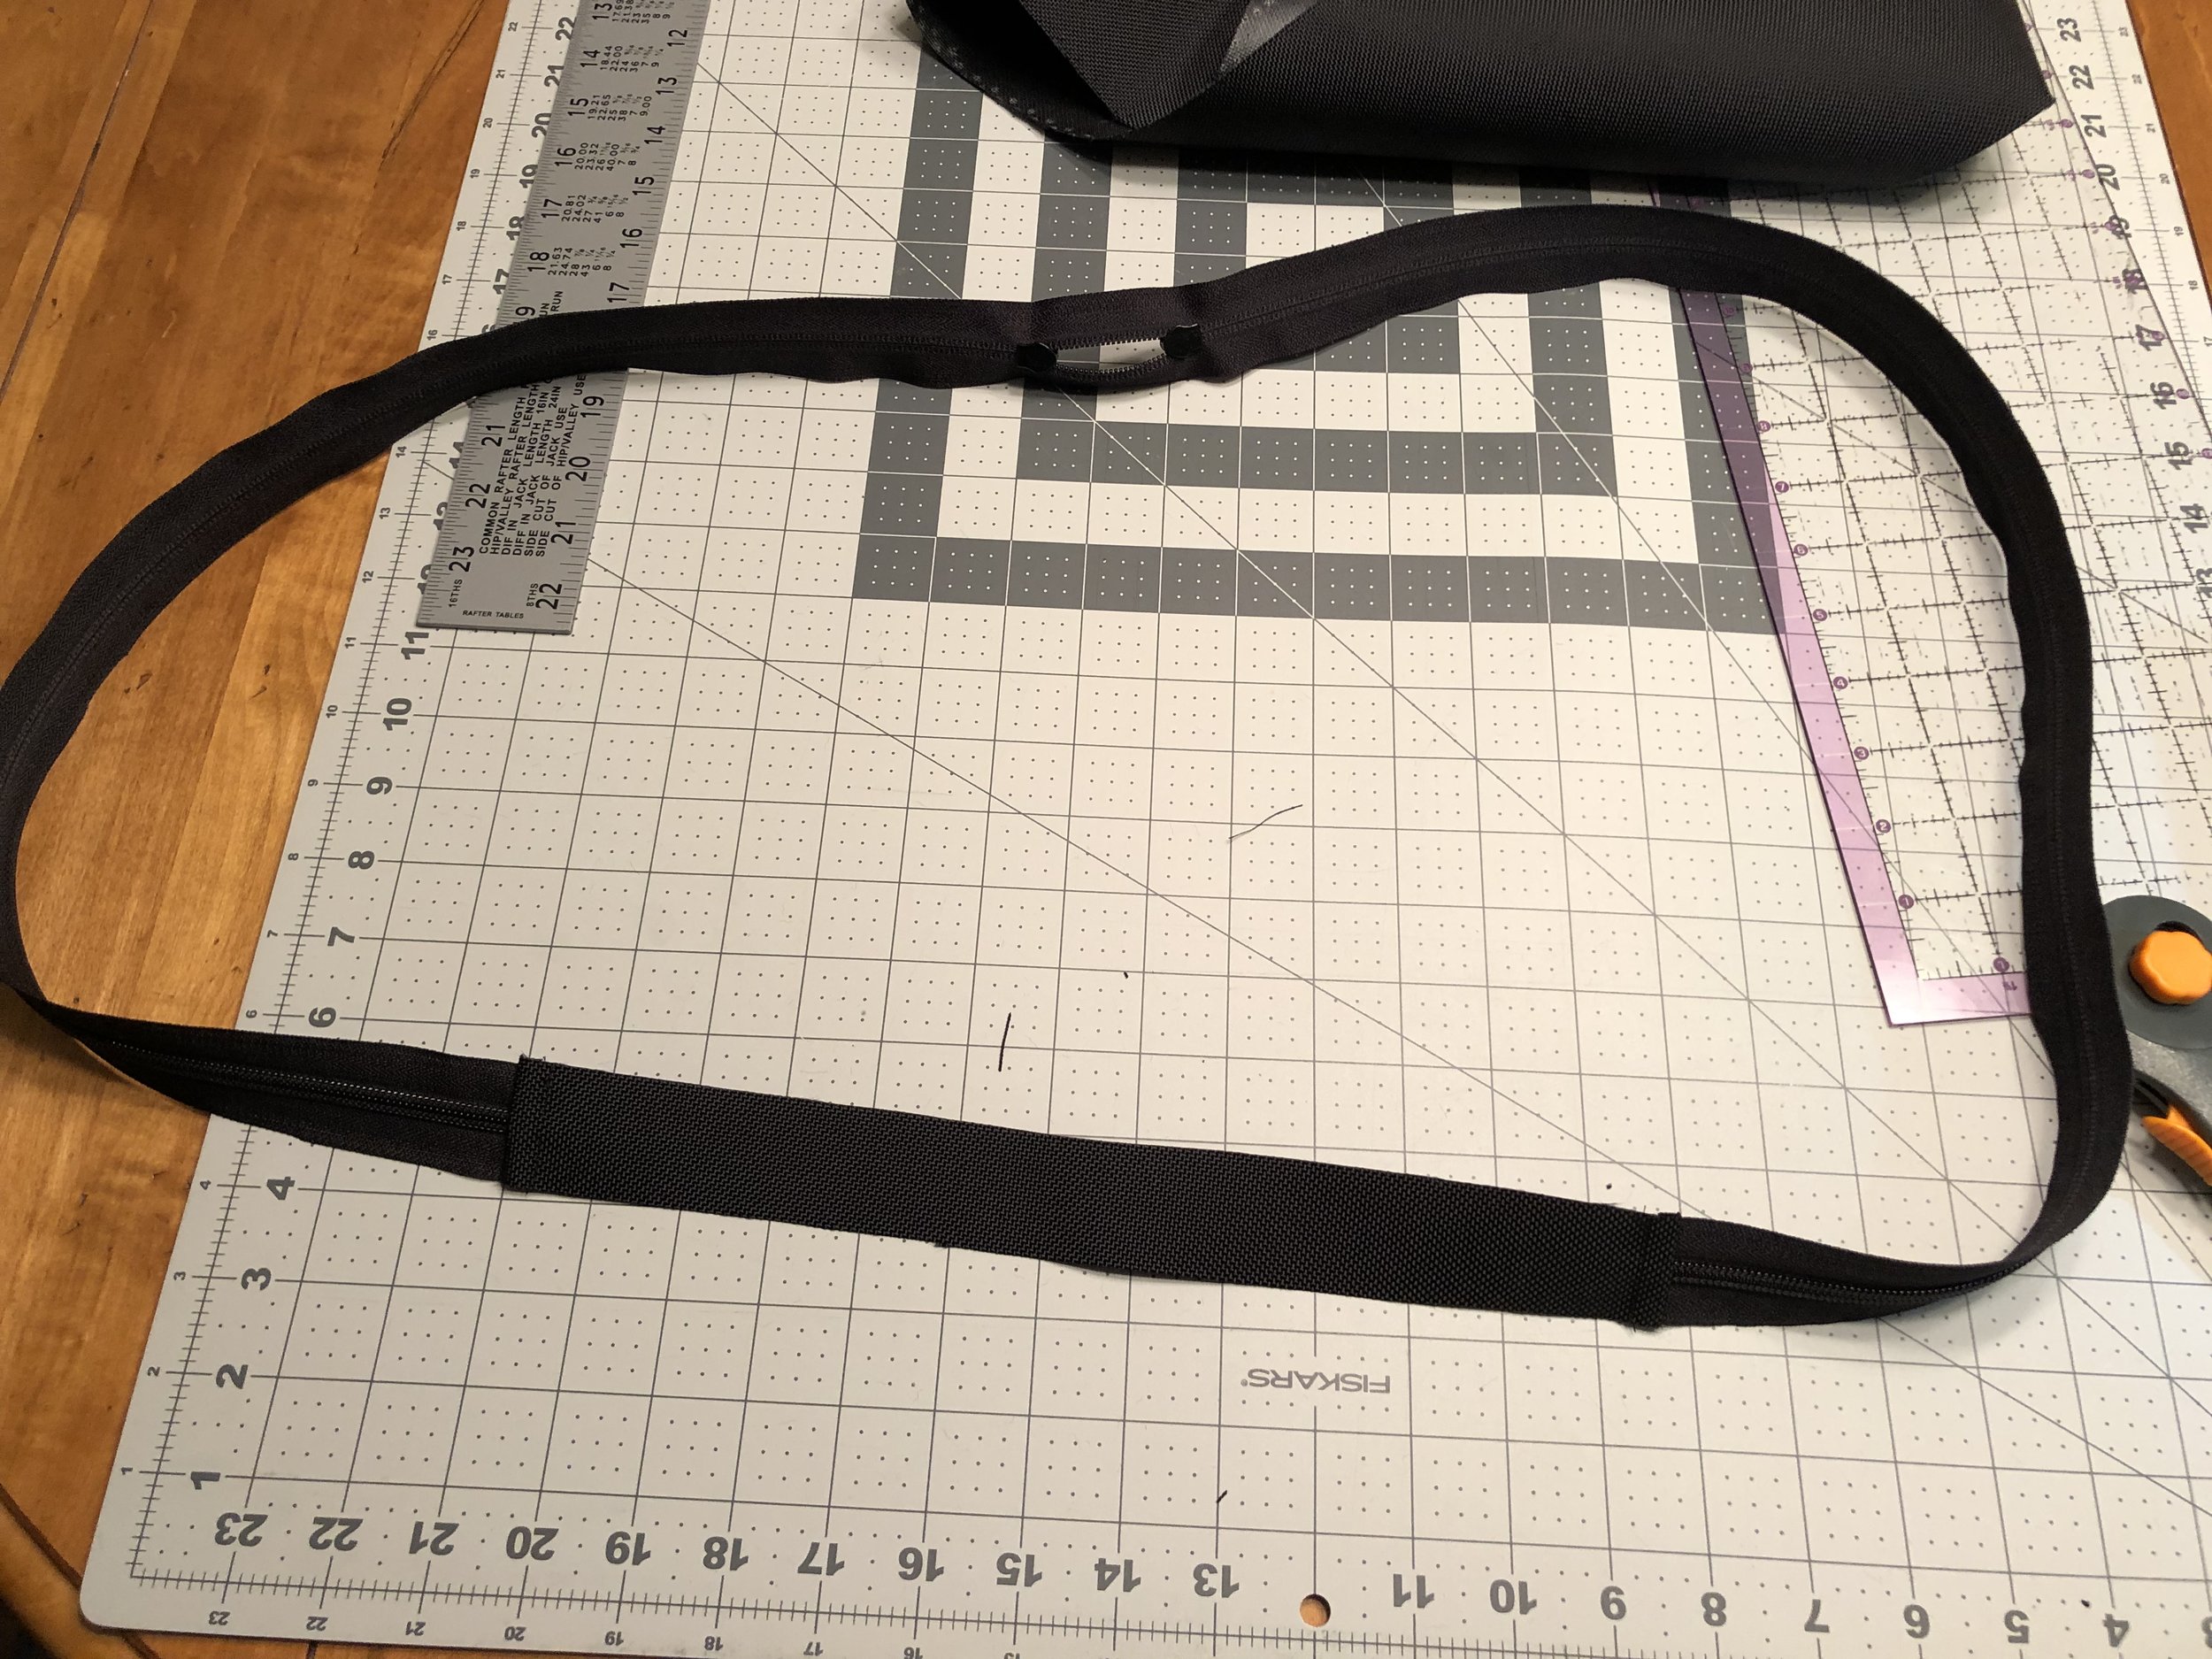
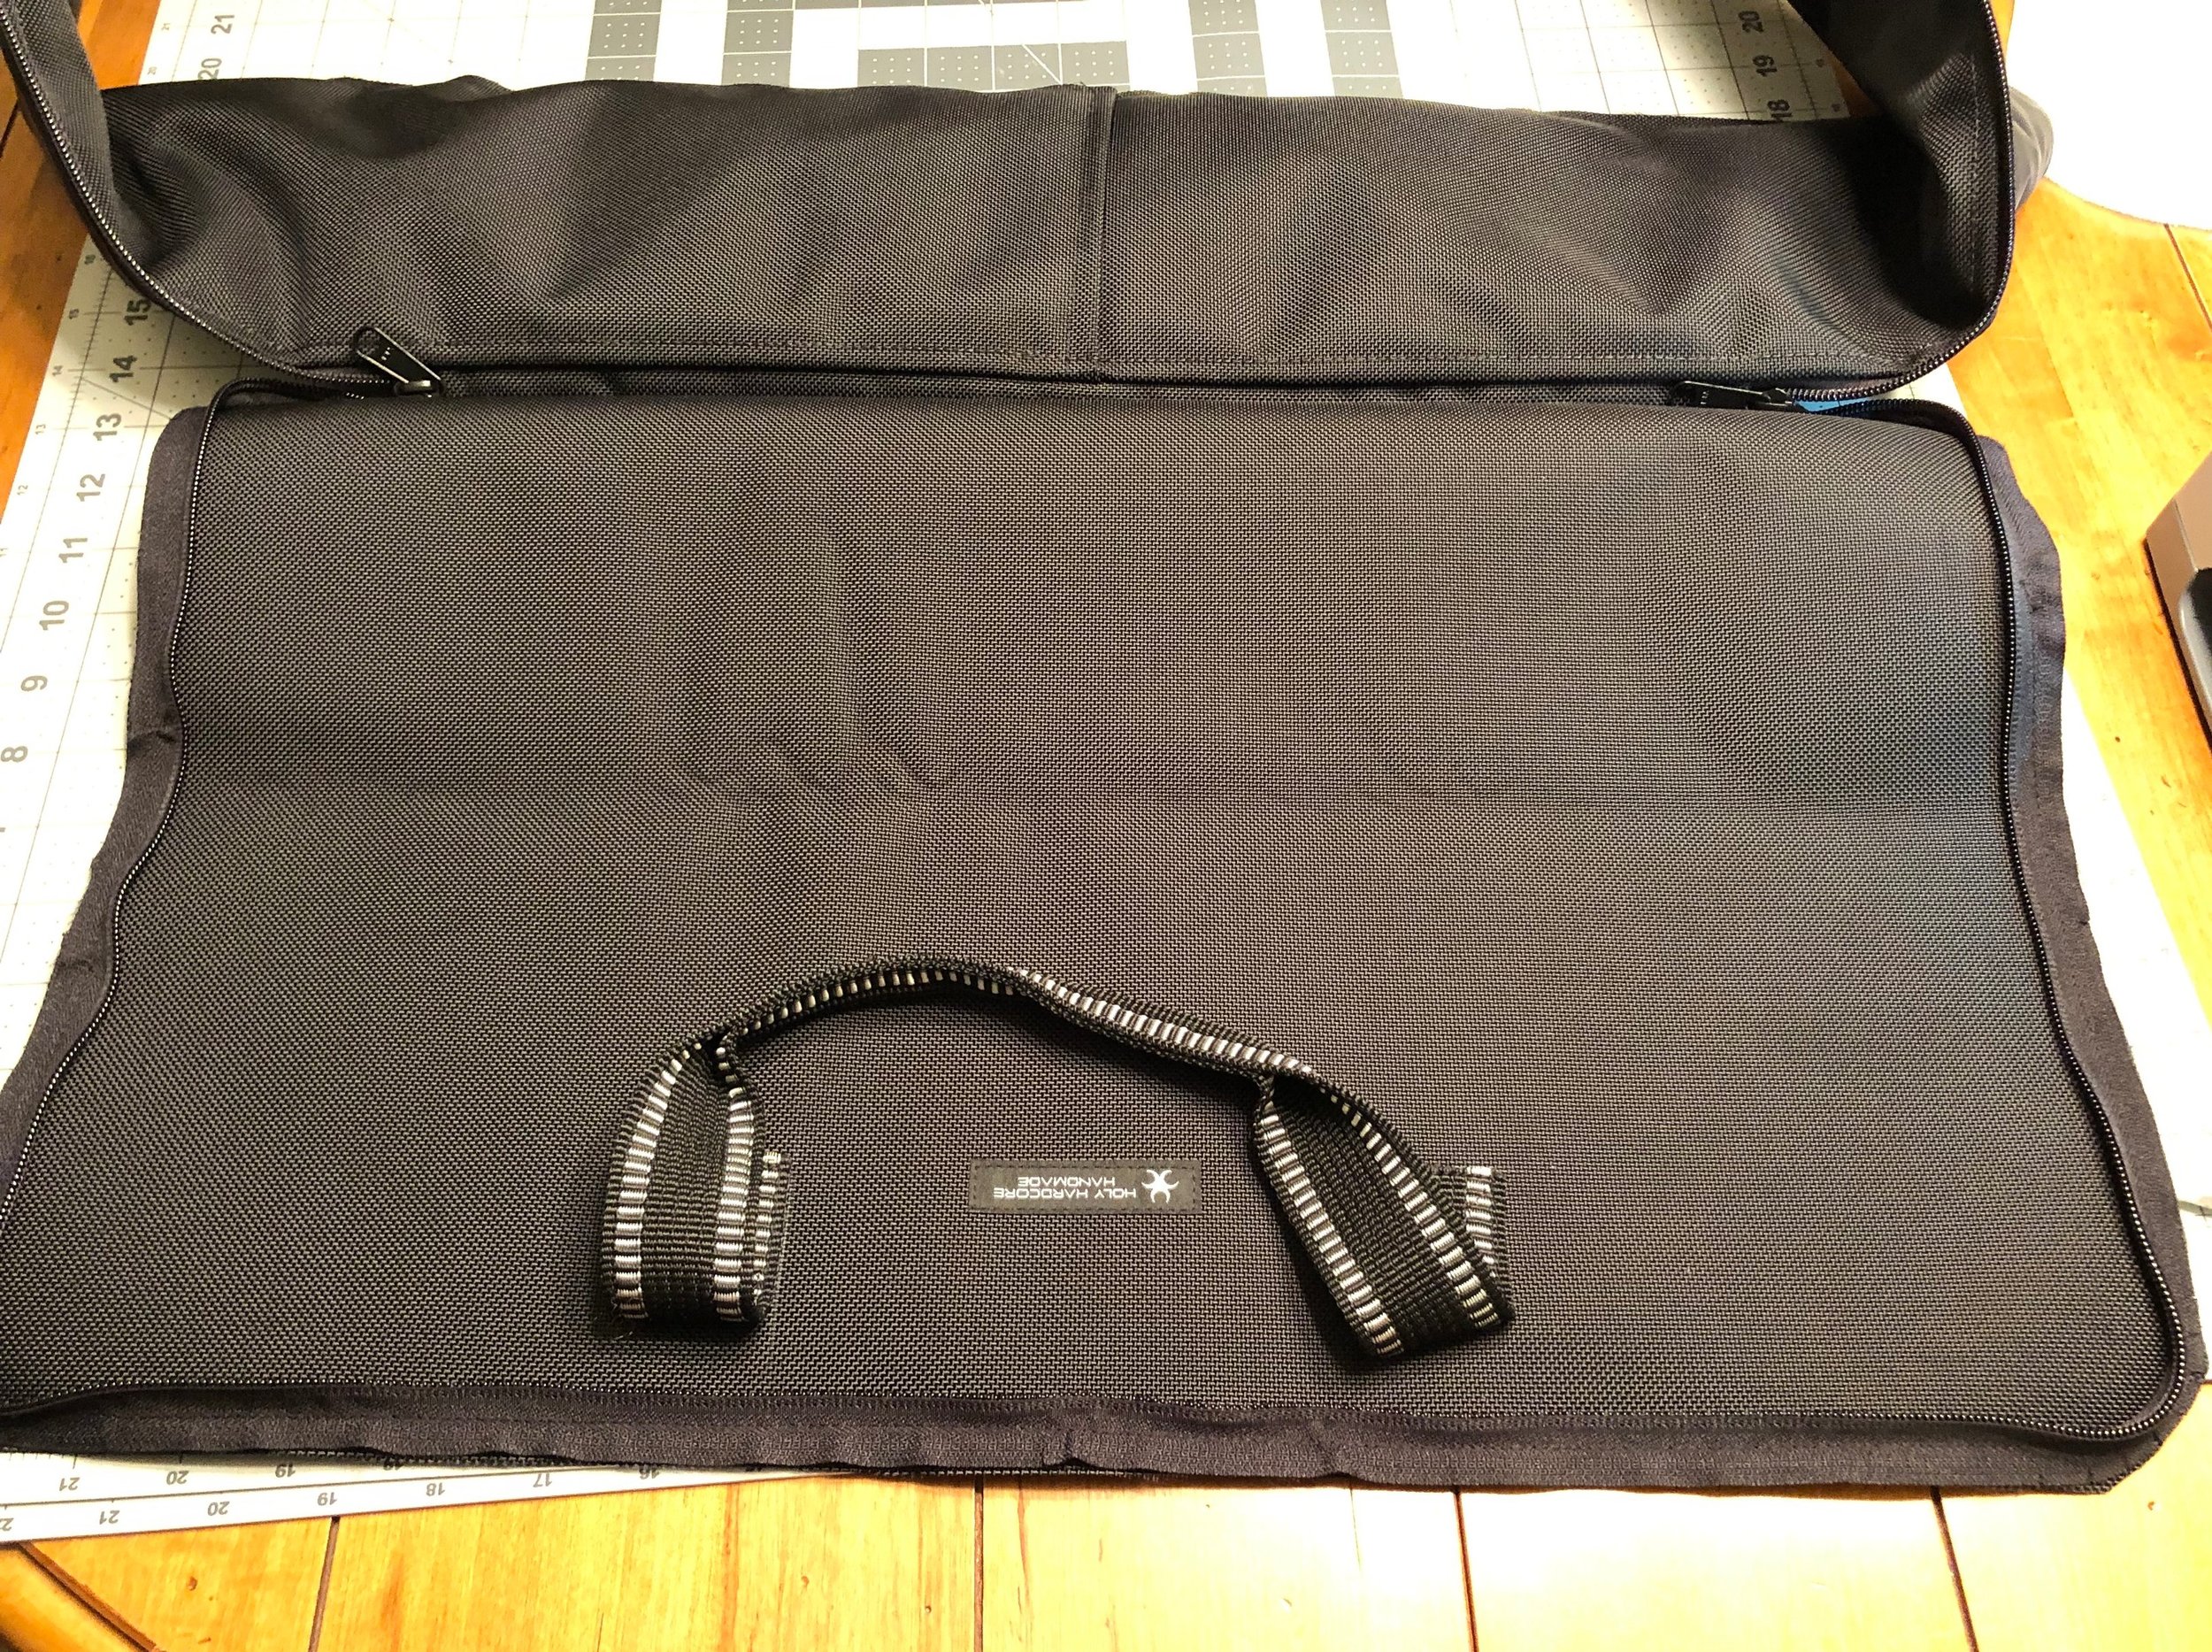
Handles
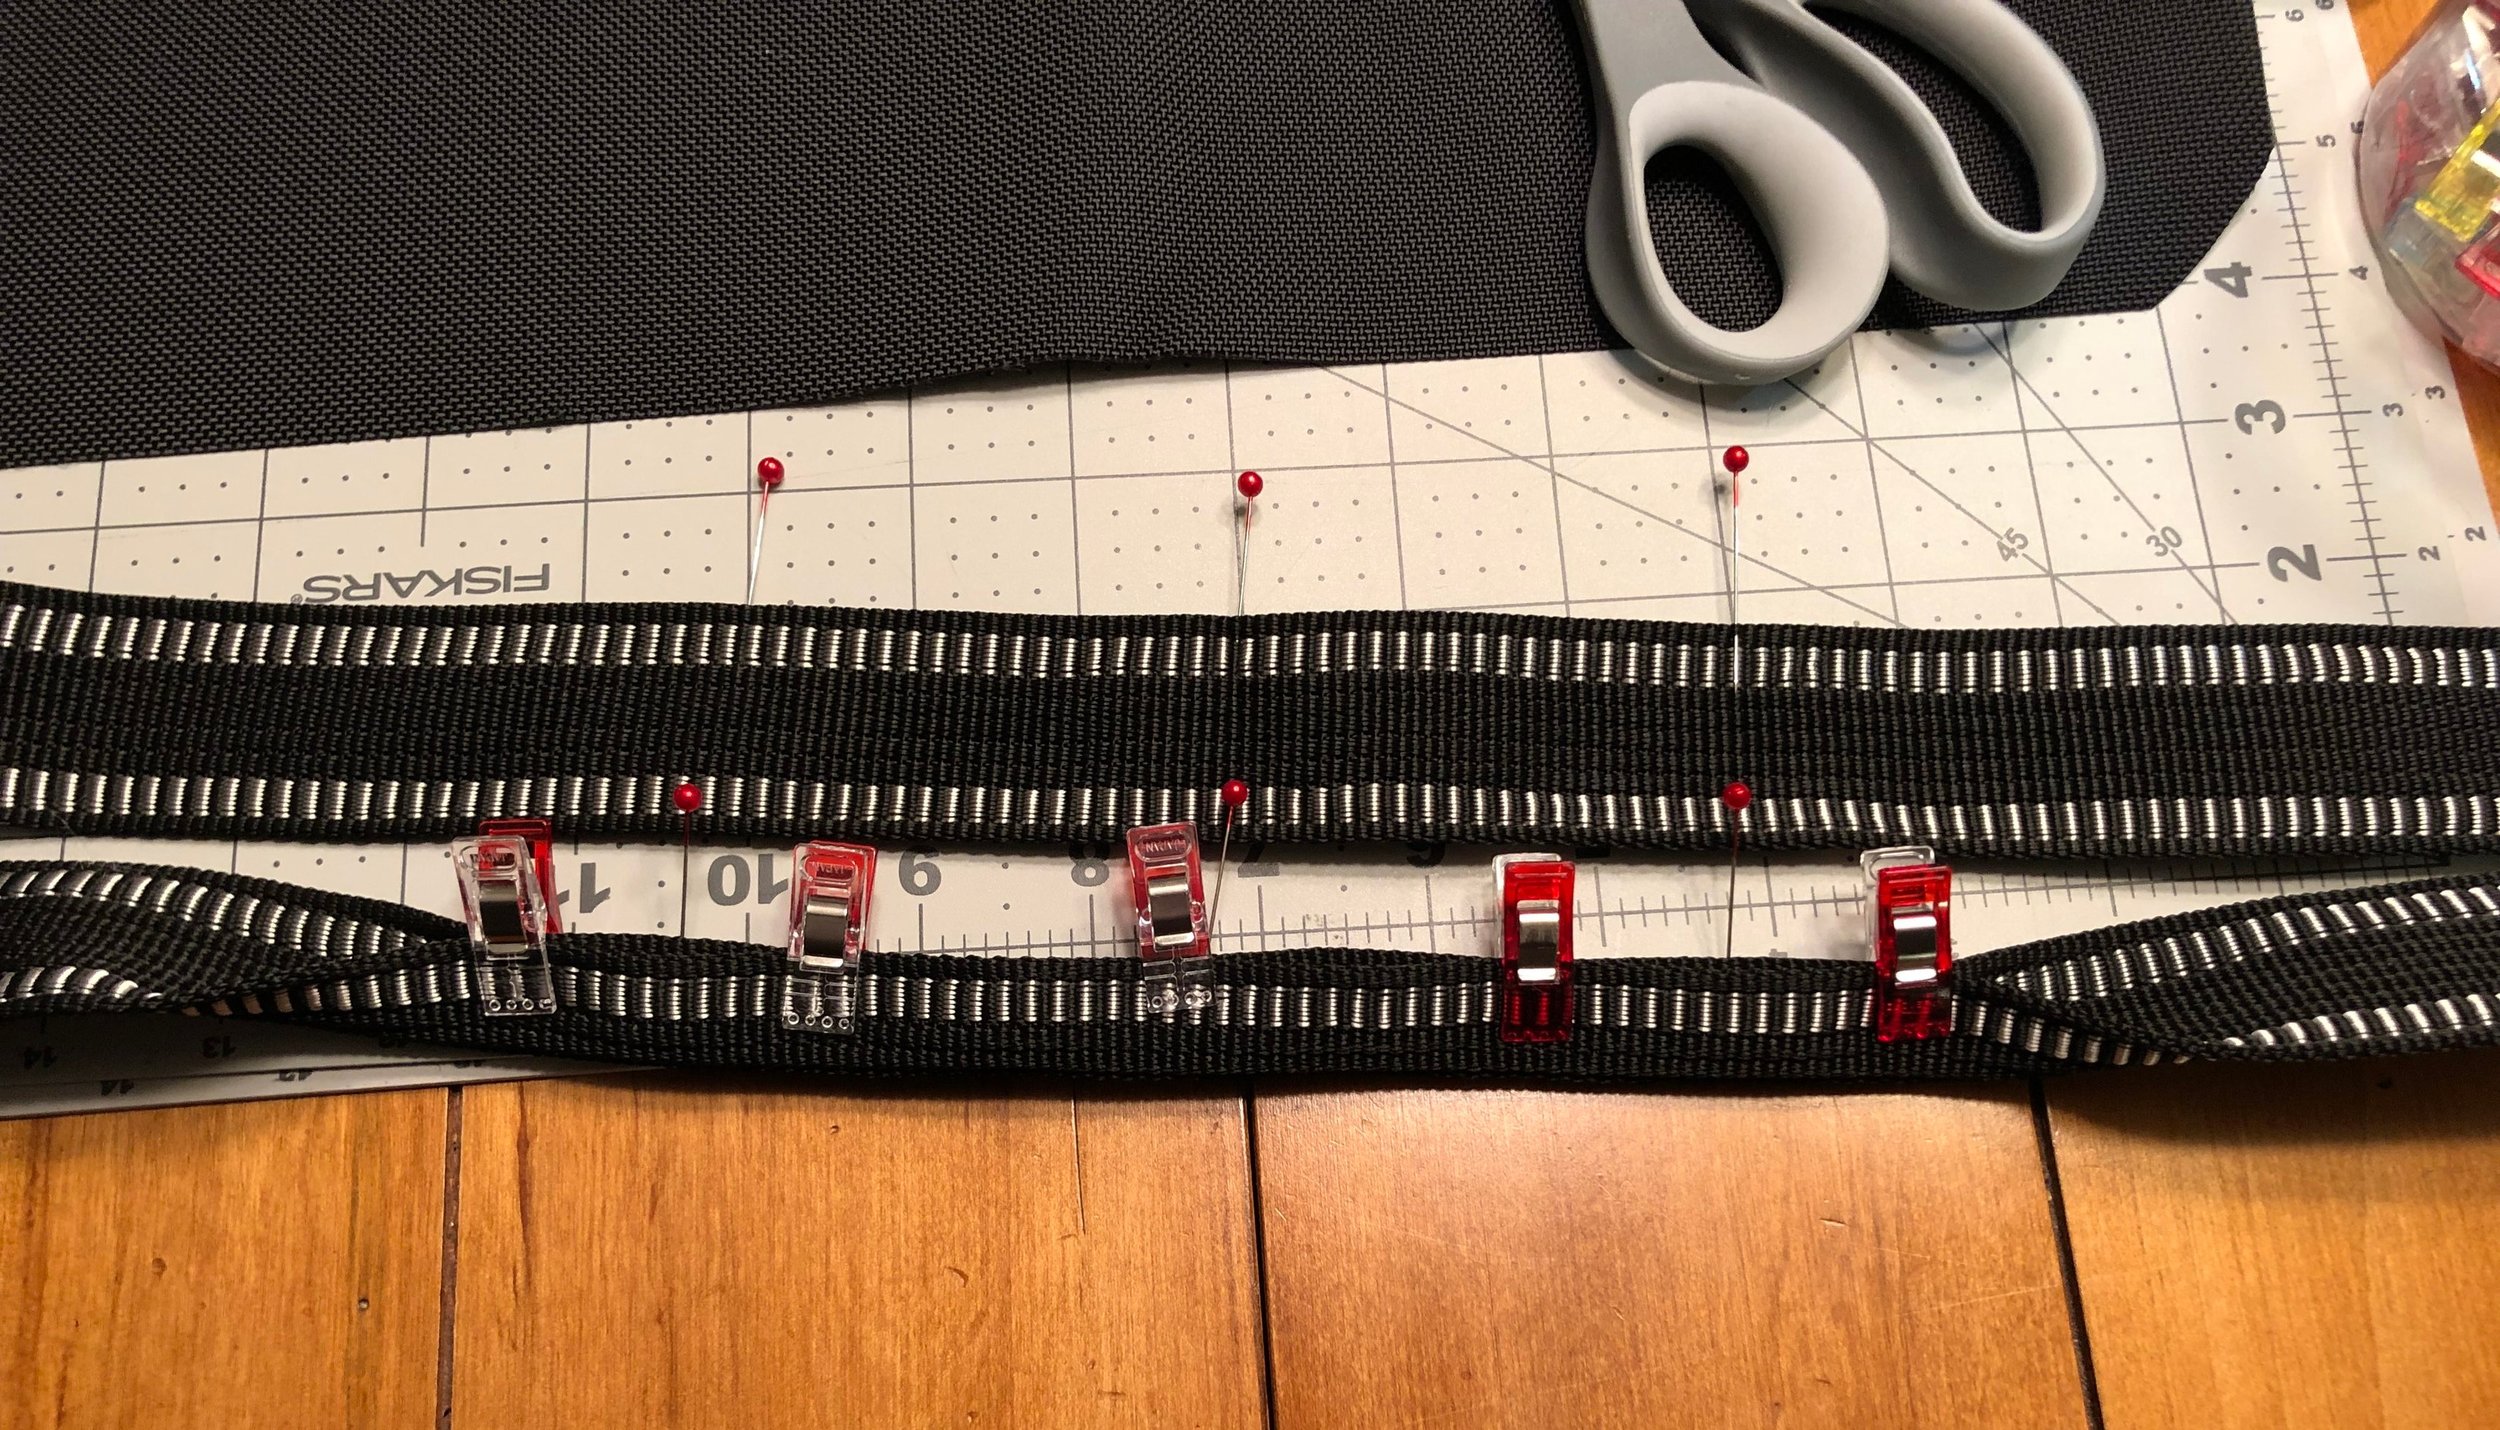
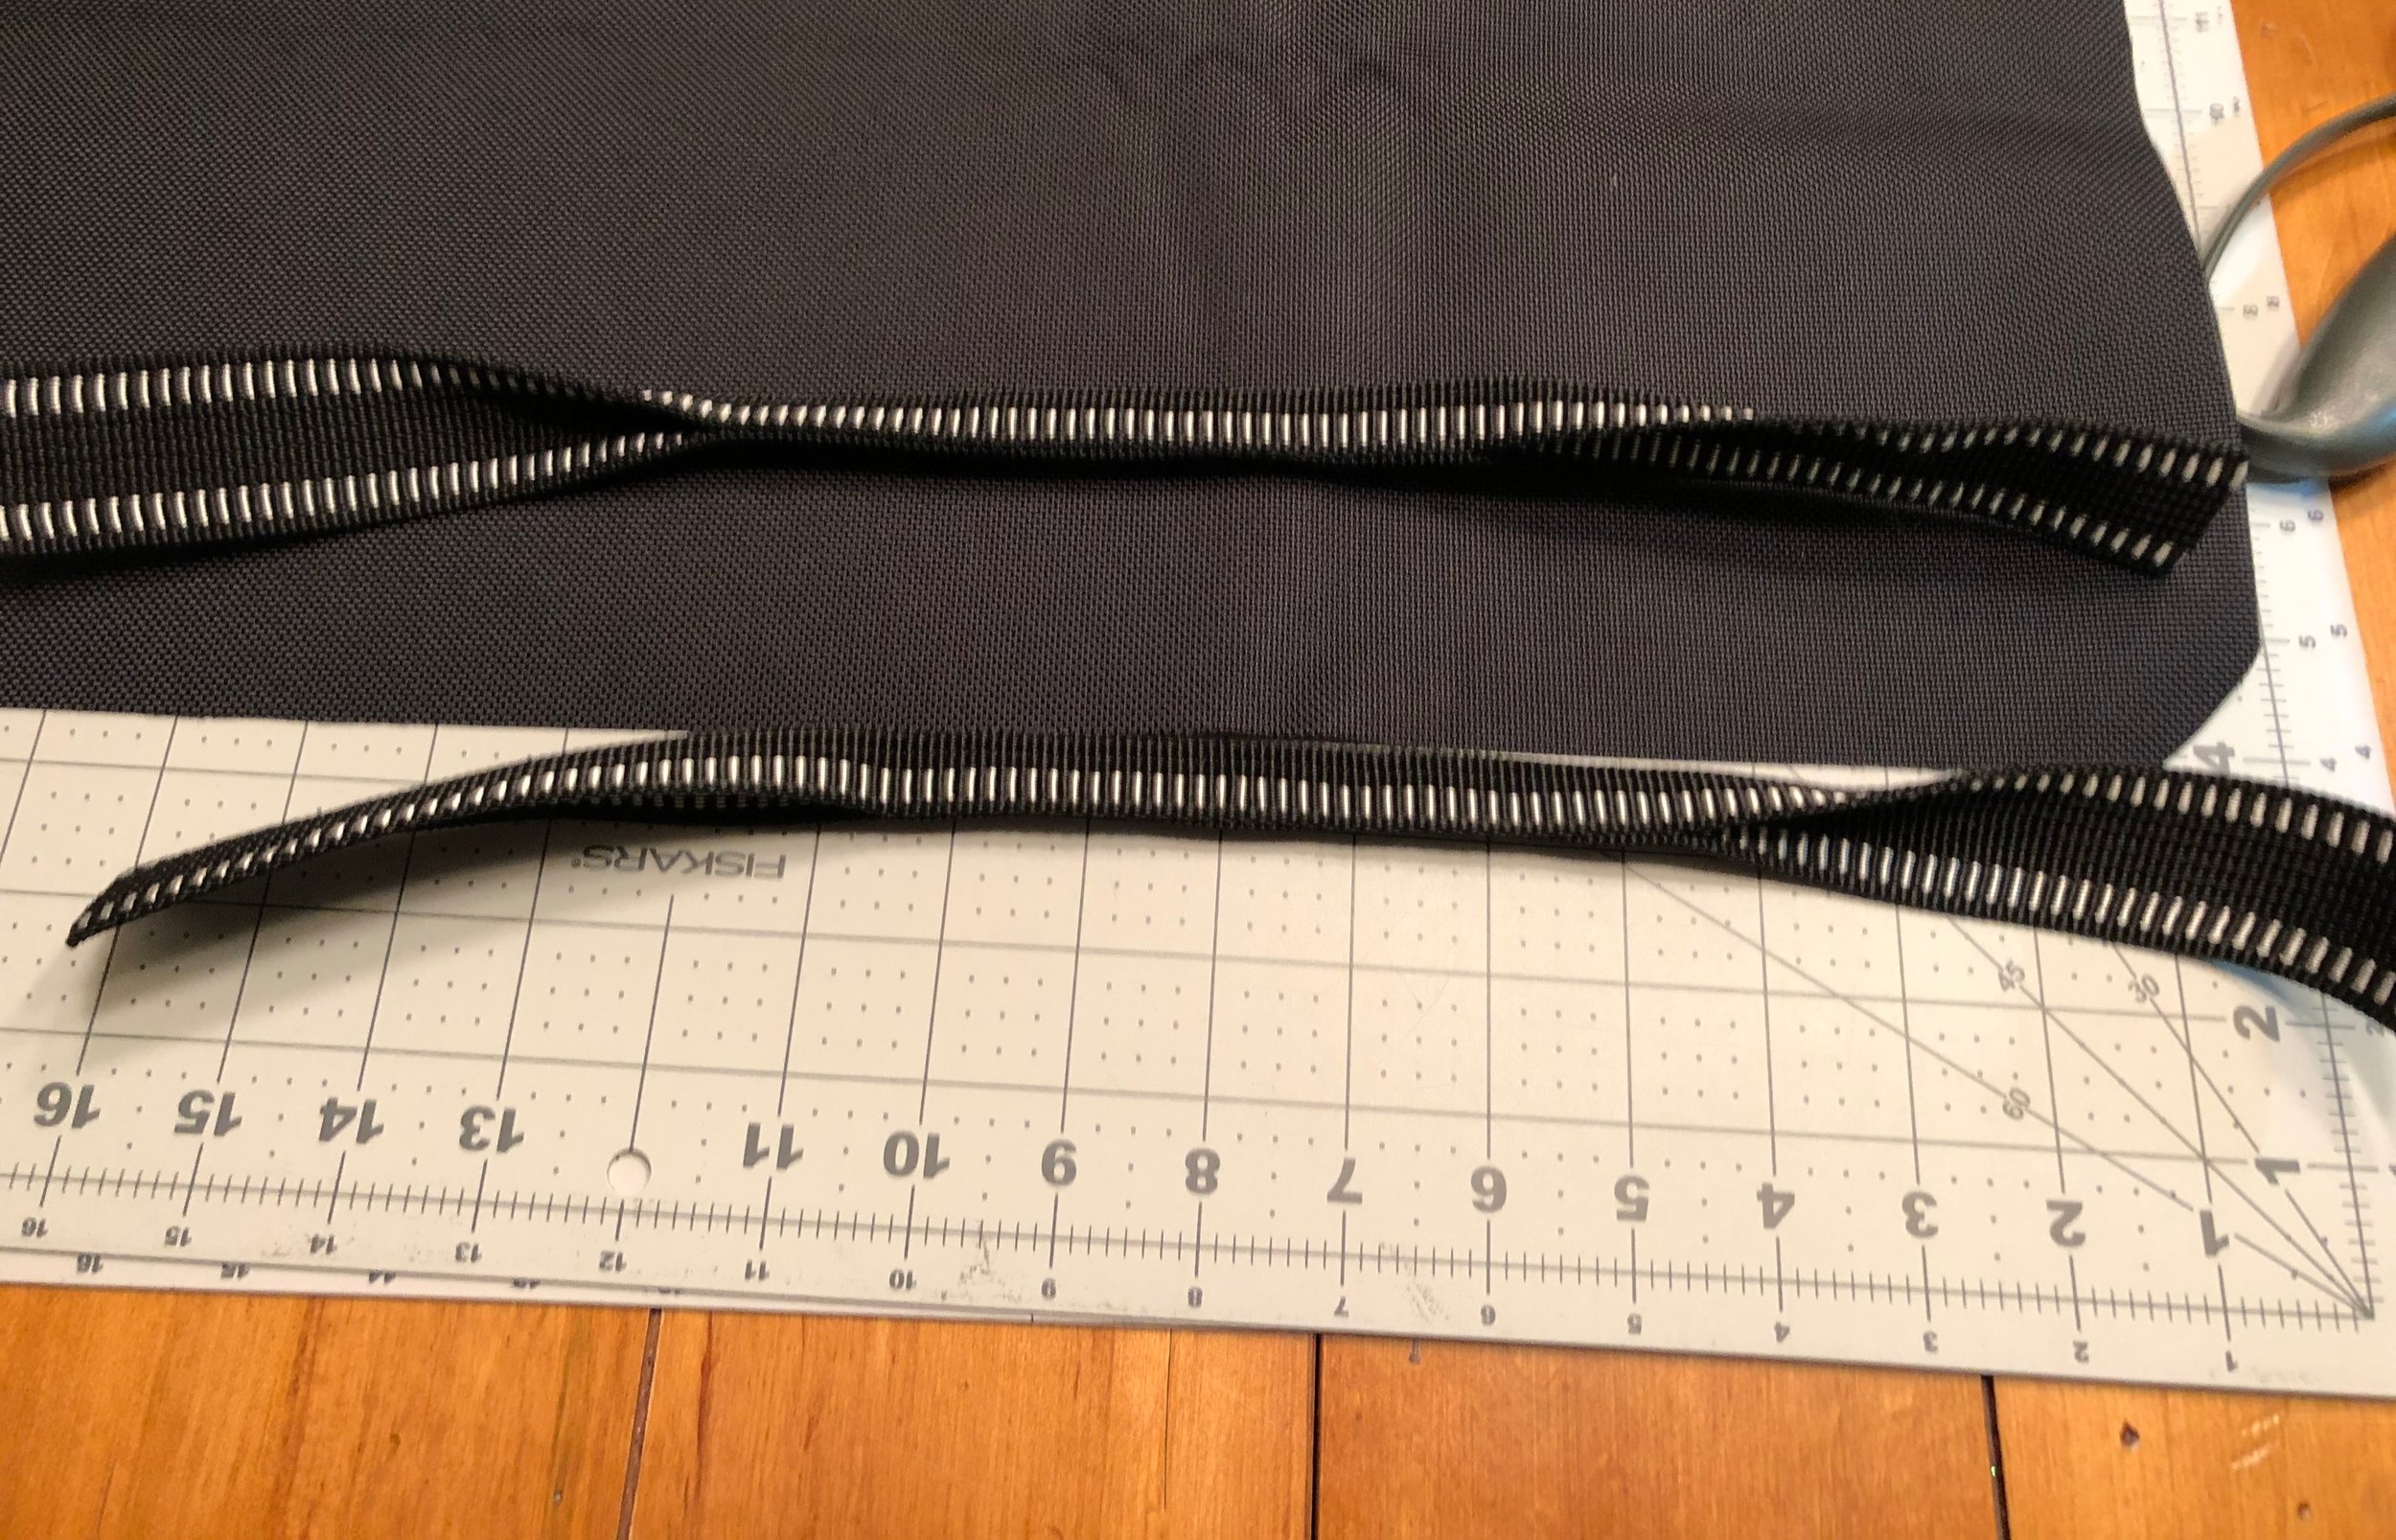
Take the webbing pieces and mark the centers, then mark 3” on either side of the center mark
Fold the webbing in half and sew down from one 3” mark to the other, creating a folded grip.
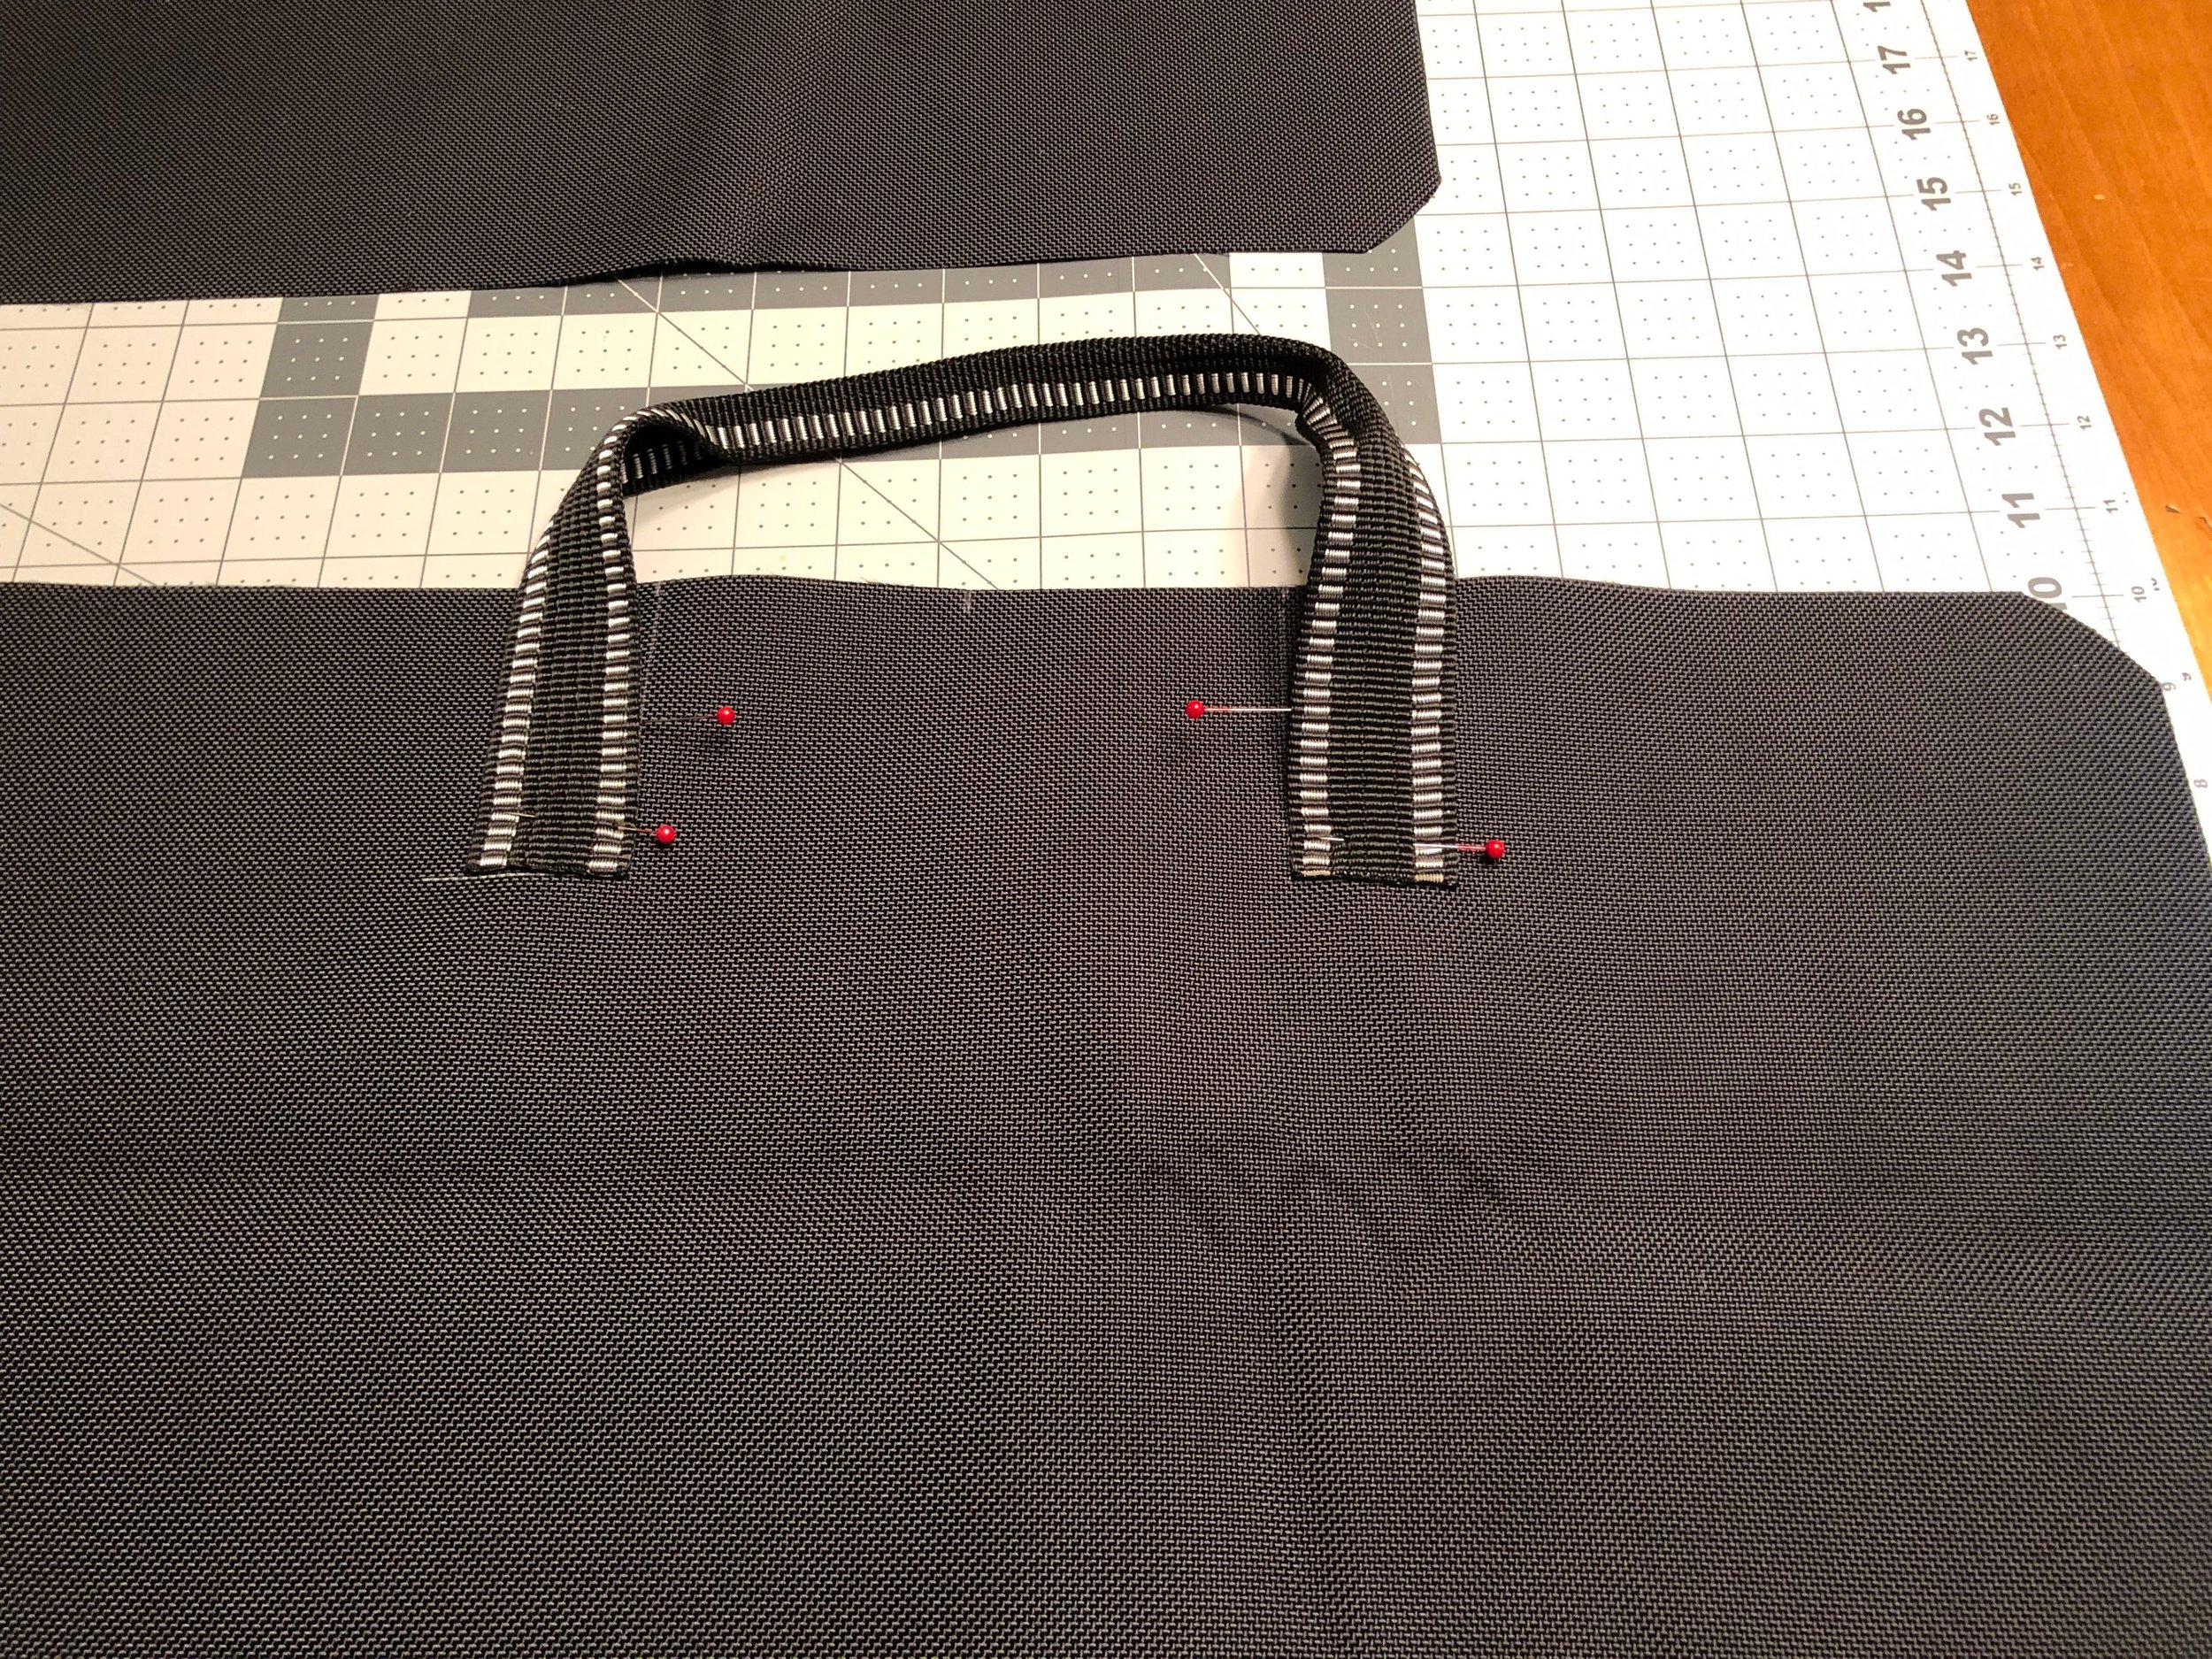
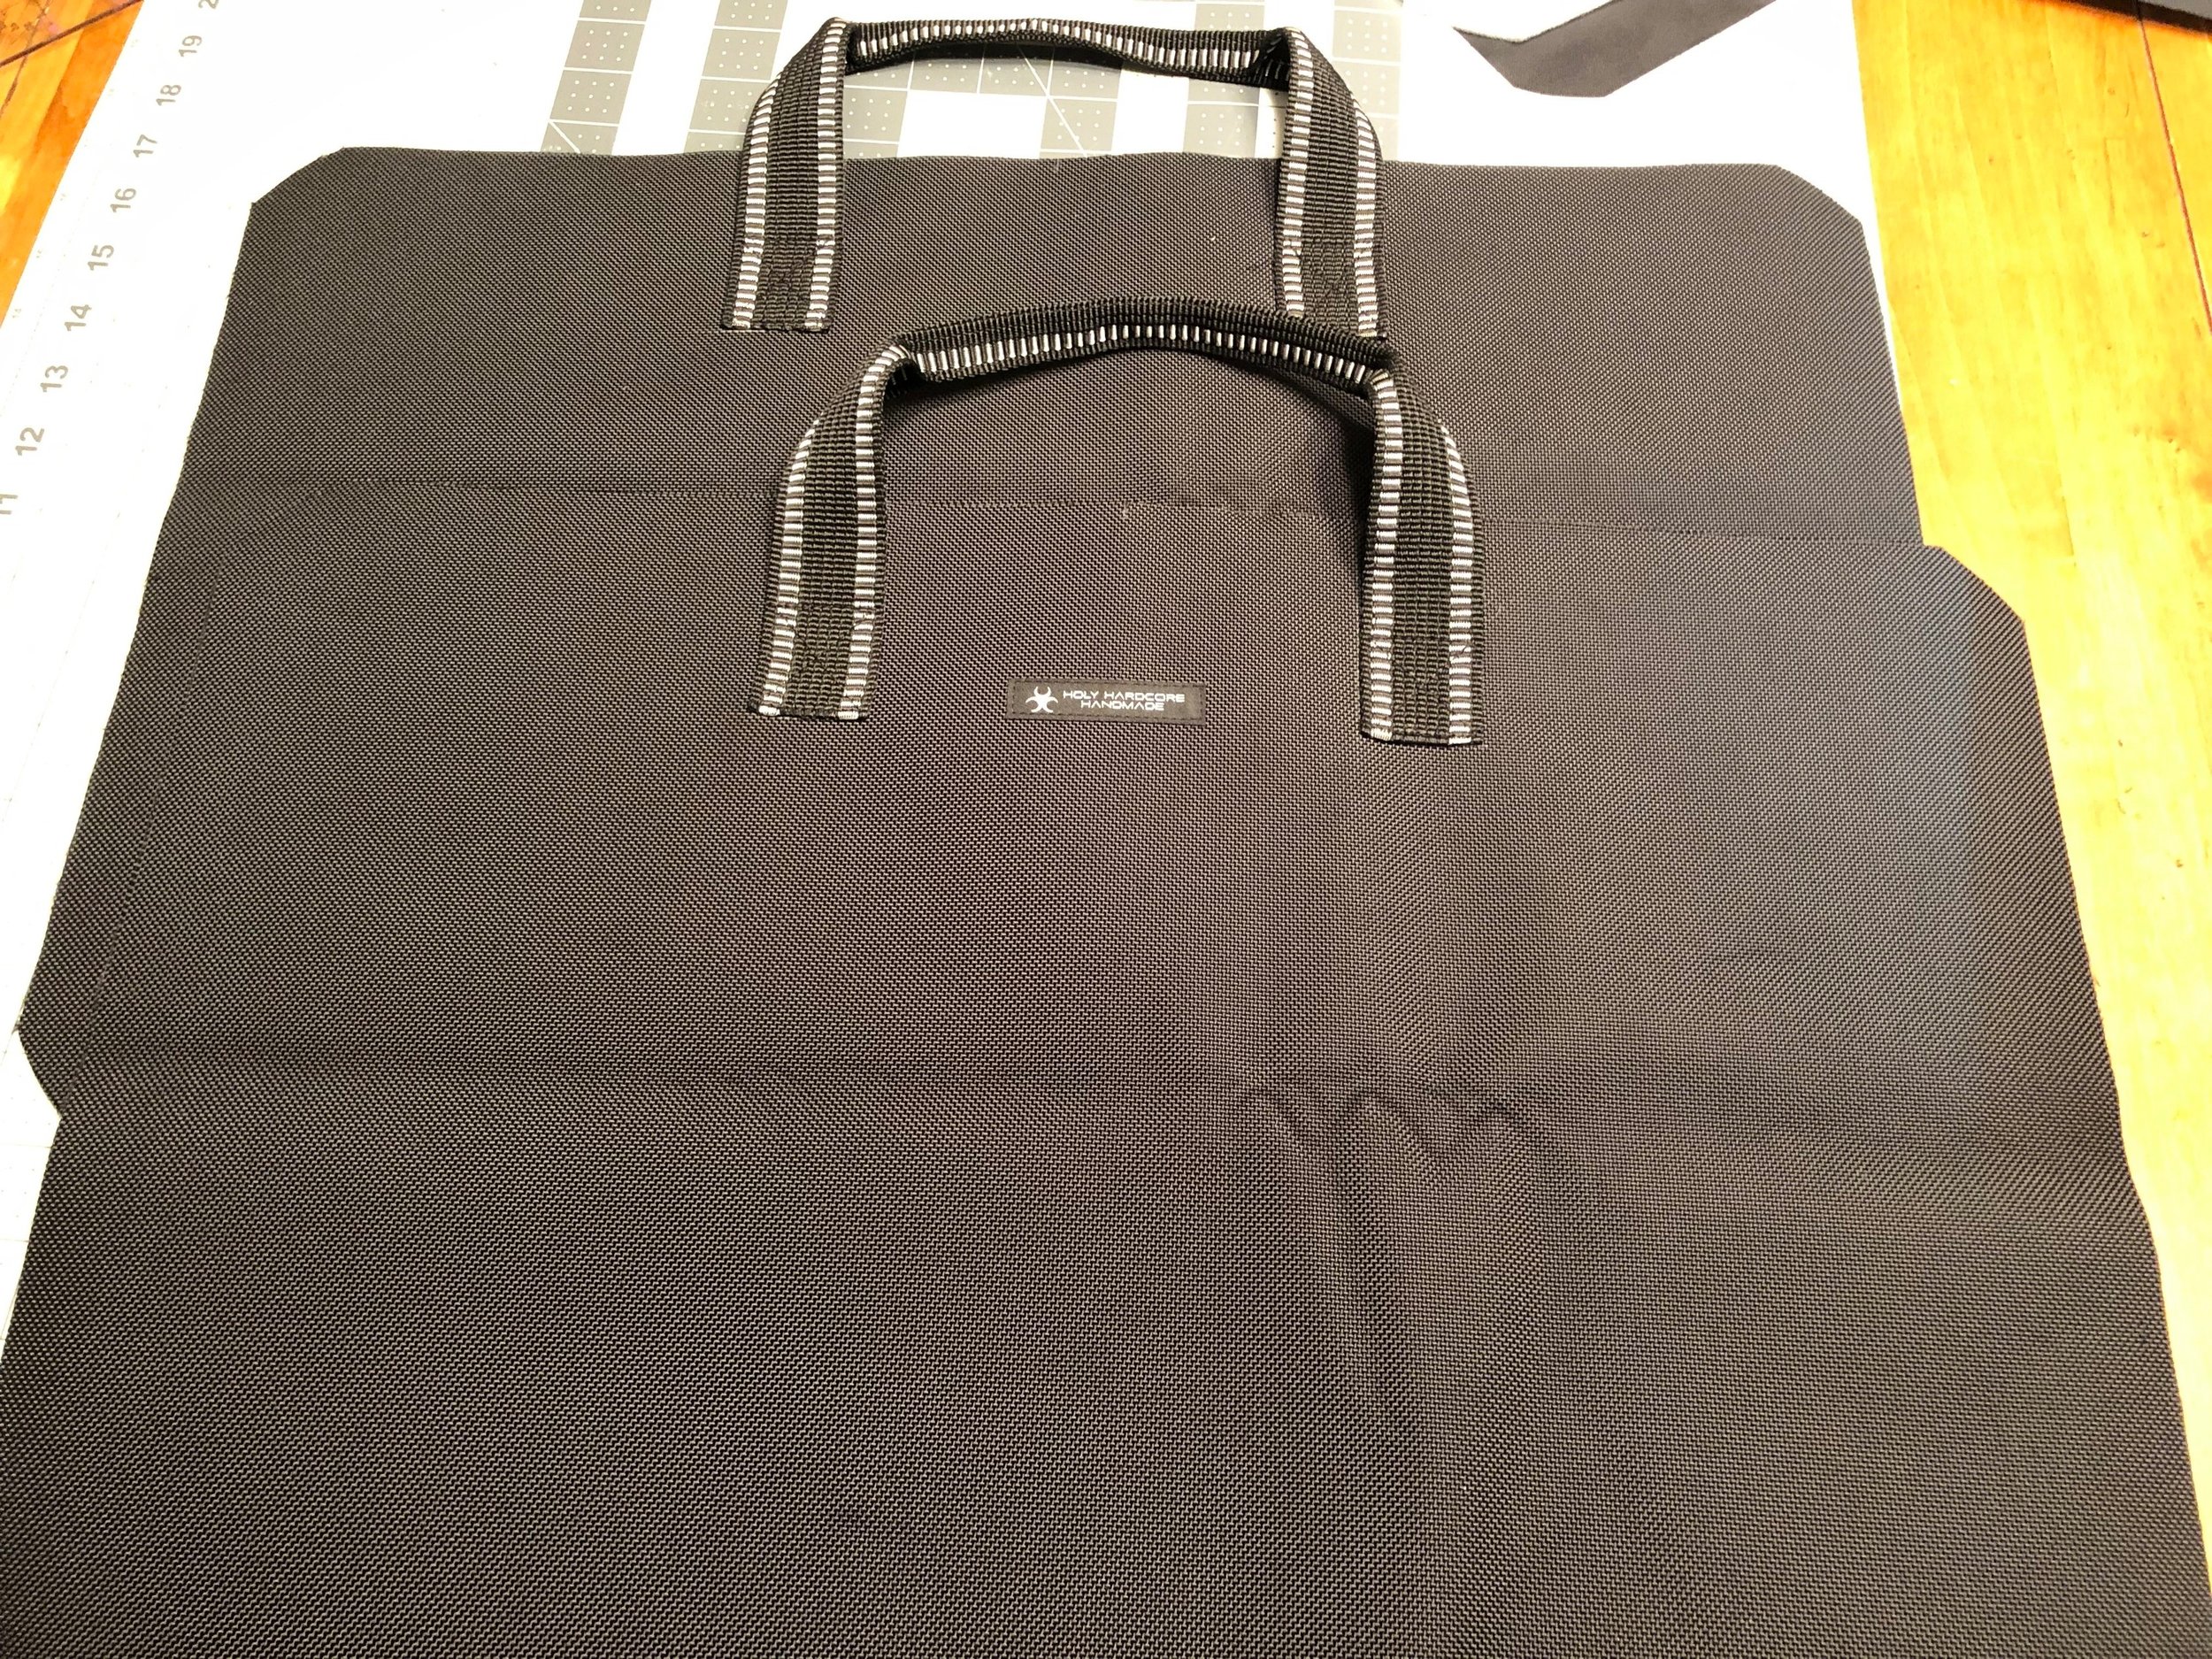
On the outer pieces, mark where the handles should be placed. I marked mine 3” from center and 3” down from the raw edge.
Pin handles in place and sew down, allowing at least 1” clearance from the top raw edge. Stitch an ‘x’ box on the handle to reinforce.
Top
Take the top outer piece and clip it right sides together to the gusset (zipper end), matching up quarter marks. Sew in place using a zipper foot.
Unzip the zipper all the way open.
Place the top lining piece right sides together on the top and clip in place. Leave the bottom long side open for turning.
Sew the lining piece, following the original stitching line.
Turn right side out
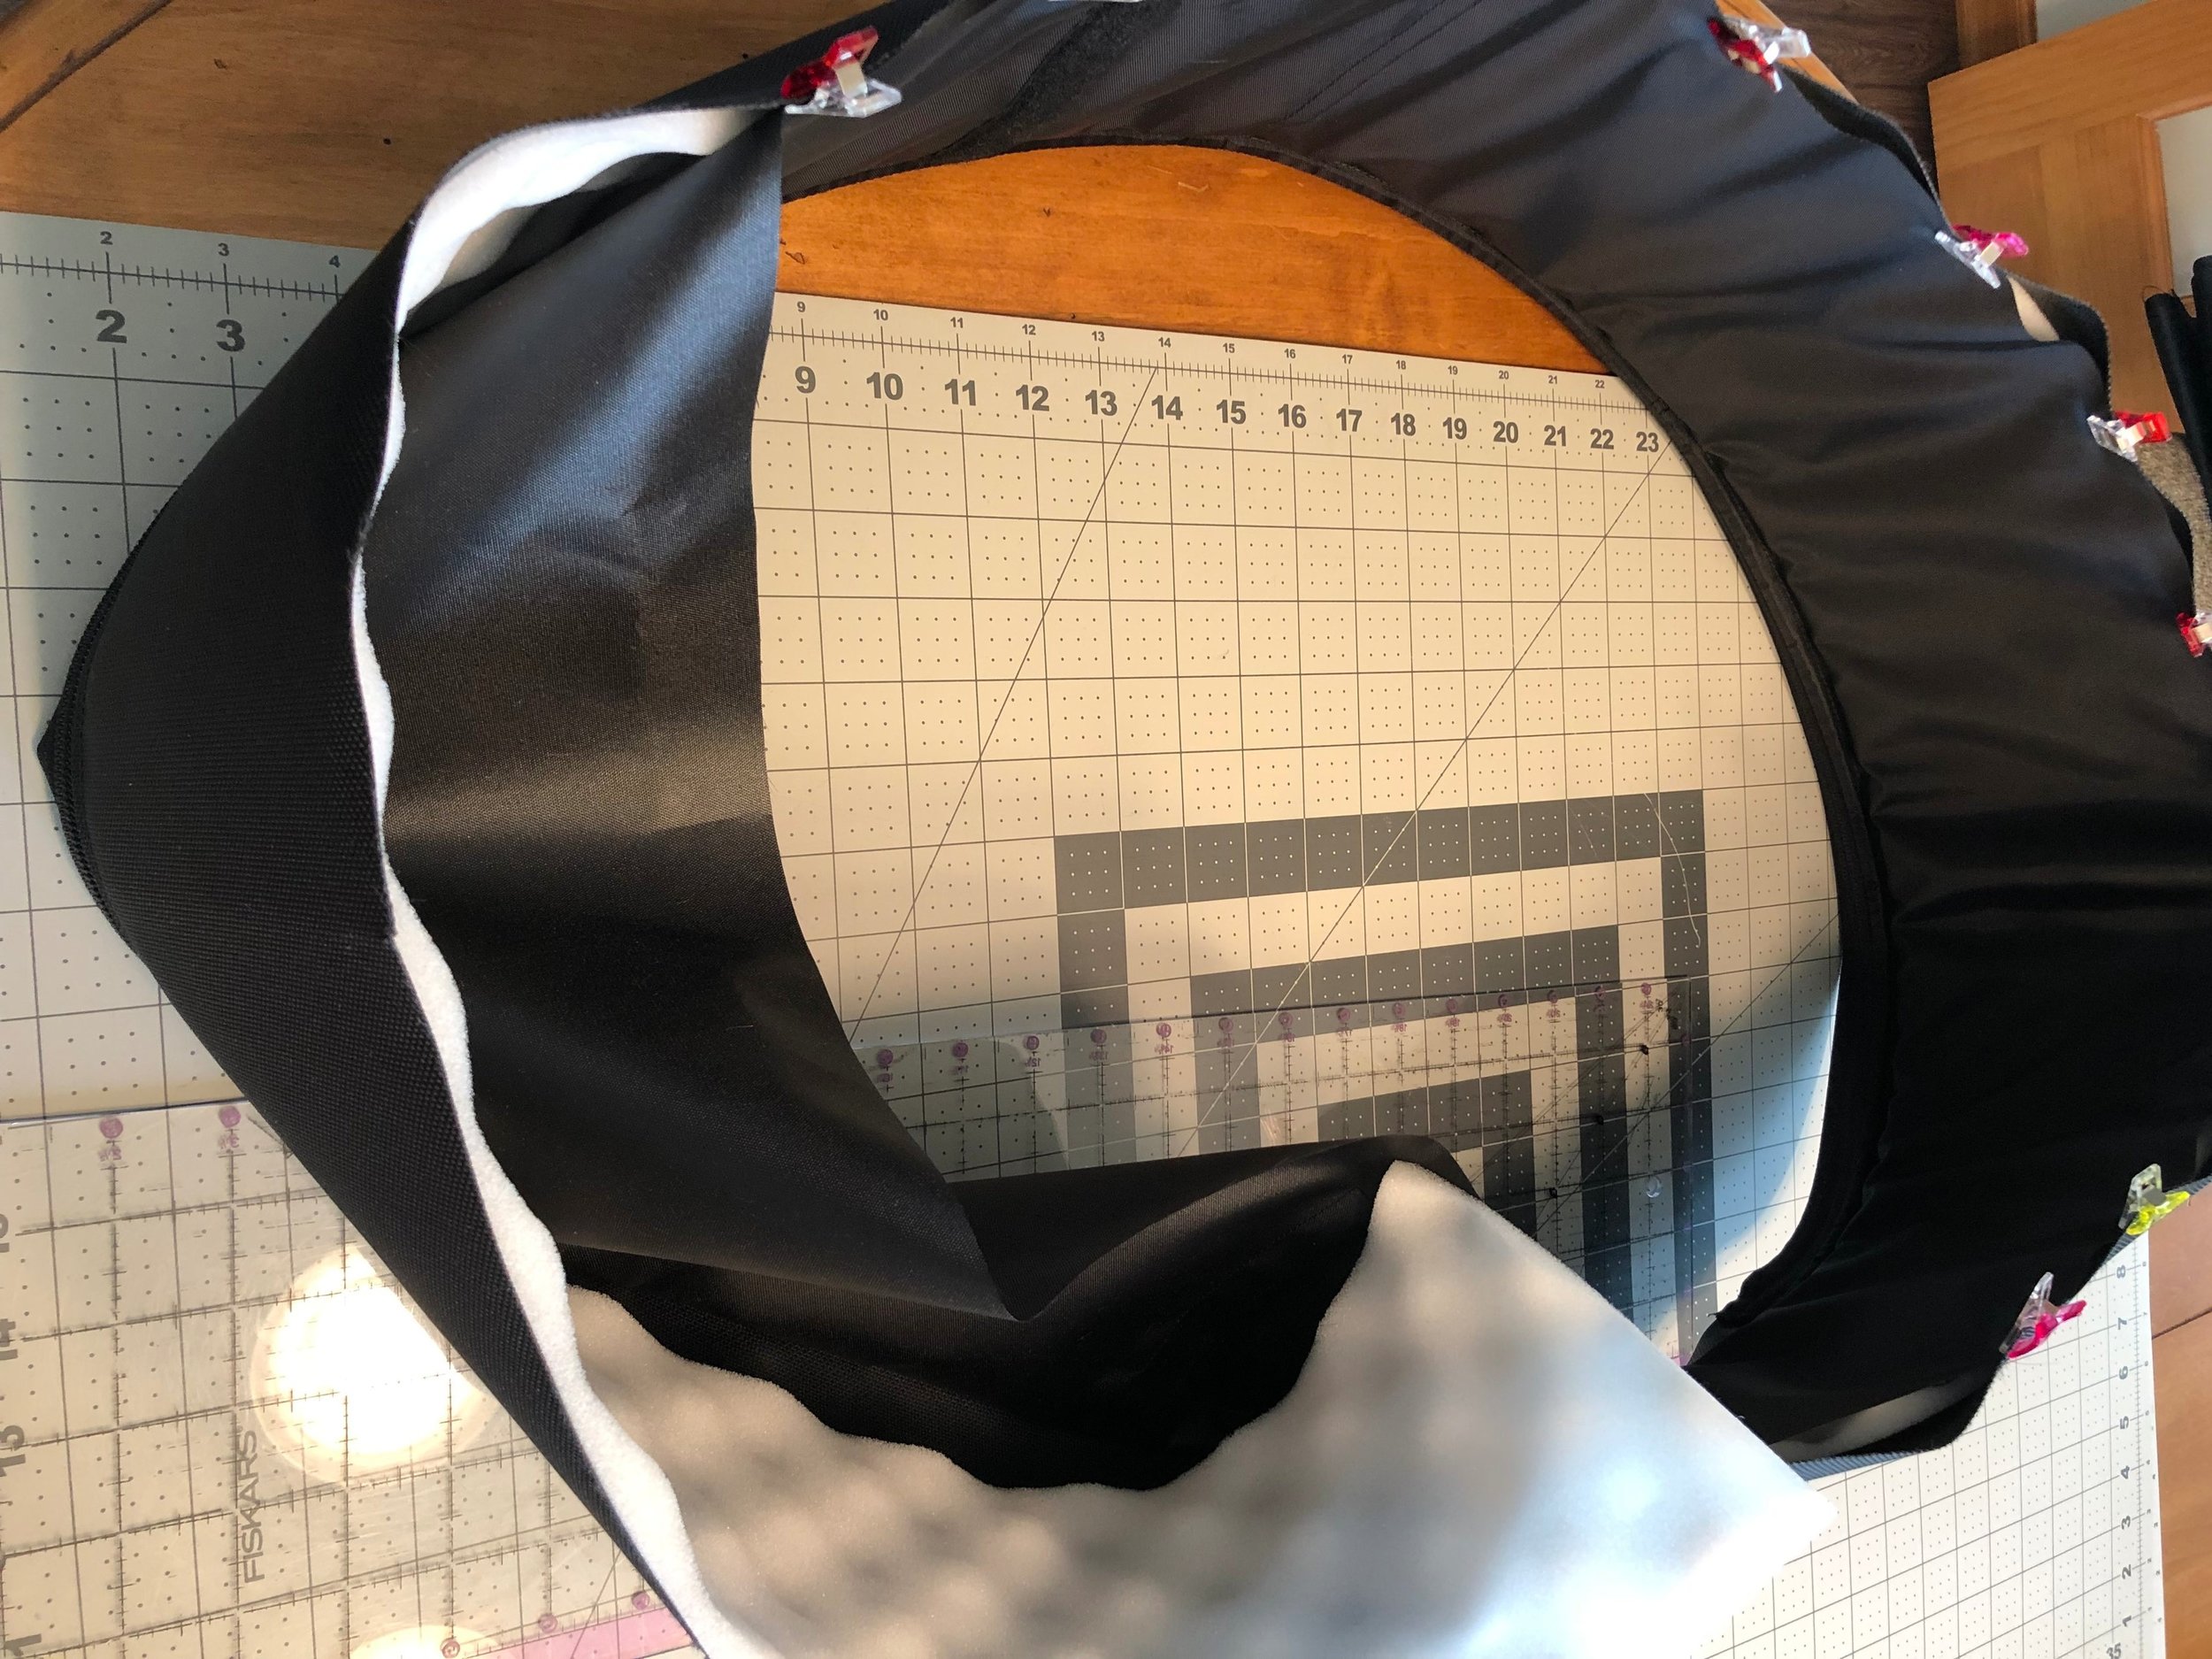
Insert the foam padding and smooth it out.
Turn under the seam allowance on the lining. Since this fabric doesn’t take pins, I used seamstick basting tape to hold it in place.
Topstitch around the entire top, making sure to catch the lining to close it up.
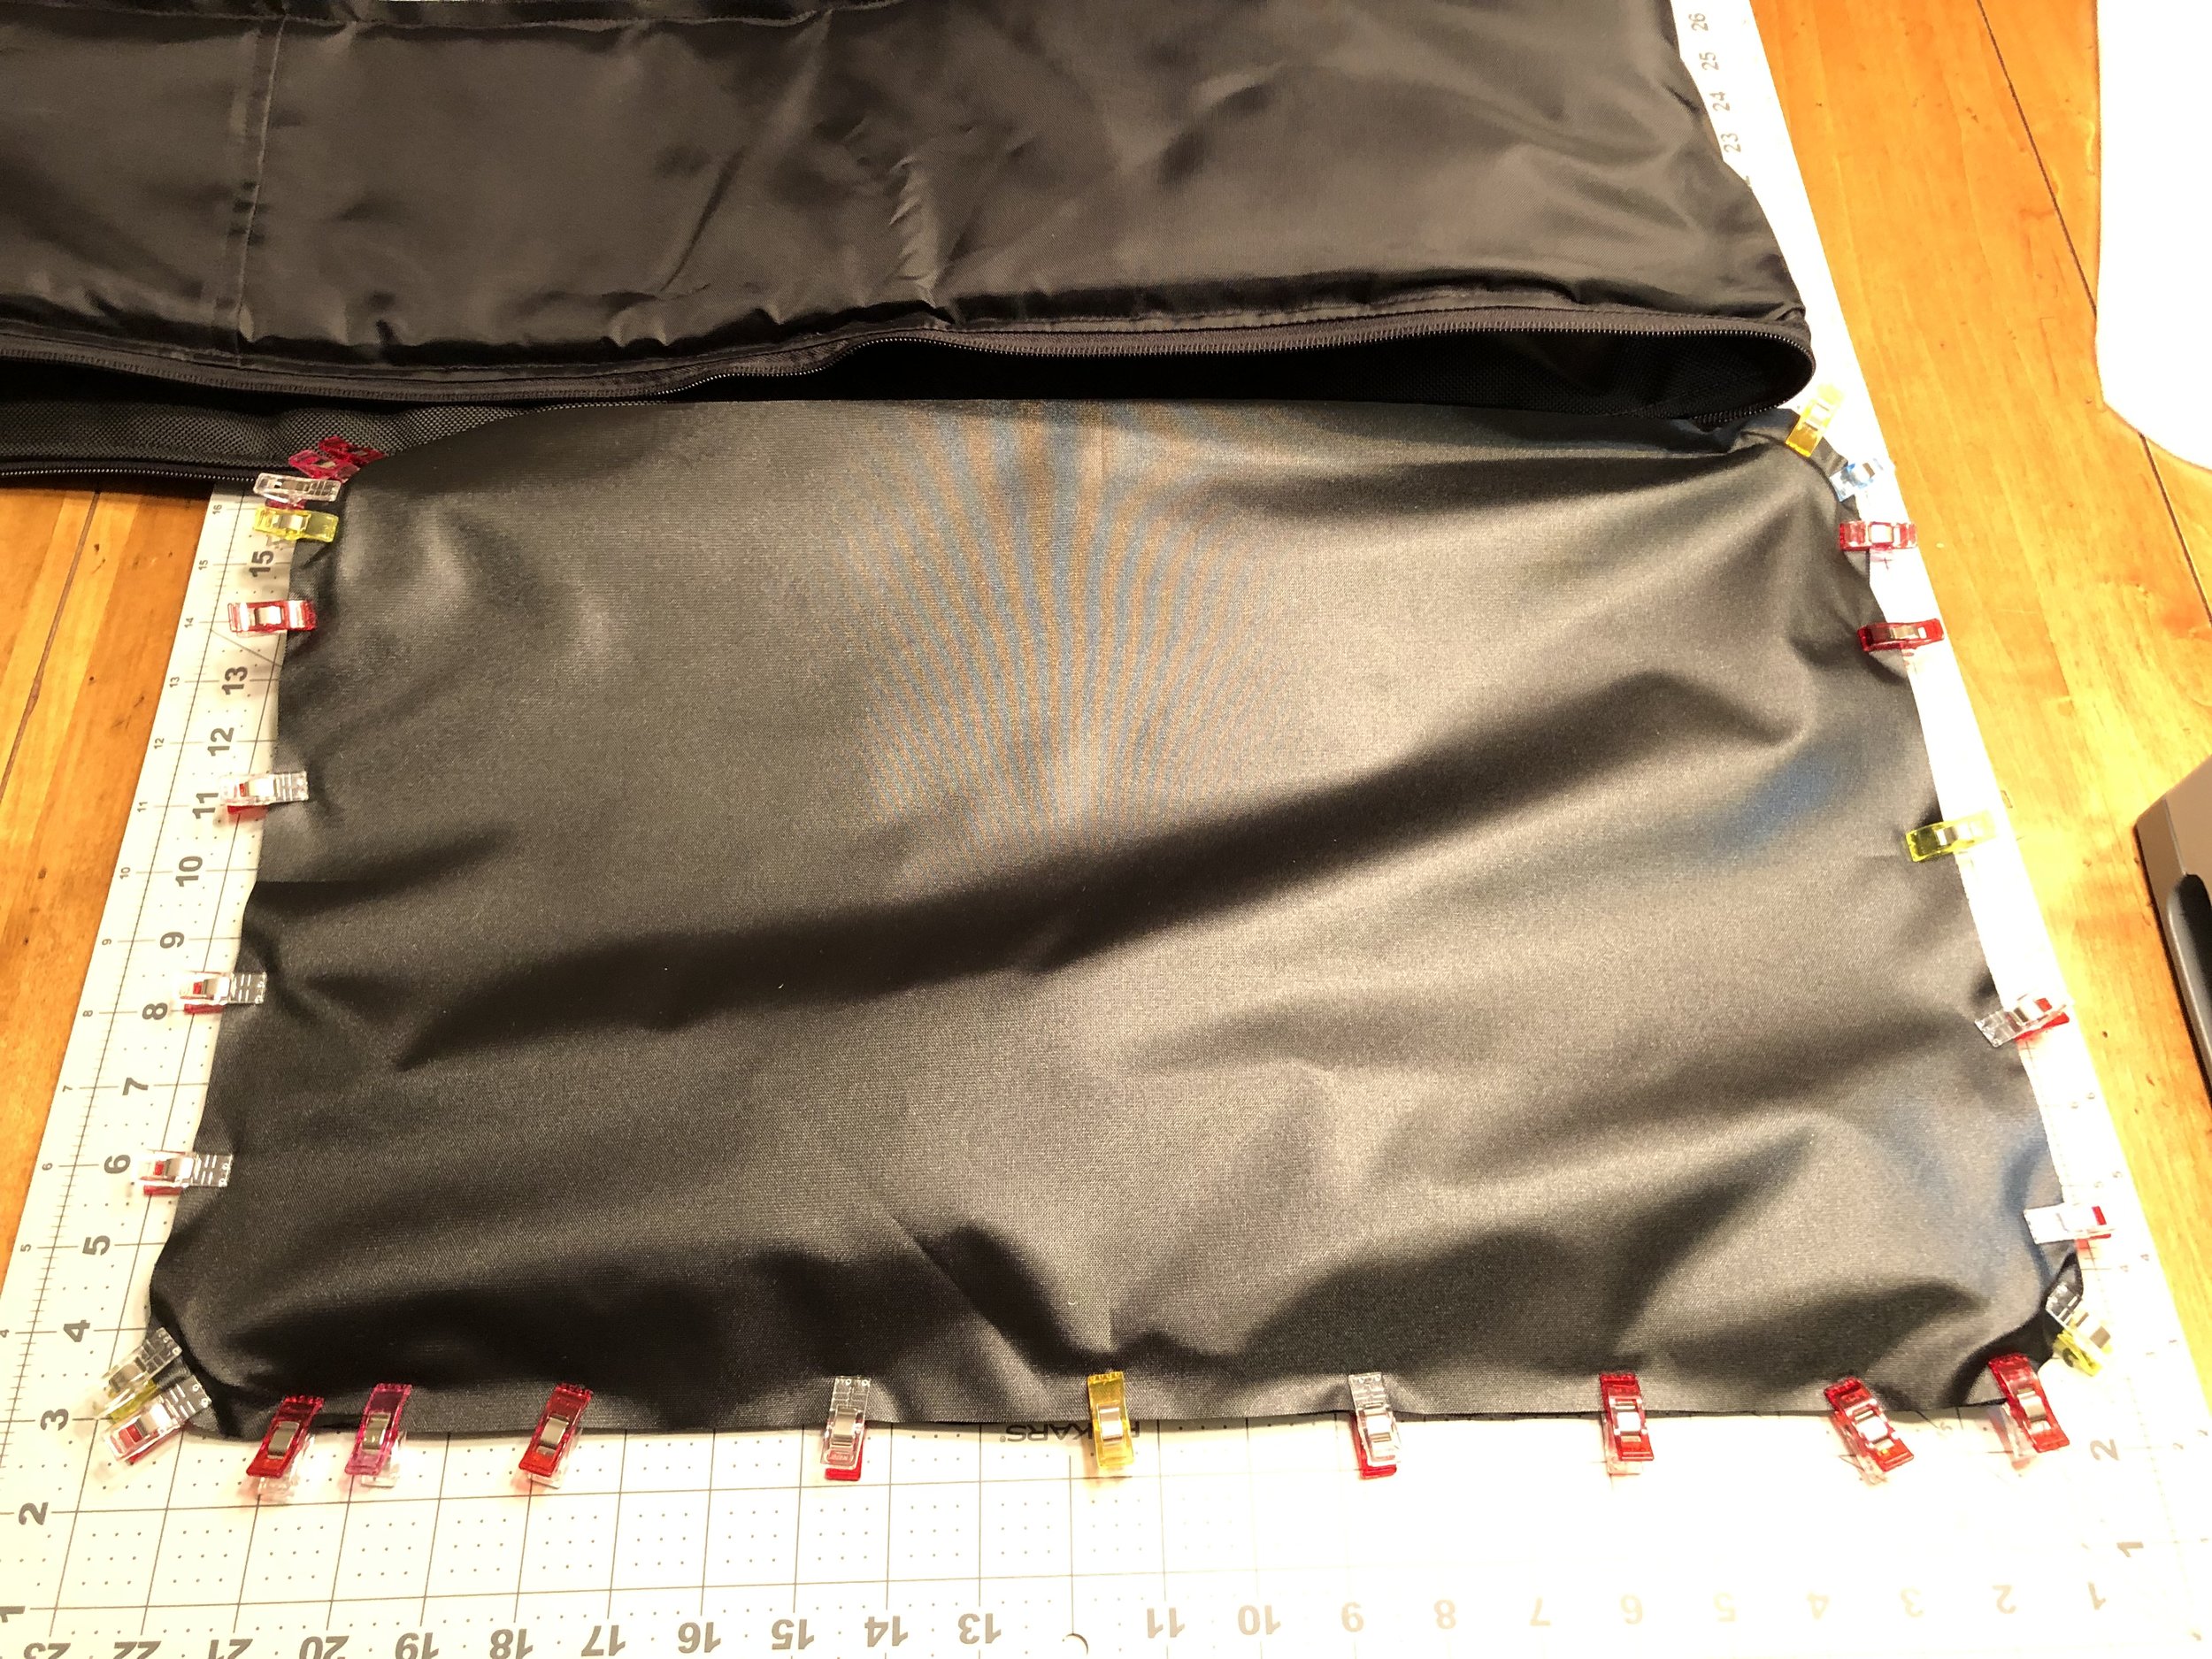
Bottom
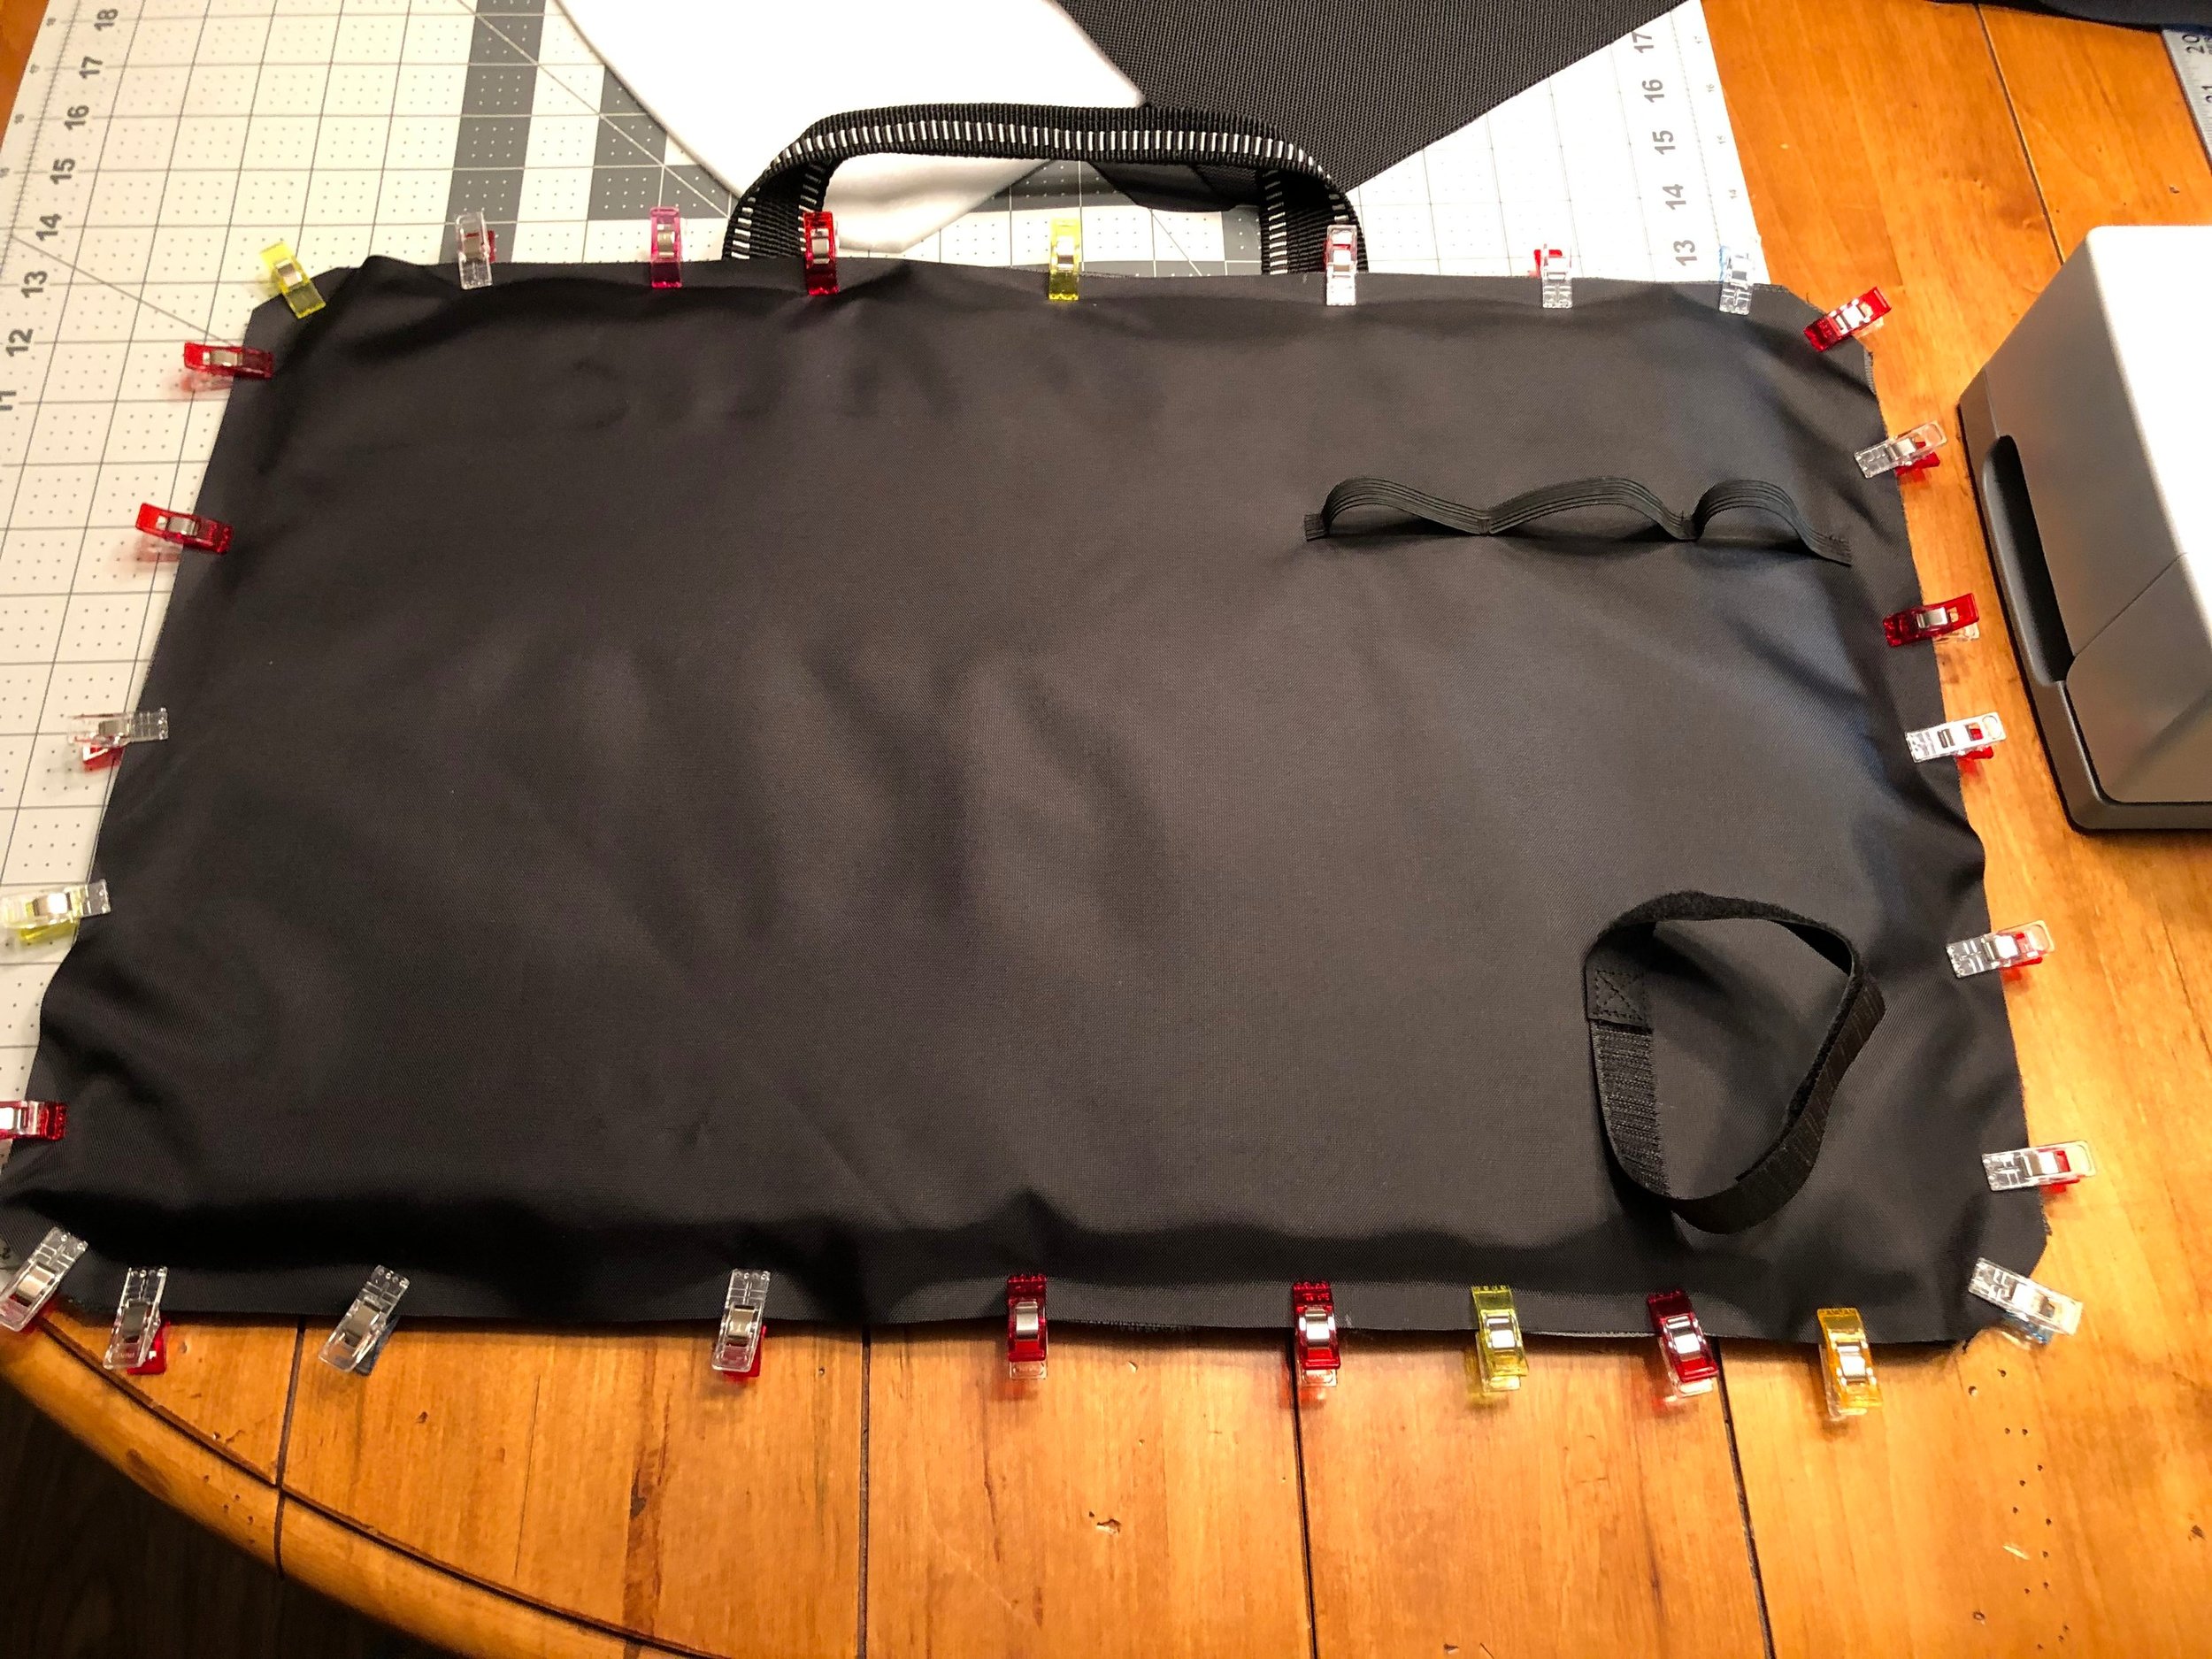
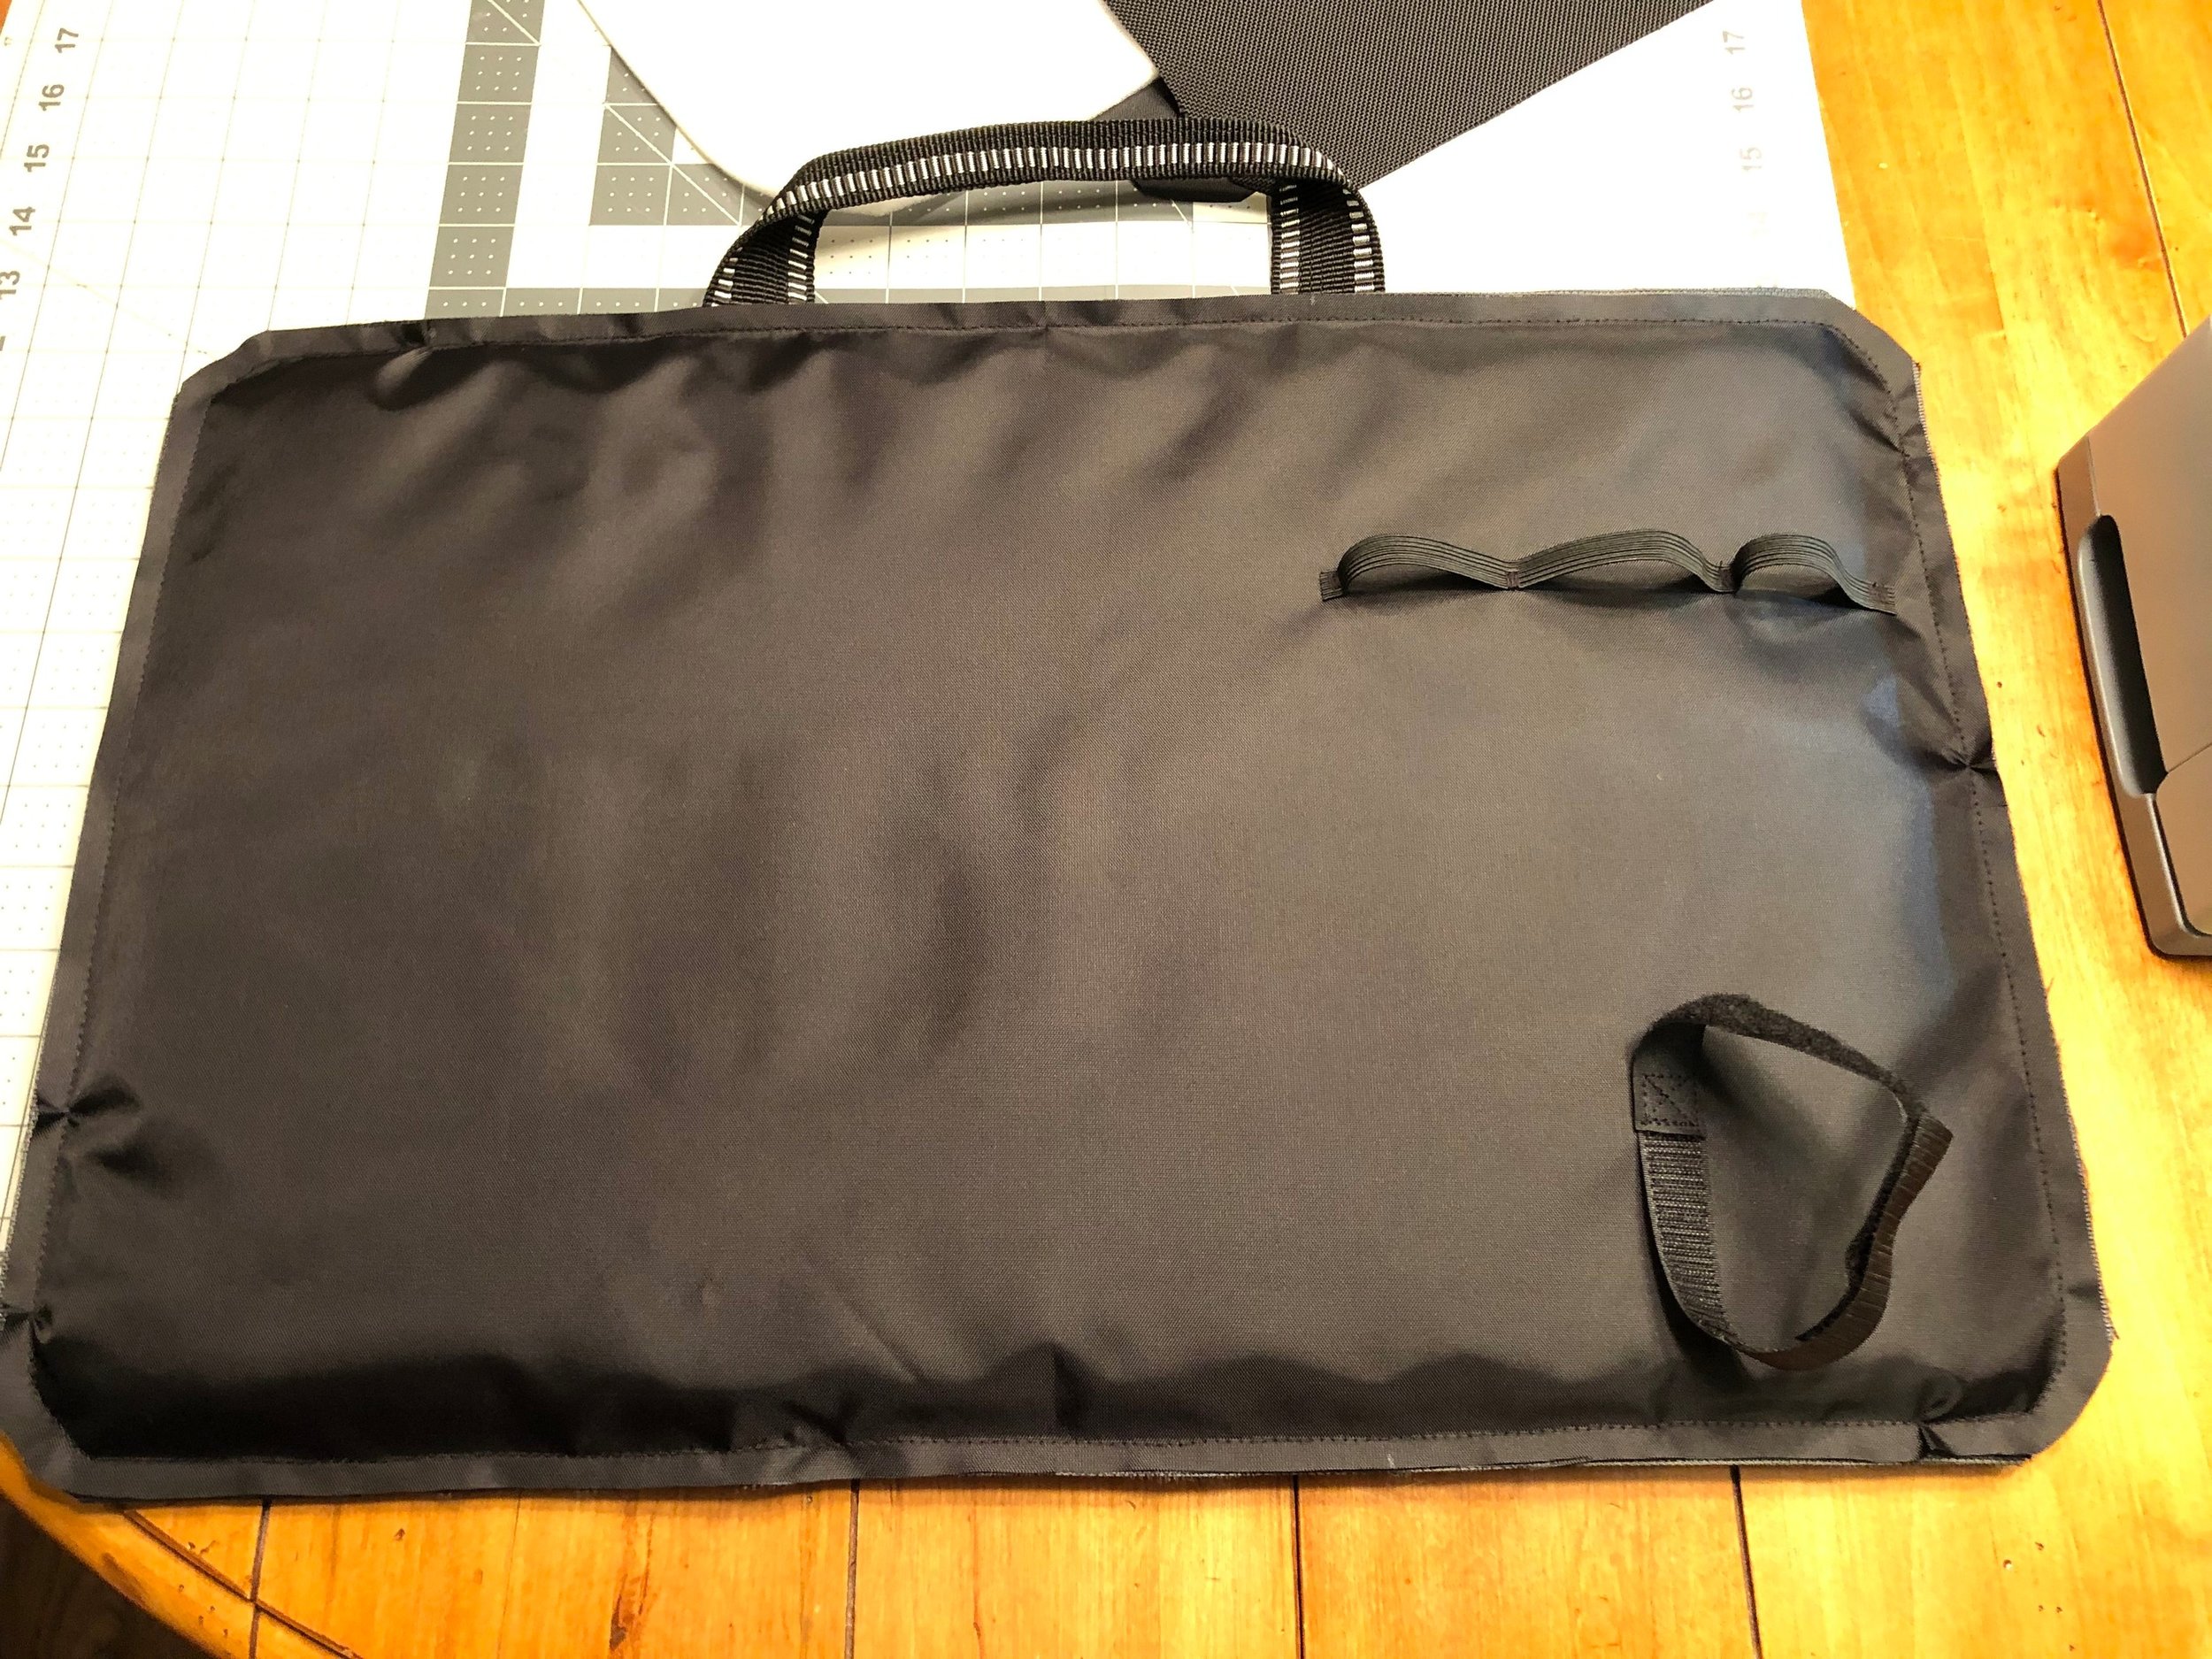
Place the outer bottom piece wrong side up on the table.
Place the foam padding on top
Place the bottom lining piece right side up and clip together
Baste the raw edges in place. I used my zipper foot and used the edge of the zipper foot along the raw edge as the seam allowance guide. Make sure to tuck the handle out of the way so it is not caught in the stitches.
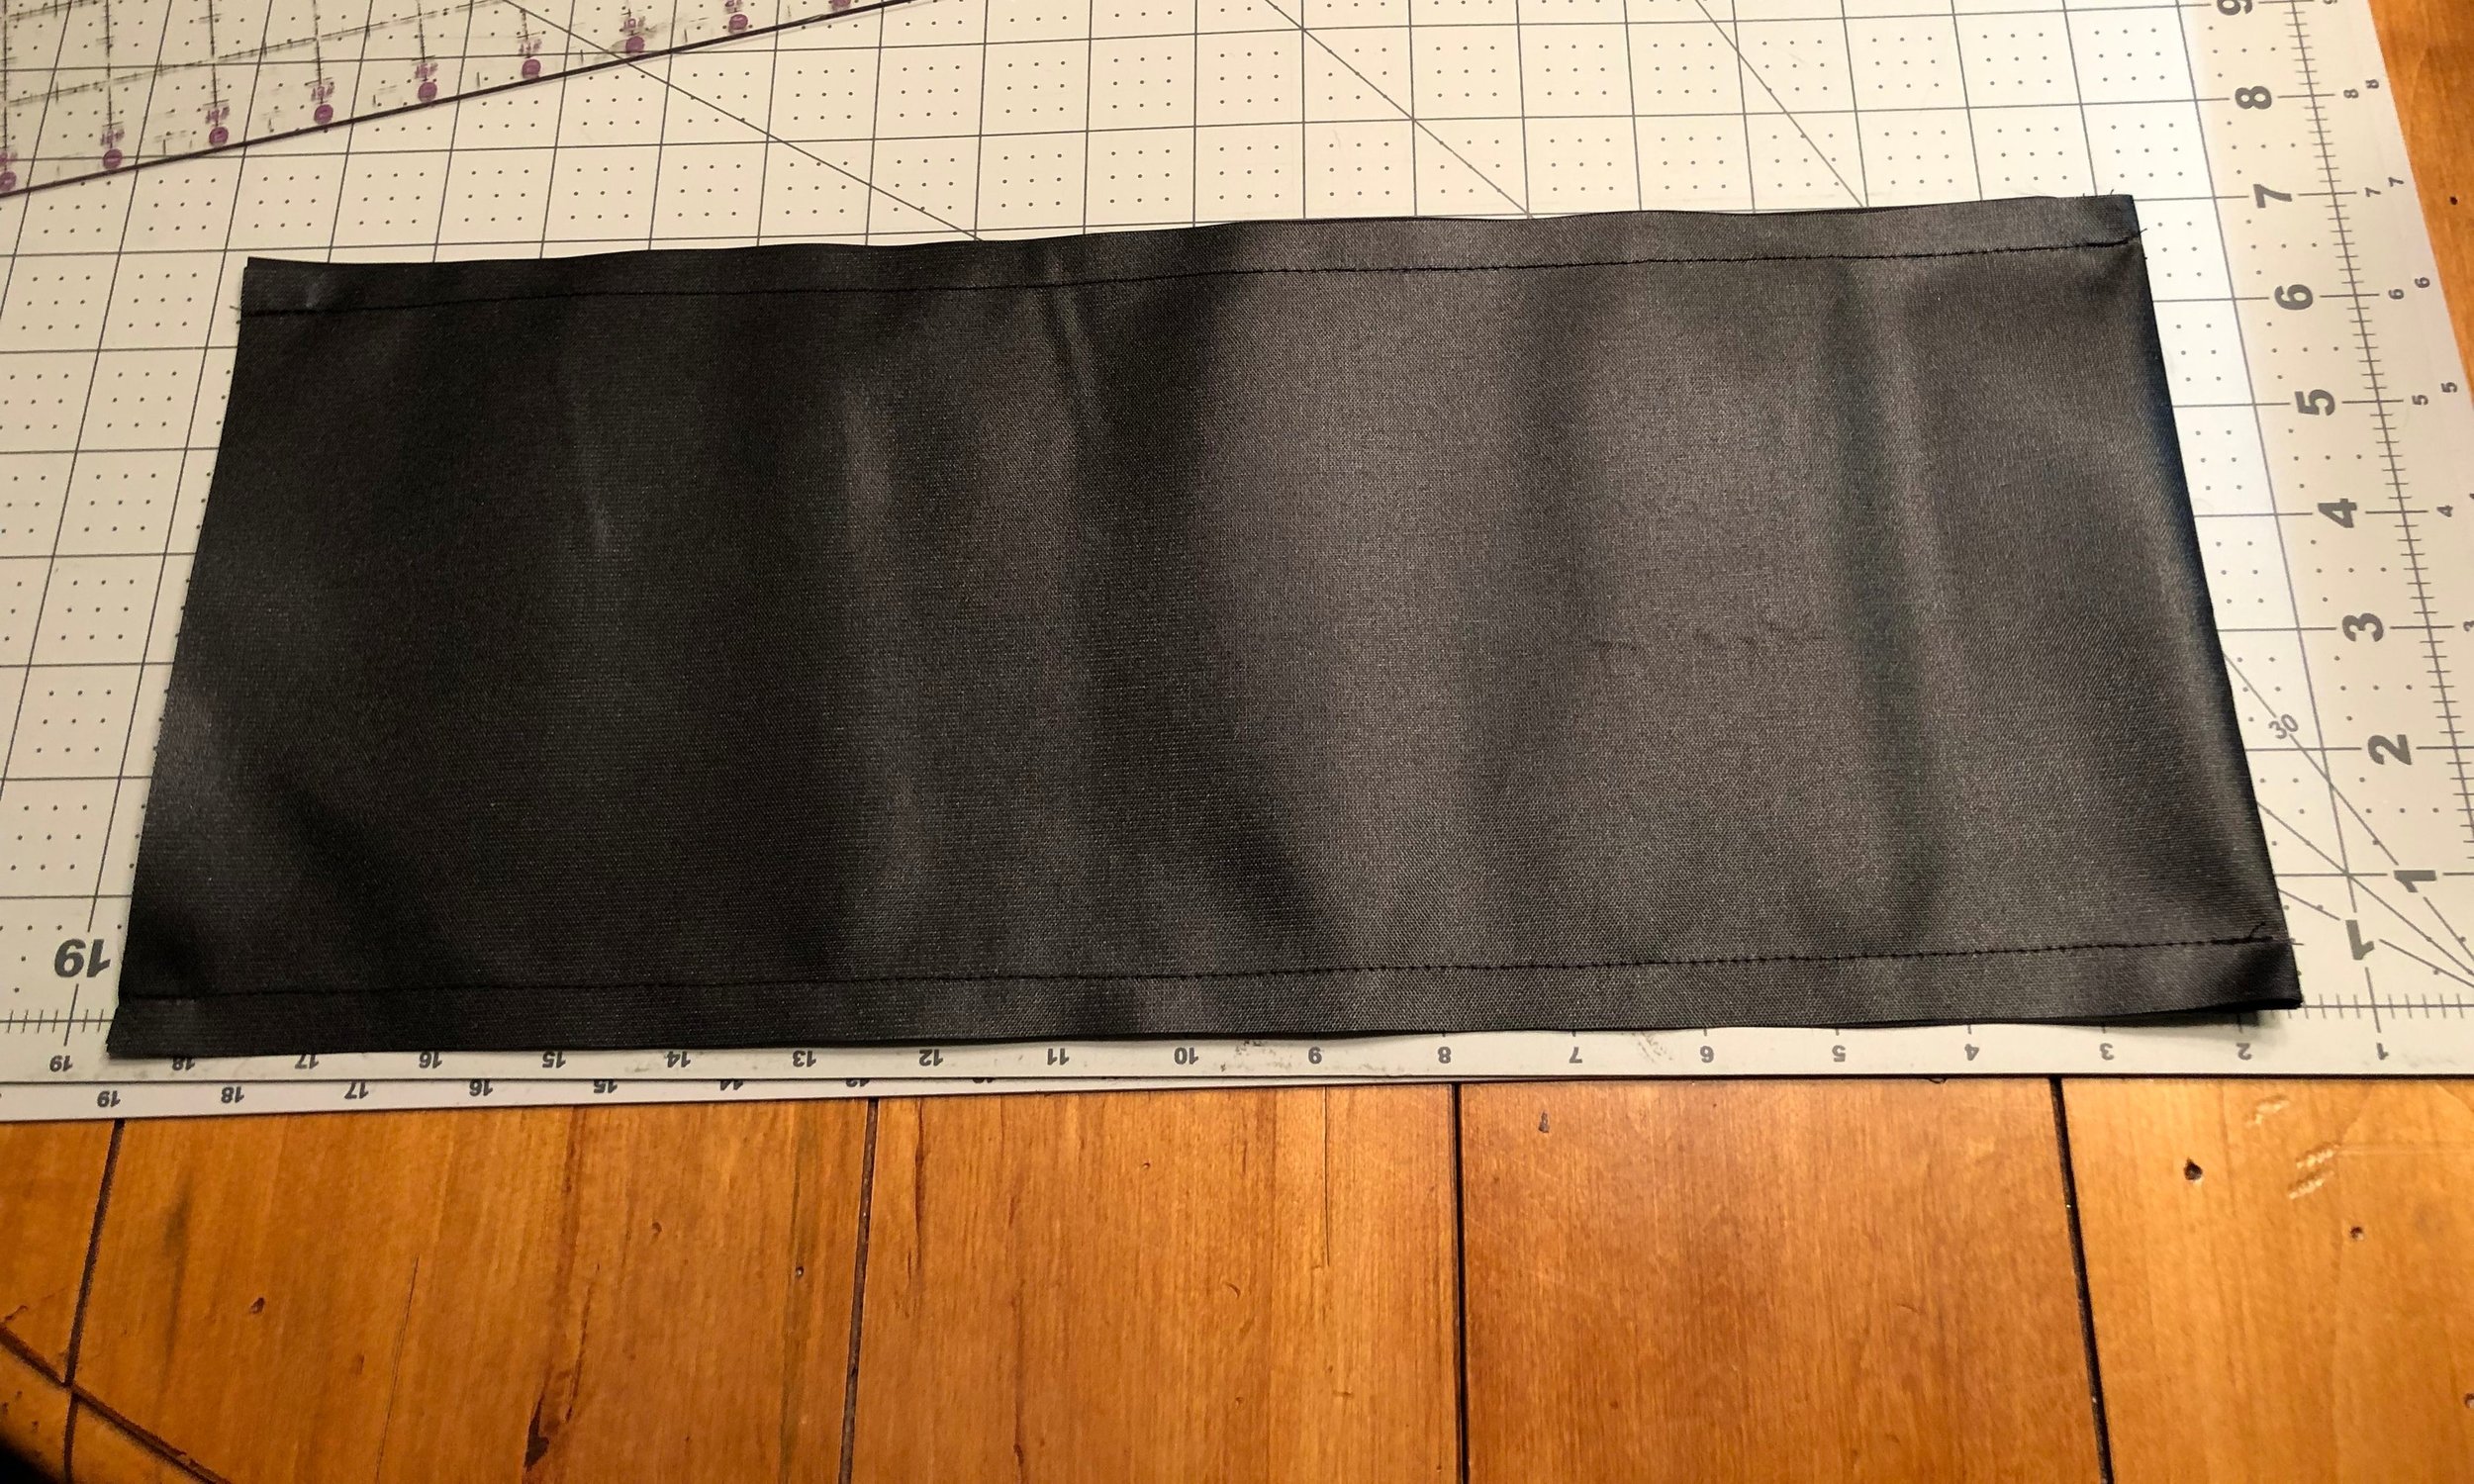
Divider
Take the divider lining piece and fold right sides together.
Sew along both long edges with 1/2” seam allowance.
Turn it right side out and poke out the corners.
Take one strip of the velcro hook and sew it on the closed end.
Stitch a line about 1/4” from the velcro to create a stop for the insert.
Feed the insert into the divider pocket.
Sew another line to close the open end and hold the insert in place.
Turn in the seam allowance on the raw edge and sew in place.
Sew on the other piece of velcro hook.
Bottom to Gusset
Final step of assembly!
Place the bottom piece right side down on the table. Tuck in the handle.
Take the top piece (already sewn to the gusset) and make sure the zipper is open at least halfway and turn it wrong side out.
Place the zipper gusset right sides together with the bottom piece and clip in place, matching up quarter marks.
Sew all the way around. Go slowly, especially around the corners, working out any puckers.
With it still inside out, attach the bias tape to the raw edge to conceal the seam.
Turn right side out.
Attach the divider piece to the velcro on the lining gusset.